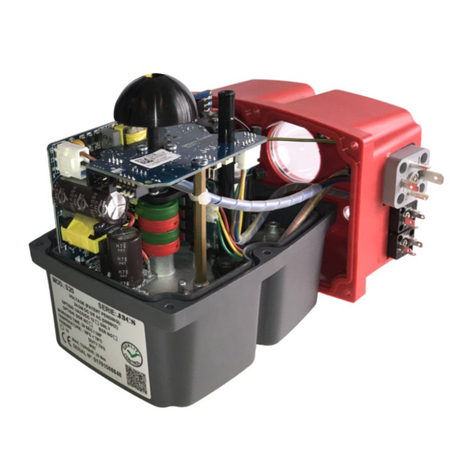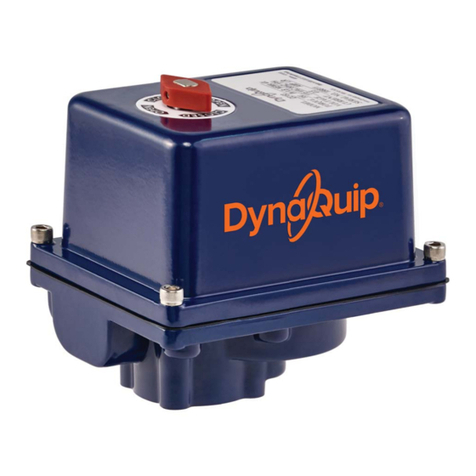
JE Series Product Guide
MODELS: JE2S, JE3S, JE5S, JE7S, JE15S, JE30S
MULTI-VOLTAGE ON-OFF SMART ELECTRIC ACTUATORS
PLEASE READ THESE INSTRUCTIONS CAREFULLY BEFORE INSTALLING
OR CONNECTING POWER TO THE ACTUATOR. THE ACTUATOR MUST
BE INSTALLED, OPERATED AND REPAIRED BY QUALIFIED PERSONNEL
COMPLYING WITH ALL APPLICABLE CODES, STANDARDS AND SAFETY
REGULATIONS. DAMAGE CAUSED BY NONCOMPLIANCE TO THESE
INSTRUCTIONS IS NOT COVERED BY OUR WARRANTY.
INTRODUCTION
This document provides installation, operation and maintenance instructions
for DynaQuip JE Series electric on/o smart actuators. These actuators are
typically used to operate quarter-turn valves. Every actuator has been fully
tested prior to shipment to ensure trouble-free operation.
STORAGE
Actuators should be stored in a clean, dry environment at all times. Do not
install the actuator outdoors or in humid environments without immediately
supplying power to activate the internal heater. The thermostatically
controlled heater will help prevent possible damage caused by
condensation build up inside the actuator.
MOUNTING
The actuator can be mounted in
any orientation. Valves can be
direct mounted to the actuator
using a standard ISO5211
international mounting pad.
ANTI-CONDENSATION HEATER
The electric actuator has an internal thermostatically controlled anti-
condensation heater. The 4-watt heater is automatically activated when power
is supplied to the actuator. It is strongly recommended that power remain ‘ON’
at all times to protect the actuator from damaging eects of condensation. The
heater does not require a separate power supply or additional wiring.
ENCLOSURE RATING
Actuator is rated IP67 weatherproof. The housing is anti-corrosion polyamide.
Do not use these actuators in explosion-proof or hazardous applications.
TEMPERATURE RATING
Operating temperature range of the actuator is -4˚ to 158˚F (-20˚ to 70˚C).
DUTY CYCLE AND MOTOR PROTECTION
JE Series actuators have built-in electronic over-torque protection against
valve jams. These actuators are rated 75% duty cycle.
LED POWER ON AND DIAGNOSTIC LIGHT
The external LED status light provides visual communication between the
actuator and the user. The following chart will show the basic LED functions.
LED Status Actuator Operational Status
Closed: Solid Red
Open: Solid Green Power On
From Open to Closed: Red/Orange
From Closed to Open: Green/Orange Actuator Moving
From Open to Closed: Flashing Red
From Closed to Open: Flashing Green
Over-torque condition or possible problem
with motor/control board or operational
BSR system working
Intermittent Orange Actuator in MANUAL mode (after 90
seconds) or battery needs charging
MANUAL OVERRIDE
DynaQuip JE Series electric actuators have a de-clutchable manual override
for use during setup or loss of power situations. To operate the manual
override, first move the manual override selector located on the side of the
actuator to the ‘MAN’ position. Next, rotate the manual override knob on the
actuator to the desired position, anywhere between 0 (closed) and 90 (open)
degrees. These markings are located on top of the red cover. When finished,
make sure the yellow pointer is within the 0 to 90 working quadrant. Then
move the manual override selector lever back to the ‘AUTO’ position. You can
now resume operation by deactivating power, which resets the actuator.
Do NOT operate the manual override without
first selecting ‘MAN’. Failure to do so may
cause gear damage.
VISUAL VALVE POSITION INDICATOR
Actuators are supplied with a visual valve position indicator. The dome-style
indicator is black with a large yellow pointer. It is located on the top of the
red cover. There are 0 and 90˚ marks molded into the red cover to indicate
the valve position. ‘0’ indicates closed, and ‘90’ indicates an open position.
The yellow pointer should rotate within the 90˚ quadrant.
MAINTENANCE
There are no field serviceable parts inside the actuator (except battery for
models with BSR operation) and no parts that require regular maintenance.
The gear drive is pre-lubricated for life. Actuator should be cycled at least
once per month. The housing may be cleaned with warm soapy water (no
solvents). DO NOT PRESSURE WASH.
ISO5211
Valve
Mounting
Pad
Manual Override
Selector Lever
MAN: Manual Mode
AUTO: Automatic Mode
Visual Position Indicator
(shown in open position)
Manual Override Knob
LED Power On and
Diagnostic Light


