Dynaudio Esotec Series User manual

Dynaudio A/S, 8660 Skanderborg, Denmark
Sales & Marketing
Dynaudio International GmbH, Ohepark 2, 21224 Rosengarten, Germany, Phone +49 - 4108 - 4180 - 0
www.dynaudio.com
© Dynaudio International GmbH, Esotec/Esotar2Manual 0208, Item Nr. 455616. All text and image copyrights reserved. Subject to change without notice.
Owners Manual
Home Systems I Professional I Automotive I Multimedia

Esotec / Esotar2Series 2
Introduction
Dear Music Lover,
Thank you for your decision to acquire Dynaudio Automotive loudspeakers for aftermarket installation. The
Dynaudio Esotec and Esotar2Systems have been developed to the same high standard as the company's
renowned home audio, professional studio and multimedia loudspeaker products. The Dynaudio Automotive
Esotec and Esotar2ranges are specifically engineered for optimum performance in a vehicle to ensure the most
precise in-car music reproduction possible. Dynaudio's advanced technology is the result of many years of
intense research and development mated to the highest quality standards in production and the company's
enduring passion for musical truth.
Dynaudio is one of very few audio companies producing loudspeaker drivers in-house
through its own dedicated development and production departments. All Dynaudio
loudspeakers are engineered and manufactured in Denmark from the finest grade materials
to the company's extremely high quality standards, and each must pass no less than 86
individual testing stations, representing the most stringent measures in the industry. The
state-of-the-art Dynaudio manufacturing facility is so advanced and features such strict
quality control measures that Dynaudio is likely to be the only specialty audio company to
have exceeded the ISO 9000 quality standard and earn QS 9000 certification.
We wish you many years of enjoying and experiencing music at the highest level of
performance,
Dynaudio

Esotec / Esotar2Series 3
About this installation manual
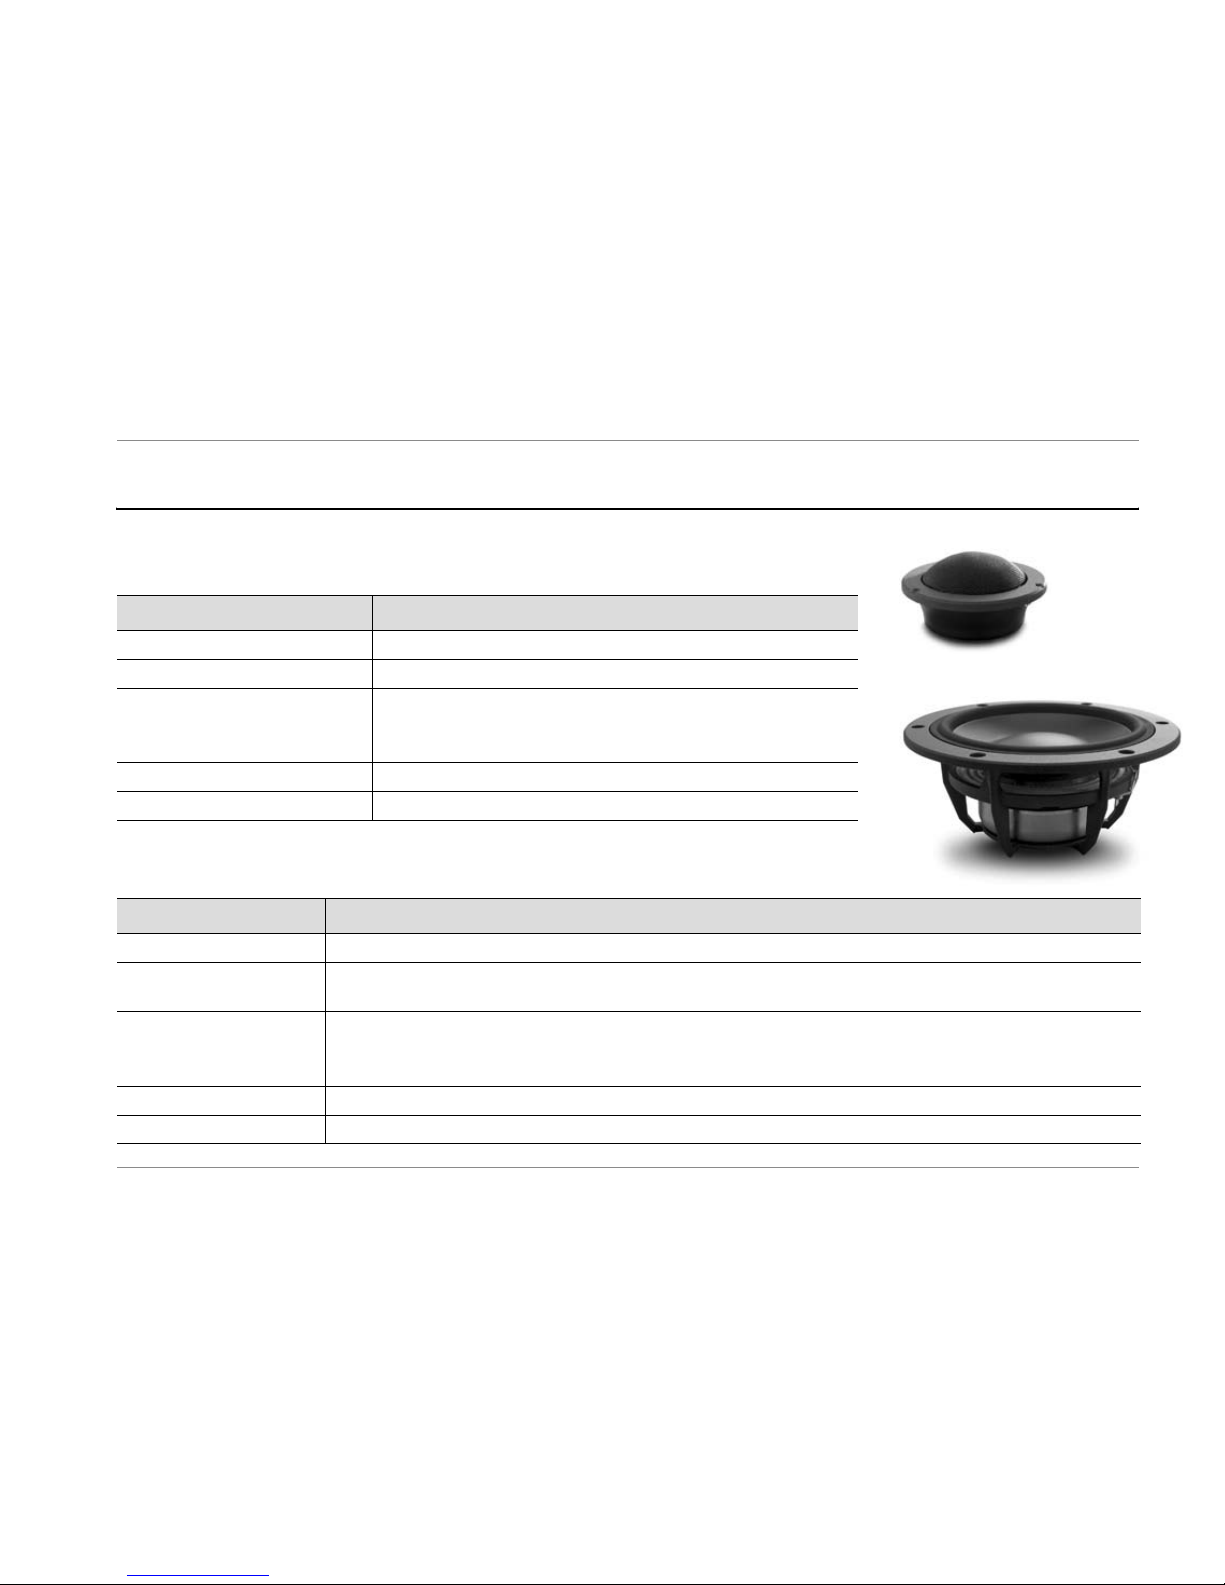
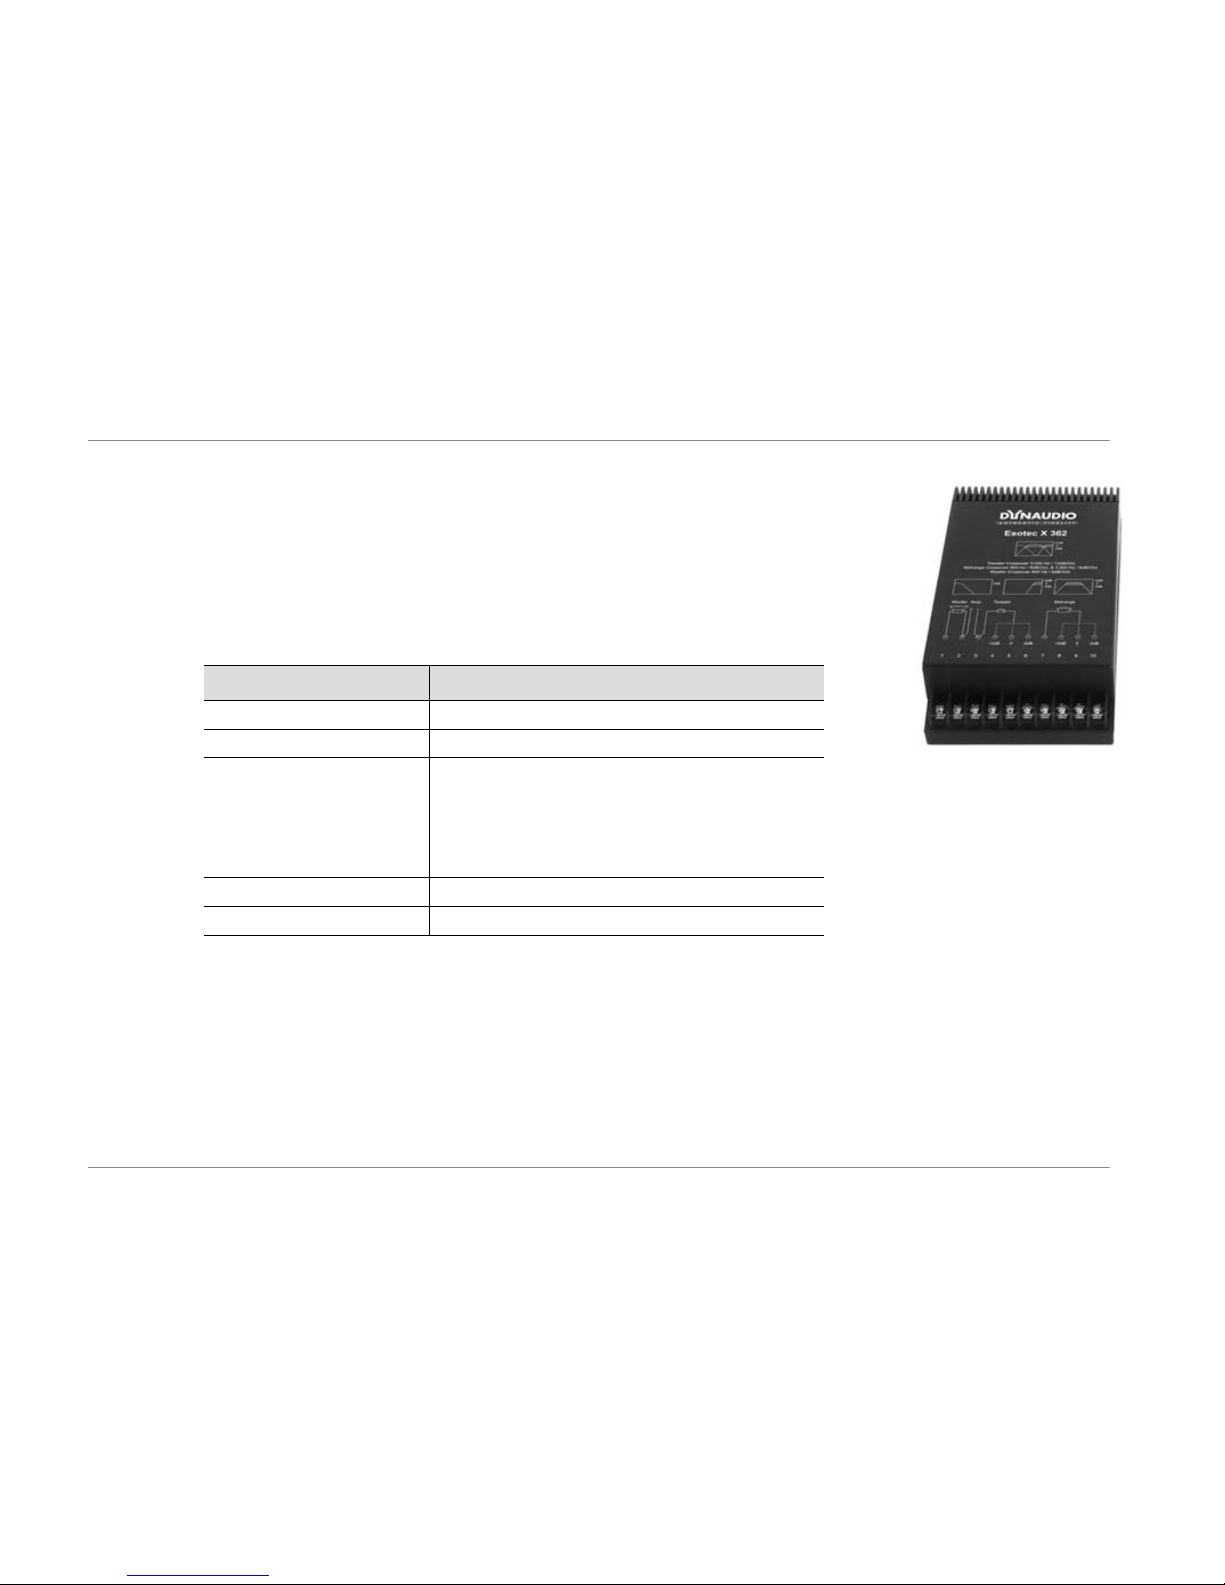
This installation manual provides all technical specifications, installation dimensions and crossover connection
instructions for the Dynaudio Esotec and Esotar2series. To realize the full potential of Dynaudio Automotive
systems, some areas should be addressed, as touched upon in the following pages.
Due to the great variety of installation conditions it will not offer specific instructions how to install the systems
into your car. Please refer to the operating manual of your vehicle or ask your local automotive dealer for further
assistance. To observe all relevant matters and thus maximize the tremendous performance potential of your
Dynaudio in-car loudspeaker system, consult your authorized Dynaudio Automotive loudspeaker dealer for
assistance. Your dealer has the knowledge and expertise to perform a high quality aftermarket installation.
Safety information
As all Dynaudio Esotec and Esotar2Series components are passive (in that they rely on external amplification),
the components themselves can not cause any damage.
However, the components can be damaged beyond repair unless a few ground rules are observed:
XInsure all components are properly installed and wired correctly.
XObserve the technical specifications.
XAlways use high-quality cabling and amplification.
CAUTION HIGH SOUND PRESSURE LEVELS
Listening to high sound pressure levels over a prolonged period of time
may harm your hearing.
XTo avoid auditory effects do not listen to high sound levels over a long period of time.

4Esotec / Esotar2Series
Warranty
Dynaudio provides a limited manufacturer´s warranty on Dynaudio
Automotive aftermarket products. Please check with your local
distributor for warranty conditions.
This warranty only covers faults or defects in material and production. Damage caused as a result of abuse,
misuse or defective electronics is not covered by the warranty. The warranty will only be valid if the metallic
Dynaudio holographic safety label is on the driver.
The warranty is valid only if the product is purchased from an authorized Dynaudio Automotive aftermarket
dealer. All warranty claims must be accompanied by a copy of the original purchase invoice and warranties are
only valid in the country or market of original origin or distribution. Should warranty service be required, it must
be arranged for in the country of purchase by an authorized Dynaudio dealer.

Esotec / Esotar2Series 5
Technical specifications
Tweeters/Midrange
Woofers
MD 102 MD 142 Esotar2110
Nominal impedance 8 Ω8 Ω6 Ω
Recommended frequency range 2200 – 30000 Hz 700 – 6000 Hz 2000 – 30000 Hz
Power handling
• Nominal long term IEC
• Transient
100 W
500 W
100 W
1000 W
150 W
1000 W
Net weight 0.126 kg 0.75 kg 0.50 kg
Overall dimensions (Ø x D) 62.2 x 43 mm 121 x 66 mm 111 x 41 mm
MW 152 MW 162 MW 162 GT MW 172 MW 182 Esotar2 650 Esotar2 1200
Nominal impedance 4 Ω4 Ω4 Ω4 Ω4 Ω4 Ω4 Ω
Recommended frequency
range
55 – 3500 Hz 40 – 4000 Hz 40 – 4000 Hz 35 – 3500 Hz 30 – 2000 Hz 50 – 4000 Hz 18 – 300 Hz
Power handling
• Nominal long term IEC
• Transient
100 W
1000 W
120 W
1000 W
120 W
1000 W
150 W
1000 W
180 W
1000 W
200 W
1000 W
400 W
1500 W
Net weight 1.1 kg 1.2 kg 1.1 kg 1.3 kg 1.85 kg 1.25 kg 8.8 kg
Overall dimensions (Ø x D) 146 x 70 mm 175 x 77 mm 166 x 71 mm 200 x 88 mm 239 x 86 mm 169 x 78 mm 297 x 162 mm

Technical specifications
6Esotec / Esotar2Series
Esotec crossovers
X 252 X 362
Crossover frequencies 2200 Hz 900 Hz / 3500 Hz
Nominal impedance 4 Ω4 Ω
Power handling
• MW 152
• MW 162/162 GT
• MW 172
• MW 182
100 W
120 W
150 W
–
–
200 W
200 W
200 W
Dimensions 38 x 84 x 145 mm 43 x 104 x 175 mm
Net weight 0.33 kg 0.60 kg

Technical specifications
Esotec / Esotar2Series 7
Installation dimensions
Tweeters/Midrange
MD 102 MD 142 Esotar2110
1max. Ø 62.2 mm max. Ø 121 mm Ø 111 mm
2Mounting hole: Ø 52.1 – 55.5 mm 3 holes: Ø 4 mm on Ø 110.9 mm 6 holes: Ø 4.3 mm on Ø 101 mm
329.1 mm Mounting hole Ø 96 mm
(add cut-outs for terminals)
Mounting hole Ø 86 mm
43 mm max. 37.5 mm 27 mm
513.86 mm 7.5 mm max. 4.5 mm
6– max. 30 mm max. 16 mm
2
1
3
54
3
12
4
5
6
3
4
5
6
12

Technical specifications
8Esotec / Esotar2Series
Woofers Esotec
MW 152 MW 162 MW 162 GT MW 172 MW 182
1max. Ø 145.5 mm max. Ø 175 mm max. Ø 166 mm max. Ø 200 mm max. Ø 239 mm
26 holes: Ø 4.3 mm
on Ø 134.5 mm
6 holes: Ø 4.3 mm
on Ø 158 mm
4 holes: Ø 7.5 mm
on Ø 155 mm
6 holes: Ø 4.2 mm
on Ø 185.75 mm
6 holes: Ø 4.5 mm
on Ø 219 mm
33 mm 3 mm Ø 88 mm 4.2 mm Ø 113 mm
4Mounting hole
min. Ø 124.5 mm
Mounting hole
min. Ø 136 mm
Baffle hole
min. Ø 134 mm
Mounting hole
min. Ø 172 mm
Mounting hole
min. Ø 195 mm
563 mm 67 mm 62 mm 77.9 mm 75 mm
64.3 mm 5 mm 1.5 mm 5.4 mm 5.9 mm
713 mm
(at max. cone excursion)
15 mm
(at max. cone excursion)
15 mm
(at max. cone excursion)
17 mm
(at max. cone excursion)
16 mm
(at max. cone excursion)
12
3
4
5
6
7
2
3
4
5
6
7
1
4
1
7
6
5
3
21
7
6
5
4
3
2
1
7
65
4
3
2

Technical specifications
Esotec / Esotar2Series 9
Woofers Esotar2
Esotar2650 Esotar21200
1Ø 169 mm Ø 297 mm
26 holes: Ø 4.3 mm
on Ø 158 mm
8 holes: Ø 5.3 mm
on Ø 285 mm
3Mounting hole
min. Ø 136 mm
Mounting hole
min. Ø 260 mm
467 mm 143 mm
5max. 5.2 mm max. 7.5 mm
615 mm
(at max. cone excursion)
35.5 mm
(at max. cone excursion)
12
3
4
5
6
12
3
4
5
6

Technical specifications
10 Esotec / Esotar2Series
Impedance correction circuits
Tweeters/Midrange
Woofers
Esotar2crossover recommendations
Since the Esotar2speakers are meant to use active filtering, Dynaudio recommends following crossover
frequencies:
MD 102 MD 142 Esotar2110
C
R
1.2 µF
8.2 Ω
1.2 µF
8.2 Ω
1.2 µF
8.2 Ω
MW 152 MW 162 MW 162 GT MW 172 MW 182 Esotar2650 Esotar21200
C
R
22 µF
4.7 Ω
22 µF
4.7 Ω
22 µF
4.7 Ω
33 µF
4.7 Ω
47 µF
4.7 Ω
22 µF
4.7 Ω
82 µF
4.7 Ω
Esotar2110 Esotar2650 Esotar21200
Filter type high-pass band-pass low-pass
Slew rate -6 dB -6 dB -6 dB
Cut-off frequency 2000 Hz 100 Hz and 2000 Hz 100 Hz
C
R
C
R

Technical specifications
Esotec / Esotar2Series 11
Systems overview
Esotec two-way systems
Esotec three-way systems
Esotar2components
Bass Mid High Crossover
System 222 MW 152 – MD 102 X 252
System 242 MW 162 – MD 102 X 252
System 242 GT MW 162 GT – MD 102 X 252
Bass Mid High Crossover
System 342 MW 162 MD 142 MD 102 X 362
System 362 MW 172 MD 142 MD 102 X 362
Subwoofer Mid / Bass High Crossover 1)
1) Please contact your authorized Dynaudio Automotive aftermarket dealer
for further information.
Components Esotar21200 Esotar2650 Esotar2110 Active filtering
recommended

12 Esotec / Esotar2Series
Connecting the Esotec crossovers
2-way crossover X 252
Terminal label Connections
1To power amplifier: +terminal
2To power amplifier: –terminal
3To woofer: +terminal
4To woofer: –terminal
5To tweeter: +terminal, +2dB
6To tweeter: +terminal, ±0dB
7To tweeter: +terminal, -2dB
8To tweeter: –terminal
17654328
Amplifier TweeterWoofer
-2dB+2dB 0

Connecting the Esotec crossovers
Esotec / Esotar2Series 13
1. To connect the woofer
XConnect terminal 3to the +terminal of the woofer.
XConnect terminal 4to the –terminal of the woofer.
2. To connect the tweeter
The terminals 5, 6and 7offer the ability to fine-tune the sound level. This makes it possible to adjust the level
according to the placement of the speaker in the car and to your personal preference.
XConnect terminal 5or 6or 7to the +terminal of the tweeter:
– just use one of the terminals 5, 6or 7
– start with terminal 6for the first setup
– use terminal 5to increase the sound pressure level by 2 dB
– use terminal 7to decrease the sound pressure level by 2 dB
XConnect terminal 8to the –terminal of the tweeter.
3. To connect the power amplifier
XConnect terminal 1to the +terminal of the power amplifier.
XConnect terminal 2to the –terminal of the power amplifier.

Connecting the Esotec crossovers
14 Esotec / Esotar2Series
3-way crossover X 362
Terminal label Connections
1To woofer: –terminal
2To woofer: +terminal
To power amplifier: +terminal
3To power amplifier: –terminal
To tweeter: –terminal
4To tweeter: +terminal, +2dB
5To tweeter: +terminal, ±0dB
6To tweeter: +terminal, -2dB
7To midrange: –terminal
8To midrange: +terminal, +2dB
9To midrange: +terminal, ±0dB
10 To midrange: +terminal, -2dB
17654328910
Amp Tweeter MidrangeWoofer
-2dB+2dB 0 -2dB+2dB 0

Connecting the Esotec crossovers
Esotec / Esotar2Series 15
1. To connect the woofer
XConnect terminal 1to the –terminal of the woofer.
XConnect terminal 2to the +terminal of the woofer.
2. To connect the tweeter
The terminals 4, 5and 6offer the ability to fine-tune the sound level. This makes it possible to adjust the level
according to the placement of the speaker in the car and to your personal preference.
XConnect terminal 3to the –terminal of the tweeter.
XConnect terminal 4or 5or 6to the +terminal of the tweeter.
– just use one of the terminals 4, 5or 6
– start with terminal 5for the first setup
– use terminal 4to increase the sound pressure level by 2 dB
– use terminal 6to decrease the sound pressure level by 2 dB
3. To connect the midrange
The terminals 8, 9and 10 offer the ability to fine-tune the sound level. This makes it possible to adjust the level
according to the placement of the speaker in the car and to your personal preference.
XConnect terminal 7to the –terminal of the midrange.
XConnect terminal 8or 9or 10 to the +terminal of the midrange.
– just use one of the terminals 8, 9or 10
– start with terminal 9for the first setup
– use terminal 8to increase the sound pressure level by 2 dB
– use terminal 10 to decrease the sound pressure level by 2 dB
4. To connect the power amplifier
XConnect terminal 2to the +terminal of the power amplifier.
XConnect terminal 3to the –terminal of the power amplifier.

Dynaudio A/S, 8660 Skanderborg, Denmark
Sales & Marketing
Dynaudio International GmbH, Ohepark 2, 21224 Rosengarten, Germany, Phone +49 - 4108 - 4180 - 0
www.dynaudio.com
© Dynaudio International GmbH, Esotec/Esotar2Manual 0208, Item Nr. 455616. All text and image copyrights reserved. Subject to change without notice.
Home Systems I Professional I Automotive I Multimedia
This manual suits for next models
14
Table of contents
Other Dynaudio Car Speakers manuals
Popular Car Speakers manuals by other brands

EMPHASER
EMPHASER EM-VWF2 Installation & operating manual

MB QUART
MB QUART PREMIUM PVF 210 installation manual

Audiosystem
Audiosystem MFIT EVO2 manual

Audiosystem
Audiosystem MXC Series user manual

Audiosystem
Audiosystem EX 165 SQ EVO3 user manual

MB QUART
MB QUART Quart Mobil RSD 210 installation instructions

MB QUART
MB QUART PSD 210 installation instructions

Ulti Mate
Ulti Mate T3-42.3 user guide

Audiodesign
Audiodesign MUSWAY ME Series Installation notes

Rockford Fosgate
Rockford Fosgate Prime R1653 Installation & operation

FLI
FLI INTEGRATOR 4 Instruction & installation manual

Kenwood
Kenwood KFC-1379ie install guide