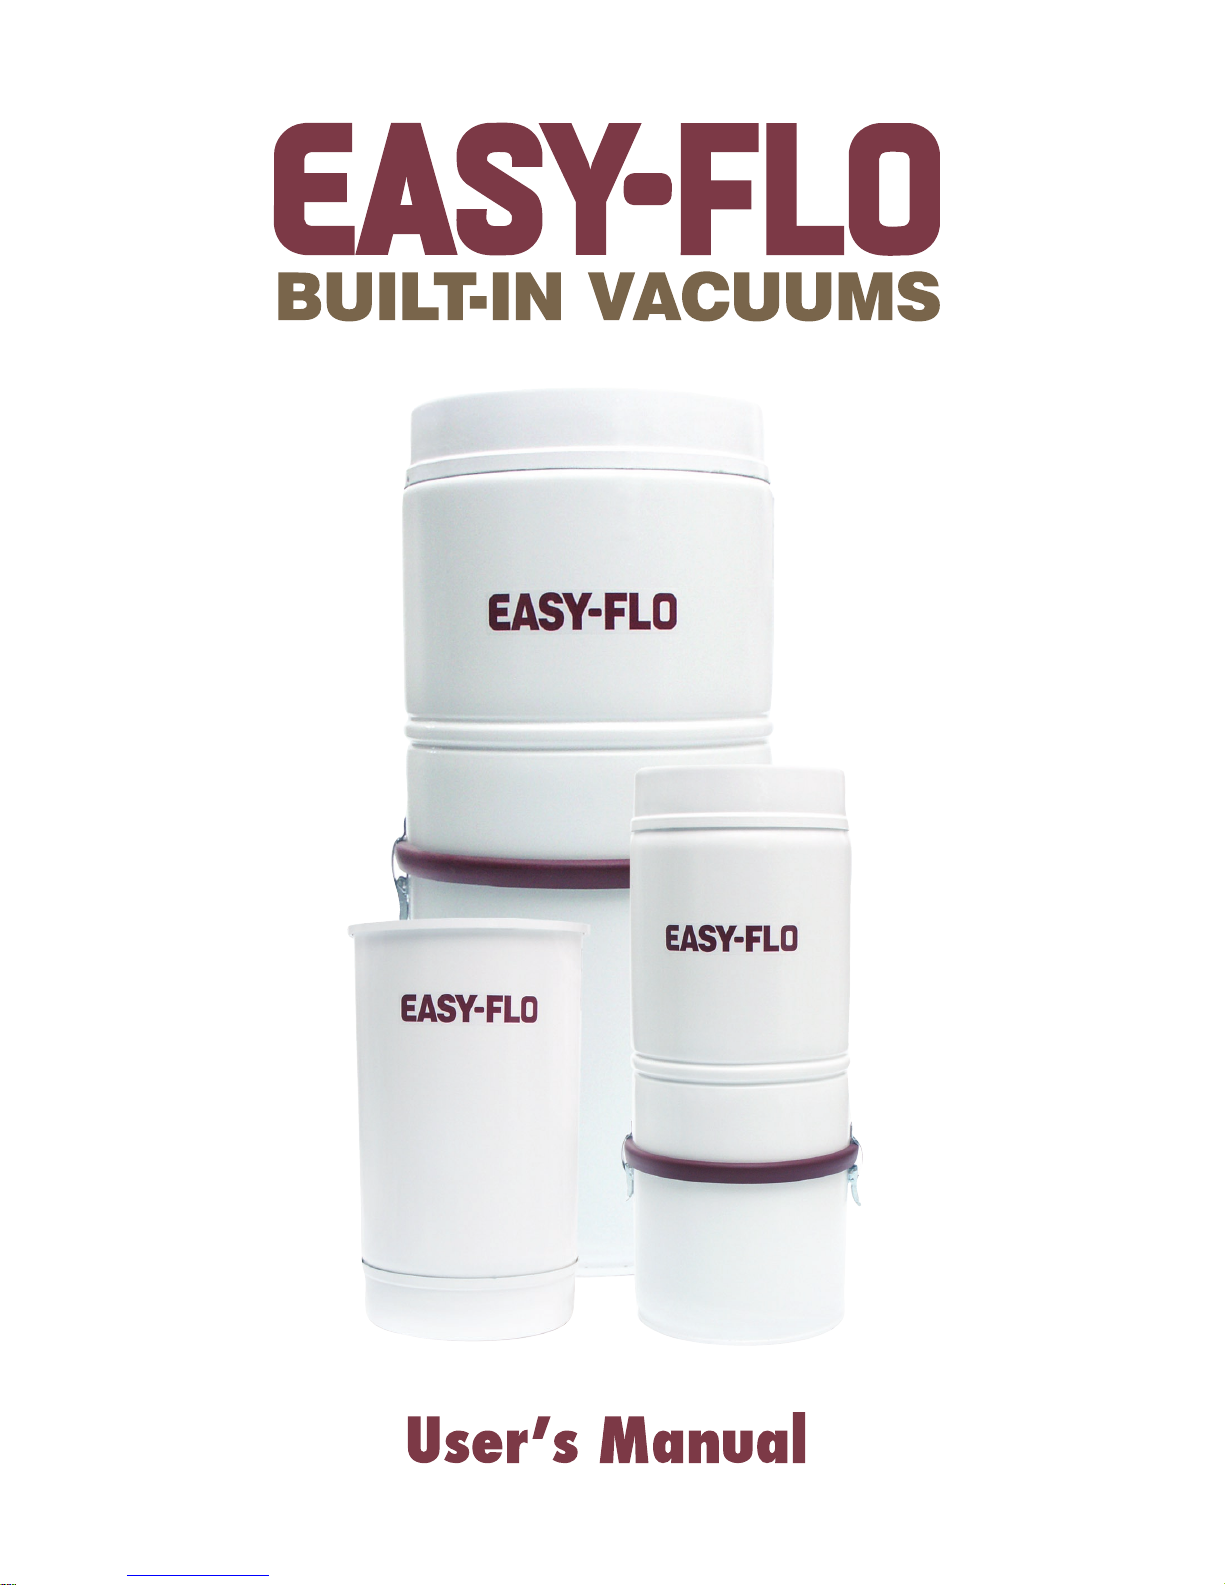
Easy-Flo Vacuum Systems Ltd. -
- (for household use only)
- Most power units have a life expectancy of 700 to 1000 hours
under normal working conditions. The bearings in the motor are
completely sealed. They do not require any oil! The motor brushes
will wear if the unit is functioning properly. Brush life is affected by
humidity, altitude, temperature and the number of starts and stops,
so there is a wide spread life of the motor brush. In average home
use, the life of your motor brushes will range from 6 to 8 years.
Failure to replace motor brushes on time will damage the motor,
and increase repair costs considerably. If you are using your system
quite frequently you should have your motor brushes checked more
often. It is recommended that you change the lter at the same
time. Service your vacuum system at an authorized Easy-Flo dealer
every 5 years to maintain your limited lifetime warranty.
REMOVING THE ACCUMULATED DIRT
to models with the self-cleaning lter. Dirt is picked up and
deposited in the canister attached to the bottom of the power unit.
Unlatch the two latches to remove the canister from the power
unit. To replace the canister, insert the rim of the canister into the
receptacle of the power unit and fasten the two latches over the
rim of the receptacle. This is done by rst hooking the latches over
the rim into the strikes; then simultaneously pressing the bottom of
each latch until it locks into place.
Start off by emptying the dirt canister bi-monthly until you get
some idea as to how long it is going to take you to ll the
canister under your normal cleaning circumstances. For best
performance, empty your canister frequently.
Your vacuum power unit has a unique self-cleaning lter
system that provides full suction power at all
times. The lter is made of fabric to
repel dirt. When the machine is
turned on, suction pulls the
lter up inside. When the
machine is turned off, a 12-
- Change paper bags 4 to 6 times a
year. This will vary according to usage.