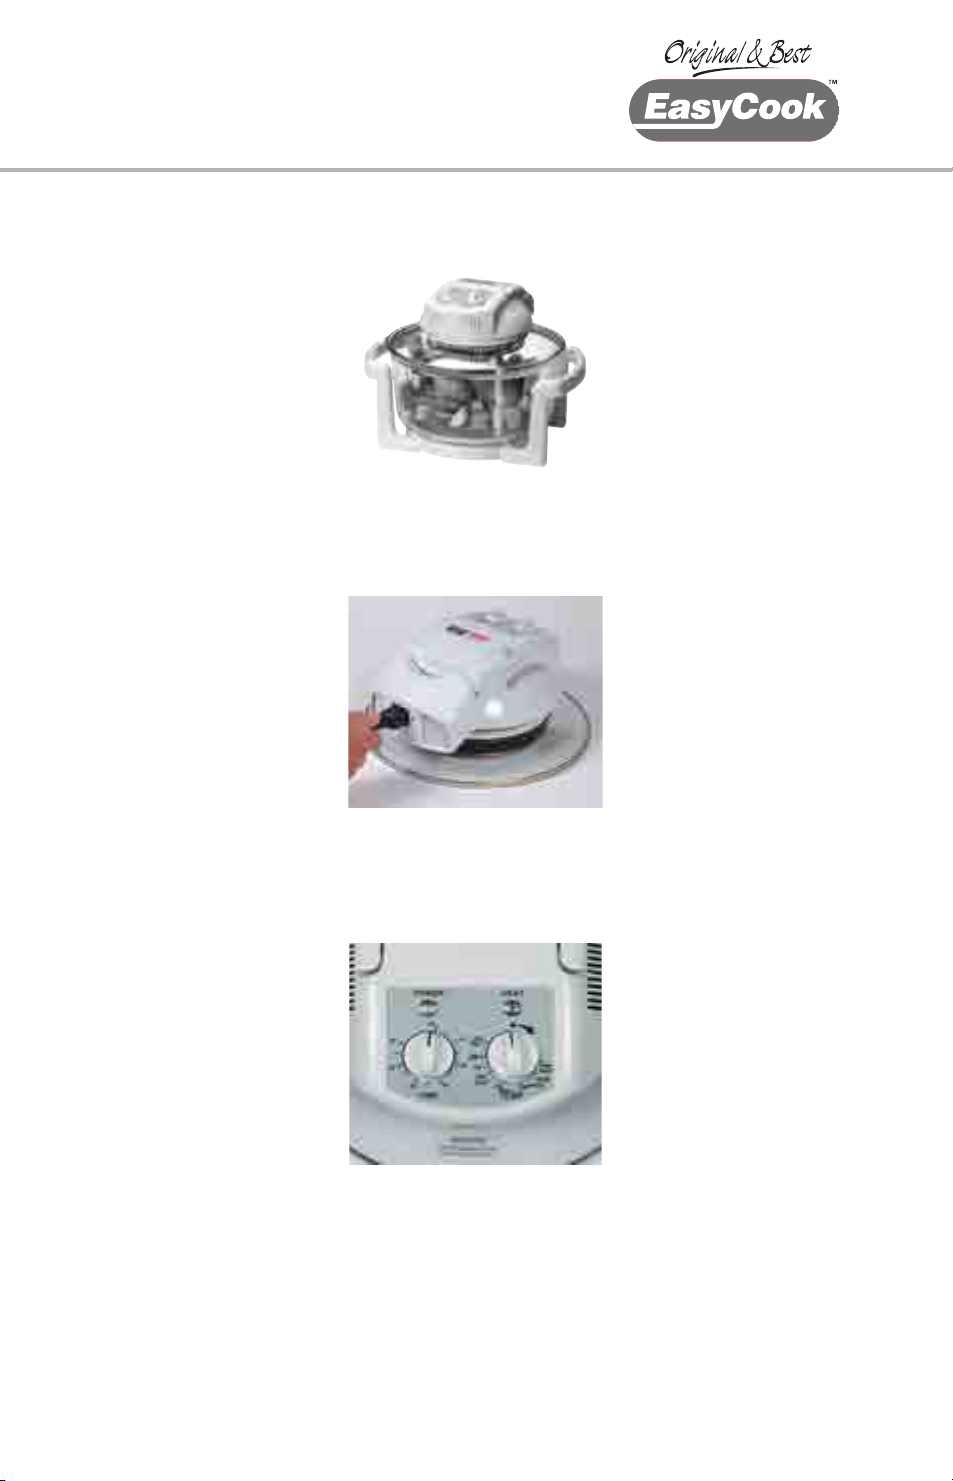
4. Set Timer (A)
Press either + or – for required cooking time, hold down for faster
increase
5. Set fan speed (H)
Press to adjust fan to required speed. There are 3 fan speed settings
available (C). Only use the high speed setting unless otherwise
specified.
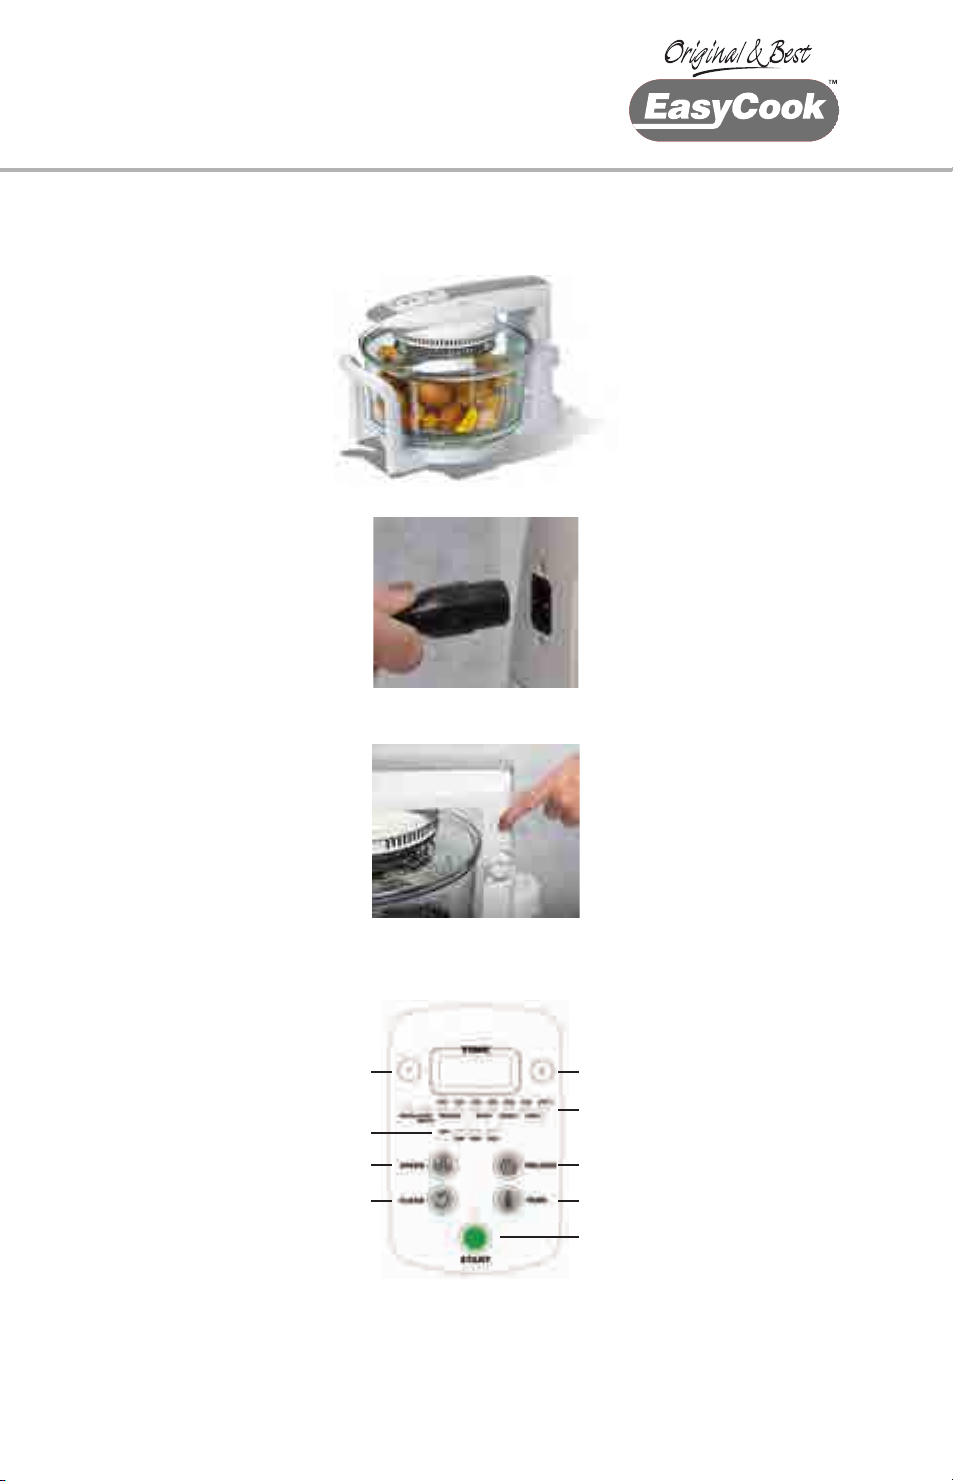
6. Add selected food.
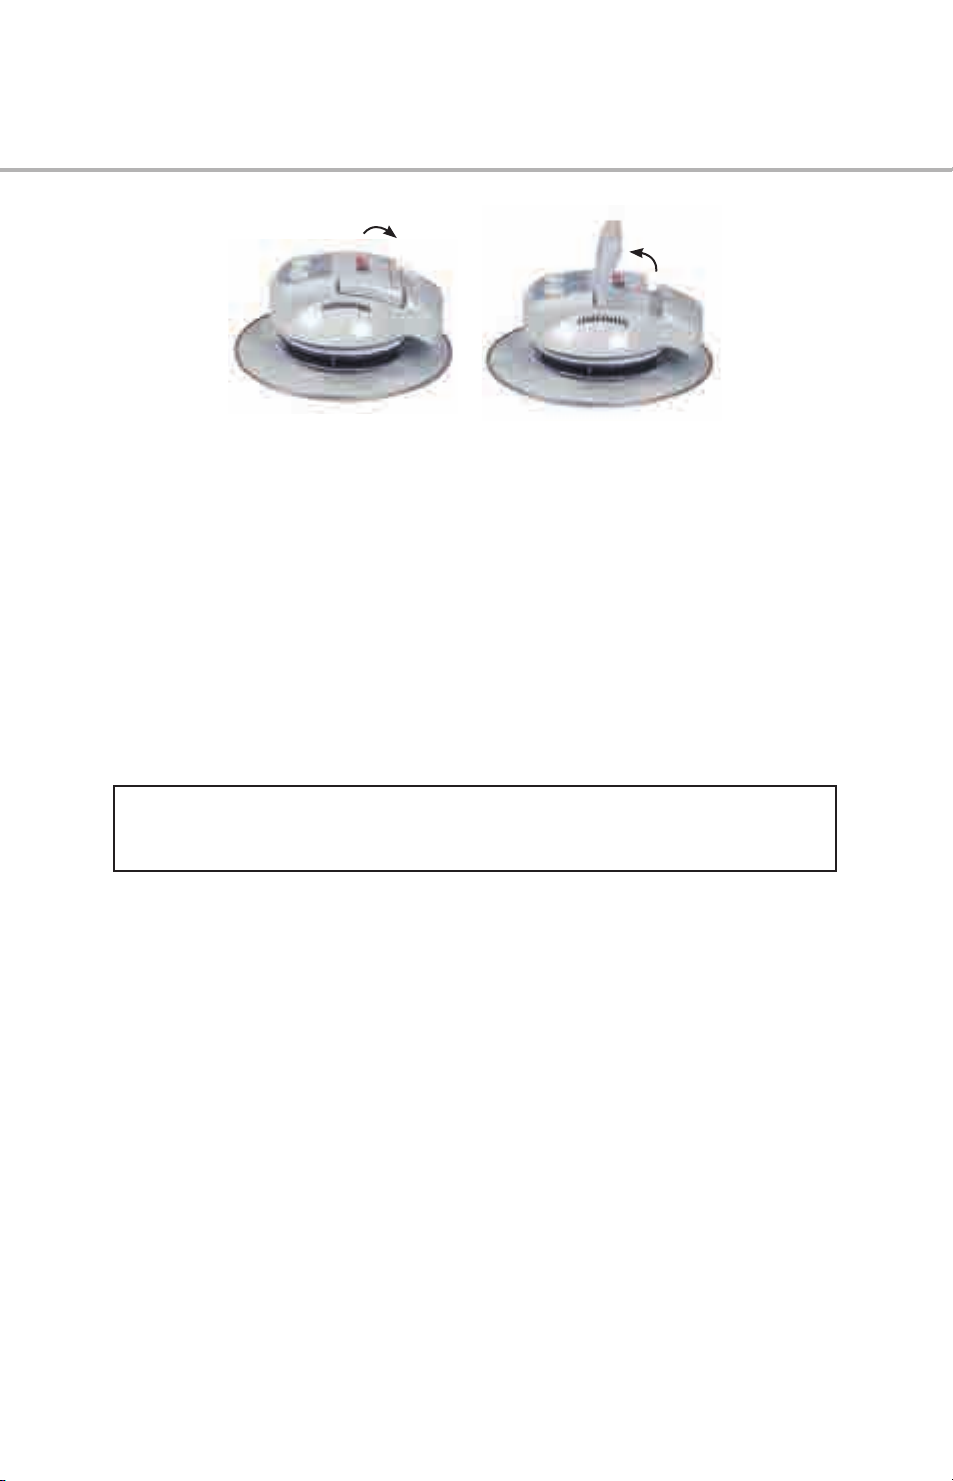
7. Close the hinged lid down horizontally, until you hear it click into the
“ON” position and the lid is sitting comfortably on the bowl. When
the hinged lid is in a raised vertical position the oven is “OFF”.
8. START Button (F)
Press to commence cooking
9. Once the selected time expires, the Easycook will beep and
automatically cease cooking. The auto fan may continue to operate
to cool the electrical components for up to 15 minutes.
10. When cooking is completed, move hinged lid to the vertical position
to avoid condensation build up in the lid top. Water condensation
can effect electrical wiring and may shorten the life of the lid top.
Clear Button (G) – Will reset the timer to 00:00 setting.
Pre Heat button (D) – A programmed 6 minute cycle – once completed
see point 3.
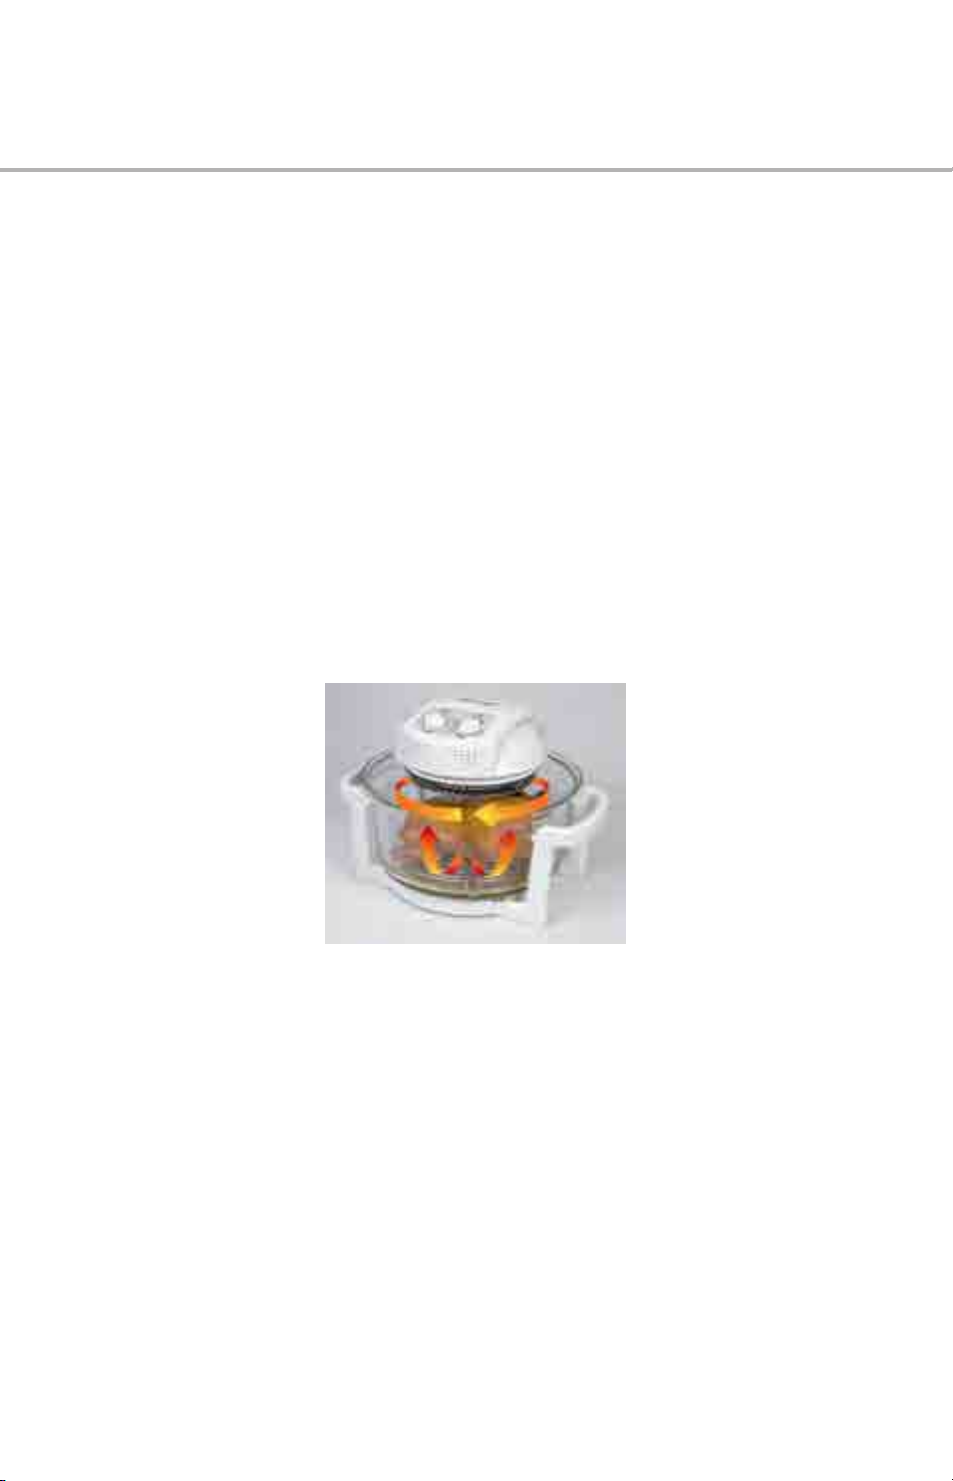
How to use your EasyCook Health Oven