EasyStand StrapStand User manual

™
™
Owner’sManual

Table of Contents
Introduction . . . . . . . . . . . . . . . . . . . . . . . . . . . . 1
Safety Precautions . . . . . . . . . . . . . . . . . . . . . . . 2
Assembling Your StrapStand . . . . . . . . . . . . . . . 3
Adjusting Your StrapStand . . . . . . . . . . . . . . . . . 6
Using Your StrapStand . . . . . . . . . . . . . . . . . . . . 8
Maintenance .......................... 11
Parts Detail . . . . . . . . . . . . . . . . . . . . . . . . . . . 12
Standing Log . . . . . . . . . . . . . . . . . . . . . . . . . . . 23
Specifications ..........................24
Limited Warranty. . . . . . . . . . . . . . . . . . . . . . . . 25

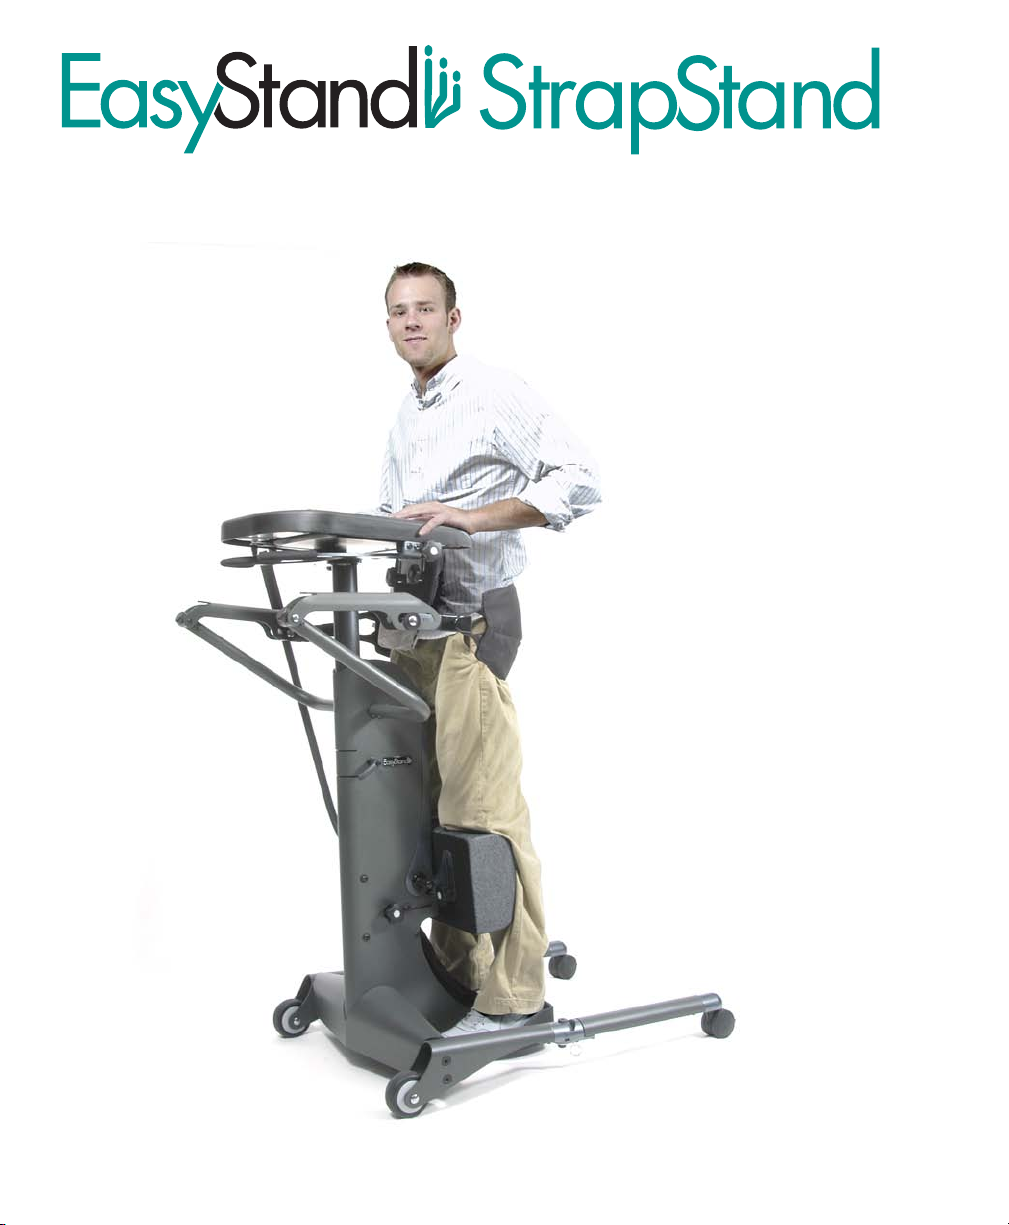
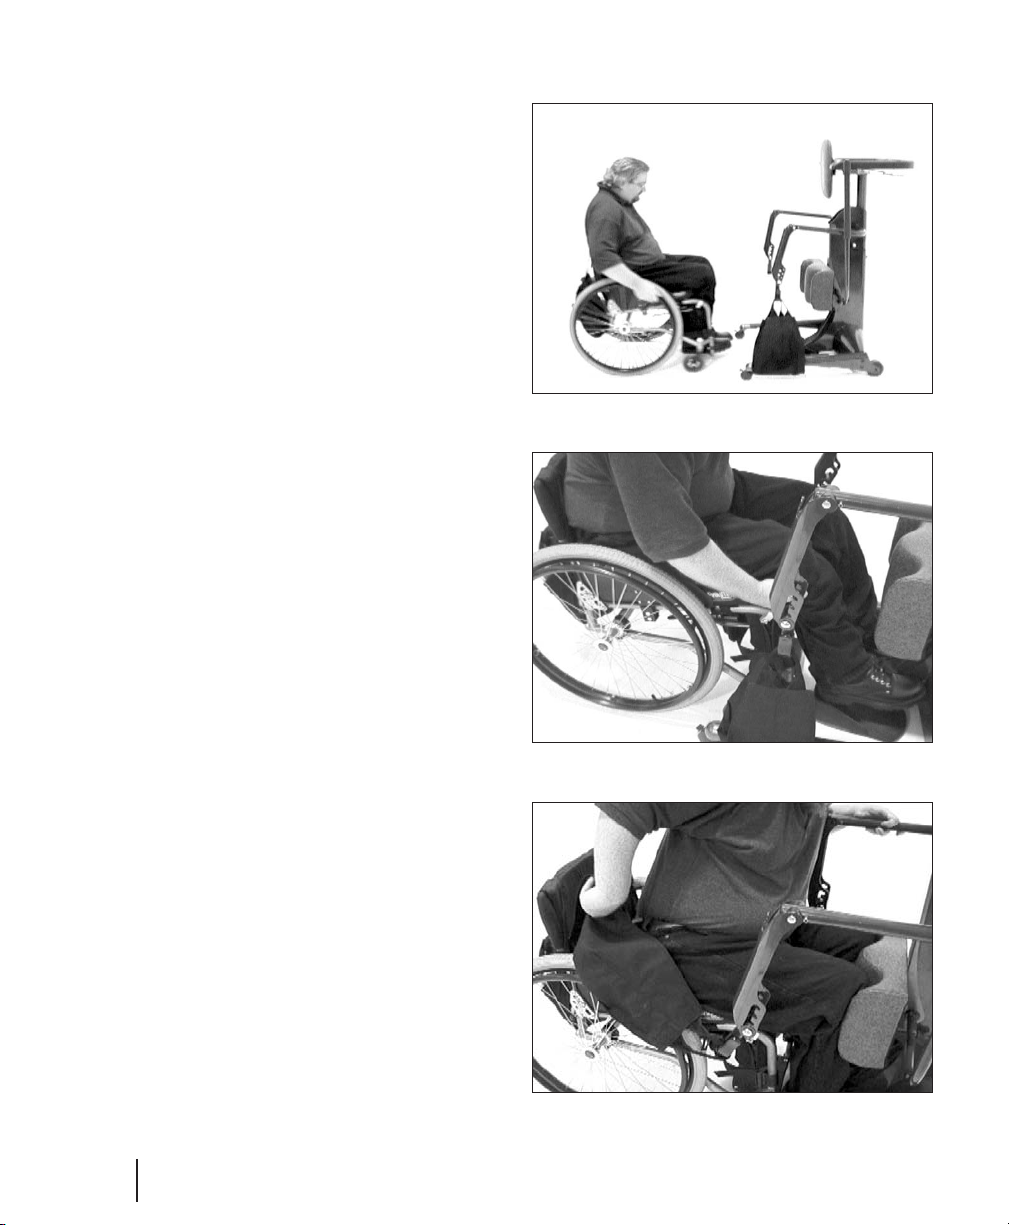
Congratulations on your purchase of the EasyStand StrapStand standing frame. Altimate
Medical, Inc. has designed the StrapStand with your comfort and happiness in mind.
This manual is an integral part of your standing system and should be read
thoroughly by anyone operating the unit.
This will ensure that the StrapStand is assembled and used properly.
AMI recommends that an attendant be present when the StrapStand is being used.
Should you have a question that you cannot solve by reading this manual, please contact
your local dealer or call Altimate Medical, Inc. at 1-800-342-8968 or 507-697-6393 or visit our
website at www.altimatemedical.com.
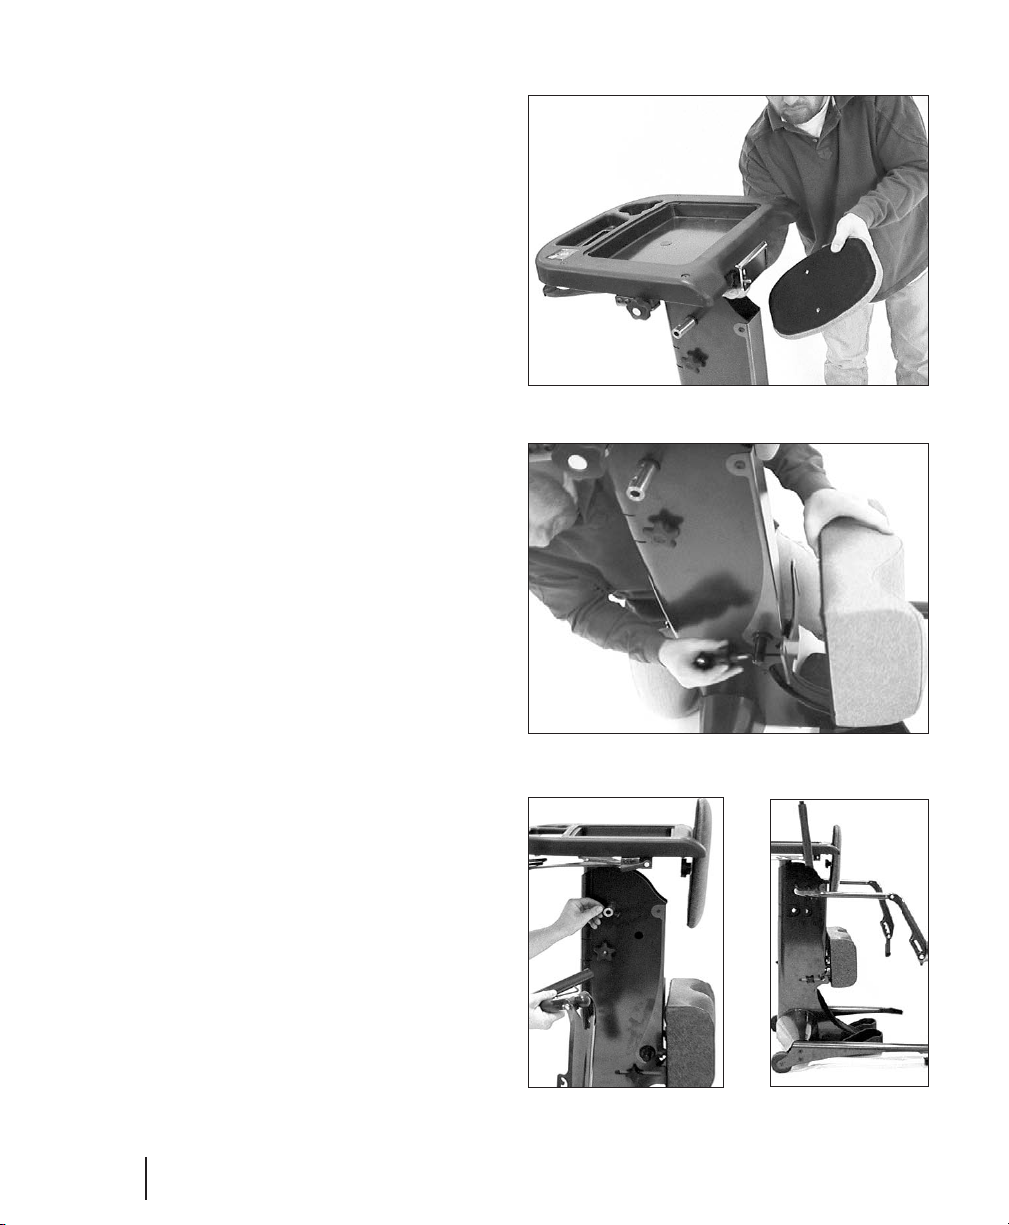
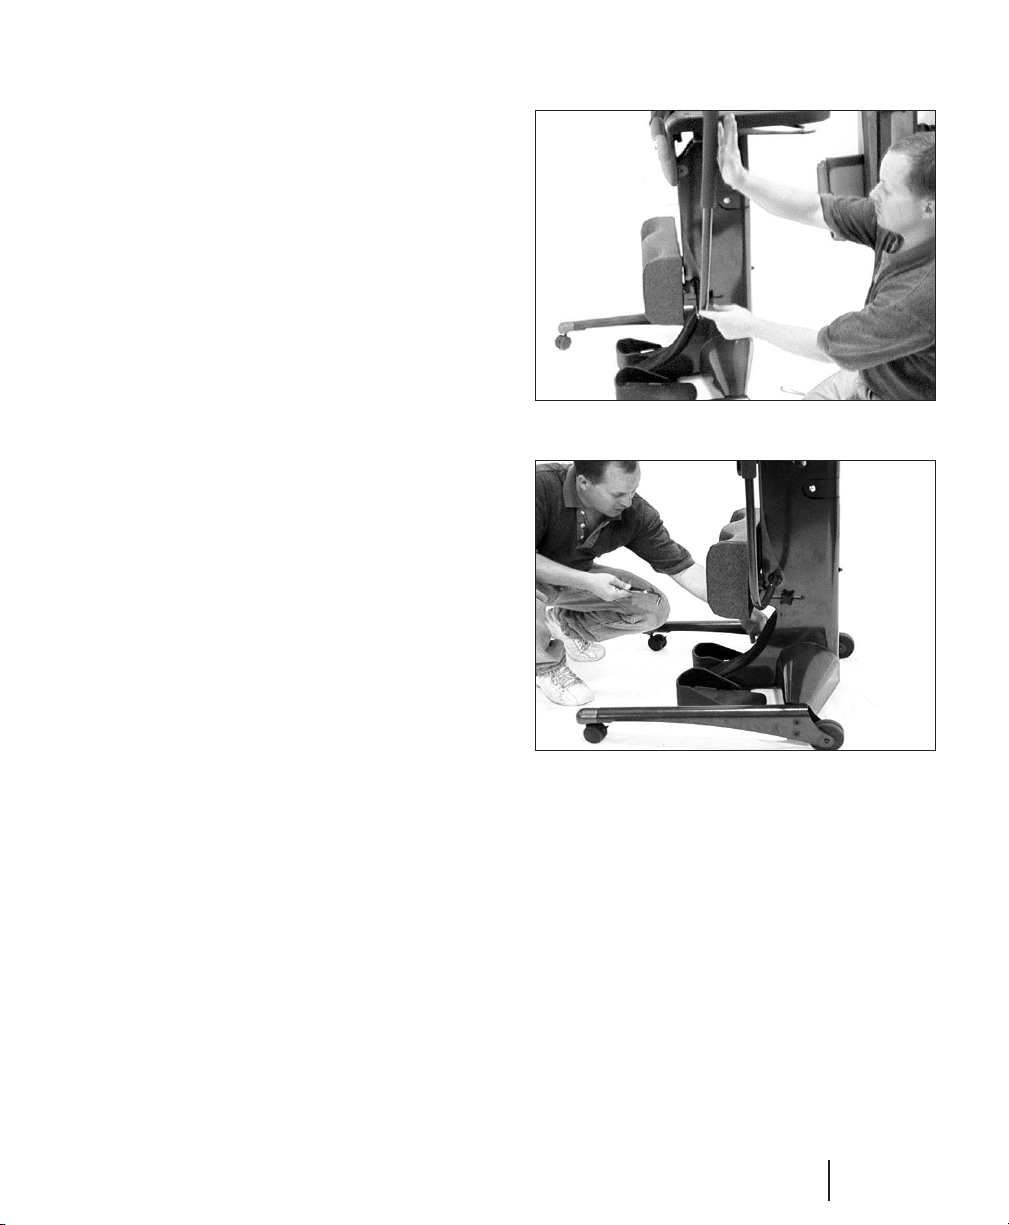
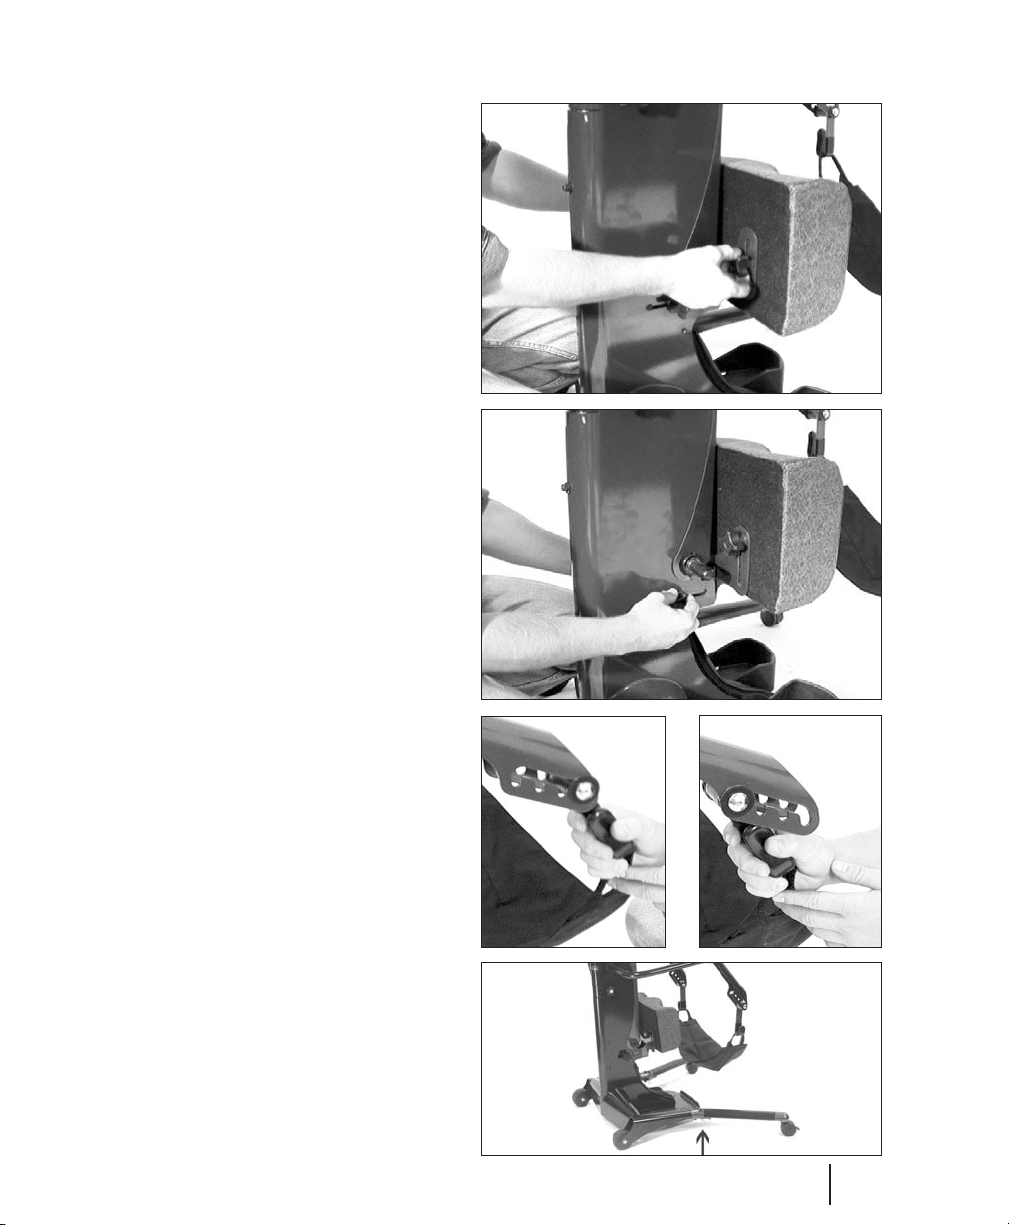
It is necessary that you inspect your StrapStand periodically to assure that it is in safe
operating condition. Minor adjustments can be made by the operator. However, replacement
of worn parts, major adjustments, or any other important corrections should be handled by
an authorized supplier or service center. Only Altimate Medical, Inc. approved replacement
parts should be used to ensure safety and performance.
The StrapStand should not be used by any individual with paralysis or limited use of either
the upper and/or lower body that has been confined to a bed or wheelchair for an extended
period of time without first consulting a qualified physician.
Failure to consult a qualified physician prior to using the StrapStand could lead to
severe medical problems. Werecommend that a good standing program be
established and supervised by a qualified registered therapist.
Date Purchased Serial #
page 1
Introduction
Introduction

•The StrapStand is designed to accommodate most individuals from 5’- 6'5"
(152cm-195cm) and up to 350 lbs (159 kg). If you do not meet these specifications
and have not been properly fit by a qualified therapist or physician, Altimate
Medical does not recommend that you use the StrapStand.
•Altimate Medical recommends that you consult with your therapist or physician
prior to starting a standing program.
•Check your StrapStand periodically to make sure that all nuts, bolts and adjustable
parts are tightened securely.
•Do not transport anyone with the StrapStand on padded or deep pile carpet. It
may interfere with the wheel and caster movement.
•If the unit was exposed to temperatures of less than 50˚F (10˚C), you must allow
the unit to warm up to room temperature before use.
•Use body weight to lower the lift mechanism. Do not use excessive force.
•The StrapStand is for indoor use only.
•Violently thrusting sideways or backwards in the StrapStand may cause it to tip.
•You should always lock the casters before transferring into and using the
StrapStand. Use these locks to keep the StrapStand stationary.
•Do not use the StrapStand on ramps, uneven floors or over door jams.
page 2 p
Safety Precautions
Safety Precautions

The basic StrapStand includes
the following parts: base, 2
lifting arms, 2 legs, strap,
actuator handle, formed table with
insert, kneepad, footrest, tools and
owner’s manual.
Remove the bolts from the
footrest, unzip the tool pouch
on the base of the unit and
attach footrest with two bolts.
Tighten securely.
Attach the legs to the base with
the 3 1
/
4”bolts (two for each
side). Tighten securely.
#1
#2
#3
page 3
Assembly
Assembling your EasyStand®StrapStand™

Bring the unit to the standing
position and attach the formed
table with bolts found in the
table. Attach front pad with the two
knobs as shown. Tighten securely.
Attach kneepad with the two
knobs as shown. Tighten
securely.
Remove bolts from the
horizontal lifting rod (fig. A) on
the unit and attach the lifting
arms. Reinsert the bolts and tighten
securely. Repeat this process on the
other side.
NOTE: The lift arms should be
horizontal as shown (fig. B) when
properly assembled.
#4
#5
#6
Fig. A Fig. B
page 4 p
Assembly

Remove the bolts from the
actuator handle and attach to
the actuator shaft. Use the bolt
holes that will align the handle
vertically, as shown. It can be
mounted on the left or right side.
Tighten bolts securely.
Place the tools in the pouch at
the base of unit for later use
when needed.
#7
#8
page 5
Assembly

Table Height
To adjust the height of the table
and front pad, loosen the knob
located under the lift arms. Lift
the table to its desired height
and tighten the knob securely.
Table Depth
To adjust the table depth, loosen
the knobs on each side of the
table and slide the table to your
preference. Tighten both knobs
securely.
Front Pad Height
The height of the front pad can be
adjusted independent of the table
height. Loosen knobs located behind
the front pad. Bring front pad to its
desired height and tighten the
knobs securely. Frontpad can be
inverted for further adjustment.
page 6 p
Adjusting
Adjusting your EasyStand®StrapStand™

Kneepad Height
To adjust the kneepad height,
loosen the knobs on both sides of
the kneepad. Lift kneepad to
desired height and tighten both
knobs securely.
Kneepad Depth
To adjust the kneepad depth, loosen
the knobs located on each side of
the unit behind the kneepad. Move
kneepad to desired depth and
tighten both knobs securely.
Strap Position
The strap can be adjusted to
accommodate different size
individuals. This will vary slightly
depending on the strap size and the
girth of the individual.
Swing-out Legs
To use the optional swing out legs,
pull the pin down and extend the
leg outward until you hear a definite
“click”.
page 7
Adjusting

page 8 p
Usage
Using your EasyStand®StrapStand
To use the StrapStand,
position your wheelchair as close
as possible to the kneepad.
Casters on the StrapStand should be
in the locked position.
WARNING: Consult your therapist
or doctor before starting any
standing program.
Position your feet in the foot
holders. Adjust kneepad height
so knees are centered in the
kneepad. With your wheelchair
locked, slide forward on your seat
so that your knees make contact
with the kneepad.
Hook the strap on one side and
bring the other side around you.
Hook it on the other side as well.
#1
#2
#3
™

page 9
Usage
After attaching the strap to the
lifting arms, adjust hook position
for your preference (see step #7).
Adjust the placement of the
strap under your buttocks so that
the top edge of the strap is
slightly under your belt line. Slide it
into place with your hand as shown.
Partially lift yourself by pumping
the actuator handle towards you
to tension the strap. At this time
you may want to reposition the
strap. Continue until you are into full
standing position.
#4
#5
#6

page 10 p
Usage
When in the standing position,
the lifting arms should be
positioned with only a slight
upward pull (fig. A). Check for equal
pressure on top and bottom edge of
strap.
Improper adjustment will pull up on
the user (fig. B) and cause unequal
pressure on the strap.
The optional upper body support
strap attaches to the lifting arms.
The individual should be leaning
back into the strap when seated.
To let yourself down push forward
on the actuator handle.
#7
#8
#9
equal strap
pressure
unequal strap
pressure
proper lifting arm angle
improper lifting arm angle
fig. A fig. B

Maintenance
•Clean the EasyStand StrapStand with a mild non-abrasive disinfectant or soap and water.
•Check your EasyStand periodically to make sure that all nuts, bolts and adjustable parts are
tightened securely. Failure to do so may result in parts falling off which may cause a choking hazard
for children
Hydraulic Actuator Maintenance
•An initial break-in period of approximately 50-100 full cycles is normal for the hydraulic unit. You
may experience a squeaking or a less-than-smooth forward stroke. The very close fit of its mating
parts gives each pump its own break-in “feel” and signature sound.
•If the pump is leaking oil, call your local AMI Supplier for a replacement. The serial number of the
StrapStand will be needed.
•Do not exert excessive force on the pump handle or use the pump handle to move your EasyStand
around. This may cause damage to the pump handle and/or the pump mechanism and will void any
warranty.
•User maintenance is not required or recommended on the hydraulic pump. Never apply lubricant,
household oil, grease, or a similar product to any part of the unit. Some compounds may react with
the seals used in the manufacture of this product. This may damage the unit and will void any
warranty.
•Do not exceed the rated weight capacity of the equipment for which this hydraulic unit is used on
(the weight limit for the EasyStand StrapStand is 350 lbs).
•If your EasyStand was shipped to you during or exposed to a temperature of less then 50 degrees
Fahrenheit, you must allow the hydraulic unit to warm up to room temperature before any use.
Failure to follow this step could damage the unit and render it inoperable.
•It is sometimes not necessary to push the pump handle all the way forward to lower the seat. If you
have difficulty getting the seat to lower, try pushing the handle forward into different positions.
•If the unit is in the standing position and unoccupied, it is necessary to apply pressure to the seat of
the unit while pushing the pump handle forward.
PURGING THE HYDRAULIC ACTUATOR
The hydraulic pump on your EasyStand has a high probability of getting air trapped in the internal
workings of the unit. This is usually caused by in-transit handling and is quite normal. Please follow the
simple steps below, as manual hydraulic systems may never operate properly unless the entrapped air
is correctly purged. The unit must be at room temperature for this procedure.
1. Pump the handle until the full extension is reached.
2. Now continue pumping the handle slowly for an additional 10 strokes. This will properly purge the
system.
page 11
Maintenance

EasyStand®StrapStand Parts Detail
page 12 p
Parts Detail
FIG A
™

page 13
Parts Detail

page 14 p
Parts Detail

page 15
Parts Detail
Actuator Handle Extension
#P5022
XL Footplate w/Straps
#P80969

page 16 p
Parts Detail
Secure Foot Option
#P80616
Foot Holders w/Straps
#P80634

page 17
Parts Detail
Black Molded Table
#P80755
Angle Adjustable Table
#P81011

page 18 p
Parts Detail
Swing-out Legs
#P80948
Standard Legs
#P80954
Other manuals for StrapStand
1
Table of contents
Popular Medical Equipment manuals by other brands

Nonin
Nonin Onyx II 9550 Instructions for use

ADC
ADC Advantage 2200 Directions for use

Spencer
Spencer T-STRAPS Use and maintenance manual

Oticon Medical
Oticon Medical Ponto Softband Instructions for use

Sunrise Medical
Sunrise Medical Empulse R90 instructions

Moller Medical
Moller Medical Docon7 Multicharger Instructions for use