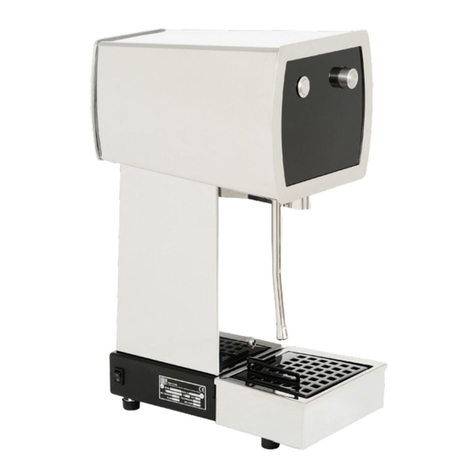
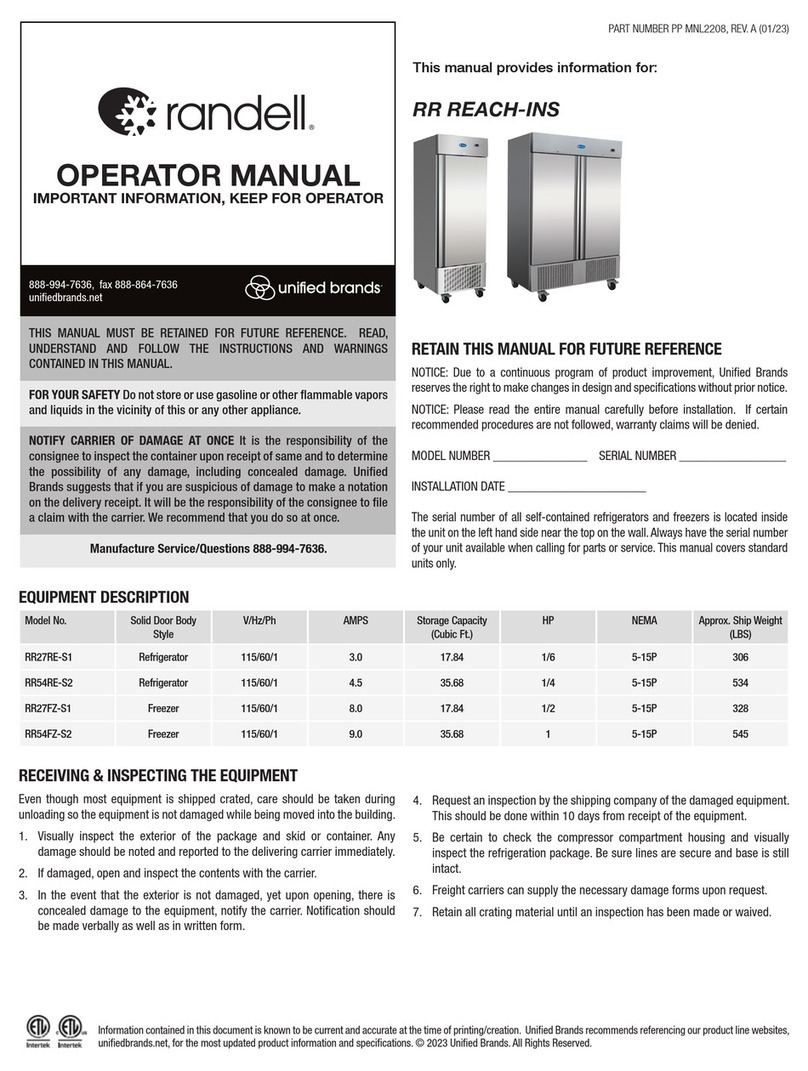
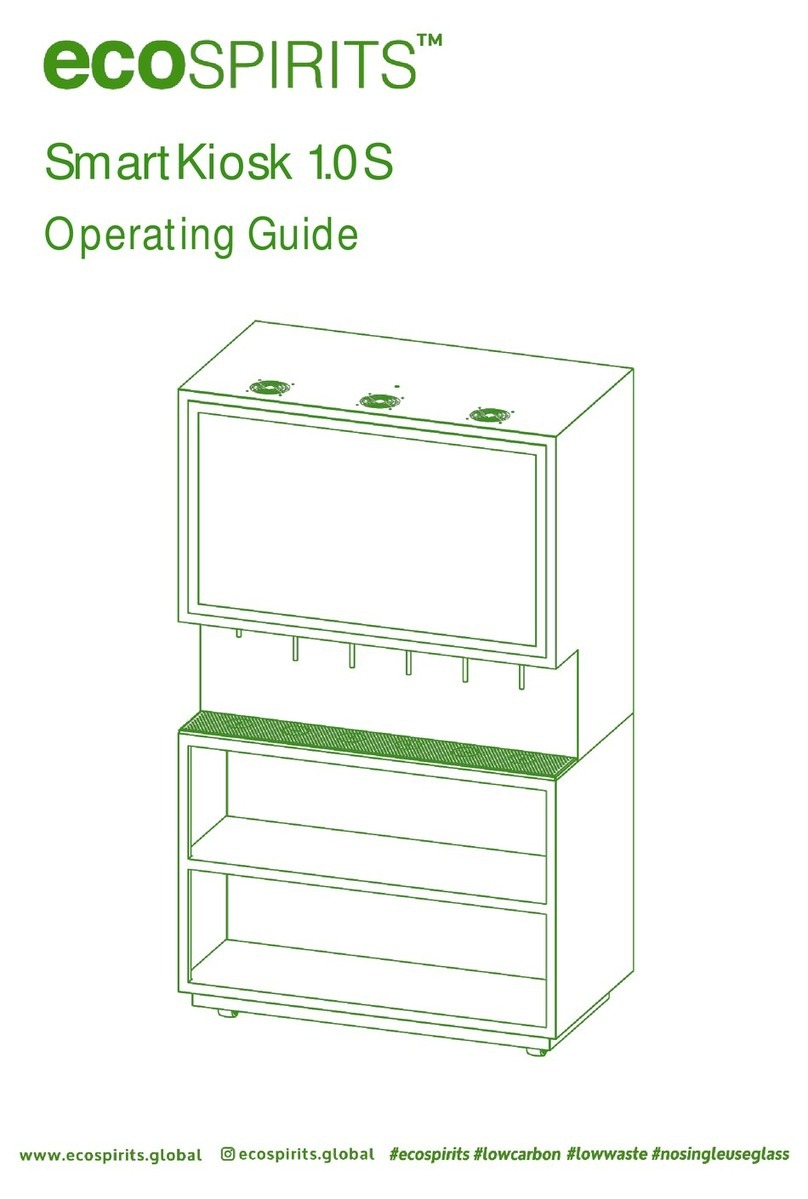
ecoSPIRITS SmartPour 1.1S User manual

SmartPour
1.1S
Operating Guide

Page 1of 19
Safety Guidelines
This appliance is only to be used for its intended purpose, and with all applicable laws, rules, and regulations.
This appliance can be used by persons if they have been given supervision or instruction concerning use of the
appliance in a safe way and understand the hazards involved.
Persons under the legal age for alcohol consumption as per the local regulations shall not operate the appliance.
Cleaning and user maintenance shall not be made by children.
This appliance can only be connected to the correct voltage rating corresponding to the label on the appliance.
This appliance contains batteries that are only replaceable by skilled persons.

Page 2of 19
SmartPour 1.1S Operating Guide
Rev_07
Safety Guidelines ....................................................................................................................................................................1
1. SmartPour Introduction................................................................................................................................................3
2. SmartPour Accessories ............................................................................................................................................... 4
3. SmartPour Display Screen & Keypad ........................................................................................................................5
4. SmartPour Specifications & Features ........................................................................................................................6
5. Registering Your SmartPour........................................................................................................................................6
6. Cleaning Your SmartPour ............................................................................................................................................8
7. Using Your SmartPour..................................................................................................................................................9
8. SmartPour Calibration................................................................................................................................................ 10
8.1. SmartPour Calibration - Items Required .................................................................................................................. 11
8.2. SmartPour Calibration – Enter calibration mode.................................................................................................... 11
8.3. SmartPour Calibration - Calibrate Small Volume button (<200ml)..................................................................... 11
8.4. SmartPour Calibration – Calibrate Big Volume button (>200ml)....................................................................... 12
9. Troubleshooting Guide............................................................................................................................................... 13
10. Appendix - 1.75 L Variant............................................................................................................................................ 15
10.1. 1.75L Variant - Accessories......................................................................................................................................... 15
10.2. 1.75L Variant - Screen & Keypad ............................................................................................................................... 15
10.3. 1.75L Variant - Specifications & Features................................................................................................................. 16
10.4. 1.75L Variant – Calibration ......................................................................................................................................... 17
11. Release History ........................................................................................................................................................... 19

Page 3of 19
1. SmartPour Introduction
Your SmartPour 1.1S is a second-generation, intelligent spirits management system that pairs with the award-
winning ecoTOTE™ and makes sustainable reuse of branded spirits bottles possible for the first time. Wi-Fi-
enabled and powered by our cloud-based CircularONE™ technology, each SmartPour 1.1S offers hygienic transfers
of spirits to glass bottles, cocktail shakers and serving vessels.
This purpose of this Operating Guide is to provide you with the necessary steps and instructions to operate your
SmartPour 1.1S safely and sanitarily. This Operating Guide covers the key steps involved in registering, cleaning,
and using of the SmartPour 1.1S.

Page 4of 19
2. SmartPour Accessories
Please ensure that the following items are included in with your SmartPour 1.1S. Please store your unit and its
accessories in a clean, dry, and accessible location between uses.
1 x SmartPour 1.1S
1 x Stainless Steel Dispense Nozzle
2 x PE Inlet Tube
2 x Anti-Vacuum Adapter
1 x Spare Gaskets Set
The Spare Gasket Set comprises of 2x White Gasket (Thin and
Thick) or by 1x White Gasket (Thick)
1 x Soft Outlet Hose
1 x USB-C Charging Cable ecoSPIRITS Mobile Application

Page 5of 19
3. SmartPour Display Screen & Keypad
Your SmartPour 1.1S features a back-lit LCD Display Screen and a touch-sensitive User Keypad to allow the user
to conveniently operate all key functions.
SmartPour Screen & Keypad
Important Note
The SmartPour 1.1S is available in three regional versions (Americas, EMEA and Asia Pacific) with pre-set volumes
for each region. Designated dispense volume buttons will vary for each region.
The APAC region keypad is shown above.
Designated Dispense Volume Buttons 1 - 5
Power
Button
Cleaning &
Continuous
Pour
Button
Wi-Fi Indicator
Battery Indicator
Charging
Indicator
Cleaning Mode
Indicator
CircularONE
Indicator
ecoTOTE
Indicator
Remaining
ecoTOTE Volume
Pouring Volume

Page 6of 19
4. SmartPour Specifications & Features
Your SmartPour 1.1S has the following specifications:
Dimensions: 197mm x 197mm x 83mm
Weight: 615 g
Rated Voltage:7.4V
Rated Power: 6W
Battery Capacity: 4000mAH
CE-EMC & RoHS Certified
Your SmartPour can be charged using the provided USB-C Charging Cable and one of the following types of USB-
A chargers:
5V/1A (5w chargers)
5V/2A (10w chargers)
Your SmartPour 1.1S has the following intelligent technology features:
ecoTOTETM 3.0S Verification Enabled
Wi-Fi Enabled
CircularONETM Enabled
5. Registering Your SmartPour
Prior to using your SmartPour 1.1S for the first time, you must register
your unit with ecoSPIRITS’ CircularONE software in order to access the
intelligent technology features. These next steps require the use of the
SmartPour Pairing Application. The application is available on Google
Play and in the App store.
Ensure that the SmartPour 1.1S is fully charged before the registration steps. To charge, plug your SmartPour 1.1S
into wall power using the USB-C Charging Cable provided.
Note:Ensure that the Bluetooth on your mobile device is “ON”.
Step 1 – Log into the application using the specific Venue Login
Step 2 – Tap on “All Devices” > Tap on the field below “All Devices” > Tap on the Venue > Tap on “Go to “Venue”
Step 3 – Tap on “+” on the top right corner
Step 4 – If your SmartPour is already powered on, turn off the device.

Page 7of 19
Step 5 – With the charging cable disconnected, press and hold the on the User Keypad for 5 seconds until
two beeps are heard. This places your SmartPour into Hotspot pairing mode. The Wi-Fi indicator will start
blinking rapidly.
Step 6 - A new device should pop up under “Discovering devices…” > Tap on “Add” > Tap on “+”
Step 7 - Input your Wi-Fi SSID and password into the fields on the ecoSPIRITS SmartPour Pairing App. Tap on
“Next”
Step 8 – It will take around 30s to be connected.
When you have successfully connected to Wi-Fi, the will illuminate solid.
Note: If the registration process fails, repeat the whole registration process again from Step 1.
Step 2Step 1 Step 3 Step 6
Step 7

Page 8of 19
6. Cleaning Your SmartPour
Your SmartPour 1.1S should be cleaned before using it for the first time and then each time you switch between
spirits or after any extended period of non-use. To clean your SmartPour 1.1S, follow these steps.
Step 1 – Dispense Nozzle and Inlet Tube Cleaning
Wash the Stainless Steel Dispense Nozzle and the Inlet Tube inside and out in clean, running water. Shake off
excess water.
Step 2 – Assembly of Dispense Nozzle
Dampen the O-ring that is attached to the Stainless Steel Dispense Nozzle with water, before connecting the
Stainless Steel Dispense Nozzle to the SmartPour. Gently twist the Stainless Steel Dispense Nozzle when
inserting it to avoid O-ring breakage.
Step 3 – Assembly of Inlet Tube
Connect the Inlet Tube to the bottom of the SmartPour 1.1S via push fit. Slightly bend the end of the Inlet Tube.
This will allow the SmartPour to sit fully on the ecoTOTE without any interference.Please see below image
for reference.
Step 4 – Cleaning Container Loading
Fill an empty clean container with at least two litres of clean hot water (40-60°C). Lower your SmartPour 1.1S over
the filled cleaning container, visually ensuring the inlet tube is properly submerged under the water line.
Step 5 – Cleaning Cycle
Place an empty container under the Dispense Nozzle. Power on your SmartPour 1.1S by pressing on the User
Keypad. Press and hold the for five seconds. The continuous flow dispense will commence automatically.
Allow the flow to continue until the container is completely empty. If the dispensing is interrupted before the
container is completely empty, press and hold the for five seconds to restart the pouring.
Press to stop the dispense. Your SmartPour 1.1S has now been cleaned and is ready for use.

Page 9of 19
7. Using Your SmartPour
To use your SmartPour 1.1S, follow these steps.
Step 1 – SmartPour Power On
Power on your SmartPour 1.1S by pressing on the User Keypad. Check your unit is fully charged. Ensure the
Hard Inlet Tube is properly connected. Inspect your SmartPour 1.1S to ensure it is clean and ready for use.
Step 2 – ecoTOTE Loading
Ensure the ecoTOTE you wish to dispense is filled, sealed and undamaged. Cut the ecoTOTE tamper evident seal
using scissors. Unscrew the ecoTOTE cap and store in a clean area. Lower your SmartPour 1.1S over the ecoTOTE,
visually ensuring the Inlet Tube is properly inserted into the ecoTOTE glass vessel, you might need to bend the
tube and assure it sits on the corner edge of the glass vessel.
Step 3 – SmartPour Priming
Your SmartPour 1.1S will emit an audible tone confirming successful loading of the ecoTOTE. The volume
remaining will be displayed on the Display Screen. Place a container under the Dispense Nozzle.
Double touch the closest available volume to 50 ml on the User Keypad to prime your SmartPour 1.1S with spirit.
Discard any liquid that is dispensed. It is now primed and ready for use.
Step 4 – Dispense
Ensure the SmartPour 1.1S remains powered on. Place a spirit bottle, cocktail shaker or drinks glass under the
Dispense Nozzle, ensuring the vessel is close enough to the nozzle to avoid splashing. Alternatively, attach the
Soft Outlet Hose to the Dispense Nozzle for bottle refilling.
Double tap the desired volume button on the User Keypad. Your chosen volume will dispense automatically and
be shown on the Display Screen.

Page 10 of 19
8. SmartPour Calibration
Each SmartPour 1.1S unit has been pre-calibrated at the factory as part of the quality control process. However
certain spirits with extreme viscosities and surface tensions may result in inaccurate volume dispensing. The
calibration settings within the SmartPour 1.1S may also drift as a result of normal use. In those unlikely scenarios,
recalibration of dispense volumes may be required to achieve an accurate dispense.
For best results, the actual spirit is recommended to be used for the calibration process. In the absence of the
spirit, water can be used as a substitute noting that the volume of dispensed product may not correspond exactly
to the pre-set dispense volume due to the difference in viscosity and surface tension of both liquids.
Additional Note
Revolution Based Version
The volume dispensed is determined by the number
of revolutions of the flowmeter. Upon entering
Calibration Mode, the display will show the default
number of revolutions for “Button 3”.
For the small volume buttons (<200ml), the number
of revolutions is extrapolated, taking reference from
the set number of revolutions for “Button 3”. Hence,
only calibration for “Button 3” is required.
For any big volume button (>200ml), the dispensed
volume is determined by the number of revolutions
for “Button 3” + Additional Offset.
Increasing and decreasing the reference point
increases and decreases the number of revolutions
which also affects the volume being dispensed.
Time Based Version
The volume dispensed is determined by the number
of revolutions of the flowmeter for “Button 1”,
“Button 2” and “Button 3”, and by time for “Button
4” and “Button 5”. Upon entering Calibration Mode,
the display will show the default number of
revolutions for “Button 3”.
For “Button 1”, “Button 2” and “Button 3”, the
number of revolutions is extrapolated both
directions, taking reference from the set number of
revolutions for “Button 3”. Hence, only calibration
for “Button 3” is required.
For “Button 4” and “Button 5”, the dispensed
volume is determined by the pumping time.
Increasing and decreasing the reference point
increases and decreases the pumping time which
also affects the volume being dispensed.
Button 1
Button 5
Button 4
Button 3
Button 2

Page 11 of 19
8.1. SmartPour Calibration - Items Required
a) 1 x Empty Container
b) Min 1L Water or Actual Spirit
c) Measuring Equipment:
a. Measuring by weight/density: 1 x Measuring Scale
b. Measuring by volume: 2 x Measuring Cylinders (200 ml and 1L)
8.2. SmartPour Calibration – Enter calibration mode
a) Fill up 1 empty container with enough water/spirit to recalibrate the without running out of liquid. Insert the
filled container into the SmartPour. Ensure that the inlet nozzle is submerged in the water.
b) Turn on the SmartPour by touching the “Power” button.
c) Ensure that the prime step is completed before proceeding. Refer to Section 7, Step 3.
d) Tap rapidly the “Cleaning Button” for 8 times until a beep is heard. The screen interface will change
indicating that the SmartPour is now in Calibration Mode. The dispensed volume linked to “Button 3” will
display and blink repeatedly.
NOTE
: From the calibration page is possible to understand what version of SmartPour the user is
calibrating. Press “Button 4” or “Button 5”. If “200 ml” is displayed, the SmartPour is
Time Based version;
if
other volumes are displayed, The SmartPour is
Revolution Based Version
.
8.3. SmartPour Calibration - Calibrate Small Volume button (<200ml)
Revolution Based Version Time Based Version
a)
Make sure you are in calibration mode (
Section
8.2). The default reference point for “Button 3” will
be reflected on the display. E.g.: 125 or 135.
Note: The number may vary because the unit is
pre-calibrated at the factory
Make sure you are in calibration mode (
Section 8.2
).
The default reference point for “Button 3” will be
reflected on the display. E.g.: 125 or 135.
Note: The number may vary because the unit is
pre-calibrated at the factory
b)
Every 3-reference point will increase/decrease by
approximately 1 ml. Touch “Button 1” to increase
the reference point and touch “Button 2” to
decrease the reference point.
Every 3-reference point will increase/decrease by
approximately 1 ml. Touch “Button 1” to increase the
reference point and touch “Button 2” to decrease
the reference point.
c)
Once done, tap on “Power” to save and exit
calibration mode.
Once done, tap on “Power” to save and exit
calibration mode.
d)
Double touch “Button 3” and measure the
dispensed volume. If the newly adjusted volume is
still not accurate, repeat steps a-d again.
Double touch “Button 3” and measure the
dispensed volume. If the newly adjusted volume is
still not accurate, repeat steps a-d again.
e)
The small volume buttons (<200ml) will
automatically re calibrate based on the new
reference point for “Button 3”
“Button 1” and “Button 2”
will automatically re
calibrate based on the new reference point for
“Button 3”

Page 12 of 19
8.4. SmartPour Calibration – Calibrate Big Volume button (>200ml)
Revolution Based Version
Time Based Version
a)
Make sure you are in calibration mode (
Section 8.2
).
The dispensed volume linked to “Button 3” will
display and blink repeatedly.
Make sure you are in calibration mode (
Section 8.2
).
The dispensed volume linked to “Button 3” will
display and blink repeatedly.
b)
Touch “Button 5” until you see the volume you want
to calibrate on the LED screen. Touch “Button 1” to
increase the offset and touch “Button 2” to decrease
the offset.
Touch “Button 5” once to calibrate the reference for
“200ml”; that is the reference point for “Button 4”
and “Button 5”. Touch “Button 1” to increase the
dispense time and touch “Button 2” to decrease the
dispense time. Every 1-reference point will
increase/decrease by approximately 2 ml.
c)
Once done, tap on “Power” to save and exit
calibration mode.
Once done, tap on “Power” to save and exit
calibration mode.
d)
Obtain a clean and empty container
Obtain a clean and empty container. Double touch
“Button 5” within 10 seconds from exiting the
calibration mode and 200 ml will be dispensed. If
the 200 ml dispense is still not accurate, repeat
steps a-d again.
e)
Place the container under the dispense nozzle.
Obtain a clean and empty container. Place the
container under the dispense nozzle.
f)
Double touch the calibrated volume button and
measure the dispensed volume. If the newly
adjusted volume is still not accurate, repeat steps a-
f again
Double touch the calibrated volume button and
measure the dispensed volume. If the newly
adjusted volume is still not accurate, repeat steps
a-f again

Page 13 of 19
9. Troubleshooting Guide
To identify a problem with a SmartPour 1.1S follow the troubleshooting measures below:
Malfunction Symptom: The SmartPour does not turn on
Malfunction Symptom: The SmartPour does not dispense liquid
Malfunction Symptom: SmartPour is leaking on the nozzle connection area to the unit
Malfunction Symptom:SmartPour is pouring inaccurate dispenses.
Using ONLY the provided charging cable, make sure the unit is being charged by
confirming the charging indicator is lit up on its display screen.
If the charging indicator doesn’t appear, try using another charging power adapter.
Recommended chargers’ adapters: USB-A chargers with either 5V/1A (5w chargers)
or 5V/2A (10w chargers).
Make sure the SmartPour is
NOT
connected to power.
Press the RESET button located at the bottom side of the unit.
Note: Reset Button is NOT available in all the units
Double tap one of the preset volume buttons in rapid succession.
If the device emits sounds but no liquid is dispensed, ensure the hose is properly fitted to
the device.
Check that the nozzle has 2 O-rings attached and in place. The thinner
one must be placed at the bottom, the thicker one on the top.
NOTE: Gently insert the nozzle by following a screw/unscrew motion.
A Spare O-rings Set is provided for each unit.
The unit needs to be calibrated. Please refer to
Section 8

Page 14 of 19
If any of the above measures do not fully correct the issue. Please follow the Repair and replacement Process as
described below.
Remove unit from service and utilize another unit if available until SmartPour can
be repaired or replaced.
Please contact us at
techsupport@ecospirits.global
for remote support.
Place order for FOC replacement SmartPour with you ecoSPIRITS supplier.
Malfunctioning unit to be sent back for ecoSPIRITS diagnostics and repair.

Page 15 of 19
10. Appendix - 1.75 L Variant
The SmartPour 1.1S (1.75L Variant) is designed to work only with the 1.75L ecoTOTE, available only in some
markets.
10.1. 1.75L Variant - Accessories
The following items are included in with your SmartPour 1.1S (1.75L Variant):
1 x SmartPour 1.1S
1 x Stainless Steel Dispense Nozzle
2 x PE Inlet Tube
2 x Anti-Vacuum Adapter
1 x Spare Gaskets Set
1 x USB-C Charging Cable
ecoSPIRITS Mobile Application
10.2. 1.75L Variant - Screen & Keypad
SmartPour Screen & Keypad

Page 16 of 19
10.3. 1.75L Variant - Specifications & Features
Your SmartPour 1.1S (1.75 Variant) has the following specifications:
Dimensions: 6.3” x 6.3” x 3.1”
Weight:1.18 lbs
Rated Voltage: 7.4V
Rated Power: 6W
Battery Capacity:2500 mAh
CE-EMC & RoHS Certified
Your SmartPour can be charged using the provided USB-C Charging Cable and one of the following types of USB-
A chargers:
5V/1A (5w chargers)
5V/2A (10w chargers)
Your SmartPour 1.1S has the following intelligent technology features:
ecoTOTETM 3.0S Verification Enabled
Wi-Fi Enabled
CircularONETM Enabled
The registration steps (Section 5), the cleaning instruction (Section 6) and the SmartPour how-to-use instruction
(Section 7) are the same as the 4.5 Variant.
Designated Dispense Volume Buttons 1 - 4
Power
Button
Cleaning &
Continuous
Pour
Button

Page 17 of 19
10.4. 1.75L Variant – Calibration
The volume dispensed is determined by the number of revolutions of the flowmeter for “Button 1”, “Button 2” and
“Button 3”, and by time for “Button 4”. Upon entering Calibration Mode, the display will show the default number
of revolutions for “Button 3”.
For “Button 1”, “Button 2” and “Button 3”, the number of revolutions is extrapolated both directions, taking
reference from the set number of revolutions for “Button 3”. Hence, only calibration for “Button 3” is required.
For “Button 4”, the dispensed volume is determined by the pumping time and it needs to be calibrated.
Increasing and decreasing the reference point increases and decreases the pumping time which also affects the
volume being dispensed.
SmartPour Calibration - Items Required
d) 1 x Empty Container
e) Min 2L Water or Actual Spirit
f) Measuring Equipment:
a. Measuring by weight/density: 1 x Measuring Scale
b. Measuring by volume: 2 x Measuring Cylinders (200 ml and 1L)
SmartPour Calibration – Enter calibration mode
a) Fill up 1 empty container with enough water/spirit to recalibrate the without running out of liquid. Insert the
filled container into the SmartPour. Ensure that the inlet nozzle is submerged in the water.
b) Turn on the SmartPour by touching the “Power” button.
c) Ensure that the prime step is completed before proceeding. Refer to Section 7, Step 3.
d) Tap the “Cleaning Button” for repeated until a beep is heard. The screen interface will change indicating
that the SmartPour is now in Calibration Mode. The dispensed volume linked to “Button 3” will display and
blink repeatedly.

Page 18 of 19
SmartPour Calibration - Calibrate Small Volume button (<200ml)
a) Make sure you are in calibration mode. The default reference point for “Button 3” will be reflected on the
display. E.g.: 125 or 135. Note: The number may vary because the unit is pre-calibrated at the factory
b) Every 3-reference point will increase/decrease by approximately 1 ml. Touch “Button 1” to increase the
reference point and touch “Button 2” to decrease the reference point.
c) Once done, tap on “Power” to save and exit calibration mode.
d) Double touch “Button 3” and measure the dispensed volume. If the newly adjusted volume is still not
accurate, repeat steps a-d again.
e) “Button 1” and “Button 2” will automatically re calibrate based on the new reference point for “Button 3”.
SmartPour Calibration – Calibrate Big Volume button (>200ml)
a) Make sure you are in calibration mode. The dispensed volume linked to “Button 3” will display and blink
repeatedly.
b) Touch “Button 4” once to calibrate the reference for “200ml”; that is the reference point for “Button 4”.
Touch “Button 1” to increase the dispense time and touch “Button 2” to decrease the dispense time. Every
1-reference point will increase/decrease by approximately 2 ml.
c) Once done, tap on “Power” to save and exit calibration mode.
d) Obtain a clean and empty container. Double touch “Button 4” within 10 seconds from exiting the
calibration mode and 200 ml will be dispensed. If the 200 ml dispense is still not accurate, repeat steps a-d
again.
e) Obtain a clean and empty container. Place the container under the dispense nozzle.
f) Double touch the calibrated volume button and measure the dispensed volume. If the newly adjusted
volume is still not accurate, repeat steps a-f again.

Page 19 of 19
11. Release History
Rev
Date
Originator
Description of Change
00
28 Oct 2022
Kyle Tye
Initial Release
01
08 Dec 2022
Kyle Tye
Update for different versions

02
09 Mar 2023
Muhd Yusoff
Update SmartPour Registering with the new SmartPour
Pairing App
03
22 May 2023
Kyle Tye
Update SmartPour Accessories
Update Cleaning instructions Steps
04
01 Jun 2023
Anna Bi
Update New Safety Guidelines
05
19 July 2023
Patric Gomes
Update instructions to include inlet hose bending
06
19 Sep 2023
Luca Ferioli
Corrected revision number increment
Included table to differentiate different version for
calibration instruction(APAC vs non-APAC)
07
19 Oct 2023
Luca Ferioli
Align with SP 2.0s Operation guide Rev_05
Update screen with new icon
Accessory list updated
Update SmartPour battery specs
Time based calibration added
Troubleshooting guide added
Appendix 1.75L Variant added
For more information, please contact techsupport@ecospirits.global
Other manuals for SmartPour 1.1S
1
Table of contents
Other ecoSPIRITS Commercial Food Equipment manuals
Popular Commercial Food Equipment manuals by other brands

Amitek
Amitek AK400WLUX Installation, operating and service instructions

KYONE
KYONE ADVANCE PRO manual

Delfield
Delfield Taco Bueno Installation, operation and maintenance manual

Sengun Makina
Sengun Makina SM-300 SINGLE User & maintenance manual

Adventys
Adventys P4IM 16000 user guide

Inoksan
Inoksan PDE403N instruction manual