M090 REV.A
pull forward on the handle and grasp the can simultaneously. If a small can is not
opened properly, consult the troubleshooting guide.
CAUTION: SEVERED CAN LIDS HAVE SHARP EDGES. USE OF A
PROTECTIVE GLOVE OR TONGS IS ADVISED WHEN HANDLING LIDS.
IV. CLEANING AND MAINTENACE INSTRUCTIONS
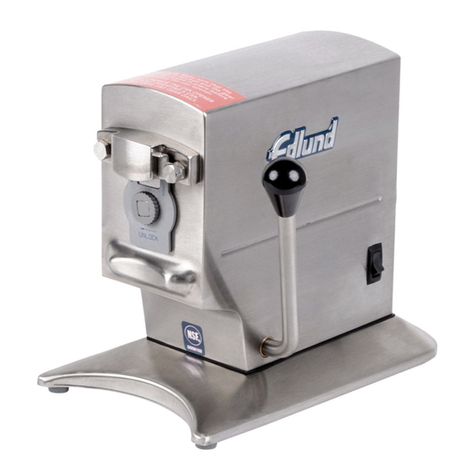
The can openers must be kept clean, not only for the obvious reasons of sanitation
but more important, for operational reasons as well. An electric can opener’s rotary
knife must rotate freely for the can opener to operate properly. If the knife is bound
but residual food product, the knife will not rotate and wear will not be distributed
around the periphery of the knife.
More important than the wear, a non-rotating knife will no longer be shearing the
metal can top as designed and metal slivers may occur.
The knife (K006) should be removed often by unscrewing the knife stud (S196)
from the knife holder (H021) so that the knife, knife stud and knife holder can be
properly cleaned. Clean the knife holder by wiping off the knife holder boss with a
damp cloth. To greatly reduce the chances of the knife sticking and rusting after
cleaning, lubricate the knife stud, knife holder boss and hub of the knife with
vegetable oil. Replace the knife with the smaller diameter hub meeting the
machined boss of the knife holder.
Be sure the knife is rotating easily after parts are reassembled.
The factory-made edge of the can opener knife is designed to shear through the
metal can lid. It will not function properly if allowed to become dull or nicked. IF
through wear a knife becomes excessively dull, it will be difficult to pierce the can
and the knife will no longer sever the lid completely at the end of the cut. Replace
the knife when it becomes excessively dull or if nicks occur on the cutting edge.
Warning: The can opener knife is not designed to be sharpened. If the
knife-edge is made truly sharp it can shave off slivers.
The teeth of the drive gear must be clean and sharp. Wipe off the drive gear with a
damp cloth after every use to remove the build-up of food residues. Coat the
drive gear with vegetable oil to prevent rusting. IF the drive gear starts to slip on
the bead of the can its teeth may be worn. To replace it, give the gear a sharp rap
counter clockwise with a hammer and screwdriver until it can be removed
(otherwise, turning the gear will only rotate the motor.) then screw a new drive
gear on counterclockwise until it is up against the output shaft shoulder.
Caution: Thin spacers washers (W034) are often used to control the gap between the
knife and the gear. Inspect the worn gear when removed to be sure spacer
washers are not stuck to the gear. If they are present clean them and return
them to the output shaft behind the gear.
If for any reason the can opener does not function properly, consult the
troubleshooting guide for assistance or contact an authorized service agent. Do
not operate damaged can openers.
