EelCam SER1472X User manual
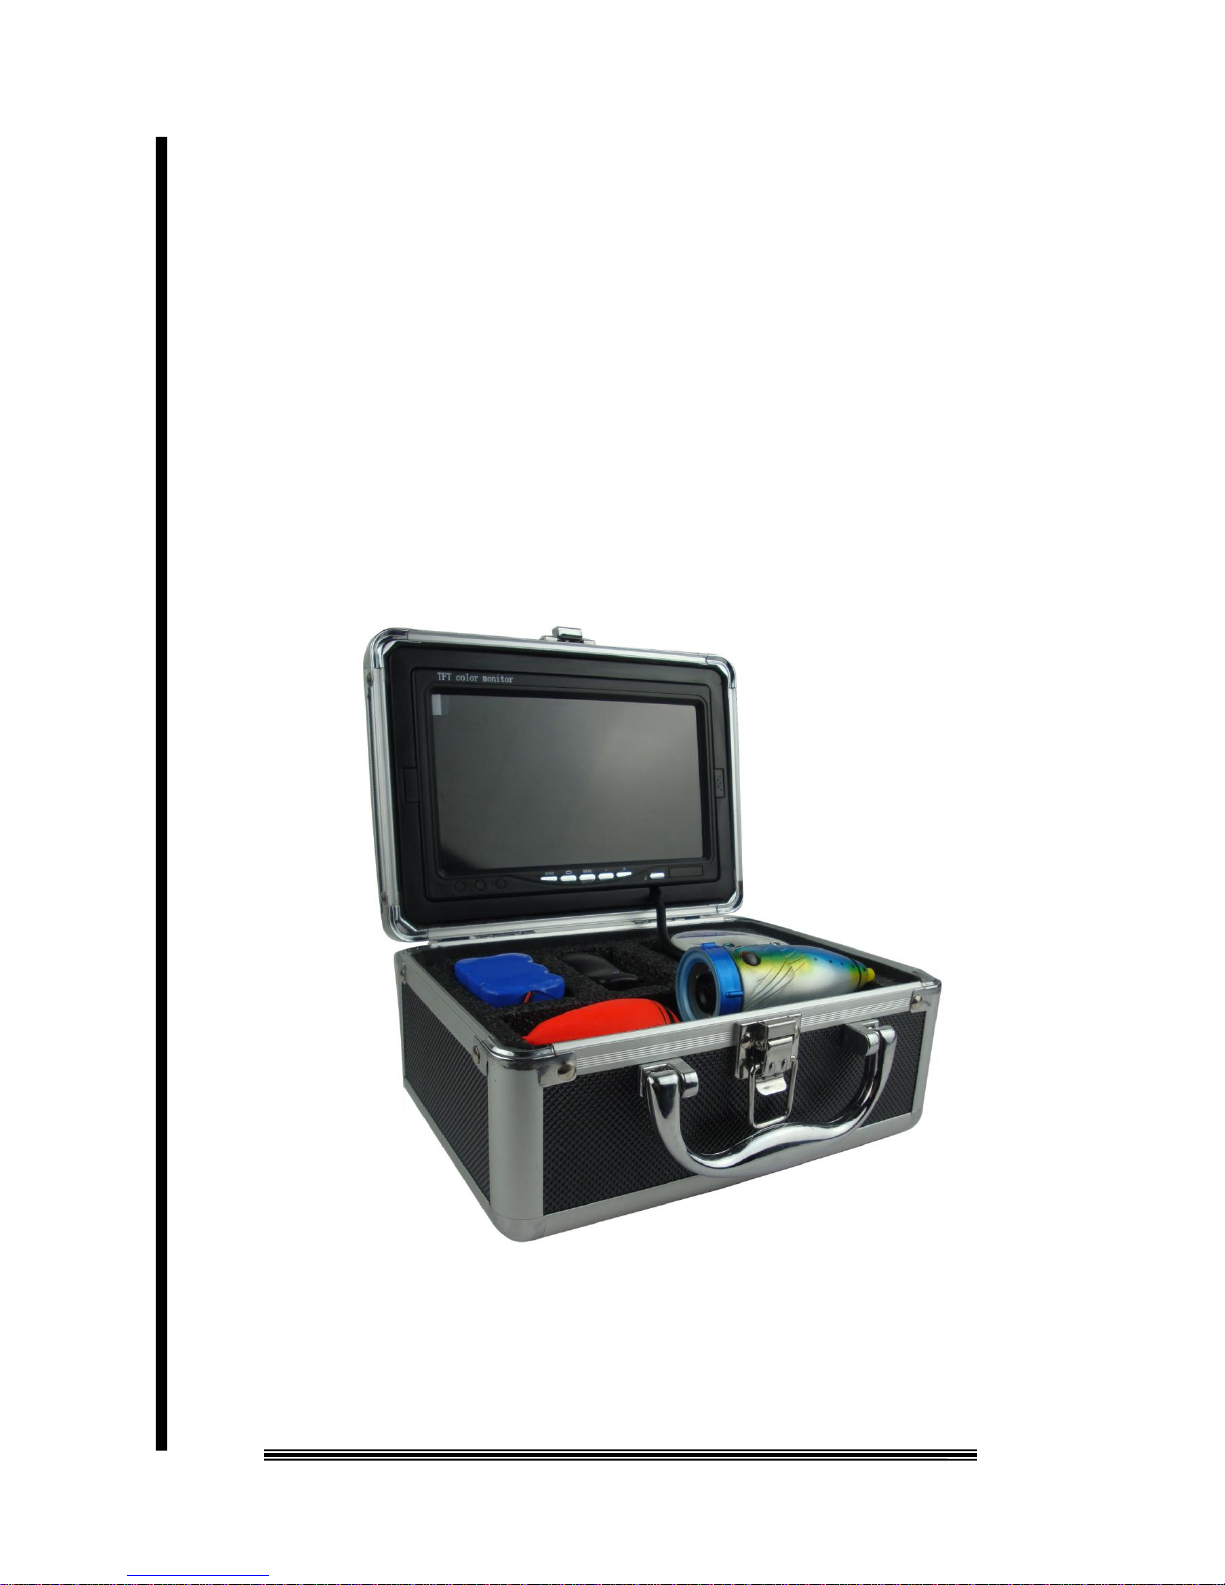
underwater camera
fish finder
Common Type
Recording Type
Instruction Manual

ⅠSafety Notes:
1、Please read the manual carefully before using it.
2、Handle it carefully during operation, avoid throwing down or pressing it
heavily.
3、If the users disassemble or deliberately damage the machine, it will beyond the
warranty.
4、Please copy your information before connecting the SD card, the manufactures
will not be responsible for the loss caused by losing data.
5、Don’t cut off the power supply while recording or playing, it will probably
cause damage to the product and recorded documents.
6、After being used, turn off the display and pull out all the connection joints.
ⅡThe Range of usage
The product is an underwater video camera and fish finder
1、fish finder
2、underwater breeding monitoring
3、fishing monitoring
4、underwater viewing
5、underwater adventure
6、water well monitoring

ⅢSpecifications
Program parameter
Charger 100VAC-240VAC DC12.6V 2000MA
Battery 4AH
The continued using time of the battery about 7 hours
The monitoring depth 15m
Camera light source six high-power brightly white lights
Camera angle 92°
camera picture color
monitor image color
camera: 600 TVL
monitor input voltage 12VDC
SD card support 8G standard 1G
operation temperature -20—60 degrees
storage temperature -30—80 degrees
aluminum-box size 210MM*110MM*120MM
package size 230MM*130MM*140MM
net weight 1.6KG
gross weight 2.0KG

ⅣDisplay operation interface instructions
Common Type
1、power 2、adjustment + 3、adjustment - 4、menu
Recording Type
1、indicator light 2、power 3、adjustment -/ view the video
4、menu/play the video 5、adjustment +/ record 6、quit/view the picture
7、delete/ take a picture 8、continuously record/ continuously take pictures

Ⅴhow to operation
Common Type
1、Boot
Connect all the connectors and press the power key, the system will start to work.
2、Menu Settings
1> Brightness
Press the MENU key to enter brightness setting, press the ―+ -‖ key to set the
brightness, and then press the MENU key again to quit the menu page after doing
this.
2> Contrast
Continuously press the MENU key twice to enter contrast setting, press the ―+ -‖
key to set the contrast, and then press the MENU key again to quit the menu page
after doing this.
3> Color setting
Continuously press the MENU key for three times to enter the color setting, press
the ―+ -‖key to set the color, and then press the MENU key again to quit the
menu page after doing this
3、Image mode
Press the ―image modee‖key, and the images will overturn in all directions.

Recording Type
1、Boot
Connect all the joints and press the power key, the system will start to work.
2、Menu settings (MENU)
1> Press the MENU key to enter the menu page.
2> Press the MENU key again to select the setting content, including date setting,
time setting, recording time setting, recording model setting, contrast setting
and color setting.
3> After selecting the settings, press the + key to set the option upward, and press
the –key to set the option downward.
4> After finishing setting, press the QUIT key to quit the settings.
3、Record (+)
1> Press the + key to start recording. On the upper left corner of the display will
show the recording mark, on the lower left corner will show the recording
time.
2>After recording one package, it will stop recording automatically then
packaging it and save it into the SD card.(each package is recorded as long as
the menu setting, such as 5S 10S 30S 60S 120S)
3> Press the + key to quit while recording.
Note: this ―record‖key can not afford continuously record, it can only record one

package at one time, it you want to record again after finishing the former one, you
should press the + key again.
4、Take pictures (DEL)
Press the DEL key to take a picture; it will save it into the SD card automatically.
5、Continuously record (REC)
1> Open the menu to enter the recording model setting, set it as AVI model.
2> Press the REC key to start continuously recording, what you have recorded
will be automatically packaged and saved according to the recording time in
your menu setting.
3> During the recording process, press the REC key to quit recording and the
content will be packaged and saved automatically.
Note: while continuously recording, pressing the REC key will not stop recording at
once until finishing one package. If shutdown or cut off the power or some
other methods to forcibly stop recording, the content can not be saved.
6、Continuously take pictures(REC)
1> Open the menu and enter the recording model setting, set it as PICTURE
model.
2> Press the REC key to start continuously taking pictures.
3> Press the REC key again to quit continuously taking pictures.

7 View the video(-)
1> Press the –key to show the saved recorded packages, on the lower left
corner will show the quantity of the saved recorded packages, on the
lower right corner will show the recorded date and time.
2> Press the –or + key again to select the recorded package you need to view.
3> Press the MENU key to start playing the selected recorded package.
4> Press the QUIT key to quit the current operation.
8、View the pictures(QUIT)
1> Press the QUIT key to show the saved pictures, on the lower left corner will
show the quantity of the saved pictures, on the lower right corner will show the
date and time of the pictures.
2> Press the –or + key to select the picture you need to view.
3> Press the QUIT key to quit the current operation.
9、Delete (DEL)
1> Delete the video
Press the –key to enter the saved recorded packages, press the + or –key to
select the recorded packages you need to delete, then press the DEL key to
delete them.
2> Delete the pictures
Press the QUIT key to enter the saved pictures, press the + or –key to select the
pictures you need to delete, then press the DEL key to delete them.
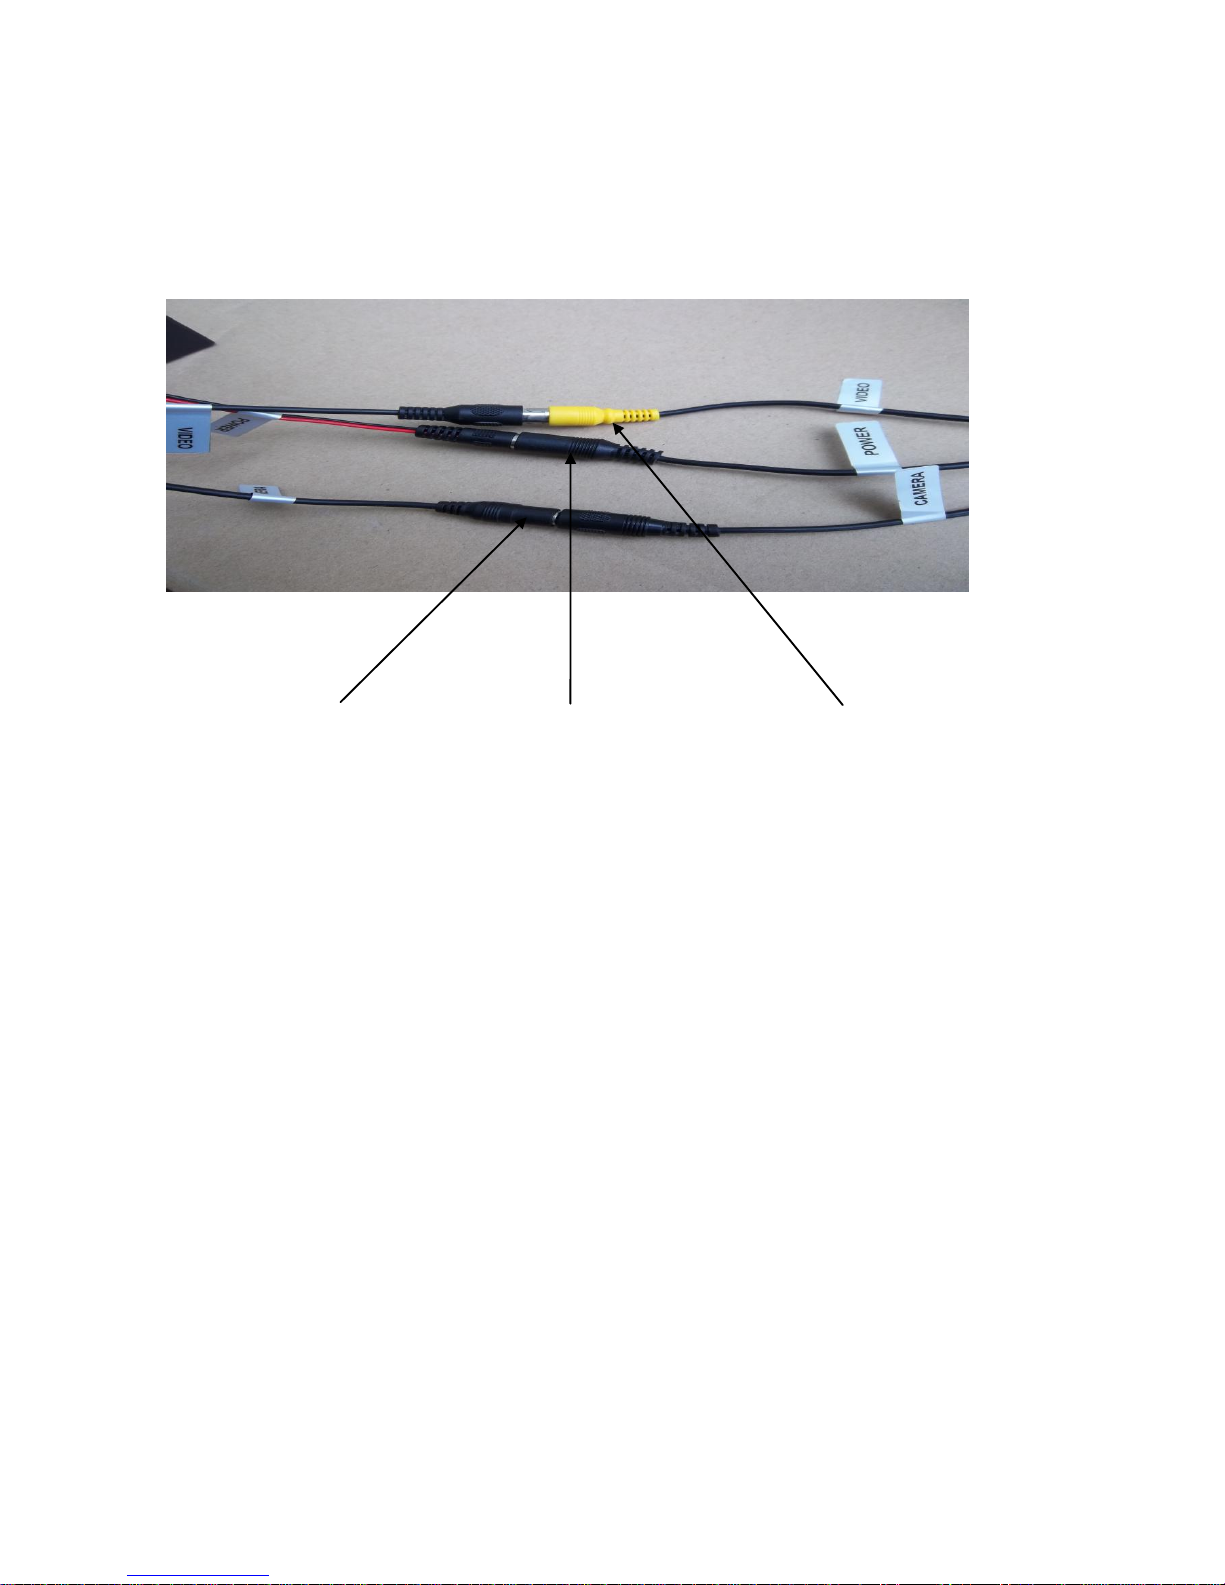
ⅥConnection
camera connector power connector video connector
ⅦCharging
When the battery power is low, it needs charging, and the method is as below:
1、Take out the battery and charger from the box.
2、Connect the charger to the battery(red to red, black to black).
3、Connect the charger to the alternating current of 110-200v. The red indicator
means charging.
4、The green indicator means finishing charging.

ⅧThe method of taking out the SD card
1、Press the buttons on both sides of the display with two hands at the same time to
pop the display.
2、Press the SD card slightly on the left corner of the display to pop the SD card.

ⅨProduct components and accessories
1 battery
2 display
3 charger
4 camera
5 aluminum box
6 cable
Attached picture
1 2 3 4 5 6

ⅩCommon breakdown and process
breakdown
Reasons and process
No electricity
check all the conntion to see whether
something goes wrong
No picture shows when
the indicator is on; the
indicator can’t be on
1、check all the connection
2、check the battery powerful or not, try again
after charging.
Unable to record
1、the card is plugged in the right place or not
2、the new card is formatted or not
3、power-down while recording or not
Unable to charge
1、the indicator of the charger is bright or not
2、the DC plug is placed appropriately or not
Table of contents
Popular Fish Finder manuals by other brands

Eagle
Eagle FishElite 320 Installation and operation instructions

Standard Communications
Standard Communications STRIKE 200 owner's manual

Humminbird
Humminbird Fishin' Buddy MAX Operation manual

Fish Finder
Fish Finder Fish Finder Operation guide

Samyung
Samyung F430 user manual

Raymarine
Raymarine hsb2 Series Owner's handbook

Humminbird
Humminbird Helix Series Mounting installation guide

Apelco
Apelco XVA-70 instruction manual

Humminbird
Humminbird 788c Operation manual

Humminbird
Humminbird 858c Combo Operation manual

Fisherman's Habit
Fisherman's Habit 62675 Owner's manual and safety instructions

Samyung ENC
Samyung ENC F560 user manual


