EI MB-NTG5 User manual
Specification & Installation
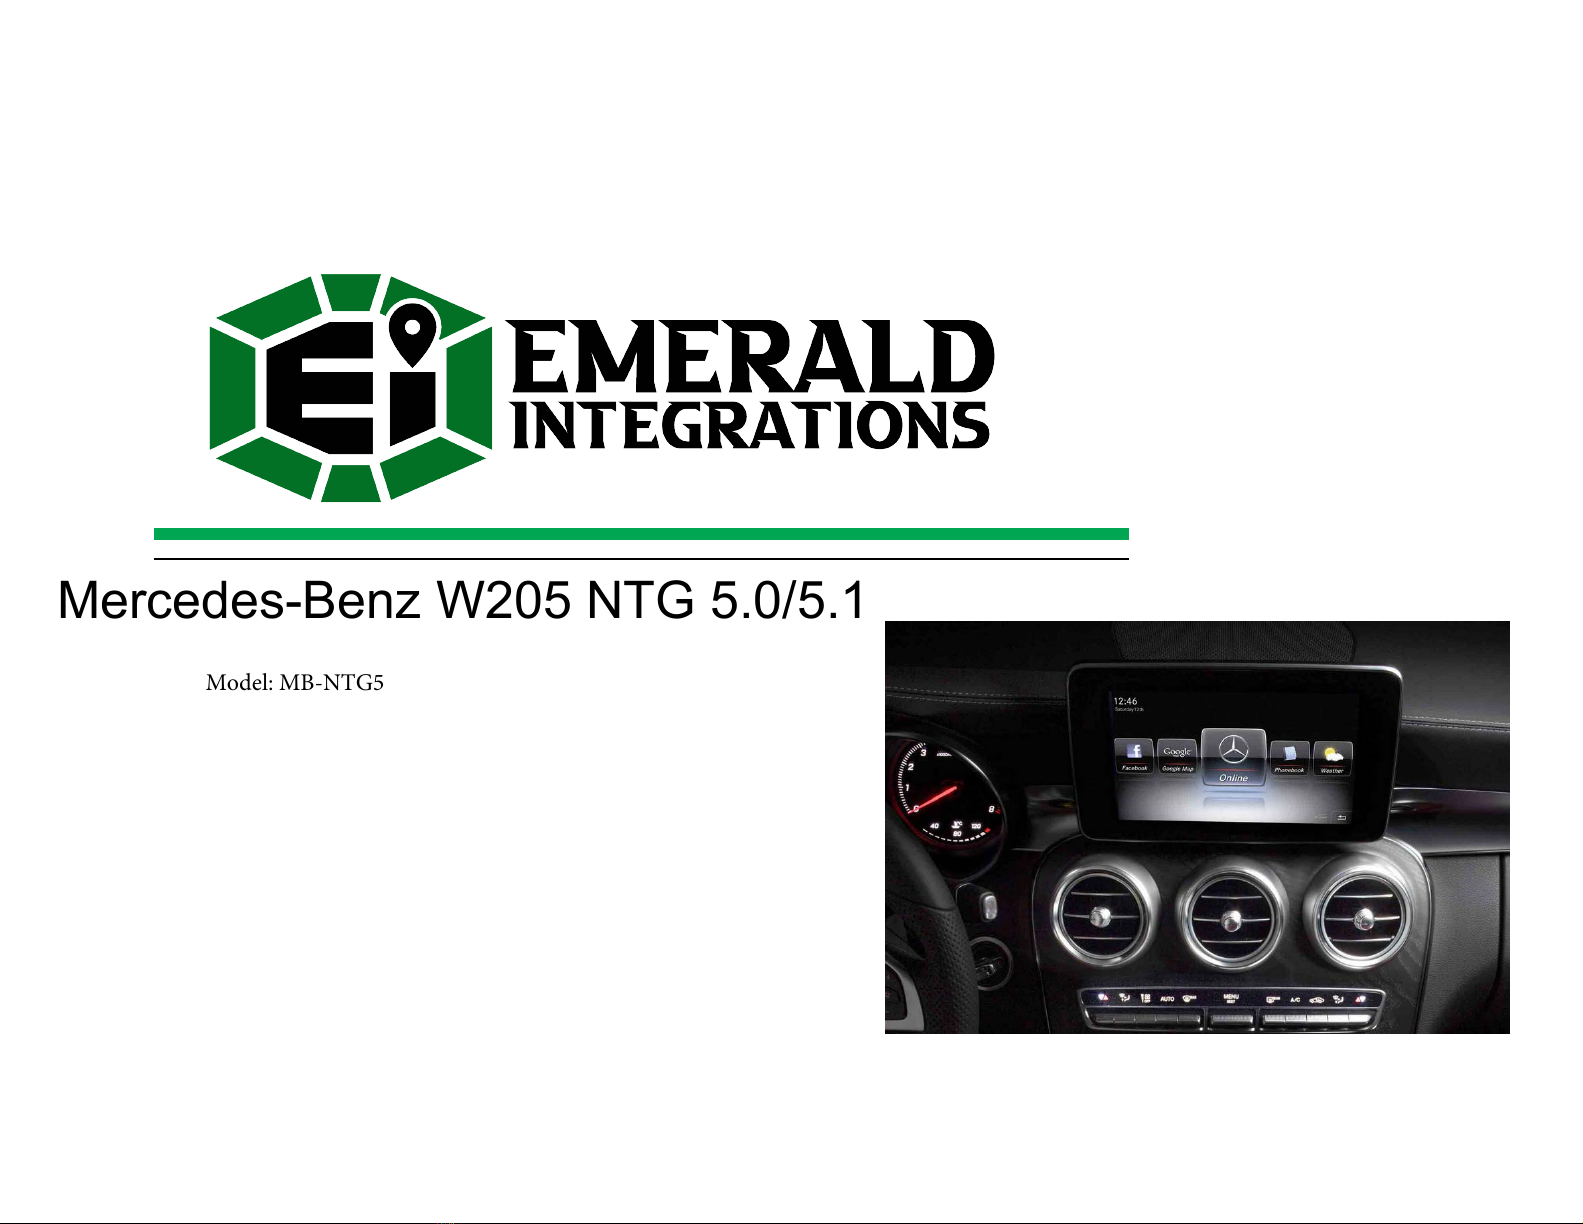
Model: MB-NTG5
Mercedes-Benz W205 NTG 5.0/5.1

Warning
When installing the main unit, do not remove or alter existing
vehicle fasteners, including nuts, bolts, screw, clips, and fittings.
Never detach, move or alter existing vehicle wiring, including
electrical grounds and straps. Alteration of existing vehicle
components may make vehicle unsafe to operate. Should be no
any electronic devices or magnetic pole around installation place.
Air bags are vital part of a safety system. Never install main unit in a
way which will alter air bag wiring or interfere with air bag
deployment. Air bags must function properly in the event of an
accident.
Before installing, check the location of pipe, tank, electrical cables
and others.
Read and follow the instruction manual.
Wiring location must not interfere driving, get in or out from car.
Use electrical tape to insulate the ends of all wires, even if they are
not used. Proper insulation prevents arcs, shocks and fires.
When installation is complete, test all vehicle electrical systems to
ensure they operate correctly, including lights, horn, brake lights,
and emergency flashers.
According to our sales policy, any problems caused byuser’s
mistake, careless can not be guaranteed.
Warning / Caution
Caution
All steps of installation should be done by well-trained specialist.
During installation ignition key should be taken off and after all installation
finish connect power cable with interface for the last step.
Do not install the main unit inplaces where it mabe exposed to dew
condensation (aroundthe air conditioning hose, etc), or in locations where
it may come in contact with water, high levels of moisture, dust or oily smoke
Install wiring in amanner inwhich cables will not come incontact with
metal parts. The wiring may be damaged by contact with metal parts,
resulting in fire and shocks. Avoid all contact with hot surfaces when wiring
the main unit. High temperatures may damage wiring, causingshorts, arcing
and fires.
Kindlycheck all parts are in the box, when receiving the product, if anything
missing, inform to the supplier or manufacturer.
www.EmeraldIntegrations.com
Phone: (844) 333-3903 2

Wiring diagram:
Note:
Please make sure to have the IGNITION
off and NOT in ACC mode during the
installation.
1
8
1 2 3 4
9
16
Benz Headunit
9
Signal GND
Signal GND
1
10
Rearview Video Input
Front
-
view Video Input
2
11
Camera Power
Camera Power
3
Supply (5V)
Supply(5V)
12
4
13
IR Signal Output
Reverse Detection
5
Interface Box
Input
14
Power GND
Right Turn Signal
6
1
48
32
Output
15
CAM Power
Left Turn Signal
7
4
15
Supply
(
12V
)
Output
16
+B Output
ACC Output
8
DIP
options
DIP
options
Sw1 OFF
2015 C200(w205)/ C260L/
Sw3
OFF
Disable
C300/ GLE 250 (AUDIO 20)
Car model
ON
2015 B200/ CLA117/ CLA200/ CLS260/
D V R
ON
Enable (Long press 'RETRUN' on
CLS320/ E180L/ E200/ E260/ E400
steering wheel), if SW2=ON, front
view input comes first
Sw2
OFF
Disable
Sw4
OFF
7.4 inch - 800*480
Front view input
ON
Enable ( Auto-switch)
Resolution ON
8.4 inch - 960*480 (C260L 8.4inch)
LVDS Cable
OEM Screen
Original LVDS Cable
1
GND
Power Ground
2
CAN-L
CAN-L
3
CAN-H
CAN-H
4
ACC
ACC Power Input(12V)
Mercedes-Benz NTG 5.0 Rearview Interface Installation Guide
Notice:
1.Keep flameout &plug out ofcar key before installation
2.Please make sure this interface matches with your car model
1.Use special trim removal kits to
take out of main unit(Position
depends on car models)
Original Quadlock
原
车
Interface Quadlock
大线
线
大
司
我
5.Plug&Play car original 40 way Quadlock
connector to interface Quadlock one,and
replace its position with another end of
interface connector.
2.Take out of the screws .
3.
Get out of the COMAND main
unit .
LVDS of Interface cable
Plug out of its original position,
and plug into Interface.
6
.
Plug out of LVDS on the back of
7
.
Replace original LVDS position
Head unit
,
and connect it to Interface.
with Interface LVDS cable.
4 .Plug out of the 40 way Quadlock
connector at the rear of main unit.
8.Photo of interface with cables,
(Rear view will be displayed
when shift into Reverse gear)
Mercedes-Benz Interface Module Installation - Part 1
Disconnect the factory LVDS cable from
the back of the HEAD UNIT, not the
screen. This is typically a GREY or PINK
LVDS Cable.
If in reverse, the screen is BLACK, please turn ON or
DOWN DIP 4 to correlate with the screen resolution.

Mercedes-Benz Interface Module Installation - Part 2
Notice:
1. Make sure the key is not in the igntion and the vehicle is NOT in ACC mode during installation.
2. Please make sure this interface matches your car model.
1. Using trim removing tools,
disconnect the main unit.
Original Quadlock
原
车Interface Quadlock
大线
线
大
司
我
5. Connect the provided Quadlock
connector into the OEM port. Using
the female end, connect the OEM
Quadlock onto the provided
Quadlock to close off the loop.
2. Remove the scres as shown above. 3. Remove the Command System
from the center console to access the
LVDS and Quadlock connections.
LVDS of Interface cable
Plug out of its original position, and
plug into Interface.
6. Unplug the OEM LVDS cable from
the back of the head unit and connect
it into the interface module as shown
above.
4. Unplug the OEM Quadlock
from the back of the command
system.
8. Connect the AV harness into the
module. Using the labeled inputs,
connect rear camera input into REAR
CAM IN and front camera into FRONT
CAM VIDEO IN (Sold Separately)
7. Using the provided LVDS cable,
connect the module back into the
original LVDS port as shown above.
www.EmeraldIntegrations.com
Phone: (844) 333-3903
4

Customer Service
At Emerald we want to make sure that you are completely satisfied, therefore we have assembled qualified
associates to assist you.
Our normal operating hours are Monday - Thursday 9:00 AM - 5:00 PM and Friday 9:00 AM - 4:00 PM (Pacific Standard Time).
Call us Toll Free: 844-333-3903
Email us: [email protected]
Returns
30-Day Money-Back Guarantee
At Emerald Integrations, we want to make sure that you are completely satisfied. If for some reason you aren't happy with an item on your order and want to return it, we
make returns and refunds extremely simple.
Any complete, like-new item returned within 30-days can be returned for a full refund less the original cost of shipping. All items or packages shipped free of charge will be
subject to a $15.00 shipping fee. If returned items are not in like-new condition, then Emerald Integrations may refuse a return or charge a restocking fee of 10% - 20%.
Items not in like-new condition include, but are not limited to: items missing original item packaging, opened software or media items, used items, installed items, abused
or physically damaged items, items missing parts, items damaged due to improper return shipping, items with a different serial number or defaced serial number, pre-cut
wire, made-to-order items and special order items. All returns must be shipped back in a shipping carton, items cannot be shipped back in product boxes. Should you
have any questions about our return procedure, please don't hesitate to contact us.
Return Disclaimer
Any unauthorized, improperly packaged, or non-insured packages will be returned to sender. Items that show signs of wear or have been, scratched, altered, or damaged
in any way cannot be accepted for return.
Warranty
Emerald Integrations understands that there are minor chances that electronics can fail and defects happen, in the event that this occurs, Emerald Integrations is here to
help you quickly resolve your defect for a full year of 1-Year Warranty Coverage. Unlike others who push you to a manufacturer service center that can be slow and
unresponsive, we’re here to help with the repair or replacement you need. To begin the process, follow the instructions on the returns page at
www.emeraldintegrations.com/returns.
The terms of the warranty are subject to the specific manufacturer and all expressed and implied war-ranties are provided solely by the manufacturer. Every item
approved for a warranty claim is inspected by our team of qualified experts and professionally tested.
Emerald Integrations is a retail and wholesale distributor of vehicle electronic components, specializing in car safety. Emerald tests each product individually to ensure
optimal performance and is NOT responsible for any negligence or damages caused by the installation process. Should a customer request assistance in finding an
installer, Emerald holds no liability for any installers recommended by Emerald, it's employees or affiliates.
Table of contents
Popular Car Video System manuals by other brands


Audiovox
Audiovox VOD710 - DVD Player With LCD Monitor Operation manual

Boss Audio Systems
Boss Audio Systems BV11.2BGT user manual

Sony
Sony XVM-H65 - Monitor operating instructions

Audiovox
Audiovox VOD122 - DVD Player With LCD Monitor Operation manual

Audiovox
Audiovox VM9423 Operation manual

NavLinkz
NavLinkz RL1-MIB2-E manual


