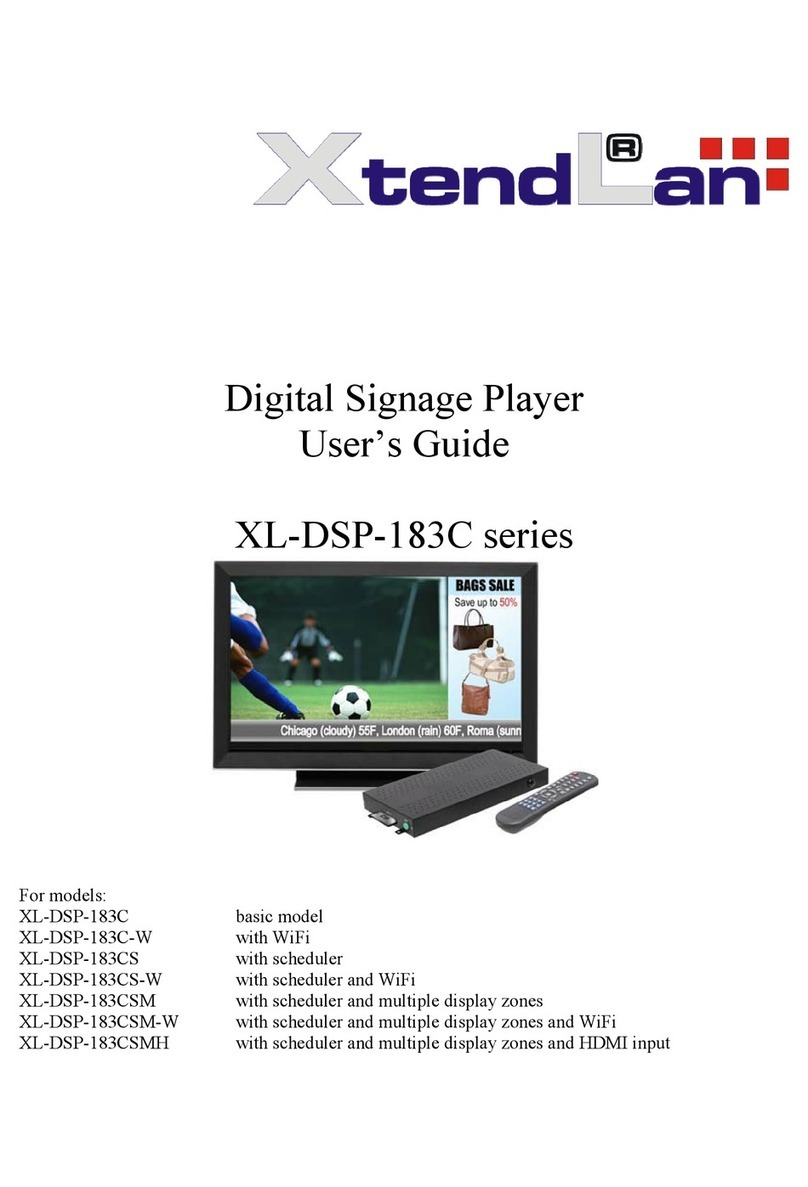
Elabs MP80 User manual

MP80
4k60 Ultra HD
Digital Signage Player
L
A
U
N
A
M
N
O
I
T
C
U
R
T
S
N
I
QUICK START GUIDE
This guide will explain the basic connection and
operation of the MP80, along with using CE labs
QuickSign software. For full details on operation,
refer to the MP80 manual at www.celabs.net.

THIS PAGE IS LEFT INTENTIONALLY BLANK

Important Safety Instructions
1. Read these instructions.
2. Keep these instructions.
3. Heed all warnings.
4. Follow all instructions.
5. Do not use this apparatus near water.
6. Clean only with dry cloth.
7. Do not block any ventilation openings. Install in accordance with the
manufacturer’s instructions.
8. Do not install near any heat sources such as radiators, heat registers,
stoves, or other apparatus (including ampliers) that product heat.
9. Do not defeat the purpose of the polarized or grounding-type plug.
A polarized plug has two blades with one wider that the other. A
grounding type plug has two blades and a third grounding prong. The
wide blade or the third prong is provided for your safety. If the provided
plug does not t into your outlet, consult an electrician for replacement of
the obsolete outlet.
10. Protect the power cord from being walked on or pinched particularly at
plugs, convenience receptacles, and the point where the exit from
the apparatus.
11. Only use the attachments/accessories specied by the manufacturer.
12. Use only with the cart, stand, tripod, bracket, or table specied by the
manufacturer, or sold with the apparatus. When a cart is used, use caution
when moving the cart/apparatus combination to avoid injury from tip-over.
13. Unplug this apparatus during lightning storms or when unused for
long periods of time.
14. Refer all servicing to qualied service personnel. Servicing is required when
the apparatus has been damaged in any way such as power supply cord
or plug is damaged, liquid has been spilled or objects have fallen into the
apparatus, the apparatus has been exposed to rain or moisture, does not
operate normally, or has been dropped.
WARNING: To Reduce the Risk of Fire Or Electric Shock, Do Not Expose This
Apparatus To Rain Or Moisture
CAUTION: To reduce the risk of electric shock, do not remove cover or back.
There are no user serviceable parts inside. Refer servicing to qualied personnel.
1

2
MP80 Setup
The media player should be located in a well ventilated air-conditioned space for best
operation. The overall dimensions of the units are 3.2” x 7.1” x 1.1”. The mounting dimensions
given below are measured from center to center of the mounting holes. The mounting holes
will accommodate a #6 screw.
The unit has ventilation holes on the top of the chassis. These should remain uncovered during
operation. There are no ventilation openings on the bottom of the chassis, so it may be bolted
directly to a shelf or monitor.
will accommodate a #6 screw.

3
Connections
The MP80 is capable of driving a wide variety of displays at up to 4K
resolution at bit rates up to 40 Mbps. You must have a SD card installed in
the unit to enable playback of local content. Connect the following cables
to operate the unit.
Display cable – Use a good quality HDMI cable to connect between the
MP80 and the intended display. The HDMI cable length should
generally be less than 10 feet in length for best operation. HDMI
Input will accept 1080P signals.
Audio cable – The audio output is integrated into the HDMI signal and is
available on the L&R 3.5mm jack, as well as Optical.
Network cable – Certain operations require a network connection in
order to implement. Connect an Ethernet cable between the
MP80 10/100 port and a local Ethernet switch. Alternatively,
you may connect the player to a WiFi network by conguring
the WiFi parameters in Settings (you will need a USB mouse to
access this menu). The WiFi antenna must be connected in order
for this to work. You will need to congure the WiFi Settings for
the local access point.
Power – Insert the DC power plug into the MP80. Plug the power supply
into a 120VAC outlet.
USB – 2 USB ports are available for auxiliary devices and USB drives.
GPIO – There are eight ports available for connecting external push
buttons and LED lights. Contact CE labs for buttons.
Please wait for approximately one minute until the unit completes the boot-
up process. If default startup content has been dened and content is on
the local storage medium, the unit will begin to display video.

4
Package Contents
The box should contain the following items:
• MP80 Digital Signage Player
• Universal 12 VDC Power Supply
• Quick Start Guide
• HDMI™ cable
• Optional item(s) ordered at time of purchase

5
Software - QuickSign
The MP80 can be remotely controlled from within a LAN (restricted to local
sub-net) via the CE labs QuickSign®software. This application allows you
to scan your network to discover installed players or you can manually add
them. Once the player is discovered, the software can be used to check
status, add or delete content, create playlists, publish content to a SD card,
etc. QuickSign also includes a module for creating comprehensive digital
signage layouts that include a wide variety of graphic elements.
Please refer to the Help tab in QuickSign for a complete reference of
available command options.
The QuickSign software is available at no cost with the media player.
It may have been included in the box or it can be downloaded from
http://www.celabs.net/sw/qspromp80/. The help tab in QuickSign will
show you how to use the software to get started controlling your players.
For options to control the MP80 over the Internet, contact CE labs sales
and ask about QS Cloud.
Note: The QuickSign software is only compatible with the CE labs MP80.
If you have MP700 or MP70 series media players on your network, you
have to use the QuickSign Pro Designer7X for those units.

6
QuickSign - Menu & Network
The MP80 will generally be congured with our QS Player application that
will start automatically upon bootup. If you need to change any network
settings or choose an alternative application, connect a USB mouse to the
MP80, do a left mouse click, and click on the HOME icon to go to the
CE Home page. The CE labs Home Page menu allows a user to view the
player media les, network settings, and adjust some parameters.
Settings
Network Setup
The MP80 is shipped with DHCP enabled. You can change to a xed IP
address via the Player Setup menu. You will need a USB mouse in order to
access the Settings page if you wish to change network settings.

7
QuickSign - Streaming
You need a fast computer to supply the video stream. For demonstration
purposes, you can set up a stream using the VLC program. Listed below
are steps for creating a sample video stream.
1– Launch VLC
2– Click on Media and then Stream
3– Add a le
***(The le should be less than 1Mb/S for smooth streaming operation)
4– Click on STREAM and then NEXT
5– Under Destinations, click on Display Locally and drop down the
File box. Select RTP/MPEG Transport Stream.
6– Click ADD and put in an URL and Base Port.
An example would be Address: 239.255.42.42 Port: 1234
7– If you desire to use transcoding, Video – MPEG-2 + MPGA (TS)
is a good choice.
8– Click STREAM to begin sending out the video stream
Before getting started:
Streaming is very bandwidth intensive. Make certain in your applica-
tion that your network has sufcient bandwidth available. Be aware that
streaming will consume a very large percentage of bandwidth and it is a
good idea to put it on a separate network, if possible.

8
QuickSign - Streaming
Launch QuickSign and allow it to nd the players on your network. You
should see the target player(s) populated in the Media Player Table in the
left column.
Select the desired player from the table.

9
QuickSign - Streaming
Click on STREAMS and then on +New Stream. Add the desired name and
description. Then type the URL of the stream you created on your network.
Example:
rtp://239.255.42.42:1234
Click OK to save the new stream.

Click on Playlists and then on +New Playlist. Select Streams in the Media
List and move the newly created stream into the playlist box. Add the
desired name and description at the top of this dialog box and click on
SAVE to create the new Playlist.
10
QuickSign - Streaming

Go back to the main menu by clicking on the Players tab and then select
Player Control tab on the right side.
Click on the Playlist to Load box and select your streaming playlist.
Select a Layout to use with the streaming video or leave it set to No Layout
for full screen streaming video.
Make certain you have the desired player selected in the left column and
press Load/Play to send the Streaming Playlist to the player.
If the Video Stream is active, the video will begin to play on the MP80 after
about a 15-second buffer period.
11
QuickSign - Streaming

12
FAQ/Troubleshooting Tips
1. I do not have a network connection to the player. How do I get les and
playlists installed?
a. Use QuickSign to create your content package and playlist. Press the “Publish”
button in the Player Control window. This allows you to send your videos, pictures,
layouts, etc. to a SD card plugged into your computer. The proper folders will
be created on the SD card. Remove the SD card from the PC and insert into the
MP80. The new content published to the SD card will begin to play automatically
as long as the MP80 is running the QS Player application in QS Player mode.
2. There is no video or audio on the monitor.
a. Make certain the unit’s Green Power LED is on.
b. Check video cable connections and input settings on monitor.
c. Use QuickSign to determine the unit’s current Player Status.
3. QuickSign player scan does not nd my unit on the network.
a. Check the Ethernet LEDs to see if they are active. Verify network cable is securely
inserted.
b. Verify the QS Player application is active and in QS Player mode.
c. Make certain the player has a valid IP address in the same subnet as the control
PC.
d. If you are plugging directly into the unit from a computer, a crossover cable is
required.
e. QuickSign only works within the same subnet on which the MP80 resides.
4. How do I change video resolution?
a. The MP80 will generally be shipped with the Display Resolution setting in the
AUTO mode. This will negotiate the proper resolution for your monitor. If you need
a different resolution, it may be changed.
b. Connect a USB mouse to the player. Exit the QS Player application by clicking
on the HOME icon.
c. Click on SETTINGS and then Display. Click on HDMI Mode to see a list of
available resolutions.
d. Select the desired resolution and say KEEP. Right click the mouse to get to the
HOME page. After a short period, the QS Player application should launch. If not
left click and hold on the QS Player icon unit the unit says “Make this the default
app?” Select Yes. If it says “Do you want to remove as default app?”, select
Cancel. The QS Player application should launch automatically.
5. Why does writing les to my player via QuickSign fail?
a. Verify that the write protect tab on the SD card is in the off position.
b. Verify that there are no spaces in the le names. Use underscores instead of
spaces and always use only alpha-numeric (no punctuation mark type) characters.
c. Verify that QuickSign is an approved app in the Windows Firewall.

CE labs can support many areas of your audio and video
distribution needs.
We manufacture:
- Digital Signage software and Media Players
- HD Matrix Switchers
- RF modulators
- RF ampliers
- HDMI and Component HD distribution ampliers
- CAT 5 Signal Extenders
- VGA Extenders and Splitters
- and cables of all types.
See our full product line at www.celabs.net.
WARRANTY
CE labs, Inc. warrants this product to be free from defects in material and
workmanship, under normal use and service, for a period of one year
from the purchase by the original purchaser. If this product is defective
or malfunctions, CE labs will replace or repair this unit (at our option)
within a reasonable time. No expressed or implied warranty is made
for any defects or damage caused by immersion or exposure to liquids,
abuse, neglect, improper operation of unit, acts of nature (including but
not limited to ood, wind, and lightning), excess wear and tear and or
defects resulting from unauthorized disassembly and or modication.
3209 Wood Drive
Garland, TX 75041
Phone: (469) 429-9200
Toll free: (800) 767-6189
Fax: (469) 429-9205
www.celabs.net

Table of contents


