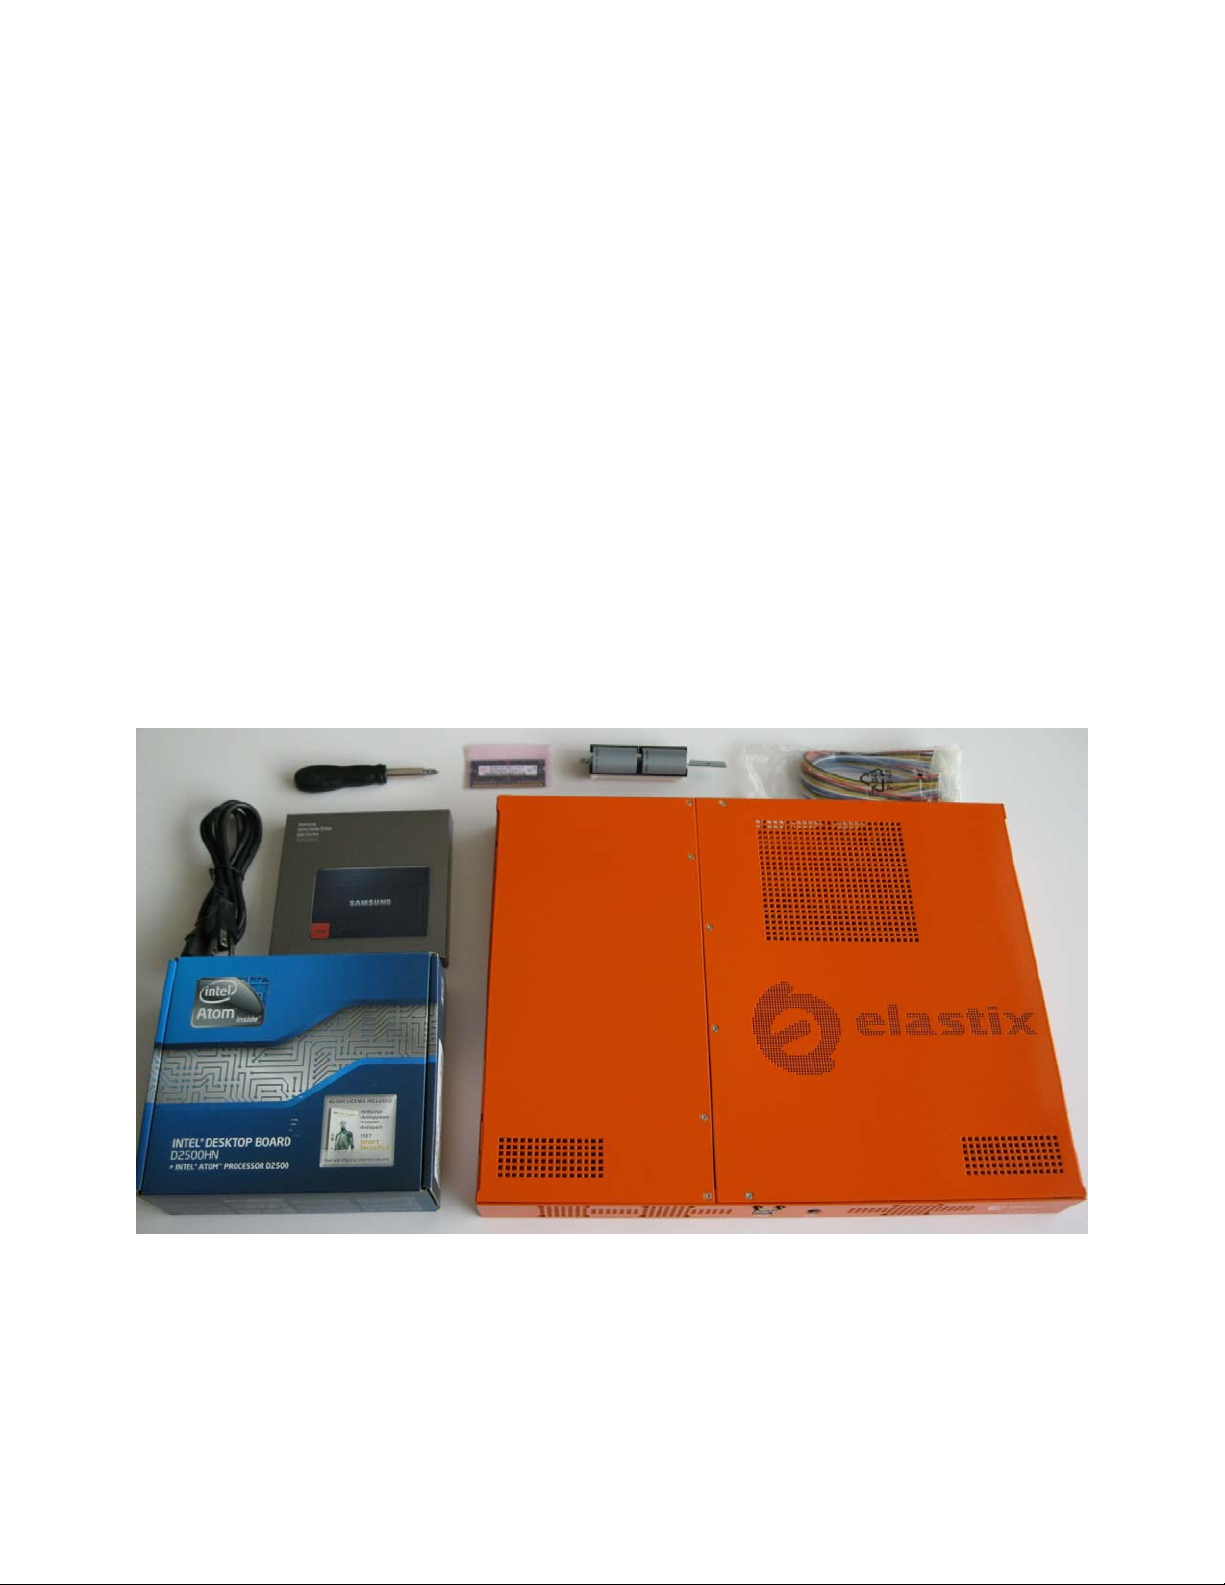
Elastix ELX025 User manual

ElastixAppliance
AssemblyProcessGuide
ELX025
PaloSantoSolutions
2013

Page|2
HARDWARE

Page|3
I. INDIVIDUALPARTS
HardwareBrandModelTypeNotes
Motherboard Intel D2500HNInnovation
SeriesIncludes2SATAdatacables
ProcessorIntelIntel®Atom™
processorD2500N/A
Intel®NM10ExpressChipset
(comesalreadyinstalledinthe
D2500HNmotherboard)
MemoryKingston/Corsair/
Crucial
DDR3
800/1066/1333
MHz
2GBMotherboardsupportsupto
4GB
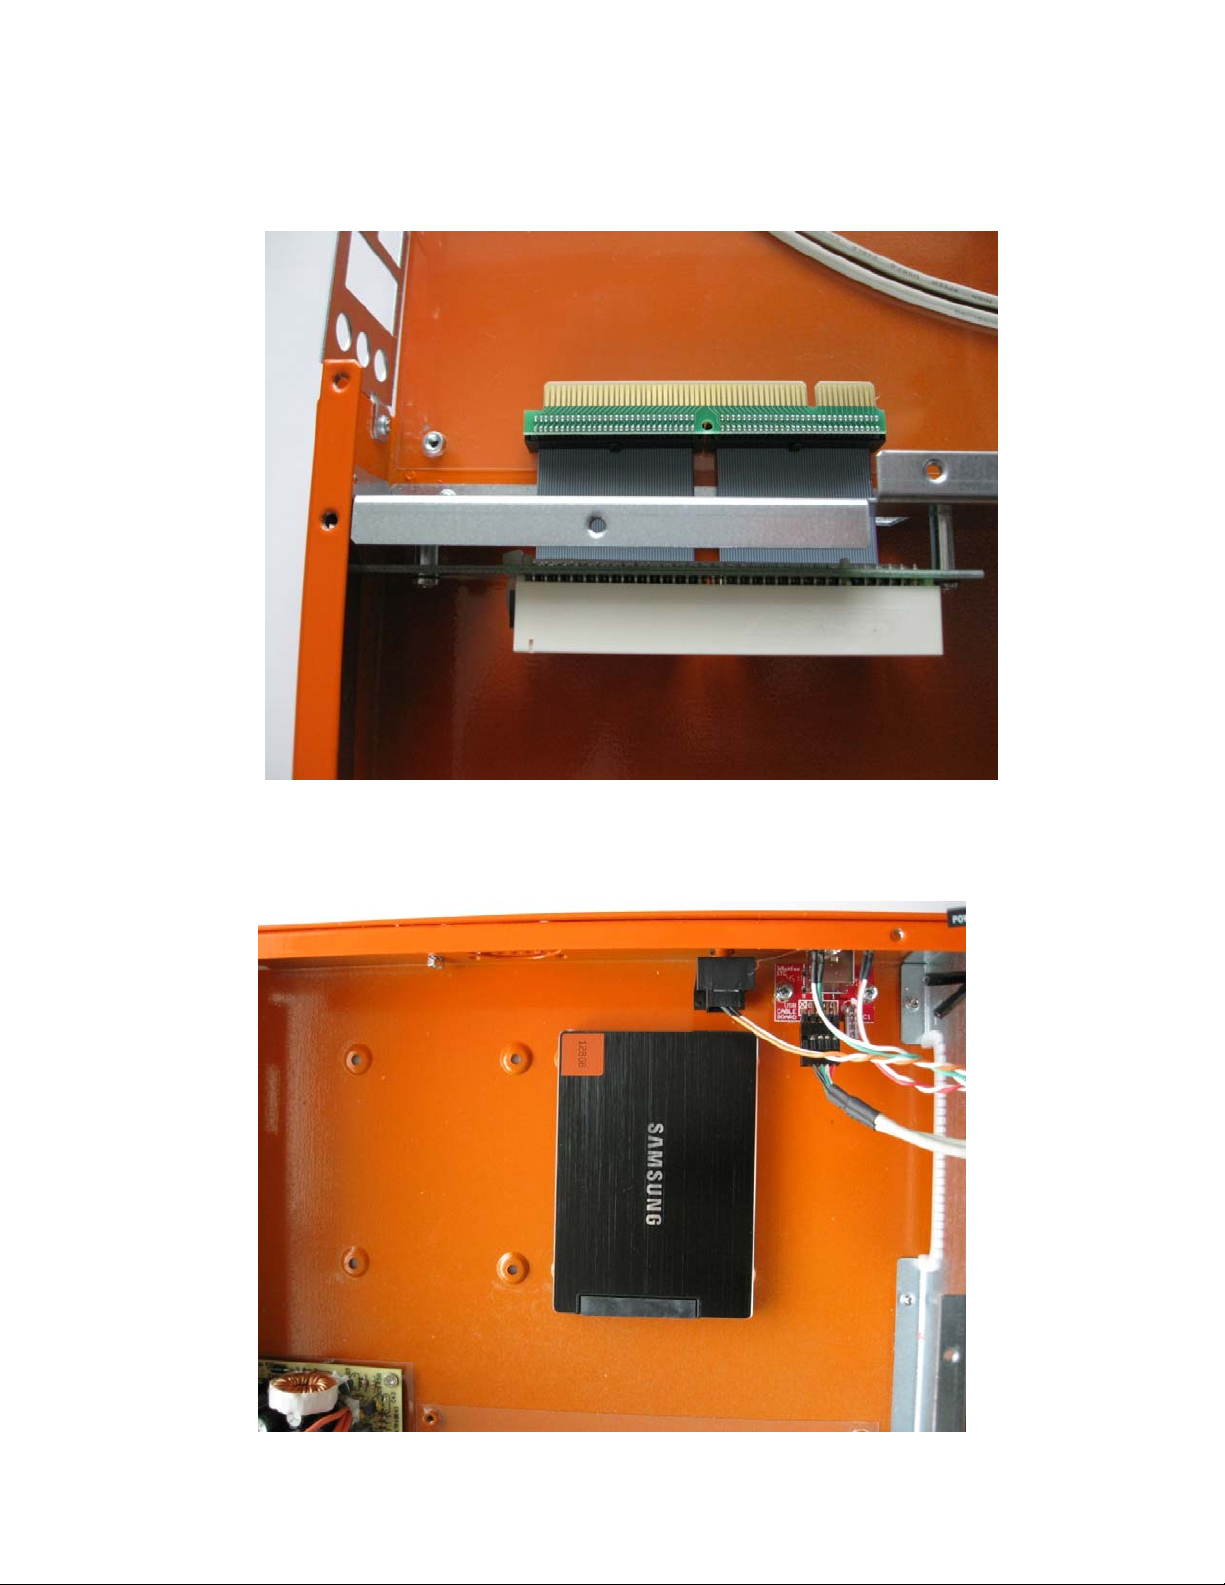
HardDriveSamsung840Series120GBLaptop‐sizedSATASSD(2.5")
PowerCordCablesN/A 110Vand 220VN/A2(1Americanand1European)
1UcustomizedCase
withintegrated
90WPowerSupply
Unit(PSU),2
coolingfans,and
coverforunused
PCIcardopening
EMKOELX025N/A
Customizedforattachingand
providingpowertotheIntel
D2500HNmotherboard,two
2.5”HDDs,andaPCIcard
(throughthePCI101‐Flexriser)
FansCoverforunusedPCIcardopening
FlexiblePCIriser LogicSupplyPCI101‐Flex N/A
PSU
CustomizedfaceplateforIntelD2500HN motherboard

Page|4
L‐shapedmetallic
earEMKOELX025N/A
ForsecuringthePCIcardto
theappliance.Comesinside
theCase
2rack‐mountingearsEMKOELX025 N/A ComeinsidetheCase
19screwsEMKOELX025 N/A ComeinsidetheCase
2screwsSmallPartsB000NHVPW2
Length:10 mm
SizeandThread
Size:M3‐0.5
Fortighteningrisertothe
case.DriveStyle:Phillips
HeadStyle:Pan
ATXpowercable
extender
AthenaComputer
PowerCorpAD11N/A12"20pin(ATXMale)to20pin
(ATXFemale)extensioncable
4oftheseforthe
Motherboard
4oftheseforthe
HardDiskDrive
6sparescrewsforthe
top covers

Page|5
ADDITIONALRESOURCESANDMATERIALS
4nyloncableties
2nyloncabletieholders
Cutter
Superglue
Phillipsscrewdriver
2Elastixwarrantyseals
1ElastixwarrantysealforthePCIcard(ifapplicable)
1InternalLabelsticker
2ExternalLabelstickers
Cleaningcloth
Appliancecleaningsolution
DocumentationEnvelope
Invoice
OriginalPCIcard’sbox(ifapplicable)
ElastixELX025Appliancebox
2piecesofindustrialgradeholdingfoam
Bubbleplasticbag
Packingtape

Page|6
ASSEMBLY/PACKAGING

Page|7
II. ASSEMBLY
1. Tightentherisertothecaseusingappropriatetwolongscrews
2. TightentheSATAdisktothebottomofthecaseusingfourscrews(fromtheonesthatcome12)insidethe
assemblybag

Page|8
3. Matchthefaceplateonthebackofthecasetoeachportonthebackofthemotherboard
4. Screwthemotherboardtothebottomofthecase

Page|9
5. Insertthe2GBmemorymoduleinthemotherboard’sbottommemoryslot
6. Connecttherisertothemotherboard’sPCIslot

Page|10
7. ConnectoneendoftheATXpowercordextensiontothePSU’spowercordandtheotherendtothe
motherboard
8. ConnectthePSU’sfanpowercordtothemotherboard

Page|11
9. ConnecttheDatacableoftheSATAdisktothemotherboard(portSATA0)
10. ConnectthePSU’sSATAPowercabletotheSATAdisk

Page|12
11. ConnectthefreemolexconnectorcomingfromthepowercableoftheSATAdisk(male)tothemolex
connectorcomingfromthefanonthePCIcardsideofthecase(female)
12. ConnectthePowerLED,POWERSWITCH,andHDDLEDcables(green‐white,orange‐white,and
red‐whiterespectively)tothemotherboard

Page|13
13. InserttheUSBconnectorcomingfromtheportsonthefrontoftheELX025tothemotherboard
14. CompletesectionsIV.PRE‐INSTALLATION,V.INSTALLATION,andVI.POST‐INSTALLATIONTESTandTHEN
returnhere(i.e.aftertheinstallationofElastixhasbeenfinishedandtested)
15. Runthefollowingconsolecommand:history‐c
16. PresstheELX025’sPowerbuttonandwaitfortheshutdownprocesstocomplete
17. Disconnectandtidilytiethepowercord
18. DisconnectthedataandpowercablesoftheSATAopticaldrivefromthemotherboard
19. Disconnectthekeyboard,monitor,andnetworkcablesoffthebackoftheappliance
20. Usesupergluetopastethetwonyloncabletieholderstothebottomofthecase,oneoneachsideoftheSSD

Page|14
21. Securecablesconvenientlyusing4nyloncableties

Page|15
Note:thisnyloncabletieshouldpassthroughthenyloncabletieholder(rightoftheSSD)

Page|16
Note:thisnyloncabletieshouldpassthroughthenyloncabletieholder(leftoftheSSD)
22. Cuttheexceedingpartofthenyloncableties
23. PlacethewarrantysealsonthePCIcardsinsidetheappliance(ifapplicable)
24. Atthismoment,theapplianceshouldlooklikethefollowingpicture

Page|17
25. Placeandscrewbothcoverstothetopofthecase
26. Placethewarrantysealsontherightsideandbackedgesofthecase’stopcover(thecoverwiththeventilation
gridformingtheElastixlogo)

Page|18
27. PlacetheInternalLabelStickeronthebackofthecasebelowtheopeningforthePCIcard(seepage33forthe
detailsonthecontentsofthislabel)

Page|19
III. PRE‐INSTALLATION
1. ConnectthedataandpowercablesofaSATAopticaldrivetothemotherboard
2. Connectamonitor,akeyboard,andthePowerCordCabletothecorrespondingportsonthebackofthe
ELX025andthentheotherendofthepowercordtoanearbyoutlet
3. Pressthepowerbuttontoturnontheappliance

Page|20
4. PlaceintheopticaldriveaCDorDVDcontainingthelatestElastixstable32bitsversionfoundin
http://sourceforge.net/projects/elastix/files/Elastix%20PBX%20Appliance%20Software/
(thisguidewaswrittenusingElastix2.4)
5. Reboottheapplianceifnecessaryuntilthefollowingscreenisdisplayed:
IV. ELASTIXINSTALLATION
1. PressENTERtobegintheinstallation
2. SelectEnglishasthelanguagefortheinstallation:
Table of contents