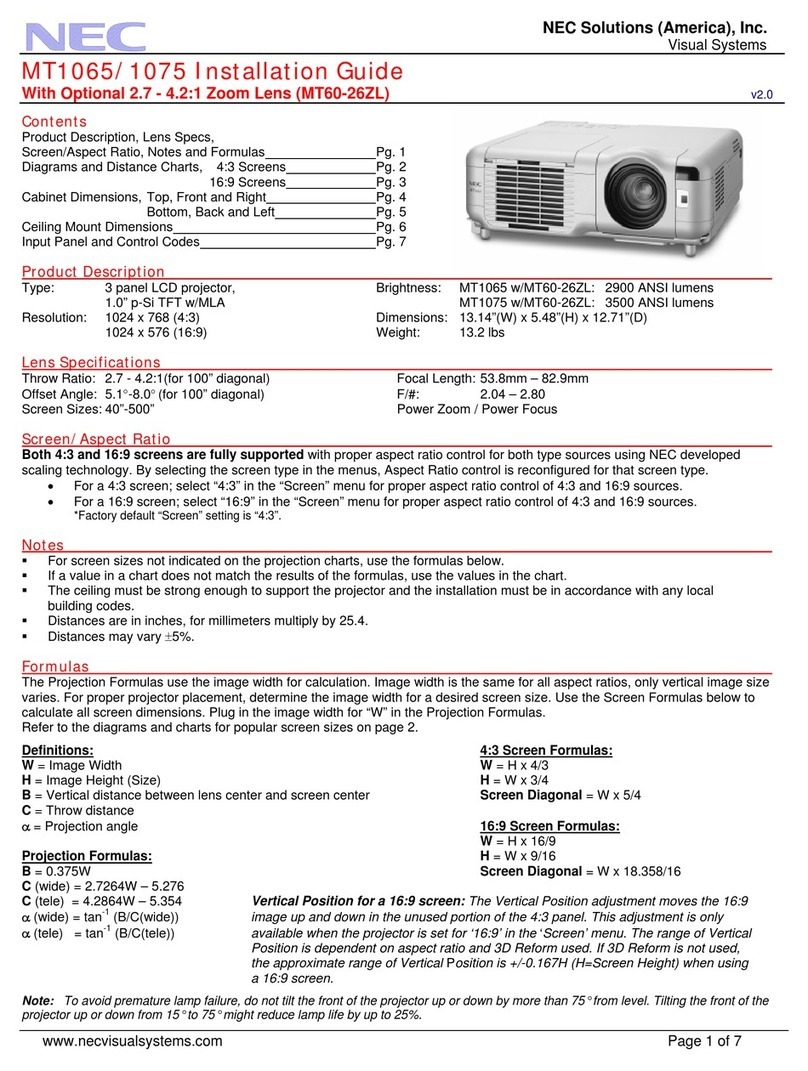
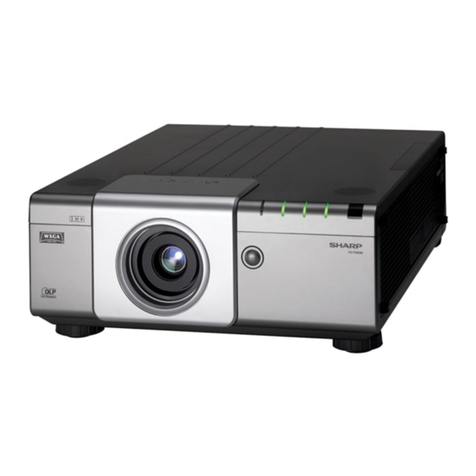
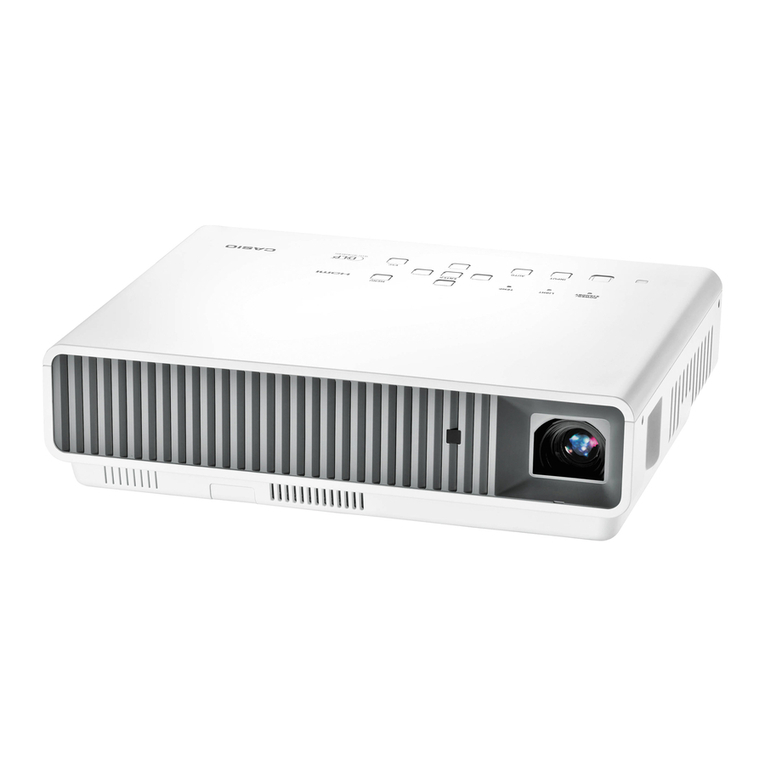
Elegiant 96 User manual

User’s Manual
This manual apply to:
Model : 96
Model : 96+
Model : 96-01
Please read this Manual carefully before use;
The company reserves the right of final interpretation;
Appearance of the product and the UI please in kind prevail;
If product technology or software upgrades, without prior notice.
PROJECTOR


Contents
Warning································································1
Safety Precautions··················································· 2
Caution································································ 3
Introductions························································· ·4
Installation·····························································7
Full Setting·························································7
Standard Setting(Front Projection)···························· ·8
Installation Method··············································· 9
Signal Terminals Description···································10
Remote Control ·····················································11
Panel Instruction ····················································12
Turn on & Turn off··················································13
Turn on·····························································13
Turn off···························································· 13
Image Adjustment···················································14
Focus Adjustment················································ 14
Keystone Adjustment············································14
Menu Settings························································15
Menu Setting Method············································15
Menu Parameters adjustment···································15
Picture Menu······················································16
Sound Menu·······················································16
Time Menu························································16
Option Menu······················································17
Multimedia Menu················································17
Trouble Shooting····················································18
Packing List & Accessories········································20
Warranty Clause·····················································21
Warranty Card·······················································22

Warning
1
Warning:
Please remember the model and series
number of the projector in case of loss.
Please carefully check all accessories
with the pack list before throwing the package away.
Before you use this projector, please read the user manual carefully.
Model Number:
Series Number:
High brightness lamp!
Avoid staring or looking directly at the light, specially
for children.
Warning
WARNING
Warning:
As an A-class product, the projector may cause radio interference,
Users shall take effective measures to deal with it.
About the remote control battery
The remote control battery should be inserted correctly or it will
get damaged from overheating.
Ensure the remote control is out of children's reach.
It indicates there is an instruction for
important operation.
It indicates there is a dangerous
Voltage inside that may cause shock.
High voltage inside.
DO NOT open except for technicians.

Safety Precautions
2
1. Read manual
Before using this projector, please read full manual carefully and operate according to this
manual's instructions.
2. Clean
When cleaning this projector, please pull out the power cable. Use a wet cloth to clean,
not using any detergent that may damage the unit.
3. Accessory
Please use our recommended accessory. Or it will damage the projector.
4. Correct environment
Do not place the projector in a wet environment.
5. Installation point
Please place this projector on astable table.
6. Ventilation
The ventilation in the projector are required for the projector to work stably. Do not let
the dust wall up the filter. Or it will cause the projector to heat up. Please clean the filter
once a month with a some water.
7. Power
Please make sure the power is the same as your projector inquiry specification (220 V
or 110V).
8. Earthing wire
This projector has an earthing wire. It is a three pin plug.
9. Protect the power cable
Please confirm the power cable is in perfect working condition when connecting the
projector.
10. Thunder
When there is thunder, or if you will not be using the projector for a while, please unplug
the power cable from the projector.
11. Repairment
Due to high voltage inside,please do not open or try to repair the projector by yourself.
Please ask a professional technician to repair the projector.
12. Far away heat device
Please make sure the projector is far away from any heat devices. As it will damage the
projector.
Warning:
When using this projector,please read this manual carefully.
If operated incorrectly, it will cause electric shock or fire. So when using or
repairing this projector, please comply with the following points.

Caution
3
About the Installation
In order to improve the projector’s service life, it should not be in a place
of wet and poorly ventilated condition.
Do not place the projector under direct sunlight.
Projector working temperature: +5℃~ + 35℃.
Projector store temperature: -10℃~ + 60℃.
Do not block the ventilation-window of the projector.
If the projector interior temperature is too hot, the machine will be shut
off automatically. This is due to the heat protection system. So please clean
the filter of projector once a month.It is very important. Do not place the
projector under direct sunlight.
Opening and closing the projector:
When closing the projector,press the power key again. The lamp will turn
off. But the fans will still run for 5 minutes. Do not remove the power cord
immediately after shutting the projector down, allow 5 minutes for it to cool
down. The projector will turn off automatically.
Warning:
Fans will adjust according to temperature , it is controlled by
the system. When the projector is working, the fans turn slowly
or quickly, therefor the sound of the fans will be different. This is
normal.
Do not remove the power plug when the projector is working,
it will cause the fans to stop working, causing the projector to
overheat and this may cause damage to the projector.

Introductions
4
Projector Description
The projector is able to connect signals: HDMI, Y/Pb/Pr, VGA and
TV(optional), as well as stereo audio input. Please connect in reference to
the following diagrams.
1. Focus lens
2. Hight-feet adjustment
3. Cool air ventilation opening (in)
4. IR receiver
5. Input terminals
6. Power switch
7. Keystone adjustment
8. Input terminals
Back
Front
1 32
4 5 6 7 8
P C- RG B I N
HDMI1
HDMI2

Introductions
5
1. Right channel speaker
2. Left channel speaker
3. Cool air ventilation opening (out)
Right
Left
1
32

Introductions
6
1. Control panel
2.
Height-feet adjustment
3. Projector mount hole ( 4 holes ) Fix with M4x8mm
4. Label
5. Cold air ventilation opening (in)
Top
Bottom
1
4 53
2

Installation
7
Full Setting
Please install in reference to the instruction below.
Speaker L
Subwoofer Speaker C
Screen Speaker R
Seats
DVD
Amplifier
Projector
Speaker LS Speaker RS
In order to get the best image quality, do not expose the projector
to sunshine or any other strong light source, close the curtain if you
will be using projector during the daytime.
T

Installation
8
Standard Setting ( Front Projection )
Please refer to the table below, install the projector at a distance in
accordance to the screen size. Please make sure the projector is placed on
a stable mount, taking care not to block any of the ventilation openings
(allow a space of 30cm all-round).
Warning
Please check the following pictures for the trapezoid adjustment.
The data may have 3% error, due to the image size according to
the projector and screen. If the distance is less than 2m or more than
5m, the image may appear unclear.
screen size Projection distance(m)
60”
72”
84”
100”
2.0~2.1
2.3~2.5
2.7~2.9
3.2~3.4

Installation
9
Installation Method
Contact a professional service technician to mount this projector
to a ceiling. Follow the instruction below for the correct projector
positions:
1.Front projection Ceiling mount.
3. Front projection Table mount.
2. Rear projection Ceiling mount.
4. Rear projection Table mount.
Warning:
1. This projector might damage beyond repair when it is incorrectly
mounted on a ceiling or when it is incorrectly installed on a surface or
installed on an incorrect surface. It may also inflict damage to people
nearby.
2. This projector can only be used in an environment with a temperature
not exceeding the range of 0-35 degree.The projector may malfunction
if temperatures vary outside the normal operating range.
3. The sharpness of the screen might be interrupted when the projector is
being used in a dusty,wet,moist or smoke filled environment. The
projector might malfunction in a moist or wet environment.
4. Take care of the sufficient ventilation around the projector. Otherwise
this projector might overheat and cause life threatening situations.
5. The first operation of the projector may cause a unclear image, Please
refer to the image adjustment for help.

Input Terminals
10
Signal Terminals Description
Conponent video input
AV input
Audio output
Audio input
VGA input
Analog TV input ( optional )
HDMI Signal input
2*Multimedia Inputs
Pr,Y,Pb,
Video
L out, R out
L in, R in
PC-RGB IN
TV
HDMI 1, HDMI 2
1, 2
Name Description
Caution:
Turn off the power of the projector before connecting the
terminals. Connect the plugs with the correct ports, failure
to do may cause the machine to breakdown.

Remote Control
11
Remote Control Instruction:
TTX
C H
TTX
1 2 3
45 6
789
0
OK
DT V
A-SCA N
SUPAGE
GOT O
EPG
RE C
VOL
1 2 3
45 6
789
0
OK
DT V
M
S
EXIT
GOT O
16:9/4:3
EPG
RE C
M O D E ZOOM
SCHEDULE
Functional in TV or Multimedia mode.
Red
Green
Yellow
Blue
Manual channel search
Save
Channel Edit
Delete
Rename
Move
Skip
Numeric keys
Select TV channel directly
Mute key: Open or close the volume.
Back to previous operation.
Multimedia play key
Function: play/ pause/ forward/ back.
16:9, 4:3 switch key
Switch the display picture for 16:9 or 4:3.
Menu key
Open or switch the parameter menu.
Power key: For turning the power on.
H.Flip key: Adjust image left/ right rotate.
V.Flip key: Adjust image up/ down rotate,
not operational in USB mode.
Source key
Select the source: AV, PC-RGB, HDMI, etc.
Direction key
Menu mode adjust parameter.
Cautions:
1) Do not mix or use old and new batteries together.
2) Make sure nothing stands in the middle of remote and IR.
3) Avoid a light shining directly on the IR.
4) Point the remote directly at the IR within 6m, and 30 degrees.
5) Remove the battery if you are not going to use it for a long time.
6) Please replace the old battery with a new battery when the remote
malfunctions.
7) Do not place the remote in wet or hot conditions.

12
Panel Instruction
1. Indicator light
Red: Standby mode
Green: Working mode
2. Power key
This button can lead the projector to working/standby mode.
3. Menu key
Open or close the Menu.
4. Direction key
Adjust with parameters, the same function with the remote control.
5. SOU key
Source key (VGA,HDMI,etc.)
6. OK key
Confirm
SOU
M
1
2 3 4 4
4 45 6

Turn on & Turn off
13
Turn on
Turn off
If the projector is new, please read the projector install chapter,
place the projector and connect the cables, follow the below steps to turn
on / off.
1. Put in two 7-size batteries in the
remote control before using.
2. Press the power switch on the backboard
so that the power light turns red.
3. Press the power key on the remote or
panel, the indicator light will turn green.
4. The lamp will start working 2 seconds later, when an image is
projected on the screen the machine is working smoothly.
5. The new projector may have problems like an unclear image or trapezoid
distortion, Please read "image adjustment" chapter.
6. If the image is still unclear, keep adjusting the parameters to setup the
system until a clear image is achieved.
1. Press the power button when the projector is in use, this will
cause it to switch to standby mode.
2. when the projector switch into standby mode ,the light will
turn green from red.

Image Adjustment
14
Keystone
Screen
Projector
Height
Porjector
Screen
Height
Height-feet
adjustment
Focus Adjustment
Keystone
When using the projector for the first time, it normally displays an
unclear image. This is due to the lens being out of focus or incorrect
trapezoid setting.
Please follow the below steps to correct:
Rotate the lens into the projector slowly. At the same time, while rotating
the lens outward, check the resolution point carefully. The best focus point
for the lens would be where the image most clear.
If a projected picture has keystone distortion, correct image with
Keystone adjustment. The image becomes a trapezoid shape when the
screen or projector is not level. Please reposition the projector to improve
its angle to the screen. However, the circumference of the image may not
be focused.
(2)( 1)
1 2

Menu Settings
15
a. Using the projector,press“menu”.
The picture display on screen to
adjust menu.
b. Press“
◀/▶
”key, the menu turn
circle into“picture”>“sound” >
“time”>“system”.
c. Select the adjust interface,use“▲/▼”
key to choose the wanted item.
d. Press“OK”or“
◀/▶
”to adjust
the item parameter.
e. Finished the selected item parameter, press
the “menu”key again, exit the page
f. Repeat operating step 2~5,till you
finished all the parameters, press“exit"
exit the menu page, otherwise, the menu
page will exit after a period time automatically.
1. Menu setting method
2. Parameter adjustment
MENU
Contrast 0
Brightness 50
Color 50
Sharpness 50
Tune 50
Picture mode user
A.Press"menu"key,until display the above
picture of the menu.
b. Press“▲/▼”key,elect the option that
need to adjust
c. Press“OK”key,use“
◀/▶
”button
to adjust the certain parameters.
d. Press the “menu”key again exit the
menu page parameter adjust station.
Picture
Picture Mode User
Color Temperature
Aspect Ratio
X_Zoom
Y _Zoom
Noise Reduction
PC Setting
Color Range 16-235
Flip Horizon
Flip Vertical

Menu Settings
16
Picture
Picture Mode User
Color Temperature
Aspect Ratio
X_Zoom
Y _Zoom
Noise Reduction
PC Setting
Color Range 16-235
Flip Horizon
Flip Vertical
Picture Mode User
Color Temperature
Aspect Ratio
X_Zoom
Y _Zoom
Noise reduction
Flip Horizon
Flip Vertical
Clock-- -- -- --
Off Time
On Time
Sleep Timer
Auto Sleep
Clock-- -- -- --
Off Time
On Time
Sleep Timer
Auto Sleep
3.Picture Menu
Picture Menu
Standard/warm/user(Appendix 1)/Dynamic
Standard/warm/cool
Auto/4:3/16:9 …(Appendix 2)
0-100
0-100
OFF/LOW/MID/HIGH
OFF/ON
OFF/ON
☆Appendix I
Image contrast adjustment
Image brightness adjustment
Image hue adjustment
Image sharpness adjustment
Contrast
Brightness
HUE
Sharpness
0~100
0~100
0~100
0~100
Picture
The setting of Hight-width is different under differe modes, zoom is not valid in picture mode
☆Appendix II
4.Sound Menu
5.Time Menu
SOUND
TIME
Sound Mode Standard
Balance
Auto Volume
Surround Sound
EQ
Sound Source
Sound Mode Standard
Balance
Auto Volume
Surround Sound
EQ
Sound Source
Music/Movie/Sport/User/Standard
(- 50~50)
OFF/On
OFF/Surround
(120/500/1.5K/5K/10K)Hz 50
Normal/Sound Box/Line/
Sound Menu
Date--/Month--/Year--/Hr--/Min–
OFF/Once/Every Day/Mon.~Fri/Sat.~Sun./Sunday
OFF/Once/Every Day/Mon.~Fri/Sat.~Sun./Sunday
OFF/10Mins/20Mins/30Mins/60Mins/90Mins
Off/On
Time Menu
This manual suits for next models
2
Table of contents
