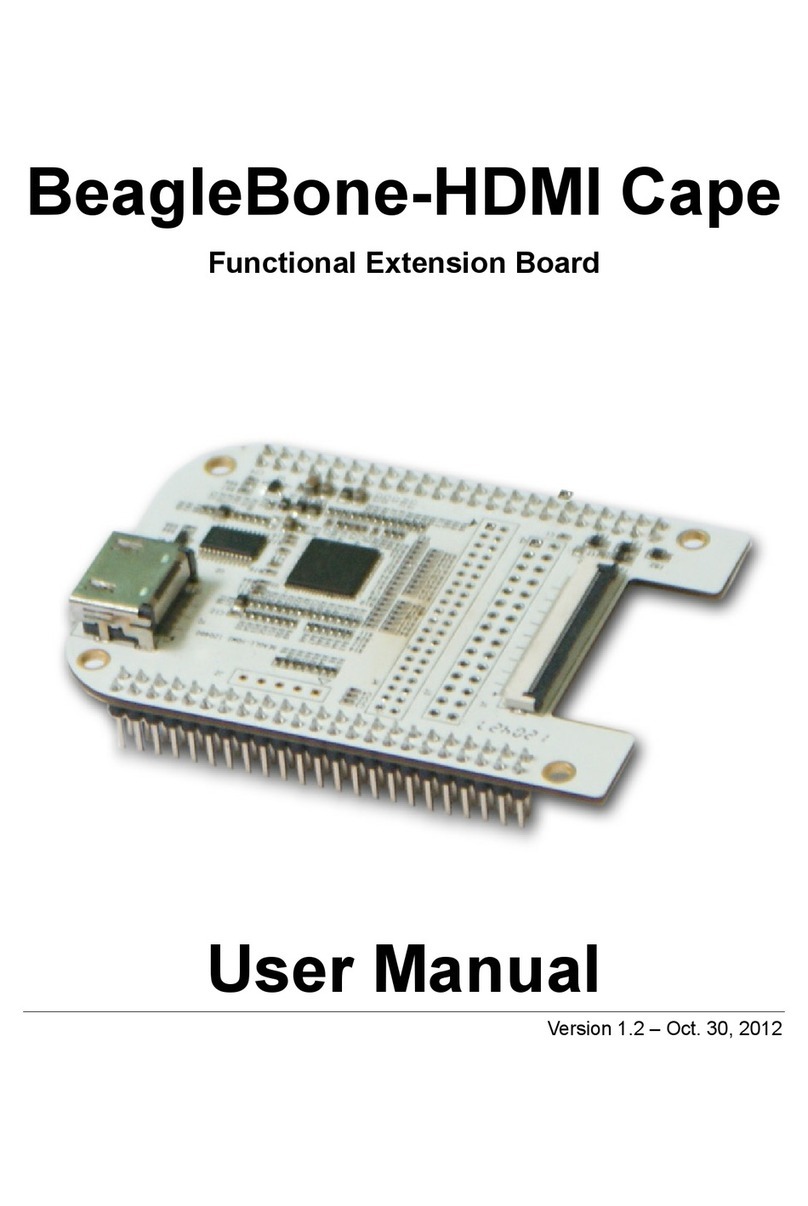
Embest SBC8600B User manual

SBC8600B
Single Board Computer
Quick Start Guide
Version 1.1
23rd Jan 2014

Copyright Statement:
SBC8600B and its related intellectual property are owned by
Shenzhen Embest Technology Co., Ltd.
Shenzhen Embest Technology has the copyright of this document and
reserves all rights. Any part of the document should not be modified,
distributed or duplicated in any approach and form without prior
written permission issued by Embest Technology Co., Ltd.
Revision History:
Version
Date
Description
1.0
21/12/2012
Original Version
1.1
23/01/2014
Localisation

Table of Contents
1 Product Overview .............................................................. 1
2 Quick Start Guide .............................................................. 2
2.1 For Hardware Development: .............................................2
2.2 For Software Development: ..............................................2
2.3 For Marketing: ................................................................3
2.4 For Learning: ..................................................................3
2.5 Kit Contents....................................................................4
3 Establishing a Development Environment.......................... 5
3.1 Establishment of Hardware Environment ............................5
3.2 Establishment of Software Environment .............................6
3.2.1 Preparation of Windows XP System Environment ........................... 6
4 Operating System Quick Start Guide ............................... 10
4.1 Quick operation of the Linux system ................................ 10
4.1.1 Booting from a TF card ............................................................. 10
4.1.2 Boot-up From NAND Flash ........................................................ 14
4.1.3 U-boot configuration ................................................................ 16
4.2 Quick Operation of the WinCE System ..............................17
4.2.1 Boot-up From TF Card .............................................................. 17
4.2.2 Booting-up From NAND Flash .................................................... 22
4.3 Quick Operation of the Android System ............................23
Appendix 1: ESD Precautions & Handling Procedures......... 25
Appendix 2: Technical support & Warranty ........................ 26
2.1 Technical support service................................................26
2.2 Maintenance service clause .............................................27

2.3 Basic guidelines for protection and maintenance of LCDs ....28
2.4 Value Added Services.....................................................29

Page | 1
1Product Overview
The primary purpose of this document is to give users an overview of the
software and hardware development environment of the SBC8600B, and to
help the user to start their development or to learn faster.
This document will cover the following points:
Where to find the useful contents for different requirements;
Packing list and DVD contents;
Default configuration of software and hardware of the Single Board
Computer;
Building a development environment for the Single Board Computer
quickly;
Booting up Linux/wince/Android operating systems quickly.
SBC8100 Plus Optional Modules List:
Names
Linux
Android
WinCE
Relevant Materials
VGA8000
YES
YES
YES
Available in DVD-ROM
WF8000-U
YES
NO
NO
Available in DVD-ROM
CAM8100-U
YES
NO
NO
Available in DVD-ROM
CDMA8000-U
YES
NO
NO
Download
WCDMA8000-U
YES
NO
NO
Download
LVDS8000
YES
YES
YES
Available in DVD-ROM and
on website

Page | 2
2Quick Start Guide
This section contains several tables that indicate where to find the useful
contents for different requirements, so users may get to work quickly!
2.1 For Hardware Development:
Item
Description
Location
Hardware
system
Introduces CPU, peripheral chips and hardware
interfaces
User Manual
CPU Datasheet
Shows principles and configuration of AM3359x
DVD
Schematic of
SBC8600B
Contains hardware principles of SBC8600B
DVD
Dimensions of
SBC8600B
The actual dimensions of SBC8600B used to aid in
manufacturing
User Manual
2.2 For Software Development:
Item
Description
Location
Preparations for
testing
Connecting external devices, setting up
HyperTerminal and booting up the system
Quick Start Guide
Testing
functionalities
of interfaces
Testing the interfaces on the board via an operating
system
User Manual
DEMO
demonstration
Establish a demonstration system (Android, TISDK)
User Manual
Establish
developing and
compilation
environment
Linux development and compilation environment
User Manual
Windows Embedded Compact 7 development and
compilation environment
User Manual
Recompile
system image
Recompiling Linux system image
User Manual
Recompiling Windows Embedded Compact 7 system
image
User Manual
Software
Introduction to Linux drivers and related driver
User Manual

Page | 3
development
development processes
Introduction to Windows Embedded Compact 7
drivers and related driver development processes
User Manual
StarterWare
Describes bare-metal programming and example
execution
DVD
2.3 For Marketing:
Item
Description
Location
Hardware
system
CPU features and information about on-board
interfaces
User Manual
Software of
Linux / Windows
Embedded
Compact 7
Teaches basic Linux software components and
features, and the purpose of the compilation tool
User Manual
Teaches about the basic software components of
Windows Embedded Compact 7 and their features,
and the purpose of the compilation tool
User Manual
Dimensional
drawing of
SBC8600B
The actual dimensions of SBC8600B used to aid in
manufacturing
User Manual
DEMO
demonstration
Establish a demonstration system (Android, TISDK)
User Manual
2.4 For Learning:
It is recommended to read each part of this Manual from the beginning to
the end.

Page | 4
2.5 Kit Contents
SBC8600B Single Board Computer(with Mini8600B)
Serial Cable (DB9-DB9)
12V, 1.25A Power Adapter
Crossover Cable
Optional 4.3” LCD display screen or 7” display screen (with touch
screen)
DVD/CD including:
oSBC8600B Quick Operation Manual
oSBC8600B User Manual
oSBC8600B Starterware User Manual
oSchematic Diagram of SBC8600B Hardware, Board Carrier
Chip Datasheet
oDevelopment Kit of SBC8600B Software (
Linux/WinCE/Android/Starterware)

Page | 5
3Establishing a Development
Environment
3.1 Establishment of Hardware Environment
Figure 1: SBC8600B Hardware Connections
Please establish the hardware environment according to the following steps:
1. Connect Touch-Screen LCD
2. Connect your 4.3-inch/7-inch touch-screen LCD to the LCD
interface, and keep the blue side of the FPC cable up
3. Connect Serial Ports
4. Use serial cable to connect the PC serial port to the debugger
serial port of SBC8600B.
5. If you want to boot from a TF card, you need to short the jumper
JP5
6. Connect the 12V power adapter to the evaluation board
1
2
4
JP5

Page | 6
3.2 Establishment of Software Environment
3.2.1 Preparation of Windows XP System Environment
Before powering up SBC8600B, you need to configure HyperTerminal on the
PC, follow the process below in order to setup a Hyper Terminal connection:
1. From the desktop click:
Start
All Programs
Accessories
Communication
Hyper Terminal
As shown in the following image:
Figure 2: HyperTerminal Location on Windows XP

Page | 7
2. Establish a new HyperTerminal connection:
Figure 3: Setting HyperTerminal Connection Name & Icon
3. Select the specific serial port from the list as per your computers
COM port configuration:
Figure 4: HyperTerminal COM Port Settings

Page | 8
4. Set parameters for the serial port connection as follows:
Figure 5: HyperTerminal Connection Settings
5. The following image shows that we have successfully established
a Hyper Terminal connection with the PC’s serial port:
Figure 6: Successful HyperTerminal Connection

Page | 9
Note:
If you have a 7-inch touch screen, you can change the settings in UBOOT
according to the detailed instructions contained in User Manual
Now we have successfully established both a software and a hardware
environment for the system. We can turn on the power switch to start the
development on SBC8600B.

Page | 10
4Operating System Quick Start
Guide
The SBC8600B supports three operating systems: Linux 3.2.0, WinCE6.0
and Android. This chapter mainly introduces how to switch between different
operating systems and how to boot up from a TF card and NAND Flash.
4.1 Quick operation of the Linux system
4.1.1 Booting from a TF card
Formatting TF Card
HP USB Disk Storage Format Tool 2.0.6 is recommended as the formatting
tool. Please download it from:
http://www.embest-tech.com/resource/download/HP-USB-Disk-St
orage-Format-Tool.rar
1. Insert TF card into a card reader and then insert the reader into
your PC.
2. Open the HP USB Disk Storage Format Tool to show the following
window:

Page | 11
3. Select “FAT32” file system
4. Click “Start”
5. When formatting is complete, click “OK”
Note:
HP USB Disk Storage Format Tool will erase the partitions of TF card.
Use other format tool may cause the failure of the TF card booting.
Image Update
Copy all files under the directory linux\image to the TF card, insert it on the
board, and then power up the board. The information on serial interface will
be shown as below:

Page | 12
Note:
The default display is a 4.3” LCD. If you are working with LCDs of another size,
please enter u-boot when the board is booting up to configure the display mode,
and then type boot to continue boot-up process. Please refer to the User Manual
for more details
If there is already an image in NAND Flash, you need to short the jumper JP5 on
the board so as to make it boot up from TF card. Disconnect JP5 after successful
boot-up of the system.
Booting from MMC...
OMAP SD/MMC: 0
reading u-boot.img
reading u-boot.img
U-Boot 2011.09-svn55 (Dec 04 2012 - 09:29:02)
I2C: ready
DRAM: 512 MiB
WARNING: Caches not enabled
Did not find a recognized configuration, assuming General
purpose EVM in Profile 0 with Daughter board
NAND: HW ECC Hamming Code selected
512 MiB
MMC: OMAP SD/MMC: 0
*** Warning - bad CRC, using default environment
Net: cpsw
Hit any key to stop autoboot: 0
SD/MMC found on device 0
reading uEnv.txt
** Unable to read "uEnv.txt" from mmc 0:1 **
reading uImage
3224184 bytes read
reading ramdisk.gz
12514633 bytes read
## Booting kernel from Legacy Image at 80007fc0 ...

Page | 13
Image Name: Linux-3.2.0
Image Type: ARM Linux Kernel Image (uncompressed)
Data Size: 3224120 Bytes = 3.1 MiB
Load Address: 80008000
Entry Point: 80008000
Verifying Checksum ... OK
XIP Kernel Image ... OK
OK
Starting kernel ...
Uncompressing Linux... done, booting the kernel.
Linux version 3.2.0 (luofc@TIOP) (gcc version 4.3.3 (Sourcery
G++ Lite 2009q1-203) ) #17 Fri Dec 7 10:04:07 CST 2012
………
………
RAMDISK: gzip image found at block 0
VFS: Mounted root (ext2 filesystem) on device 1:0.
Freeing init memory: 260K
INIT: version 2.86 booting
Starting udevudevd (741): /proc/741/oom_adj is deprecated,
please use /proc/741/oom_score_adj instead.
tar: removing leading '/' from member names
Remounting root file system...
mount: mounting /dev/root on / failed: Invalid argument
root: mount: mounting rootfs on / failed: No such file or
directory
Setting up IP spoofing protection: rp_filter.
Configuring network interfaces... udhcpc (v1.11.3) started
Sending discover...
udhcpc: sendto: Network is down
Sending discover...
udhcpc: sendto: Network is down
Sending discover...
udhcpc: sendto: Network is down
No lease, failing
done.
Tue Jan 27 08:47:00 UTC 2009
INIT: Entering runlevel: 5
Starting syslogd/klogd: done
.-------.

Page | 14
| | .-.
| | |-----.-----.-----.| | .----..-----.-----.
| | | __ | ---'| '--.| .-'| | |
| | | | | |--- || --'| | | ' | | | |
'---'---'--'--'--. |-----''----''--' '-----'-'-'-'
-' |
'---'
The Angstrom Distribution SBC8600 ttyO0
Angstrom 2008.1-test-20090127 SBC8600 ttyO0
SBC8600 login: (Type ”root”)
The above information indicates a successful boot-up of Linux from the TF
card.
4.1.2 Boot-up From NAND Flash
Updating of the NAND boot-up image is accomplished by u-boot. Regardless
of whether NAND Flash contains data, u-boot can be used to update any
NAND Flash images.
Preparation
1. Format the TF card to a FAT or FAT32 file system by using the HP
USB Disk Storage Format Tool 2.0.6
2. Copy the files MLO, u-boot.img, uImage and ubi.img under
the directory linux\image from DVD-ROM into a TF card.
Update
3. Insert the TF card which contains the system images into the
development board, and then connect the power supply. Press
any key on the keyboard to enter u-boot when the message "Hit
any key to stop autoboot" appears:

Page | 15
Note:
You may short the jumper JP5 on the board to allow SBC8600B boot up from TF
card and enter u-boot to write the image in NAND Flash, and then disconnect
JP5 to allow system boot up from NAND Flash.
Alternatively, you may leave JP5 disconnected and insert the TF card on the
board to boot up from NAND Flash, and then write the image in NAND Flash
through uboot.
U-Boot SPL 2011.09-svn55 (Nov 20 2012 - 10:37:42)
Texas Instruments Revision detection unimplemented
Booting from MMC...
OMAP SD/MMC: 0
reading u-boot.img
reading u-boot.img
U-Boot SPL 2011.09-svn55 (Nov 20 2012 - 10:37:42)
I2C: ready
DRAM: 512 MiB
WARNING: Caches not enabled
Did not find a recognized configuration, assuming General
purpose EVM in Profile 0 with Daughter board
NAND: HW ECC Hamming Code selected
512 MiB
MMC: OMAP SD/MMC: 0
*** Warning - bad CRC, using default environment
Net: cpsw
Hit any key to stop autoboot: 0 (press any key to enter uboot)
4. After entering the u-boot command line, type “run updatesys” to
start the update process of the system:
SBC8600# run updatesys
NAND erase.chip: device 0 whole chip
Erasing at 0x7fe0000 -- 100% complete.
OK
reading MLO
36079 bytes read

Page | 16
HW ECC BCH8 Selected
NAND write: device 0 offset 0x0, size 0x8cef
36079 bytes written: OK
reading u-boot.img
234896 bytes read
HW ECC BCH8 Selected
NAND write: device 0 offset 0x80000, size 0x39590
234896 bytes written: OK
reading uImage
3224184 bytes read
HW ECC BCH8 Selected
NAND write: device 0 offset 0x280000, size 0x313278
3224184 bytes written: OK
reading ubi.img
14811136 bytes read
SW ECC selected
NAND write: device 0 offset 0x780000, size 0xe20000
Skip bad block 0x00ce0000
14811136 bytes written: OK
A Flashing LED on the board indicates that the update has been finished;
please remove the TF card and reboot the board.
4.1.3 U-boot configuration
The system image is set by default for a 4.3” LCD. You can change the
settings in UBOOT by using the instructions contained within the User
Manual.
Other manuals for SBC8600B
3
Table of contents
Other Embest Computer Hardware manuals