Entar ML-180 User manual
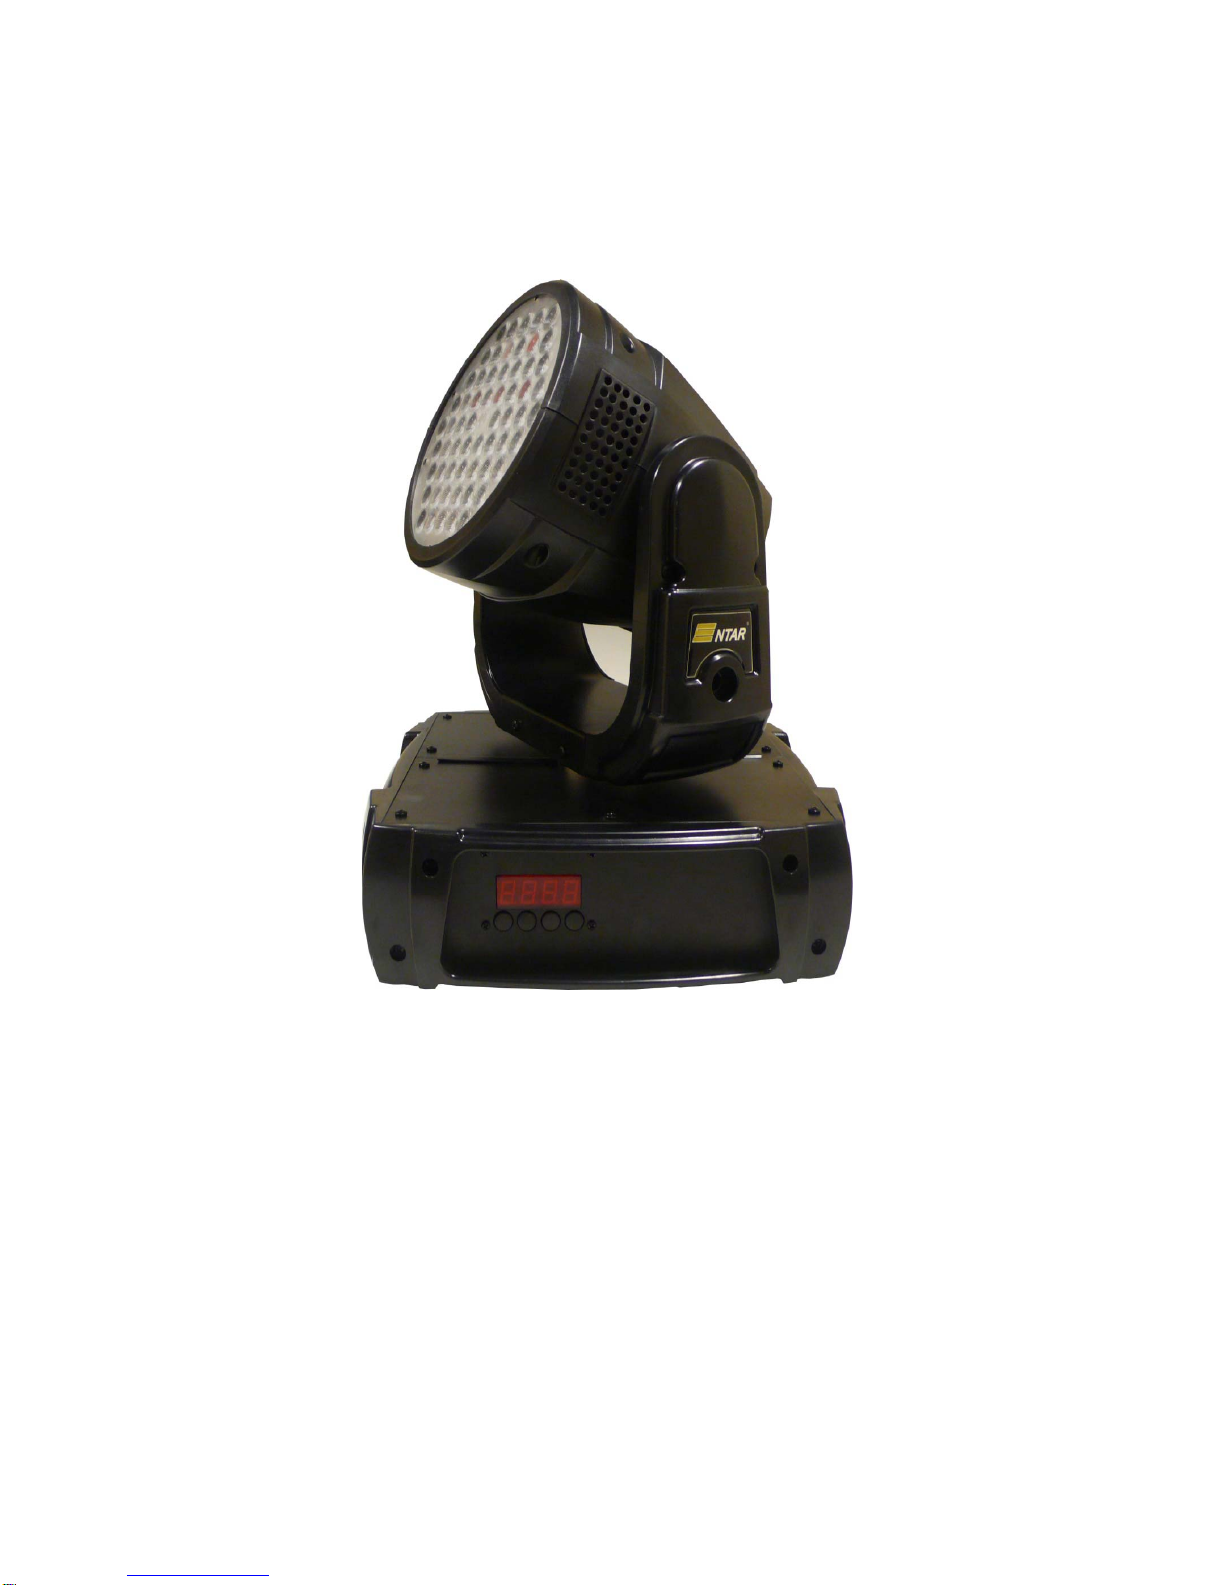
ML-180
USER MANUAL
USER
MANUAL
Entar Professional Limited
ML-180 user manual
1

ML-180usermanual Entar Professional Limited 2
SAFETY INFORMATION
PROTECTION FROM ELECTRIC SHOCK
Warning! This product is for professional use only. It is not for household or residential use.
This product presents risks of lethal or severe injury due to fire and heat, electric shock, and falls. Read
this manual before powering or installing the fixture, follow the safety precautions listed below and
observe all warnings in this manual and printed on the fixture. If you have any question about how to use
this fixture safely, please contact your Entar dealer.
Warning! Always disconnect from mains supply before replacing the lamp.
Disconnect the fixture from AC power before removing or installing the fuse, or any part, and when not in
use.
Always ground (earth) the fixture electrically.
Use only a source of AC power that complies with local building and electrical codes and has both
overload and ground-fault protection.
Do not expose the fixture in rain and moisture.
Refer any service operation not described in this manual to a qualified technician.
Never operate the fixture with missing or damaged lenses and/or covers.
Do not stare directly into the light.
PROTECTION FROM BURNS AND FIRE
Never attempt to bypass the thermostatic switch or fuses. Always replace defective fuses with ones of
the specified type and rating.
Keep all combustible materials (for example fabric, wood, paper) at least 1 meter away from the fixture.
Keep flammable materials well away from the fixture.
Do not illuminate surfaces within 1 meters (3 feet) of the fixture.
Provide a minimum clearance of 0.1 meters around fans and air vents.
Never place filters or other materials over the lens.

ML-180usermanual Entar Professional Limited 3
INTRODUCTION
MAIN FEATURES
540°pan and 270° tilt at 8/16 bit
DMX channels: 12
Light sources: 18 3Watt blue LED, 21 3Watt red LED, 21 3Watt green LED
Power consumption: 220W
Dimmer: Smooth dimming 0-100%
Strobe: 1~10 f.p.s.
Color: RGB color mixing
Speed: pan and tilt speed adjustment
Pan and tilt position correction

ML-180usermanual Entar Professional Limited 4
SETUP
UNPACKING
The ML-180 comes with:
User manual
Power cable
2x XLR connectors
AC POWER
Warning! For protection from electric shock, the fixture must be grounded (earthed). The power supply
shall have overload and ground-fault protection.
RIGGING OR MOUNTING THE ML-180
Warning! Attach an approved safety cable to the attachment point provided in the base. Never use the
carrying handles for secondary attachment. Always use an approved safety cable.
CONNECTING THE SERIAL DATA LINK
The ML-180 has locking 3-pin data input and output sockets that are wired for use with DMX
devices with pin 1 to shield, pin 2 to cold(-) and pin 3 to hot(+).
1. Connect the controller’s output to the fixture’s data input.
2. Connect the output of the fixture closest to the controller to the input of the next fixture. If connecting
a fixture with pin 3 hot to a fixture with pin 3 cold, use a phase-reversing adaptor.
3. To terminate the link, insert a male 120ΩXLR termination plug in the output of the last fixture.
TIPS FOR BUILDING A SERIAL LINK
zUse shielded twisted-pair cable designed for RS-485 devices: standard microphone cable cannot
transmit DMX data reliably over long runs. For links up to 300 meters (1000 ft.) long, you can use
24 AWG, low capacitance, 85-150 ohm characteristic impedance, shielded cable with 1 or more
twisted pairs. For runs up to 500 meters (1640 ft.) use 22 AWG cable. Use an amplifier if the serial
link exceeds 500 meters.
zNever use a “Y” connector to split the link. To split the serial link into branches use a splitter.
zDo not overload the link. Up to 32 devices may be connected on a serial link.
zTerminate the link by installing a termination plug in the output socket of the last fixture on the link.
The termination plug, which is simply a male XLR connector with a 120 ohm, 0.25 watt resistor
soldered between pins 2 and 3, “soaks up” the control signal so it does not reflect back down the
link and cause interference. If a splitter is used, terminate each branch of the link.
CONTROL PANEL

ML-180usermanual Entar Professional Limited 5
MENU NAVIGATION
The DMX address is displayed after the fixture resets. To enter the menu, press [mode]. Use the [up] and
[down] keys to select an option.
SETTING THE DMX MODE
1. Apply power to the ML-180. Press [mode] to enter the Addr mode.
2. Select a DMX starting address by using the [up] and [down] keys.
3. Store the DMX starting address by pressing the [mode].
MOVEMENT
The ML-180 provides 2 menus with options for optimizing movement to suit different
applications.
(PAN->YES) allows you to reverse pan movement.
(Tilt->YES) allows you to reverse tilt movement.
RESET
The ML-180 can be reset without switching off the power supply (RSET).
1. Press [mode] to enter the (rset) mode.
2. Press [up] or [down] key to reset the fixture.
OPERATING MODES
The ML-180 can run in 3 modes: DMX, sound activation and auto. The fixtures can run in
master/slave mode with sound activation.
To activate sound trigger, press [mode] to enter (RUN), then press [up] or [down] key to select (PRG0).
To run the built-in sequences, press [mode] to enter (RUN), then press [up] or [down] key to select
(PRG1).
To set a fixture run as a slave unit, press [mode] to enter (RUN), then press [up] or [down] key to select
(FOLL).
DMX PROTOCOL

ML-180usermanual Entar Professional Limited 6
DMX channel Value Function
1
0-7
8-215
216-231
232-255
Switch, Strobe, reset
Blackout
Strobe, slow →fast
Blackout
Full light output
2
0-255
Dimming
Bright Ædark
3
0-7
8-247
248-255
Macro
White
Macro effects 1
Macro effects 2
4 0-255 Macro
5 0-255 Pan
(127 = neutral)
6 0-255 Tilt
(127 = neutral)
7 0-255 Pan 16 bit
8 0-255 Tilt 16 bit
9
0-255
Pan / tilt speed
Fast Æslow
10 0-255
Red
Dark Æbright
11 0-255
Green
Dark Æbright
12 0-255
Blue
Dark Æbright
Table of contents


