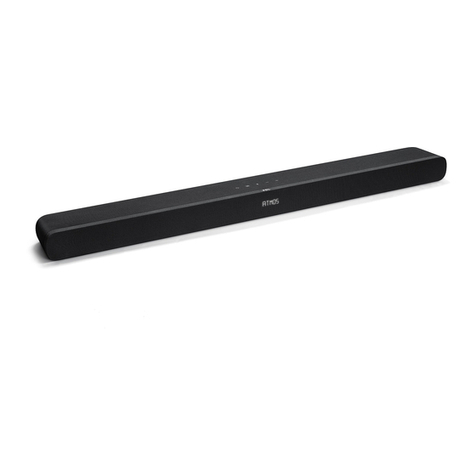
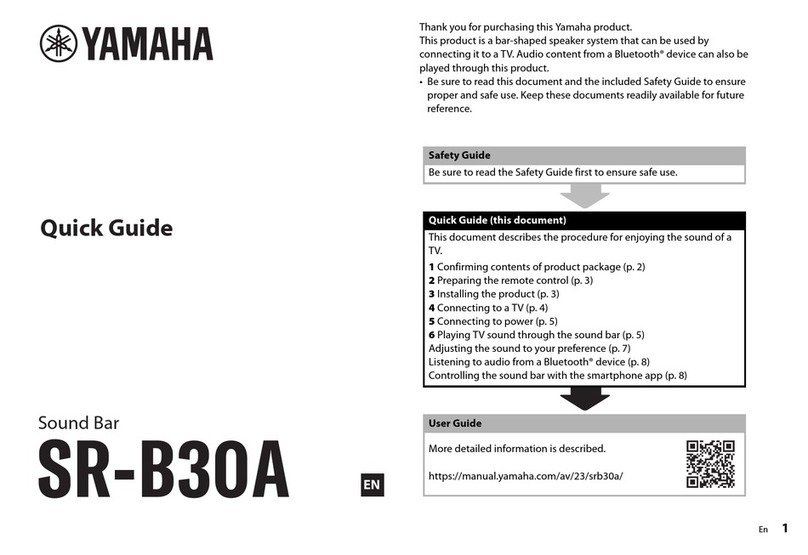
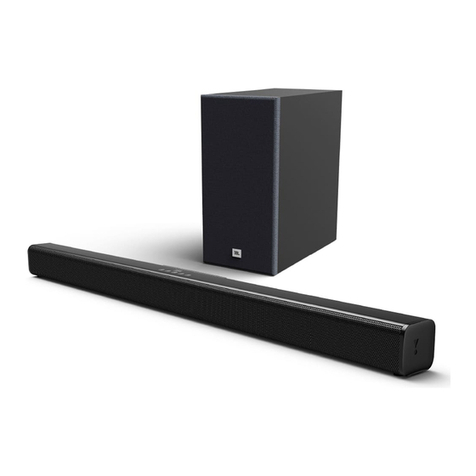
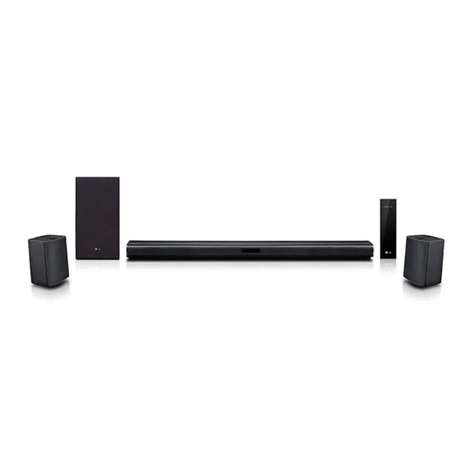
envivo 58666 User manual

User manual
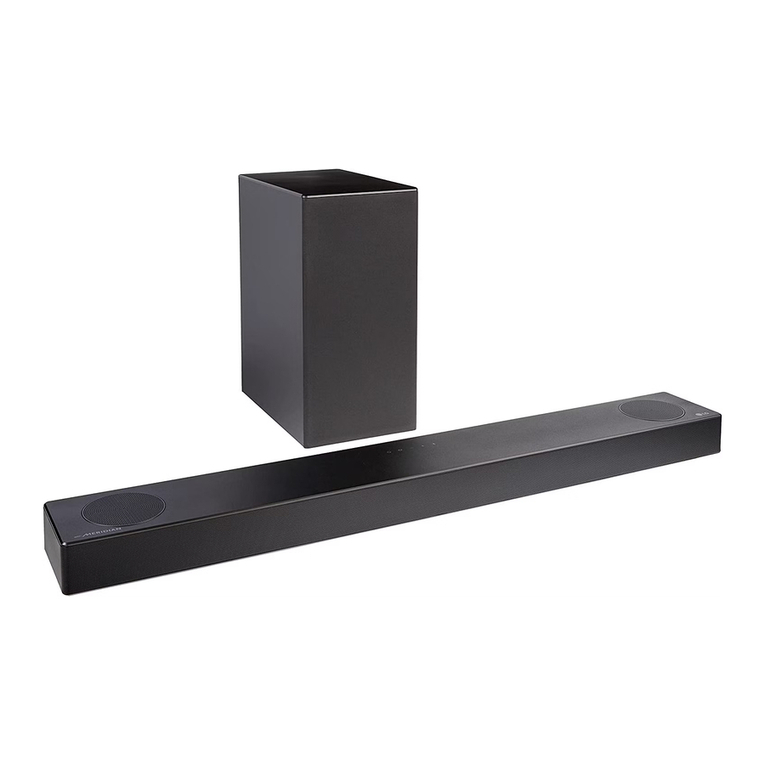
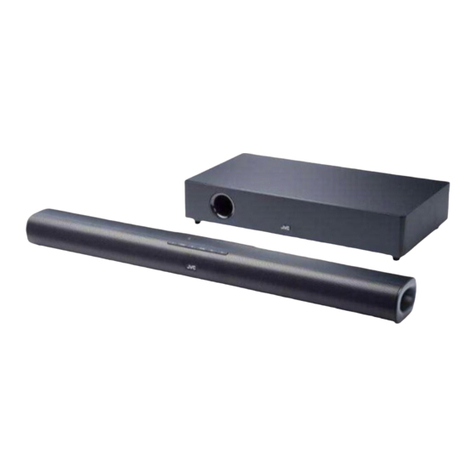
Bluetooth Soundbar

2

3
CONTENT
Welcome ................................................................................................................................4
Warnings and Precautions ...................................................................................................4
Important Safety Instructions ...............................................................................................6
Specifications.........................................................................................................................6
Setup .......................................................................................................................................7
Introduction ............................................................................................................................8
Audio inputs............................................................................................................................9
Line In.....................................................................................................................................11
Bluetooth Connection ........................................................................................................11
Disposal .................................................................................................................................12
Warranty card......................................................................................................................13

4
WELCOME
You have made an excellent choice with the purchase of this quality EnVivo brand product.
By doing so you now have the assurance and peace of mind, which comes from purchasing
a product that has been manufactured to the highest standards of performance and safety,
supported by the high quality standards of Accession ApS.
We want you to be completely satisfied with your purchase so this EnVivo product is backed
by a comprehensive manufacturer’s 3-year warranty and an outstanding after sales service
through our dedicated Helpline.
We hope you will enjoy using your purchase for many years to come.
If you require technical support or in the unlikely event that the purchase you have made is
faulty, please telephone our Helpline for immediate assistance. Faulty product claims made
within the 3 year warranty period will be repaired or replaced free of charge provided that
you have satisfactory proof of purchase (keep your till receipt safe!) This does not affect your
statutory rights. However, be aware that the warranty will become null and void if the
product is found to have been deliberately damaged, misused or disassembled.
WARNINGS AND PRECAUTIONS
Warnings
This appliance is for household, indoor use only.
To reduce the risk of fire or electric shock, do not expose this apparatus to rain or
moisture.
The warranty for this product is invalidated if the product has been tampered with in any
way. There are no user serviceable parts inside this product.
Do not place this unit directly onto furniture surfaces or soft, porous, or sensitive finish. As
with any rubber compound made with oils, the feet could cause marks or staining where
the feet reside. We recommend using a protective barrier such as a cloth or a piece of
glass between the unit and the surface to reduce the risk of damage and/or staining.
Use of this unit near fluorescent lighting may cause interference regarding use of the
remote. If the unit is displaying erratic behavior move away from any fluorescent
lighting, as it may be the cause.
The battery, batteries, and battery pack shall not be exposed to excessive heat such as
sunshine, fire, or the like.
Lithium batteries, like all rechargeable batteries are recyclable and should be recycled
or disposed of in normal household waste. Contact your local government for disposal
or recycling practices in your area. They should never be incinerated since they might
explode.
Shock hazard - Do Not Open.

5
Cautions
To prevent electric shock, match wide blade of plug to wide slot, make sure it is fully
inserted.
Always unplug the appliance from the power outlet when it is not in use and before
cleaning. Only use this product with the adapter provided.
Use of any controls or adjustments or performance of procedures other than those
herein specified may result in hazardous radiation exposure.
Danger of explosion if battery is incorrectly replaced. Replace only with the same or
equivalent type.
WARNING: TO REDUCE THE RISK OF ELECTRIC SHOCK,
DO NOT REMOVE COVER (OR BACK). NO USER
SERVICEABLE PARTS INSIDE. REFER SERVICING TO
QUALIFIED SERVICE PERSONNEL.
The lightning flash with arrowhead symbol, within an
equilateral triangle, is intended to alert the user to the
presence of uninsulated "dangerous voltage" within the
product's enclosure that may be of sufficient
magnitude to constitute a risk of electric shock to
persons.
The exclamation point within an equilateral triangle is
intended to alert the user to the presence of important
operating and maintenance (servicing) instructions in
the literature accompanying the appliance.

6
IMPORTANT SAFETY INSTRUCTIONS
1. Read these Instructions.
2. Keep these Instructions.
3. Heed all warnings.
4. Follow all instructions.
5. Do not use this apparatus near water.
6. Clean only with a dry cloth.
7. Do not block any ventilation openings. Install in accordance with the manufacturer’s
instructions.
8. Do not install near any heat sources such as radiators, heat registers, stoves, or other
apparatus (including amplifiers) that produce heat.
9. Do not defeat the safety purpose of the polarized or grounding - type plug. A polarized
plug has two blades with one wider than the other. A grounding type plug has two
blades and a third grounding prong. The wide blade or the third prong is provided for
your safety. When the provided plug does not fit into your outlet, consult an electrician
for replacement of the obsolete outlet.
10. Protect the power cord from being stepped on or pinched particularly at plugs,
convenience receptacles, and the point where they exit from the apparatus.
11. Only use attachments/ accessories specified by the manufacturer.
12. Unplug this apparatus during lightning storms or when unused for long periods.
13. Refer all servicing to qualified service personnel. Servicing is required when the
apparatus has been damaged in any way, such as power-supply cord or plug is
damaged, liquid has been spilled or objects have fallen into the apparatus, the
apparatus has been exposed to moisture, does not operate normally, or has been
dropped.
14. Do not use the product for any purpose other than its intended use.
SPECIFICATIONS
32” length
Supports Bluetooth v2.0
Supports Enhanced Data Rate (EDR)
Supports profile A2DP (Advanced Audio Distribution Profile)
Digital volume control
Remote
Optical digital audio input
3.5 mm audio input
RCA stereo audio inputs
LED source indicators
LED pairing indicator
LED power indicator
Wall mountable
Wireless range: 33 feet
Built-in stereo speakers
Cloth speaker grill
AC power input: requires an AC/DC power adapter (included)

7
SETUP
Power
AC power input: Requires an AC/DC power adapter (included)
Remote control
Requires a CR2025 battery (pre-installed)
LED indicators
Status
Indicators
Power off
Red light
Optical mode
Amber light
AUX in mode
White light
Line in mode
Green light
Bluetooth ready
Flashing light
Bluetooth connected
Blue light

8
Mounting
Please follow the instructions on the enclosed separate mounting instructions.
INTRODUCTION

9
AUDIO INPUTS
Using the Stereo RCA Inputs
When connecting two products using an RCA cable, match the colored ports with the same
colored connection. Before use, disconnect any cables connected to the Line In.
1. Connect the RCA Cable to the RCA Stereo Inputs located on the back of the unit, and
to the audio outputs on the television.
2. Press the Power button to power on the unit.
3. Press the Source button repeatedly on the soundbar or push AUX on your remote control
to enter Aux Mode, indicated by a white light.
4. Audio played through the television will now be heard through the speakers.

10
Using the Optical Input
You will need: An audio source with an Optical Audio Output and a Digital Optical Audio
cable (not included)
1. Connect the Digital Optical Audio cable to the optical output on the audio source and
to the Optical Input on the speaker bar.
2. Press the Power button to power on the unit.
3. Press the Source button repeatedly on the soundbar or press Optical on the remote
control to switch to SPDIF Mode, indicated by an amber light.
4. Using the native controls on your connected device, make sure the audio settings are
set to PCM or Optical Audio and are turned On.
5. Audio from the connected audio source will now be played through the speakers.
NOTE: The Bluetooth Soundbar will automatically go into standby mode after 5 minutes without receiving any
audio signal.

11
LINE IN
Using the Line In
1. Plug one end of a 3.5 mm audio input cable (included) into the Line In on the unit.
Before use, disconnect any cables connected to the Stereo RCA Inputs.
2. Plug the other end of the cable into the audio output/headphone output on an MP3
Player or other audio source.
3. Press the Power button to power on the unit.
4. Press the Source button repeatedly on the soundbar or press LINE on the remote control
to enter Line In Mode, indicated by a green light.
5. Audio played through the connected device will now be heard through the speakers.
NOTE: The Bluetooth Soundbar will automatically go into standby mode after 5 minutes without receiving any
audio signal.
BLUETOOTH CONNECTION
Pairing a Bluetooth Device for the First Time
1. Power on the unit by pressing the Power button.
2. Press the Source button repeatedly on the soundbar, or press the Bluetooth icon on the
remote control to enter Bluetooth mode, indicated by a blue light.
3. Press the Pairing button on the side of the unit.
The Pairing Indicator will flash blue quickly. When pairing, remain within 3 feet of the unit.
4. Using the native controls on your Bluetooth device, select the “SB Speaker” in your
Bluetooth settings to pair.
If your device requests a password, enter the default ”0000”. Refer to the “user’s
manual” for your specific device for instructions on pairing and connecting Bluetooth
devices.
5. When successfully paired and connected, a beep will issue from the unit and the Pairing
Indicator will display a solid blue light. After initial pairing, the unit will stay paired unless
unpaired manually by the user, or until it is erased due to a reset of the device.
If your device should become unpaired or you find it is unable to connect, repeat the
above steps.
Playing Audio Wirelessly
1. Follow the instructions for Pairing a Bluetooth Device.
2. Use the native controls on the connected Bluetooth Device to select a track.
3. To play, pause or skip the selected track, use the native controls on the connected
Bluetooth Device.
4. Audio played through the connected Bluetooth device will now be heard through the
speakers.
NOTE: The Bluetooth Soundbar will automatically go into standby mode after 5 minutes without receiving any
audio signal.

12
DISPOSAL
Batteries, electrical and electronic equipment (EEE) contain
materials, parts and substances, which can be dangerous to the
environment and harmful to human health if waste of electrical
and electronic equipment (WEEE) are not disposed of correctly.
Batteries, electrical and electronic equipment, which are marked
with the WEEE logo (as shown on the left), should not be thrown
away with your household waste. Contact your Local Authority
Waste Disposal Department, as they will be able to provide details
of the recycling options available in your area.
Battery safety:
Do not burn. Risk of explosion.
Do not recharge non-recharge-able batteries.
If swallowed seek immediately medical advice.
Ensure correct polarity.
If not used for extended period remove battery.

13
WARRANTY CARD
Please keep your purchase receipt together with your card.
Name _______________________________________________________________________
Address _____________________________________________________________________
_____________________________________________________________________________
_______________________________________________________________
Date of purchase ____________________________________________________________
Location of purchase_________________________________________________________
Accession ApS - Nibevej 54, 1. - DK - 9200 Aalborg SV
www.accessionx.com
Detailed description of malfunction
Table of contents
