Eraser WT Series User manual

Automatic Wire Twister WT40
Please Read Before Operating Unit
Operating Manual
The Eraser Company, Inc.
PO Box 4961
Syracuse, NY 13221, USA
Phone: (315) 454-3237
Fax: (315) 454-3090
Website: www.eraser.com
E-mail: info@eraser.com

p 2
Eraser Company Inc. • Syracuse, NY USA • Ph: 315-454-3237 • info@eraser.com • www.eraser.com • Fax 315-454-3090
SPECIFICATIONS
Wire size:
WT40....................... Maximum bundle not to exceed
equivalent of three stranded 14 AWG
(1.63mmø) insulated wires
Twist length.................................................. Up to 20’
Twist quantity............. Up to 999,999 twists per cycle
Twist speed....Variable from 0 to 26 turns per second
Decibel rating............................................... 60 dB(A)
Power ......................... Input via fused IEC connector
120V 50/60Hz
Size:
Unit ........................................ 9-3/4" x 8-3/4" x 5-3/4"
(248mm x 222mm x 146mm)
Foot pedal...........................................6" x 6" x 4-1/2"
(152mm x 152mm x 114m)
Weight ............................................. 16.5 lbs. (7.5Kg)
ORDERING INFORMATION
AR4240 (WT40).................Wire twister, not including
custom holding/clamping device
120V 50/60Hz
NOTE: The WT40 utilizes a custom built holding/clamp-
ing device. Send samples and specications for quoting.
To participate in the Eraser Certication Program (E.C.P),
send 5 feet of each type of wire and twisting specica-
tions to our Lab Technician. Download the E.C.P. form
on our website or call your Product Specialist to request
a copy.
WT SERIES AUTOMATIC
WIRE TWISTERS
SET-UP:
To set up the WT40, install the custom holder/clamp
into the front of the unit by using the Allen wrench.
Be sure to align at on holder clamp with set screw
in the twisting head.
The WT40 operates only from a 120, 60Hz electrical
supply. Plug the unit directly into the power supply
and turn it on.
PROGRAMMING:
Set the desired number of twists on the counter
located on the front panel of the machine. To
determine the setting, multiply the number of turns
per inch required by the length in inches of the
piece being twisted. (For example, 10 turns per inch
required times 6” length of wires equals a counter
setting of 60.)
To program the counter for the desired number
of twists, depress the Ùbutton. The second line
will show the number being entered. Use the ÜÛ
buttons to change the numbers. The Ùbutton will
advance which digit you are changing (indicated by
ashing) so you can change large numbers by tens,
hundreds, thousands, etc. When the desired count
is reached, press the MODE button to accept the
new number of twists to be made.
CONTINUOUS OPERATION:
The WT40 may be run continuously without setting
a number on the counter. To do this, program the
counter for 0, depress the foot pedal and release
it when the desired amount of twists have been
completed.

p 3
Eraser Company Inc. • Syracuse, NY USA • Ph: 315-454-3237 • info@eraser.com • www.eraser.com • Fax 315-454-3090
OPERATION:
Set the variable twisting speed control knob to 20 or
greater.
With the custom holder/clamp installed and the
counter and twisting speed set, the unit is ready to
use. Insert the wires to be twisted into the custom
holder/clamp and depress the foot pedal. Hold the
footswitch until preset programmed number of twists
has been reached. The foot pedal must remain
depressed until the end of the cycle. Releasing
the foot pedal will stop the twisting action at any
point during the cycle. When the pedal is pressed
again, the cycle will resume. The operator has 1 to
2 seconds to release the foot pedal before the next
twisting cycle begins.
NOTE: If footswitch remains depressed beyond the 1
to 2 second “time out” period, the next twisting cycle will
begin automatically.
IMPORTANT: THE MOTOR MUST BE
COMPLETELY STOPPED BEFORE CHANGING
THE TWIST DIRECTION. FAILURE TO DO THIS
MAY RESULT IN DAMAGE TO THE UNIT.
Adjustments may be made to the speed of twist
by use of the variable speed control knob. Do not
set the knob lower than 20 or the unit will not twist.
Twisting speed should be determined by trial and
error and will dier for dierent types and lengths of
wires to be twisted. To change the direction of twist,
use the rocker switch located on the back of the
machine near the top center.
MAINTENANCE:
Keep machine clean at all times.
TROUBLESHOOTING:
PROBLEM: Machine will not twist when foot pedal
is depressed.
SOLUTIONS:
1) Turn variable speed control to a setting greater
than 20.
2) Make sure twist direction rocker switch on rear of
unit is set to desired direction.
PROBLEM: Machine runs continuously.
SOLUTION: Set the counter to a number greater
than 0 (See Programming).
PROBLEM: Machine does not run.
SOLUTIONS:
1)Make sure twist direction rocker switch on rear of
unit
is set to desired twist direction, and that it is not in
neutral (center) position.
2) Check fuse.
WT Series Automatic Wire Twisters - OPERATING INSTRUCTIONS
Operation for Model WT40

SAFETY PRECAUTIONS - MECHANICAL
!DO NOT OPERATE UNIT WITHOUT GUARDS IN PLACE OR
WITH DAMAGED GUARDS.
!DO NOT DEFEAT ANY OF THE SAFETY FEATURES.
!DO NOT PLACE FINGERS OR APPENDAGES NEAR MOV-
ING PARTS OR IN OR NEAR OPENINGS IN GUARDS.
SAFETY PRECAUTIONS - ELECTRICAL
! ALWAYS UNPLUG UNIT FROM POWER SUPPLY PRIOR TO
ANY MAINTENANCE.
!DO NOT RUN UNIT WITH INCORRECT LINE VOLTAGE.
! NEVER RUN MACHINE WITH DAMAGED OR WORN
POWER CORD.
! NEVER MODIFY THE PLUG PROVIDED. IF IT WILL NOT
FIT INTO THE OUTLET, HAVE THE PROPER OUTLET
INSTALLED BY A QUALIFIED ELECTRICIAN.
GROUNDING INSTRUCTIONS. Grounding provides a common
return path for electric current to reduce the risk of electric
shock. This machine is supplied with an electric cord with an
equipment-grounding conductor and a grounding plug. The
plug must be plugged into a matching outlet that is properly
installed and grounded in accordance with all local codes and
ordinances.
Improper connection of the equipment-grounding conductor
can result in a risk of electric shock. Check with a licensed
electrician if in doubt as to whether the machine is properly
grounded.
SAFETY FIRST - USE BEST PRACTICES
ALWAYS USE SAFETY GLASSES. Everyday eyeglasses only
have impact resistant lenses; they are NOT safety glasses. Also
use face or dust mask if cutting operation is dusty.
REMOVE ADJUSTING KEYS AND WRENCHES. Form a
habit of checking to see that keys and adjusting wrenches are
removed from machine before turning it on.
KEEP WORK AREA CLEAN. Cluttered areas and benches
invite accidents. Always leave at least 12” (305 mm) of space
around all sides and top of unit.
DON’T USE IN DANGEROUS ENVIRONMENTS. Do not use
or locate machine in high-humidity environments, or expose to
rain. Keep work areas well lighted.
WEAR PROPER APPAREL. Do not wear loose clothing, such
as gloves, neckties, rings, bracelets, necklaces or any other
clothing or jewelry that might get caught in moving parts. This is
not an all-inclusive list. Wear protective hair covering to contain
long hair. Non-slip footwear is recommended.
DON’T OVERREACH. Maintain proper footing and balance at
all times.
DISCONNECT MACHINE FROM POWER SUPPLY.
Unplug the unit before servicing and when changing
accessories.
DO NOT EXCEED THE UNIT’S MAXIMUM MATERIAL
SPECIFICATIONS. Eraser’s warranty will be null and void if
machine has been used in any manner that is contrary to these
instructions.
CHECK FOR DAMAGED PARTS. Before continued use of the
machine, the guard and all moving parts should be carefully
inspected to ensure that nothing is damaged.
Ensure proper alignment of moving parts. Check for any binding
of moving parts, breakage of parts, and any other condition(s)
that may aect operation. Any damaged part(s) should be
properly repaired or replaced prior to any continued use of the
machine.
ONLY ALLOW TRAINED AND QUALIFIED PERSONNEL TO
OPERATE UNIT. Always keep these instructions within reach of
the machine.
USE RECOMMENDED ACCESSORIES ONLY. Consult this
operating manual for recommended accessories. Use only
parts supplied by The Eraser Company, Inc. Use of improper
accessories will void Eraser’s warranty and may increase risk of
injury.
ALL REPAIRS SHOULD BE PERFORMED BY AN
ERASER COMPANY REPRESENTATIVE ONLY.
Unauthorized disassembly of machines will void Eraser’s
warranty.
WHEN USING MACHINERY, ALL SAFETY PRECAUTIONS –
INCLUDING, BUT NOT LIMITED
TO, THOSE LISTED ABOVE - SHOULD BE FOLLOWED TO
REDUCE THE RISKS OF FIRE, ELECTRIC SHOCK, AND
PERSONAL INJURY, AND DEATH.
IMPORTANT: NO LIABILITY WILL BE INCURRED BY
THE ERASER CO. FOR INJURY, DEATH, OR PROPERTY
DAMAGE CAUSED BY A PRODUCT WHICH HAS BEEN
SET UP, OPERATED, AND/OR INSTALLED CONTRARY TO
ERASER’S WRITTEN OPERATING MANUAL, OR WHICH
HAS BEEN SUBJECTED TO MISUSE, NEGLIGENCE,
OR ACCIDENT, OR WHICH HAS BEEN REPAIRED OR
ALTERED BY ANYONE OTHER THAN THE ERASER
COMPANY, OR WHICH HAS BEEN USED IN A MANNER OR
FOR A PURPOSE FOR WHICH THE PRODUCT WAS NOT
DESIGNED.
IR8501
REV 1/23
p 4
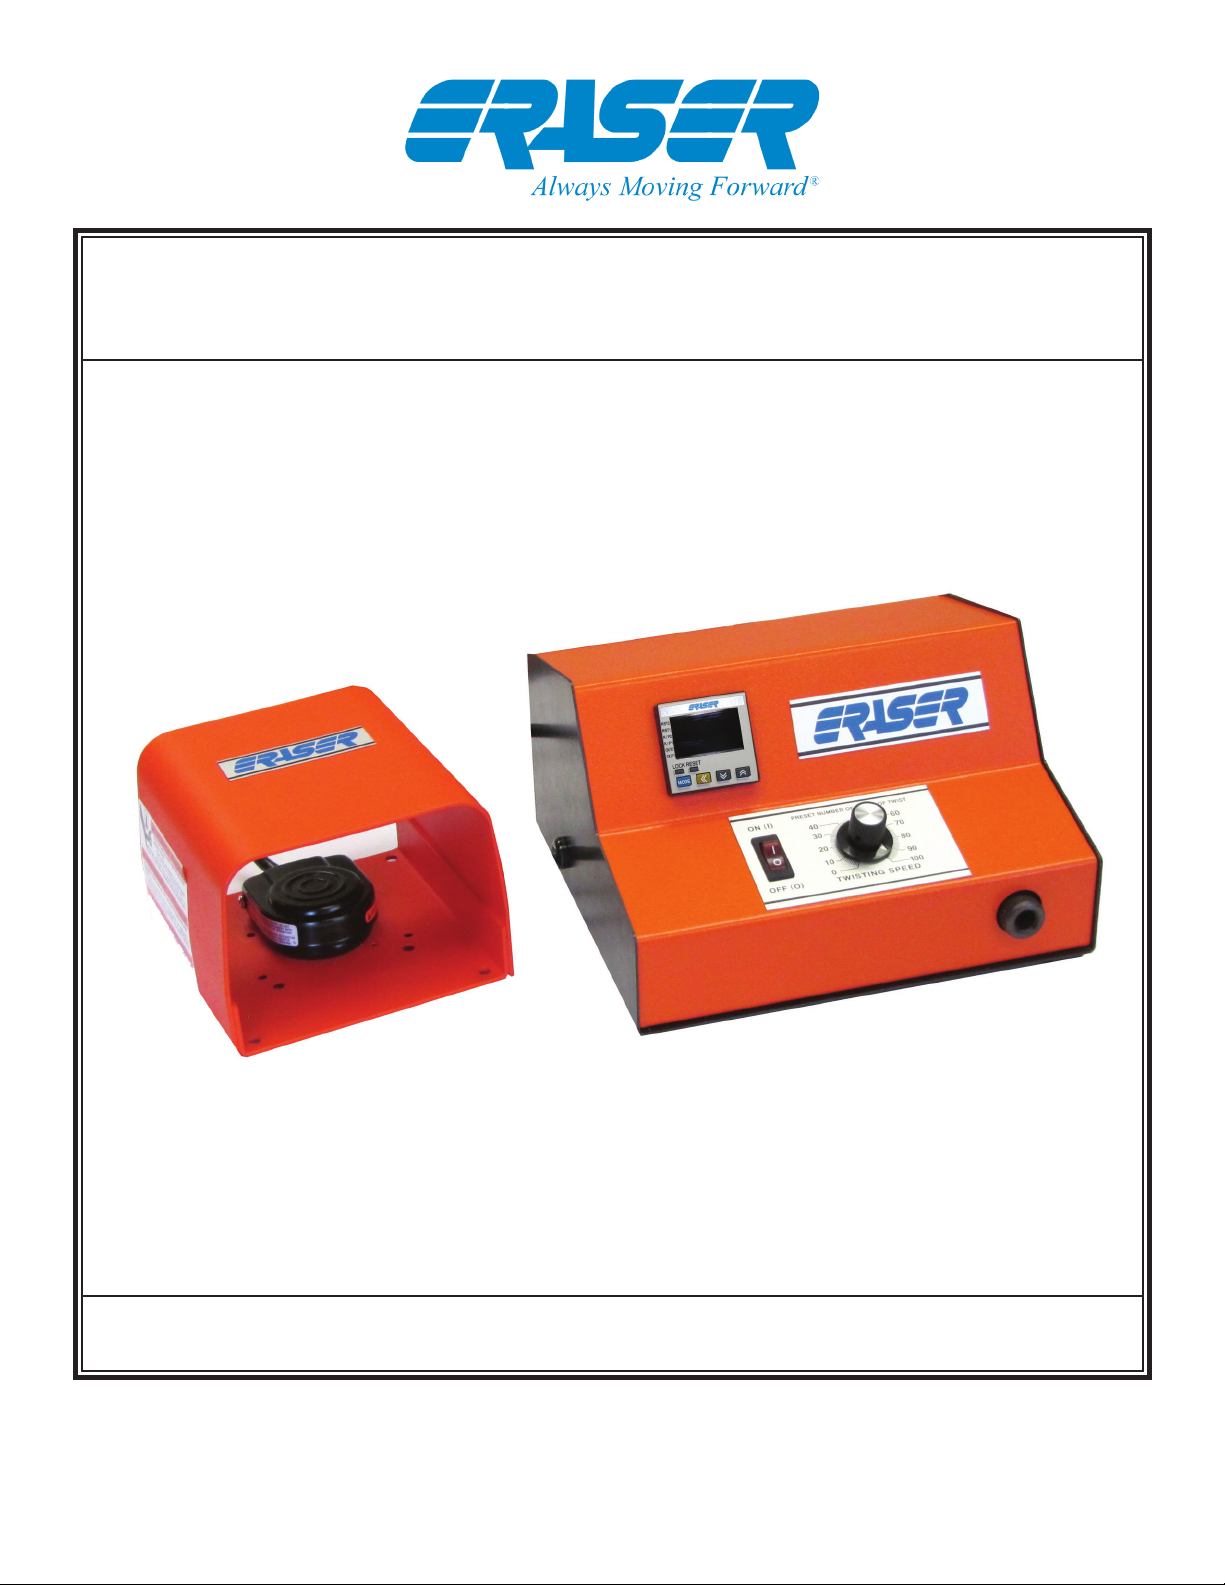
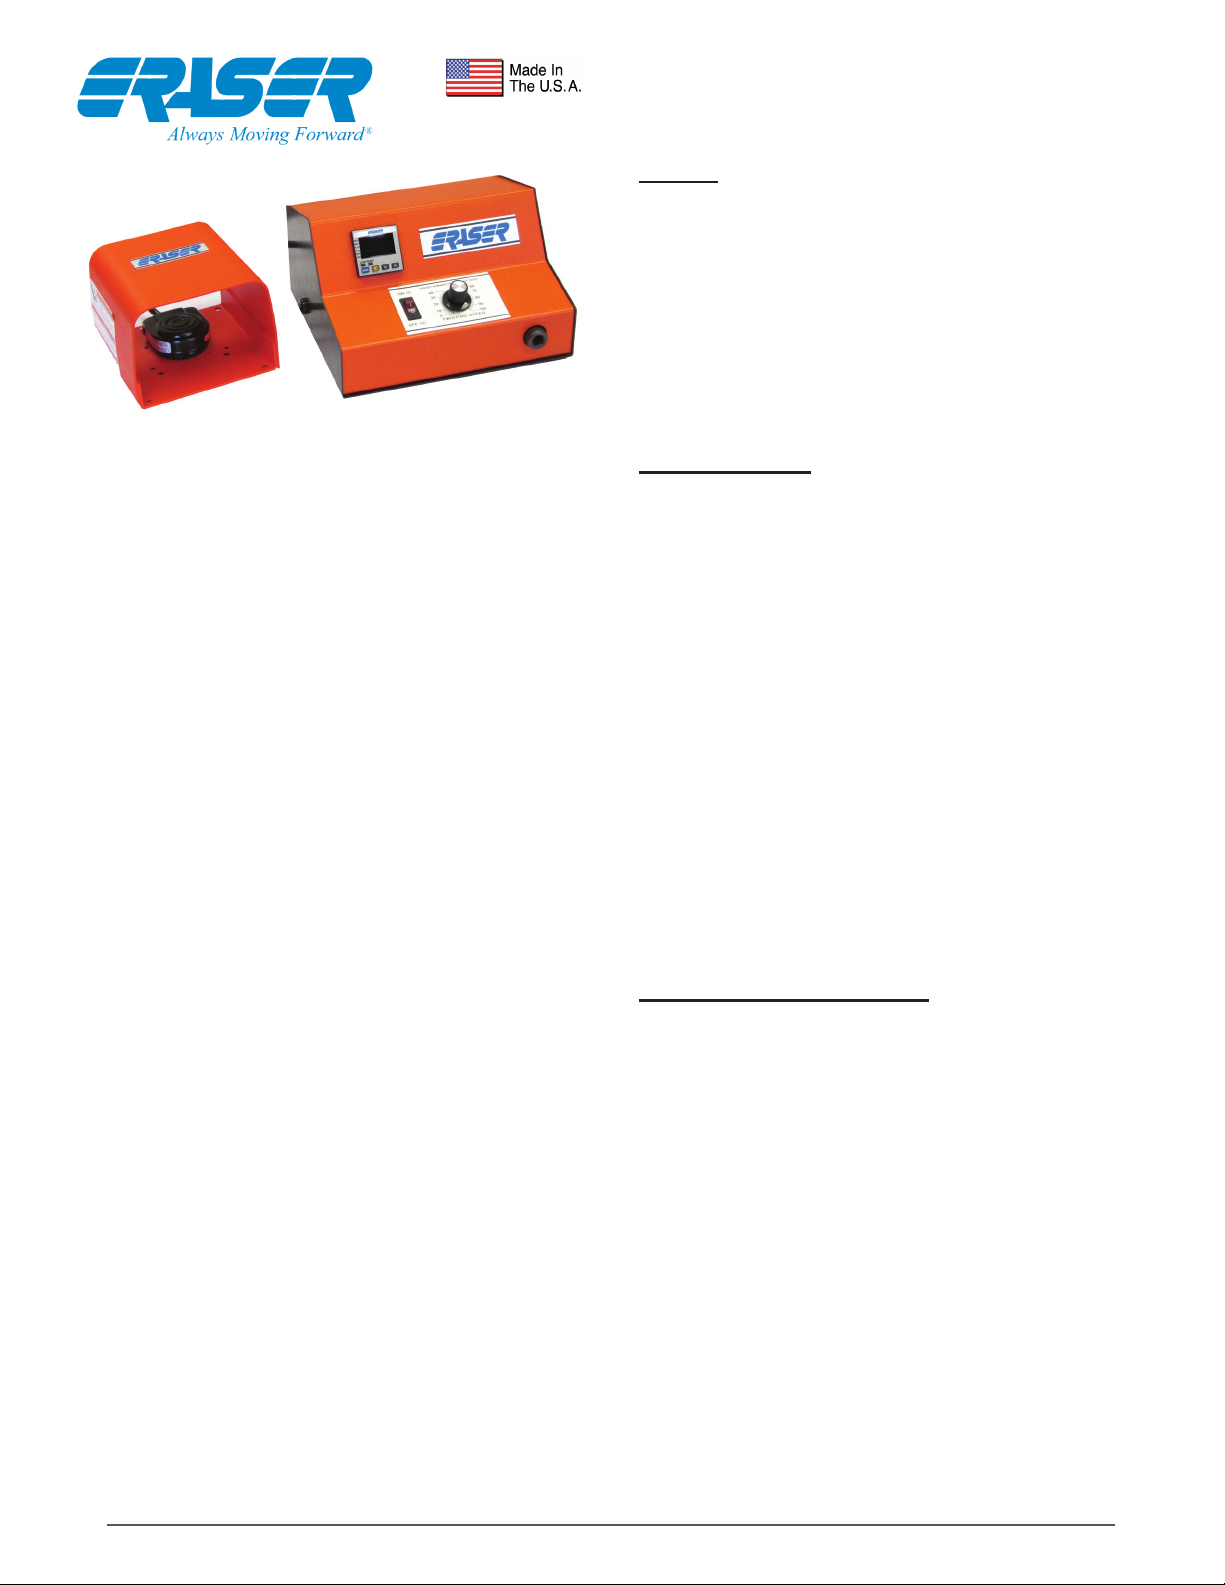
WT Series Automatic Wire Twisters - Safety Precautions
The Eraser Company, Inc.
PO Box 4961
Syracuse, NY 13221, USA
Phone: (315) 454-3237
Fax: (315) 454-3090
Website: www.eraser.com
E-mail: info@eraser.com
This manual suits for next models
1
Popular Industrial Electrical manuals by other brands

Murata
Murata GRM1887U1A223JA01 Series Reference sheet

Murata
Murata GRM1885C1H150JA01 Series Reference sheet

Circutor
Circutor OPTIM P&P Series instruction manual

Murata
Murata GRM1885C1H7R0BA01 Series Reference sheet

Murata
Murata GCM2165C1H391JA16 Series Reference sheet

Balluff
Balluff Easy Tool-ID 2.0 Configuration guide

Murata
Murata GRM185D70J475ME11 Series Reference sheet

BIRO
BIRO VTS-100 Operations manual & parts list

OPTO-ELECTRONIC
OPTO-ELECTRONIC DRFA Series user guide

Carrier
Carrier 69NT40-541-306 Operation and service

Huawei
Huawei SUN2000-4.95KTL-JPL0 quick guide

Murata
Murata GRT31CC81H225ME01 Series Reference sheet