manuals.online logo
Brands
  1. Home
  2. •
  3. Brands
  4. •
  5. ERGOVISION
  6. •
  7. Indoor Furnishing
  8. •
  9. ERGOVISION CLASSIC ET116G User manual

ERGOVISION CLASSIC ET116G User manual

12
34
11
11
12
5 6
22
78
1
910 1
11 12
13
1 1
4
1
23
13
5
12
8
11
6
7
x10
G
ST4.2x55
x8
F
M6x16
x4
E
M6x12
x4
D
M6x12
Ax4 x3
C
ST4.2x13
Bx2
ST4.2x16
H
4x4/
2.5x2.5
x2
6
7
8
H( 4x 4)
x2
Hx2
H( 2. 5 x2 . 5)
1
23
9
10
ADJUSTABLE HEIGHT STANDING DESK - CLASSIC
2
70KG
25mm/s
100-240V
1215mm
ET116G
Length1000~1600mm Width500~750mm
Product No.
Column Stage
Max. Load Capacity
Max. Speed
Power Input
Highest Position
Lowest Position
Tabletop Dimensions
Frequency
Temperature
10%(Work continuously for 2 minutes, pause for 18 minutes)
0-40
715mm
Attention: The drawings below are for guidance only and they may differ slightly from the product and fittings received. Please contact customer
service department if there are any missing tools or installation problems.
Plug
4*4 Inner Hexagon Allen
Key/ 5*5 Allen Key
(with cross)
Allen Key/
Nut Wrench
Component List Installation Diagram
No. Part Qty No. Part Qty
Left Beam
Crossbeam
Connecting Pipe
Right Beam Transmission Rod
Decorative Plate Lifting Column
Side Tube Foot
Switch Cord Handset
Power Adapter Power Plug
Cable Tie
STEP1 Install Beam and Transmission Rod
Loosen
Insert at both ends so that the labels on both sides are not exposed
Loosen before inserting
Insert Insert
Tighten after inserting
Tighten
H
4x4/5x5/Nut Wrench
B
x2
x3
G
ST4.2x55
x10
GB
ST4.2x16
H
5x5
x1
C10
5
C
x3
ST4.2x13
13
9
11
12
H
5x5
x1
E
M6x12
x4
A
E
H( 5x5)
A
x4
7
H( 4x 4)
1
2
2
1
H( 5 x5)
H( 5 x5)
13 13 13
STEP3
STEP4
STEP5
STEP2 Install Side Tube
Plug
Use a 5x5 (with cross) allen key(H) to tighten the screws(E), fix the side tubes (7), and press the hole plug(A) into the side hole.
Attach Tabletop to Beam Note: Place the beam in the middle of the plank and leave a proper
distance on each side, then fix it. If the width of the beam is not
appropriate, you can refer to step 1 to adjust the width.
Tighten the Screws(G)
The distance between the two
sides should not be than 200mm
H(Nut Wrench)
Install the beam assembly (step 2) on the tabletop, use a 5x5 (with cross) allen key (H) to screw in the screws(G) and the
screws(B) and tighten them.
Install Decorative Plate and Handset
Internal accessories of Handset ST4.2x19
Fix the decorative board (5) with screws C to cover the main parts of the transmission
rod; fix the handle (10) at the position on the side of the motor (as shown in the figure) ,
and fix it with the ST4.2x19 screws, the internal accessories of Handset.
Wiring of Handset, Motor and Adapter
Connect the switch
cord (9), electric machine
line, handset (10) and
adapter (11) as shown in
the figure, and use the
wire tie (13) to sort out
the wire after cleaning,
fix it, and then fix the
adapter (11) in the right
place under the tabletop
with velcro.
Use the cable tie (13) to fix each
connection cable on the tabletop
to keep the cable organized.
Tear off Manage
Cable
Fix
H
4x4
x1
Fx8
M6x16
8
F
4x4扳手
D
x4
M6X12
D
Hx1
4x4
H( 4 x4)
H( 4 x4)
STEP6
STEP7
Assemble Lifting Column
1.As shown in the picture, insert
lifting column into the gear box.
2.Rotate the lifting column (6) to
the position as shown in the
figure, rotate clockwise after
full insertion.
3. After rotating, first use a 4x4
allen key(H) to screw the
screws (D) into the position
shown in the figure, and then
tighten the 8 screws(D).
Install Feet
As shown in the figure, install
the feet (8) on the columns,
and tighten the 8 screws(F)
with a 4x4 allen key(H). After
completing installation, turn
the table over and plug in
the power supply then it can
be normally used.
“”
“”
How to use handset
Adjust the desk upwards
Adjust the desk downwards
70
1.Check if overloaded, max loading: 70kg;
2.Contact your supplier or dealer
1.Reset
2.Contact your supplier or dealer
Go down but not go up
Downward sliding
This marking indicates that this product should not
be disposed with other household wastes. To
prevent possible harm to the environment or
human health from uncontrolled waste disposal,
recycle it responsibly to promote the sustainable
reuse of material resources. To return your used
device, please use the return and collection
systems or contact the retailer where the product
was purchased. They can take this product for
environmental safe recycling.
Operation


Button Lift Function
Reset Function
Press the“▲”or“▼" button to adjust the height of the desk.
(1) When at the lowest position, long press the "▼" button for more
than 5 seconds to enter the reset mode. The reset will be finished until
the lift system rebound and stop after reaching the bottom.
(2) When the lifting system fails, release the button, long press the
"▼" button, the reset will be finished until the lift system rebound and
stop after reaching the bottom.

Popular Indoor Furnishing manuals by other brands

Forte HUDV711 Assembling Instruction

Forte

Forte HUDV711 Assembling Instruction

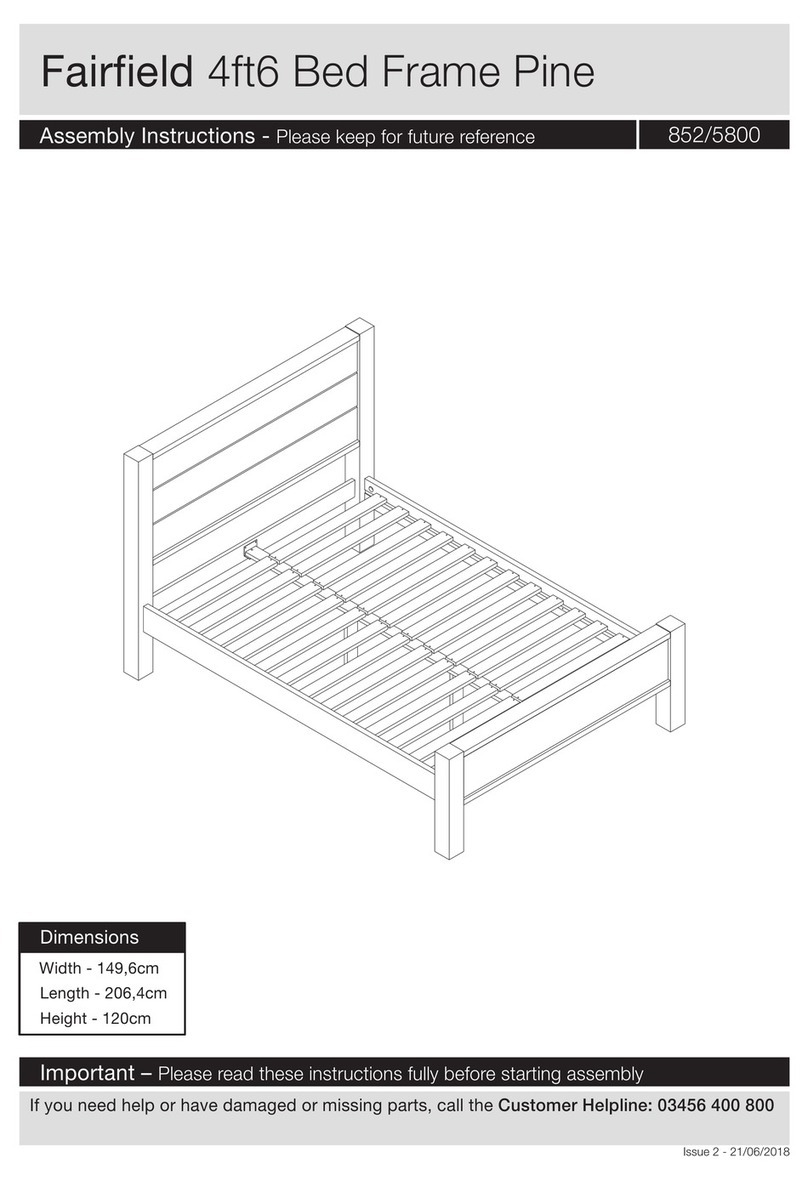
Argos Fairfield 852/5800 Assembly instructions

Argos

Argos Fairfield 852/5800 Assembly instructions

convenience concepts 157010 Assembly instructions

convenience concepts

convenience concepts 157010 Assembly instructions

Malouf Structures N150 owner's manual

Malouf

Malouf Structures N150 owner's manual

Cooper Lighting LV340M HSQ Specification sheet

Cooper Lighting

Cooper Lighting LV340M HSQ Specification sheet

Kleenmaid LWK320 quick start guide

Kleenmaid

Kleenmaid LWK320 quick start guide

Ergolux SUNNYVALE ELSUNNYOCBA user guide

Ergolux

Ergolux SUNNYVALE ELSUNNYOCBA user guide

KitchenAid KKFV01LPCR parts list

KitchenAid

KitchenAid KKFV01LPCR parts list

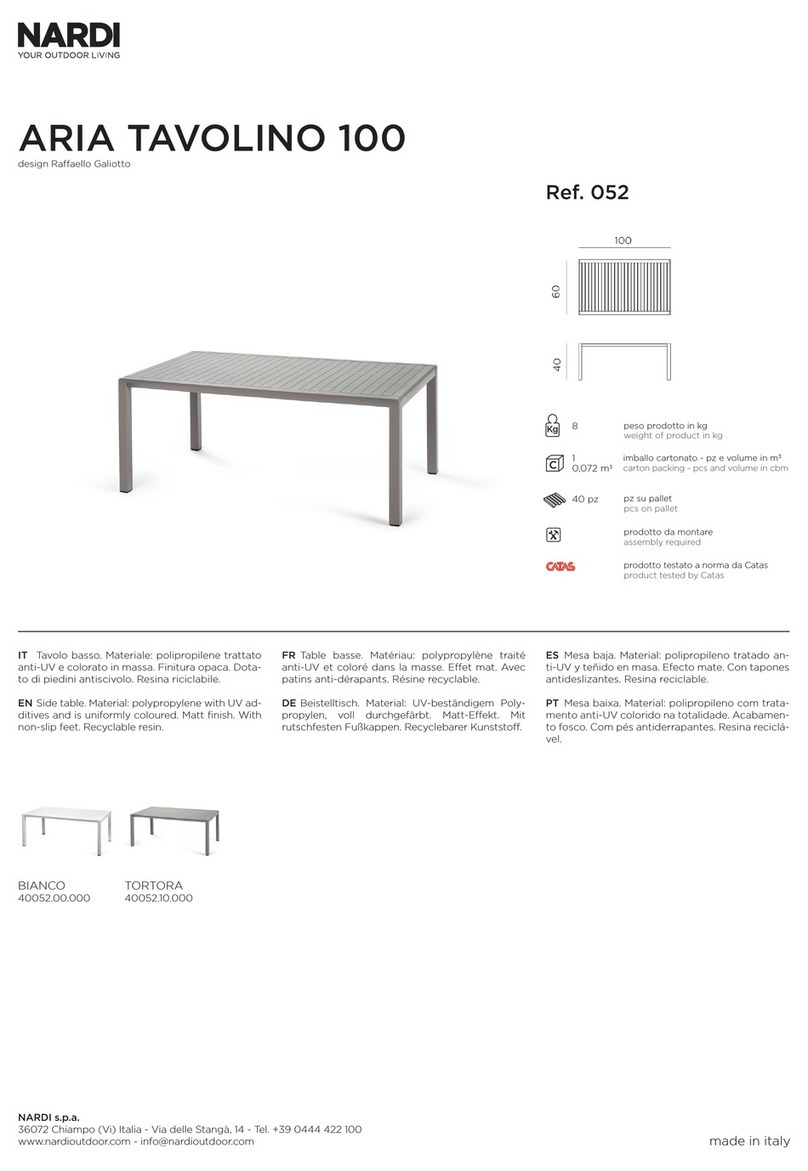
nardi ARIA TAVOLINO 100 052 manual

nardi

nardi ARIA TAVOLINO 100 052 manual

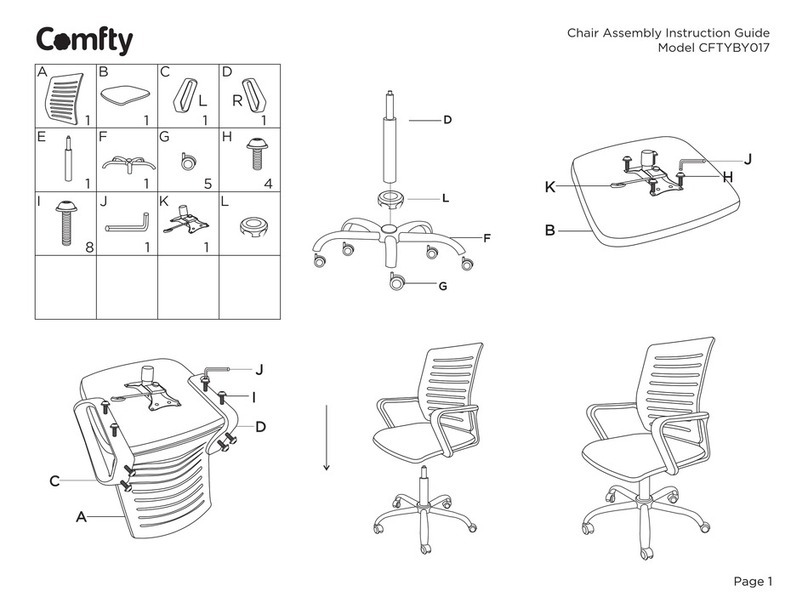
Comfty CFTYBY017 Assembly instruction guide

Comfty

Comfty CFTYBY017 Assembly instruction guide

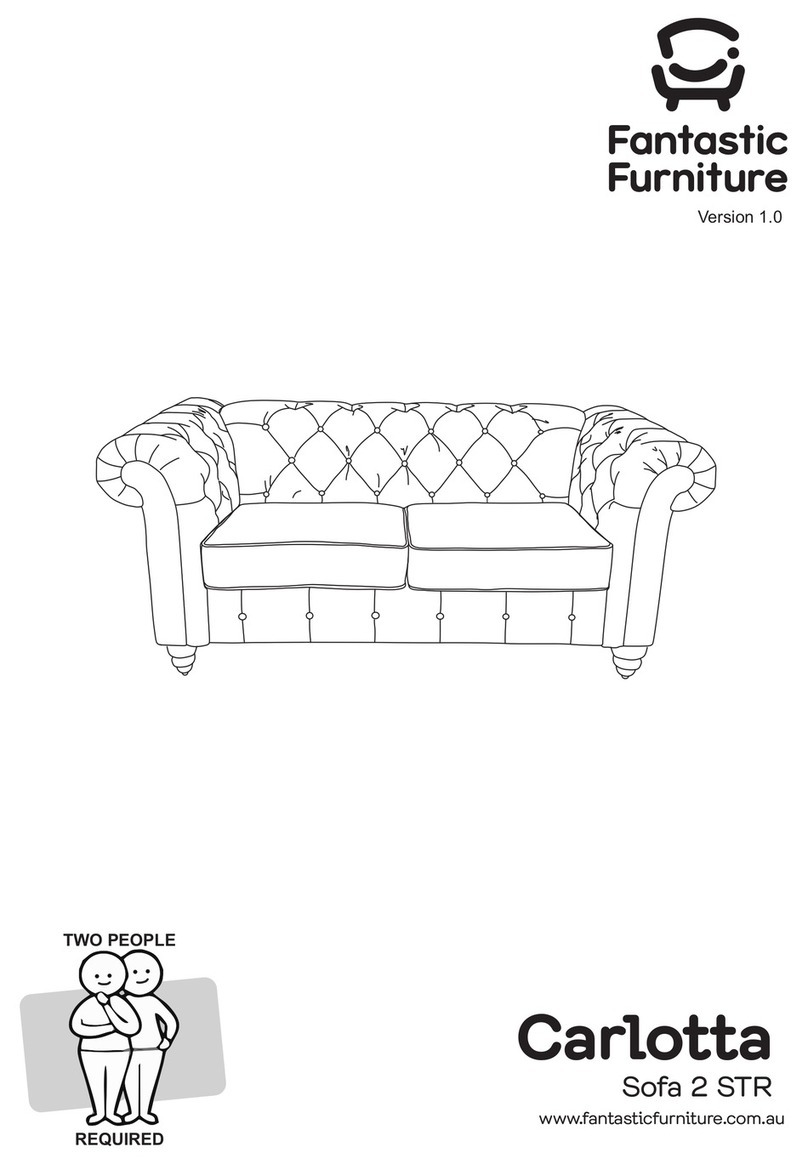
fantastic furniture Carlotta Sofa 2 STR manual

fantastic furniture

fantastic furniture Carlotta Sofa 2 STR manual

DETAIL Metal Double DHS9105j manual

DETAIL

DETAIL Metal Double DHS9105j manual

Target Made By Design Horizontal Bookcase Assembly instructions

Target

Target Made By Design Horizontal Bookcase Assembly instructions

Furinno 99800R Assembly instruction

Furinno

Furinno 99800R Assembly instruction

Mocka Vancouver Cot Assembly instructions

Mocka

Mocka Vancouver Cot Assembly instructions

Atlantic 67035416 Instruction booklet

Atlantic

Atlantic 67035416 Instruction booklet

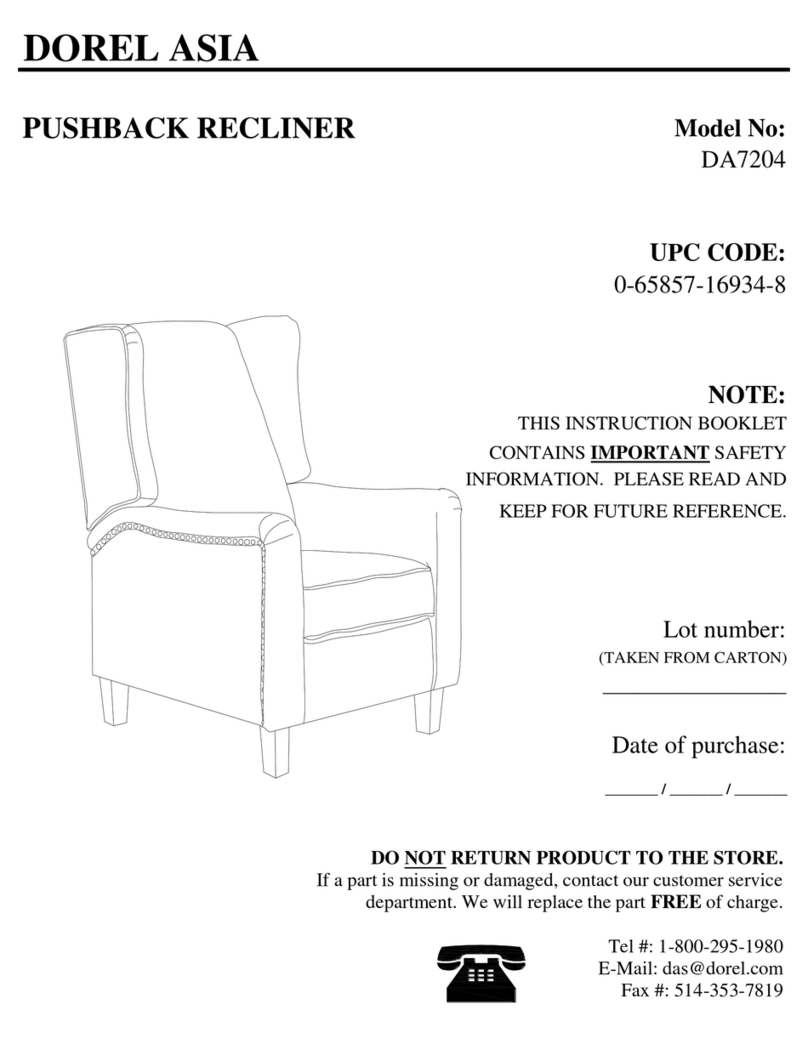
Dorel Asia DA7204 quick start guide

Dorel Asia

Dorel Asia DA7204 quick start guide

Trendteam LANDSIDE 470 installation instructions

Trendteam

Trendteam LANDSIDE 470 installation instructions

manuals.online logo
manuals.online logoBrands
  • About & Mission
  • Contact us
  • Privacy Policy
  • Terms and Conditions

Copyright 2025 Manuals.Online. All Rights Reserved.