14
Special features
13
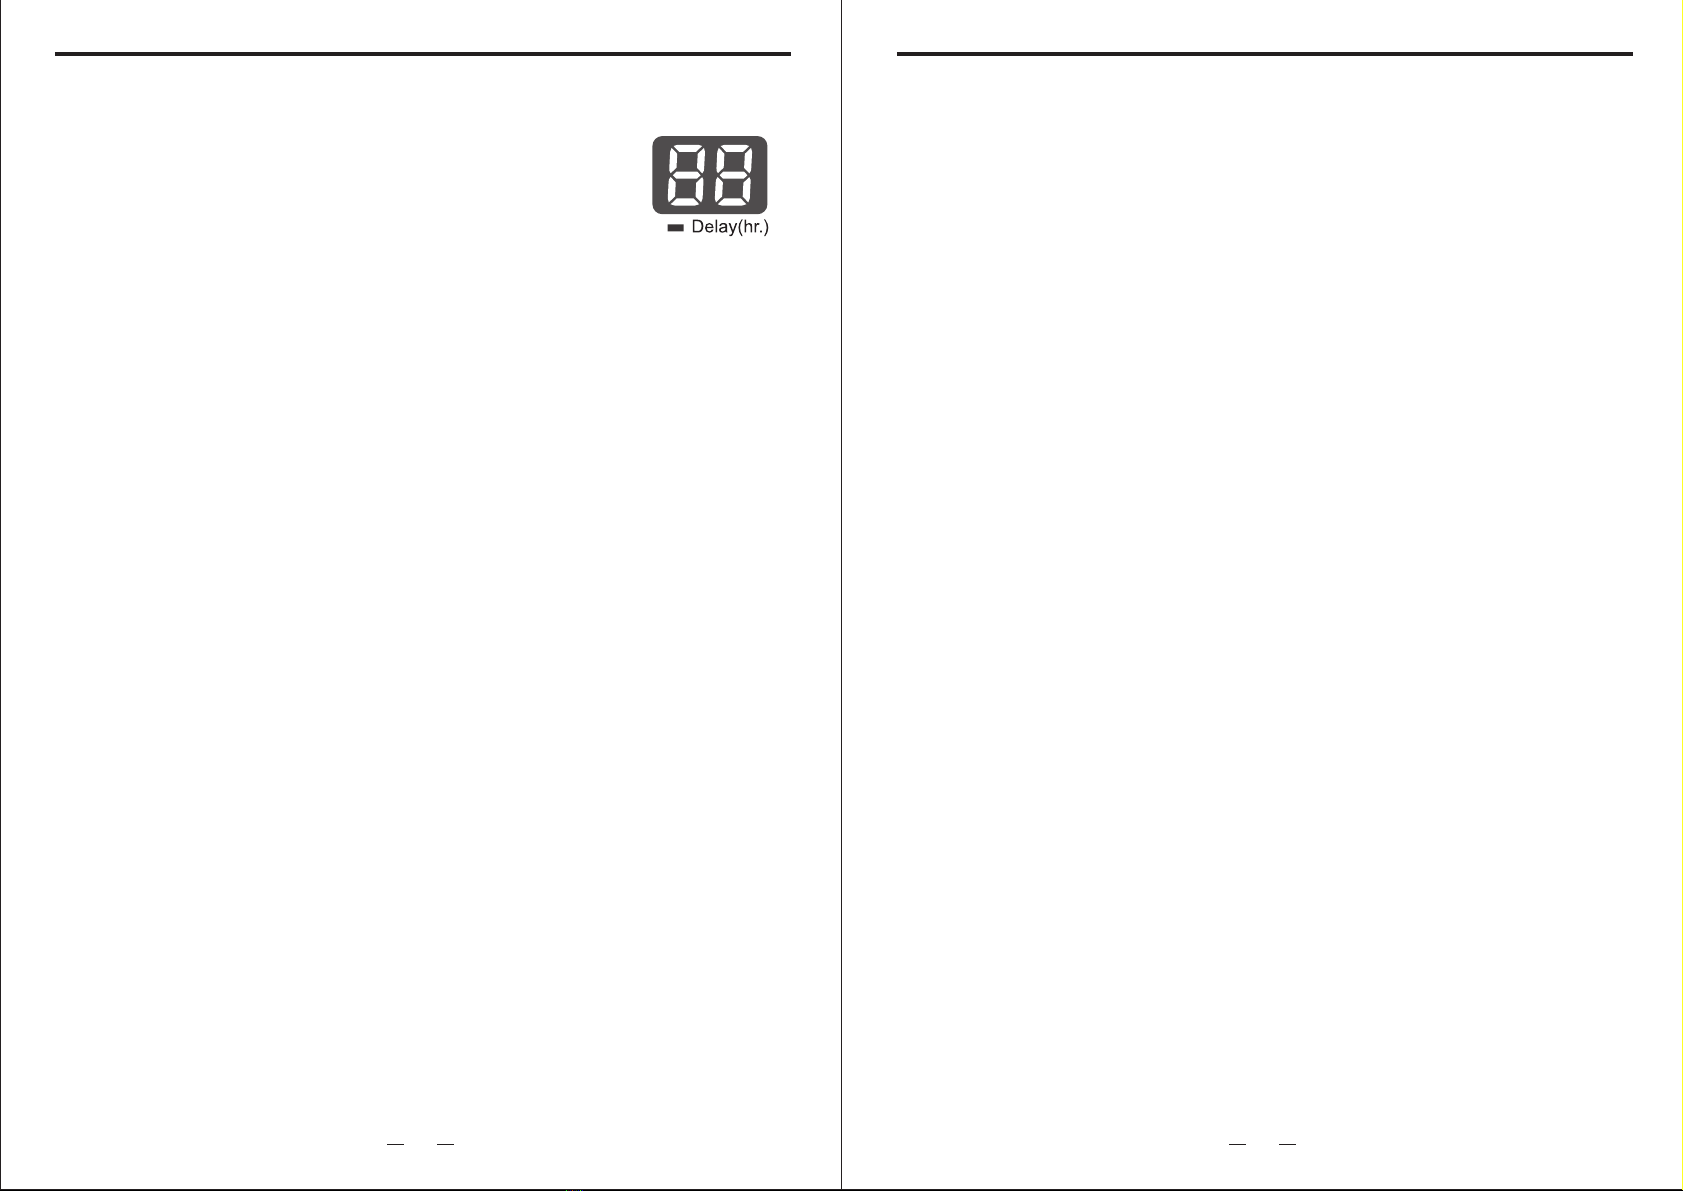
Delay time means the preset beginning
time of washing.
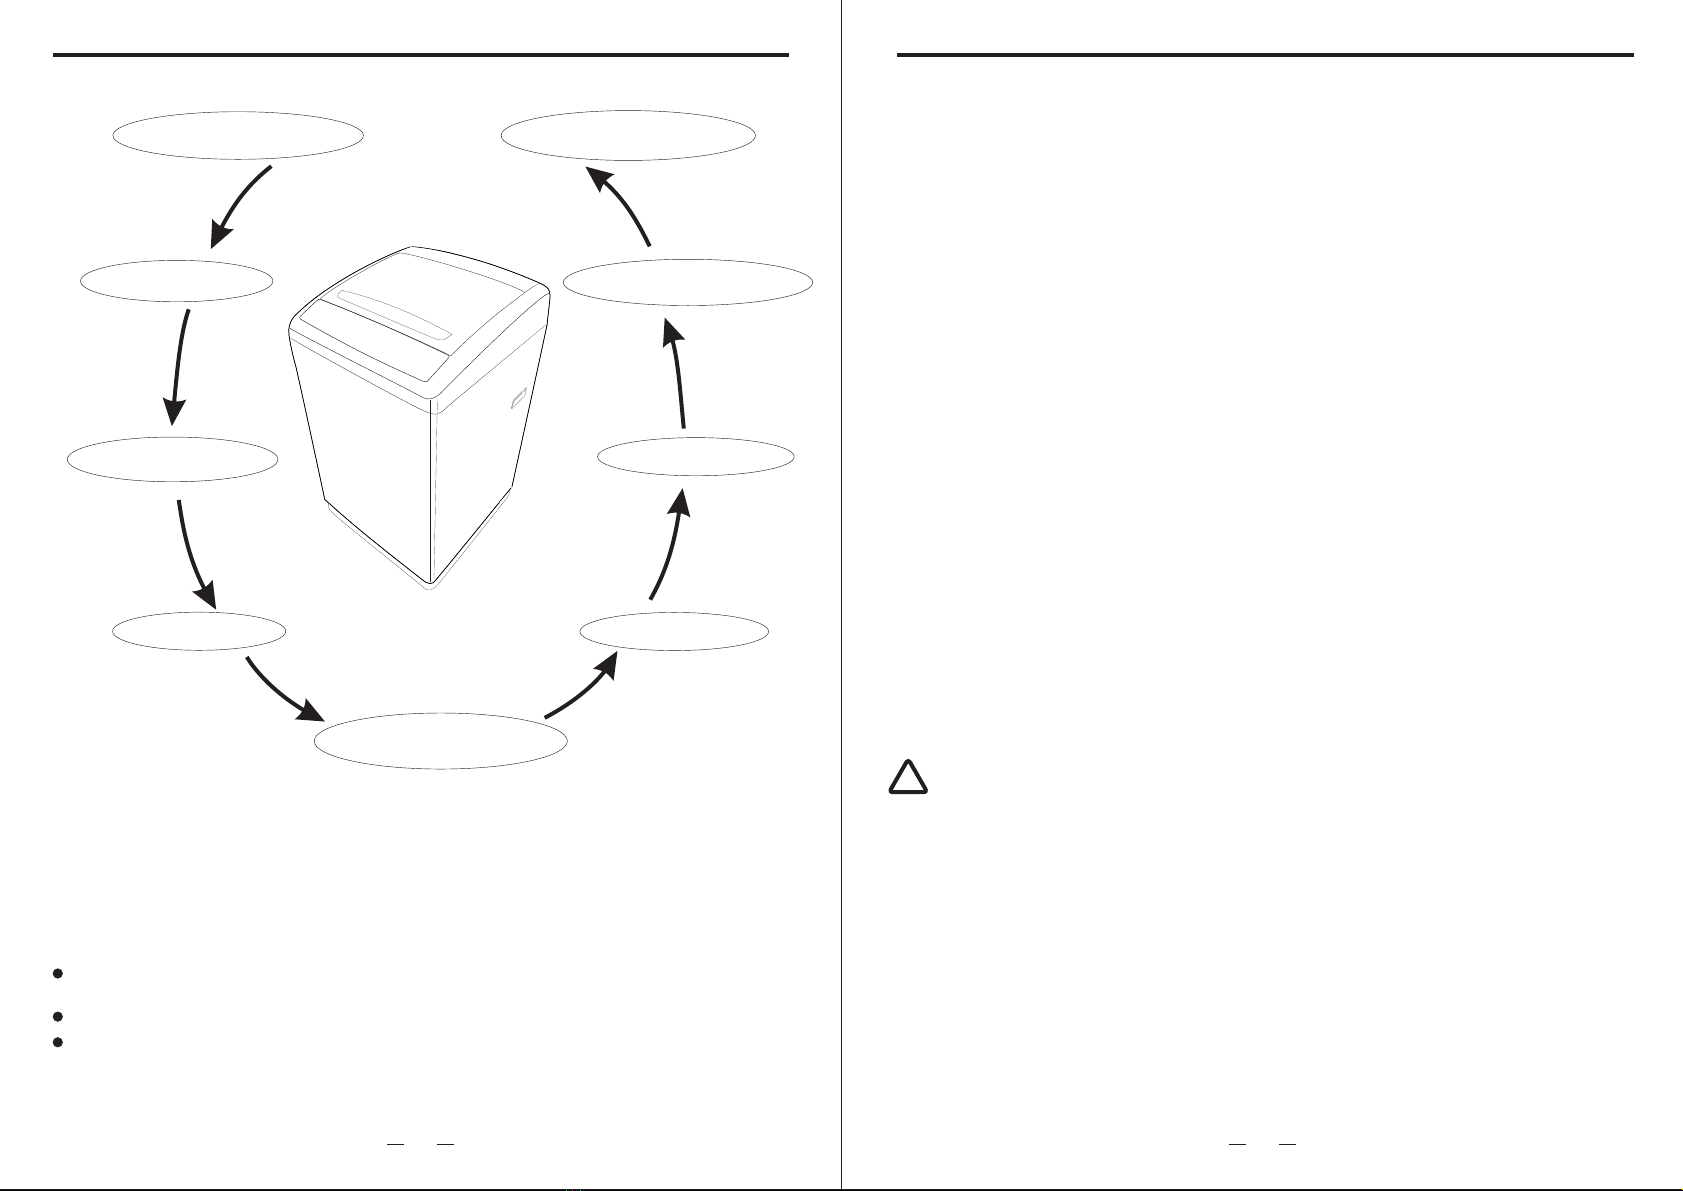
2.Open the tap and lay the drain hose.
3.Put in the laundry and detergent.
Delay time program
Confirmation of the delay and inspection
1. After the delay function is started, the corresponding delay light will flash, and other lights
are turned off.
2. After the delay function is started , press “ Delay” button continuously , you may inspect
the preset program and function . Loose the button , the program return to delay status.
Cancel the delay time, or alternate the delay time
2. To change the delay time , cancel the delay time first ,
and then press “Delay” button to reset.
1.Switch on the power .
4.Select the proper water level according
to the quantity of clothes.
5.Select the functions and programs.
6.Press “DELAY” button to select the
beginning time of washing.
7.close the lid and press “START/PAUSE”
button.
1. Press “ Power” button to cancel the delay time.
Special features
1. If the machine do not start to work within 10 minutes after powered on, it will power off automatically.
2. After end of operation and the buzzer sounding 6 times, it will power off automatically.
Function of automatic power shut off
Function of adjusting for imbalance
1. If the laundry is placed uneven before spinning, it is likely to cause vibration during spinning. The
washing machine has a function of adjusting imbalance. When working, the washing machine always
inspects operation state automatically. If the spinning vibration is too great, the washing machine
automatically starts the adjusting program to balance.
2. When the machine adjusts imbalance, rinse light will flash, and the machine will start to inject water
to set water level. The machine adjusts imbalance automatically for about 1 minute, then drains water,
returns to original spinning state. If the washing machine can adjust the imbalance twice. If the
adjustment has no function, it will alarm.
Remain Time(mins)
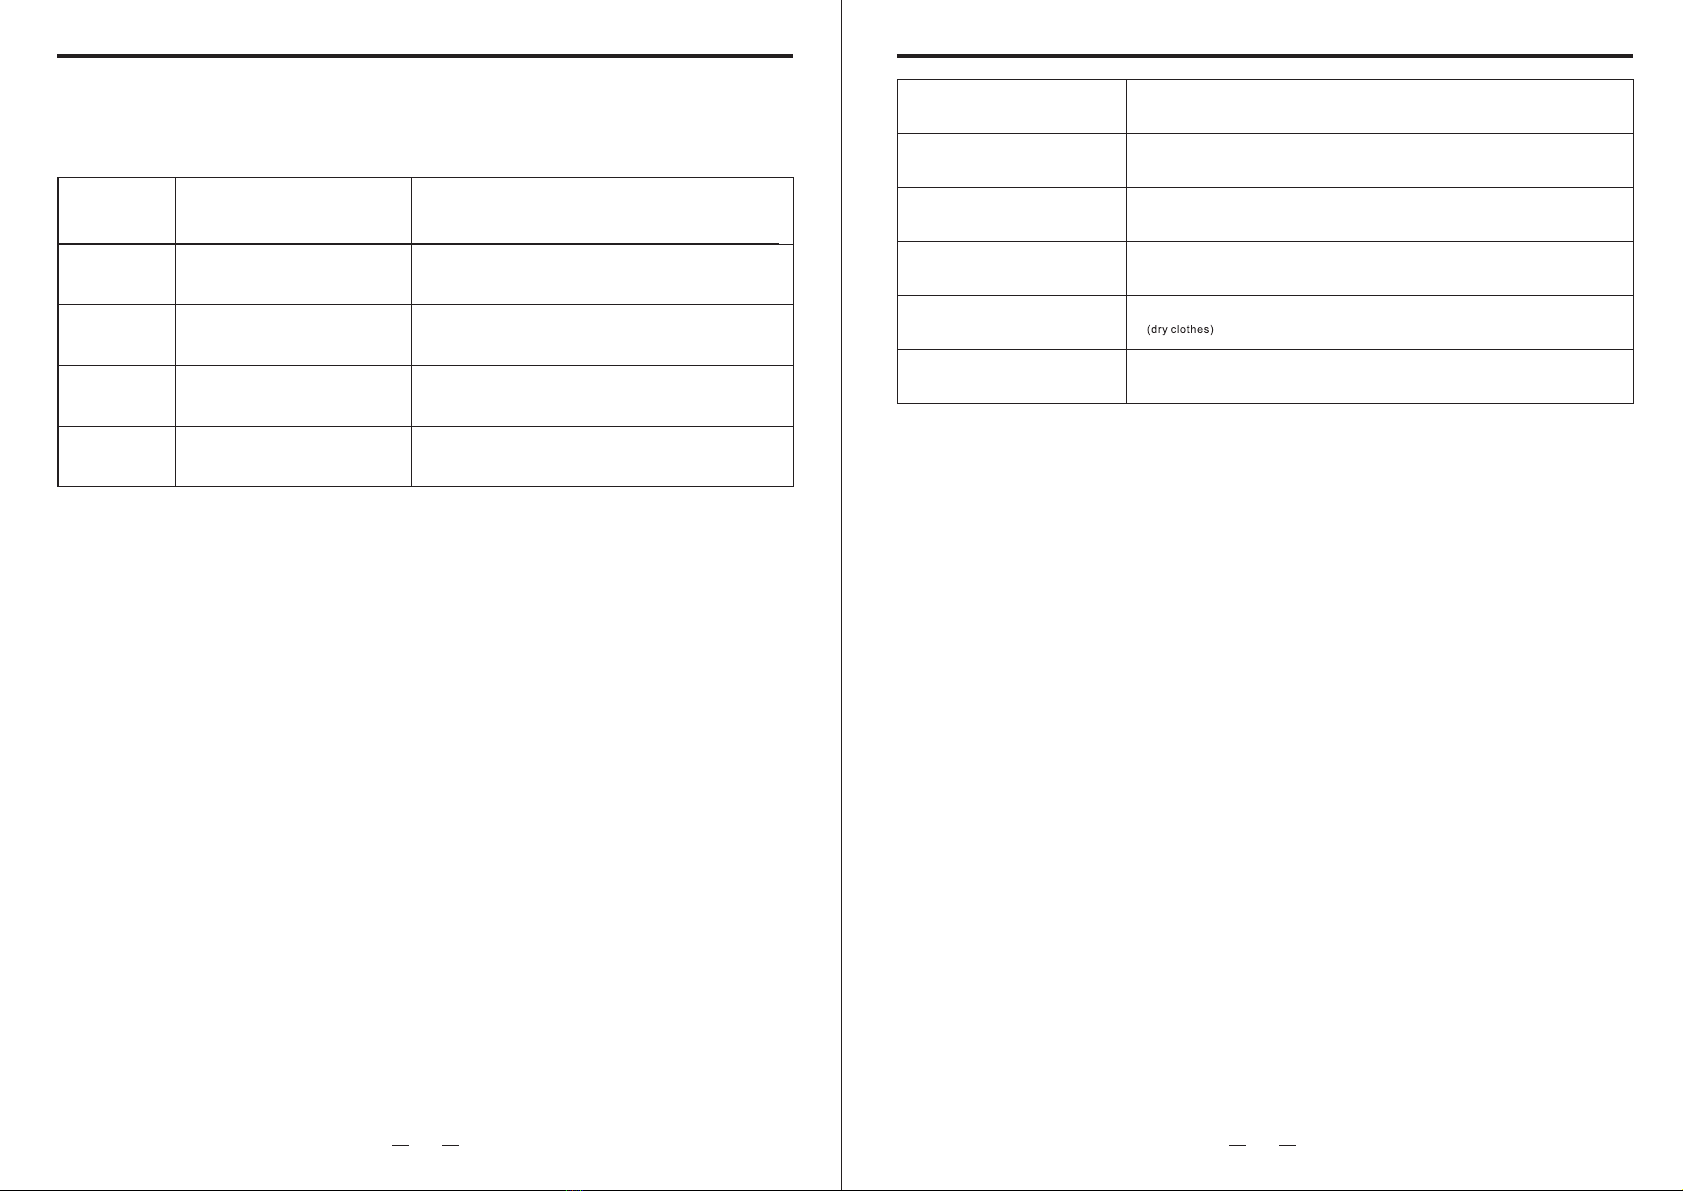
Standard:
Standard fabric washing program, suitable to wash ramie cotton fabric. Wash for once, rinsing
for twice, the spin time is a little long.
Quick:
Suitable to wash light stained clothes and clothes in summer.
Heavy :
Suitable to wash big size load such as curtain/bed sheet etc.,There's 15mins additional
movement soaking time during the washing process.(Movement soak can make the effect
of soaking much better.)
Delicates:
Mid/High/Low water level selection,the tempo is soft,slow washing and spinning speed,to
make the lightest wear and deformation.
Jeans:
Suitable to wash heavy stained/wearable clothes.
Baby Clothes:
Increase the rinsing times,to reduce the detergent residue on the clothes.Suitable to wash
children's clothes.
During washing program, it is identified as Efficiency Program .Standard
The manufacturer declared that the water consumption of warm wash is not more
than cold wash.
Energy efficiency test program:
Power failure memory function
If the power supply becomes off suddenly during operation, the machine remembers the
current operation state. When power is on, the machine returns to former operation state
automatically.
Fuzzy control function
Standard procedures default implementation fuzzy control function. After startup,
such as water level before starting the keys will be cancelled automatically
according to the fuzzy control functions; In addition, the fuzzy measure before, if
there is no water, tub fuzzy measurement, the water level directly as the default
file namely 6 gear levels.
Fuzzy control function is at boot automatically after the determination of cloth is
measured, decide the water level. In fuzzy testing process, water circulation flashing
lights display, digital pipe display "--".
Machine stop function of cover opening
Turn on the power , if open the door cover , all action of the machine ceased immediately, and the
start stop button is not optional; only shut the door can continue act, the start-stop button -cover
recover to the optional state. If you open the door cover in the condition of dehydration, it would have
alarm for the cover opening normally.