© 2012 Escalade Sports For Customer Service Call 1-888-996-2729
8
All Rights Reserved.
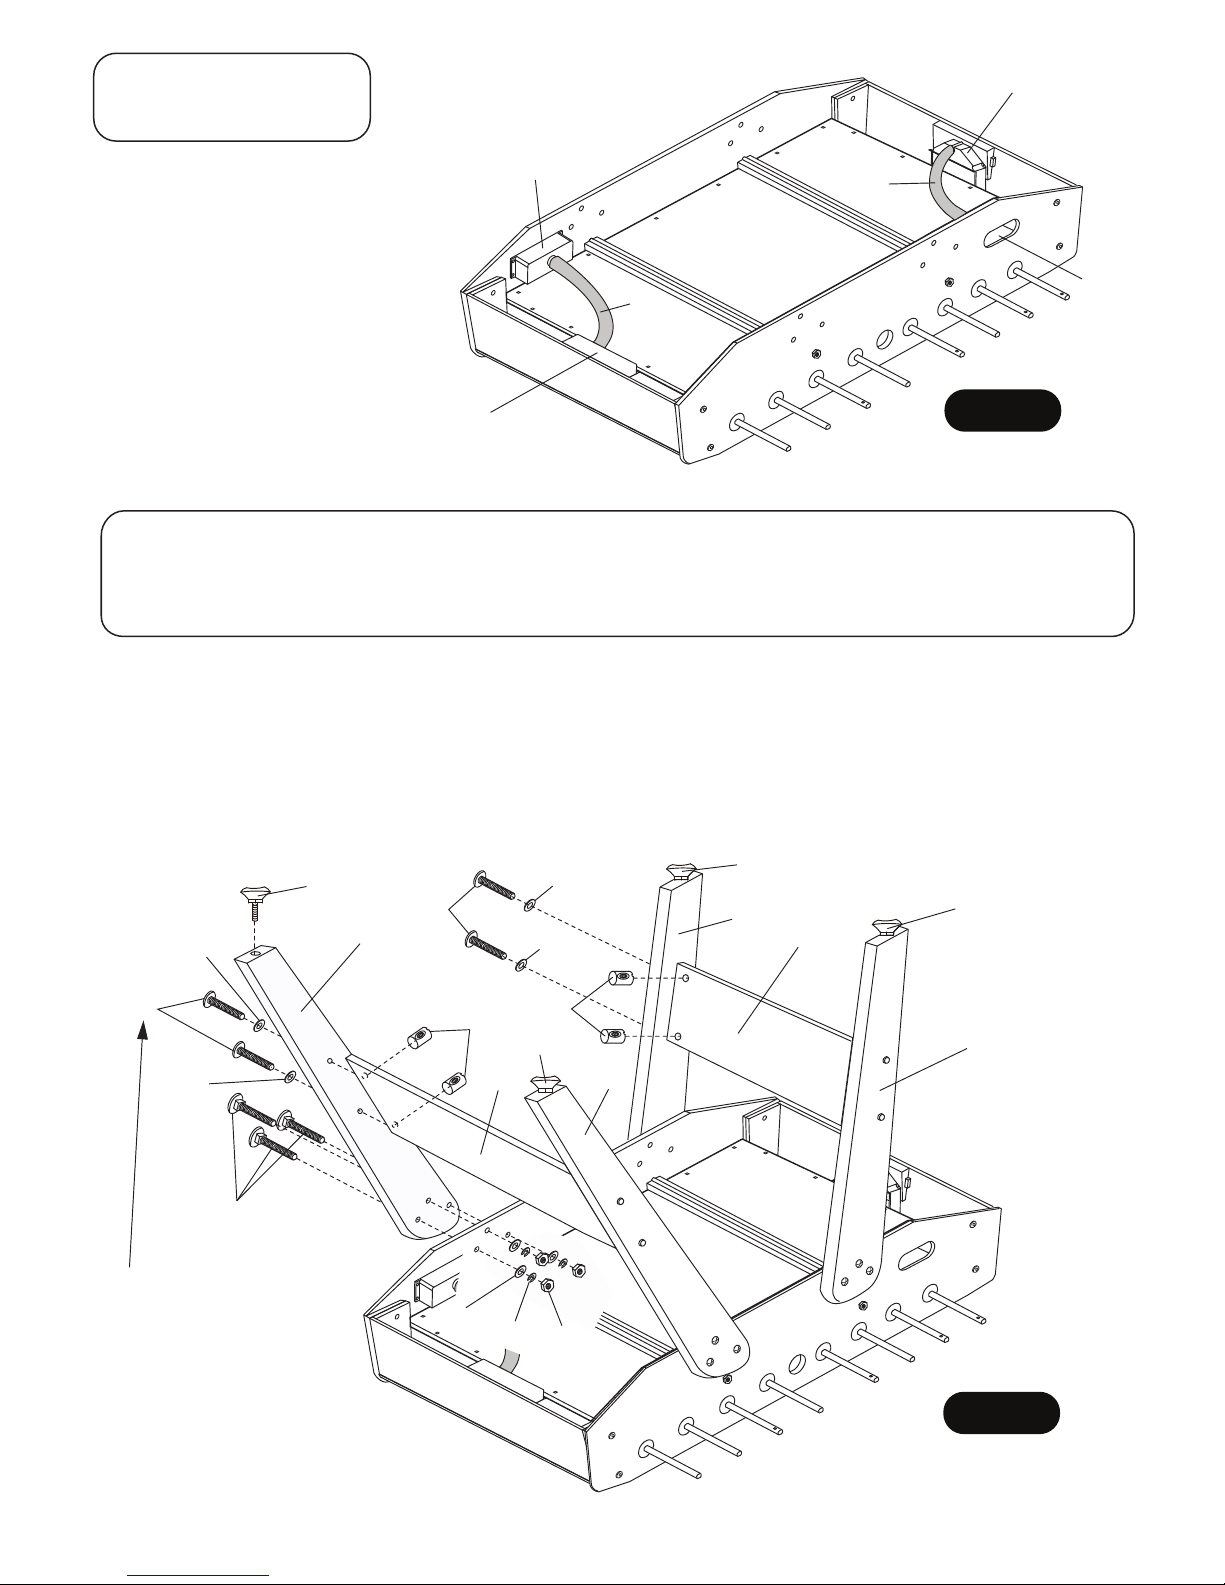
STEP 4:
Peel the adhesive strip protective coating
off the underside of P12 Playfield Trims.
Turn them over and carefully place them
along P1 Side Aprons as shown in
DETAIL A and FIGURE 4.
PARTS REQUIRED:
2 pcs - P12 Playfield Trim FIGURE 4
DETAIL A
Peel and Turn Over
P12
NOTE: Adhesive
strip this side.
STEP 5:
Place P5 Playfield with graphics
facing down onto the main cabinet.
Align P5 Playfield holes with P12
Playfield Trims holes and attach
using H4 Screws as shown in
FIGURE 5.
Tighten, but do not strip out H4
Screws.
PARTS REQUIRED:
18 pcs - H4 Phillips Washer Head Screw
1 pc - P5 Playfield
P12
P1
IMPORTANT NOTE:
P5 Playfield must be evenly
spaced on top of both ends
of P2 End Apron - at each
end of cabinet assembly.
P1 Side Aprons may be slightly
warped. Please keep P1 Side
Aprons pushed in tight against
the P5 Playfield for correct assembly.
All screws must be screwed
STRAIGHT down.
Graphic facing down
H4
FIGURE 5
P5
IMPORTANT NOTE: The inside board of both P2 End
Aprons must be correctly aligned and flush with the both
ends of the P5 Playfield. This may require "twisting" the
P2 End Aprons into correct position and then tightening
all H1 bolts installed in STEP 3.
Failure to correctly adjust both ends of the P5 Playfield
flush with the inside board of each P2 End Apron will
cause incorrect installation of H4 Playfield Screws.
P2