manuals.online logo
Brands
  1. Home
  2. •
  3. Brands
  4. •
  5. Ethereal
  6. •
  7. Microphone System
  8. •
  9. Ethereal HDM-CAT6SC Manual

Ethereal HDM-CAT6SC Manual

Ethereal HDMI to Single Category Cable Transmission System.
Thank you for purchasing Ethereal’s NEW HDM-CAT6SC Single Category Cable Transmission System.
After months of analyzing and field researching problems that plague integrators when running long distances of HD transmission over
category cable, Ethereal proudly introduces the NEW single category cable transmission system – HDM-CAT6SC. The HDM-CAT6SC
reliably transmits high speed video transmission data while monitoring and correcting for issues within the system environment. The HDM-
CAT6SC's mission is to provide a life line to those installers that not only need the wide bandwidths to support 3D, 4K 2K and 48 bit Deep
Color but also to rectify the many reliability issues that have arisen. This unit supports 340 MHz per channel over a Single Category cable 5,
5e, 6 or 7 up to 100feet and features a Custom Gain Control that will allow you the capability of optimizing the HD system. The HDM-
CAT6SC comes with Ethereal’s Enhanced Signature Diagnostic System which has been expanded to include visual Video detection along
with 5 Volt, Hot Plug, EDID and HDCP. Shielded RJ45's have been selected to provide better protection against EMI/RFI interface.
Ethereal’s HDM-CAT6SC is your solution for HD Alternative Transmission Devices!
System Contents:
(1)
HDM-CAT6SC
Transmitter
(1) HDM-CAT6SC Receiver
(2)
5V 1000mA Power Supply
(1) Instruction Guide
Features:
▲
Video Bandwidth – 340Mhz/3.4Gbps/10.2Gbps
▲
3D – All 11 formats
▲
Distance – 100ft
▲
39dB Overall Gain with Custom Gain Control
▲
Single Category 5,5e, 6 or 7 Cable
▲
LED Status Indicators
▲
Hot Plug Reset
▲
Video Clock Recovery
▲
Enhanced Diagnostics
▲
Deep Color – 48 bit color
▲
Resolution: 480p, 720p, 1080i, 1080p
▲
Table or Wall Mount
CAUTION:
Must
use
5v
1000mA
Power
Supply
included
or
warranty
is
voided. Please
be
aware
that
this
is
an
electrical
device.
Improper
usage
can
cause
fire or electrical shock.
Consult
a
qualified
installer
or
electrician if
you
are
unfamiliar
with
electrical
circuits.
Be
sure
to
turn
OFF
all power
to
these
circuits
during
installation.
Power
Power
Custom Gain
Control
460 Walker Street ∙ Holly Hill, FL 32117-2653 ∙ 866-839-9187
www.etherealhometheater.com
Chart 2 – Transmitter LED Indicators
Ethereal recommends using a Shielded
Category 6 product along with shielded
RJ45 plugs to help eliminate EMI/RFI
interference problems.
Note: These suggested settings will vary
depending upon quality of category
cables. Example: 100 feet may only need
to be set at 10dB of gain or be stepped
up to 25dB of gain depending on quality
of cable.
Pin 1
Pin 8
CATEGORY
5/5e/6/7 UP TO
100FT
3FT HDMI
CABLE
3FT HDMI
CABLE
HDM-CAT6SC
TRANSMITTER
HDM-CAT6SC
RECEIVER
DISPLAY
BLU-RAY
CABLE
AV RECEIVER
CATEGORY
5/5e/6/7 UP TO
100FT
3FT HDMI
CABLE
DISPLAY
3FT HDMI
CABLE
3FT HDMI
CABLE
3FT HDMI
CABLE
BLU-RAY
6FT HDMI
CABLE
HDM-CAT6SC
TRANSMITTER
HDM-CAT6SC
RECEIVER
Connection and Operation:
To
install
you
will
need:
1.
Category
5,5e,
6 or 7 stranded or solid core
cable
terminated
with
(
2)
appropriate
RJ45
connector
plugs.
(Follow color
directions
in
Illustration
1.
WIRES
MUST
BE
CUT
EVENLY.
Be
sure to
use
a
high
quality
8-8
crimping
tool.
PROBLEMS
WILL
RESULT IF
THIS
CONNECTION
IS
NOT
MADE
CORRECTLY.
2.
Two
HDMI
Cables.
Length
determined
by
distances
between
connections.
To
Connect:
1.
Simply
connect
the
HDMI
cable
into
output
jack
of
source
(like
a
Blu-
Ray
Player)
or
R
eceiver,
etc.
2.
Connect
the
opposite
end
of the HDMI cable
into
the
HDM-CAT6SC
Transmitter
Input.
3. Connect one end of the category cable RJ45 into the HDM-CAT6SC
Transmitter Output.
4.
Attach
the
end
of
category cable
RJ45
plug
into the In
put
of
the
HDM-
CAT6SC
Receiver
.
5.
Connect
HDMI
cable
in
the
O
utput
of
the
HDM-CAT6SC
Receiver
unit.
Then connect
to
the
I
nput
of
the HDMI cable
your
Sink
(Display
Device).
6.
Plug
5VDC
power
supply
into
the
R
eceiver and Transmitter
units
and
then
into
the
wall electrical
outlet. Note: Device will not power up
without input signal.
7. Refer to Chart 1 and 2 below to understand the status of your Video
signal, Hot Plug, 5 Volt and HDCP/EDID.
8. Using a pencil or pen, insert into the opening for adjusting the Custom
Gain Control. Each click will change the amount of gain available and
display a reading on the dual led’s. Refer to Chart 3 to view suggested
settings for different lengths of cable. Units are set for 0 upon default. See
Chart 3.
System Connections:
One
source
Multi-source
Gain Control
Adjustments
0
5
10
15
20
25
30
35
15 Feet- Cat
20 Feet- Cat
30 Feet- Cat
45 Feet- Cat
60 Feet-Cat
75 Feet-Cat
100 Feet-Cat
Receiver
Indicator
Color
Status
Explanation
On/Off Green Constant HDM-CAT6SC Power is
On/Off
Clock –
HDCP/EDID
Yellow Blinking Initialization and Exchange
of keys is Successful
Data -
HDCP/EDID
Blue Blinking Initialization and Exchange
of keys is Successful
Active Video Yellow Constant Adequate Video Signal
Transmitter
Indicator
Color
Status
Explanation
Active Video Yellow Constant Adequate Video Signal
Hot Plug Red Constant System has adequate
5Volts for Display to
respond.
On/Off Green Constant HDM-CAT6SC Power is
On/Off
Chart 1 – Receiver LED Indicators
Chart 3 – Custom Gain Control
Illustration
1
-
Color
Code
with
Cat5, 5e, 6, or 7 with
RJ45
DO
NOT
USE
568
A
/
B
COLOR
CODES
Power
Power
Custom
Gain
Control

Popular Microphone System manuals by other brands

WJG FM-9020 Reference manual

WJG

WJG FM-9020 Reference manual

BBC Bircher RFGate 2.2.W2.F.A Translation of the original operating instructions

BBC Bircher

BBC Bircher RFGate 2.2.W2.F.A Translation of the original operating instructions

4EVAC 4E-FM Installation and user guide

4EVAC

4EVAC 4E-FM Installation and user guide

Enersound T-588 user manual

Enersound

Enersound T-588 user manual

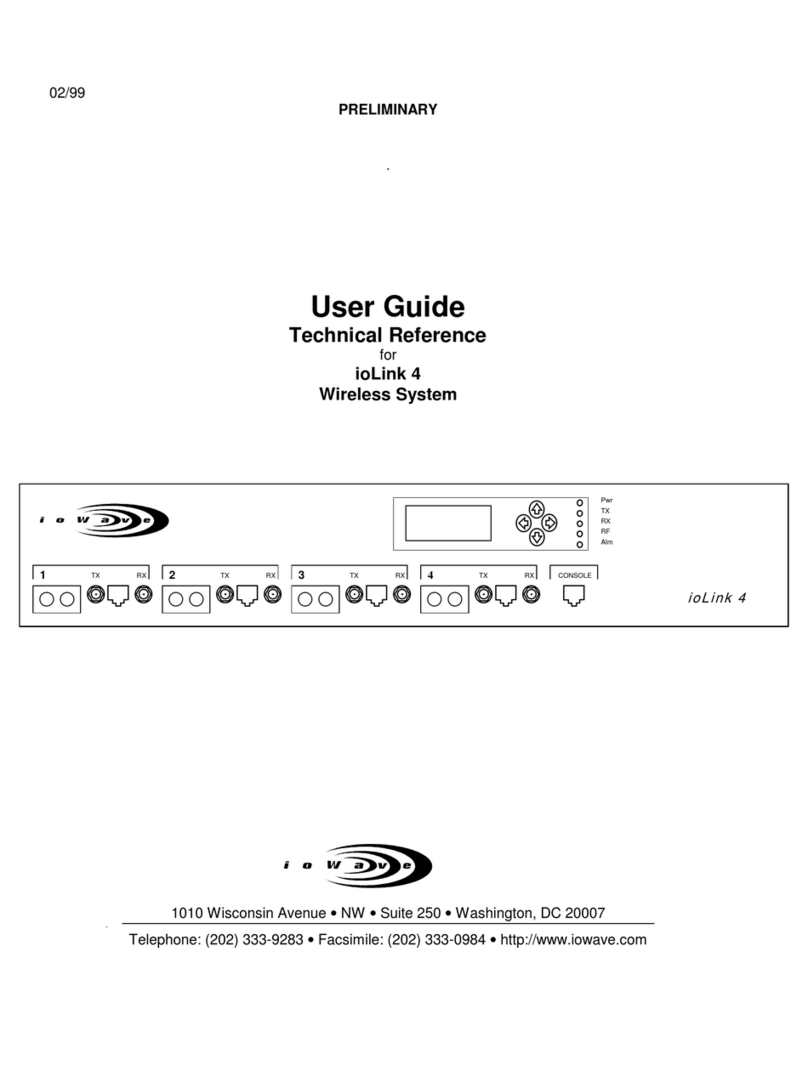
ioWave ioLink 4 user guide

ioWave

ioWave ioLink 4 user guide

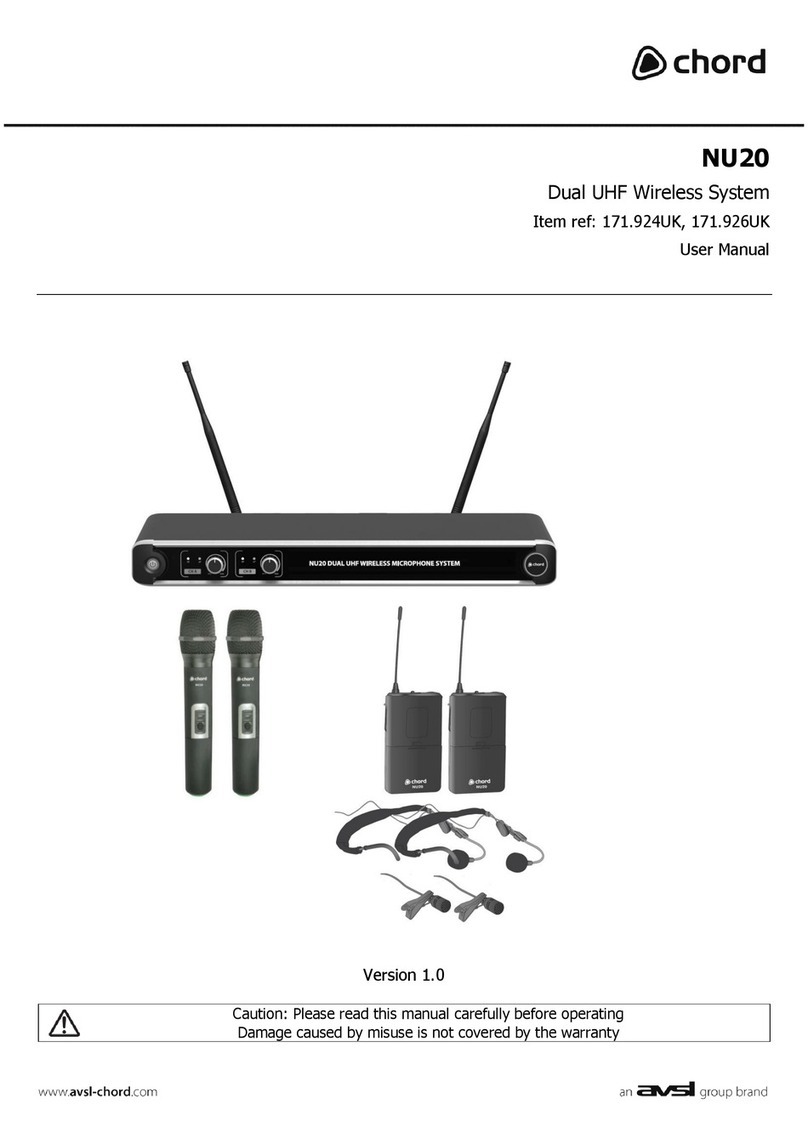
Chord NU20 Series user manual

Chord

Chord NU20 Series user manual

Toa AM-1 operating instructions

Toa

Toa AM-1 operating instructions

Audio Technica ATW-BH1 Installation and operation

Audio Technica

Audio Technica ATW-BH1 Installation and operation

LIVEXPERT LiveTally Box Operation manual

LIVEXPERT

LIVEXPERT LiveTally Box Operation manual

Telex Communications Electro-Voice R200 Series owner's manual

Telex Communications

Telex Communications Electro-Voice R200 Series owner's manual

Nissindo LX-8080 Installation and operation

Nissindo

Nissindo LX-8080 Installation and operation

KAM KWM Quartet instruction manual

KAM

KAM KWM Quartet instruction manual

Audio Technica PRO 88W owner's manual

Audio Technica

Audio Technica PRO 88W owner's manual

Nady Systems W-1KU owner's manual

Nady Systems

Nady Systems W-1KU owner's manual

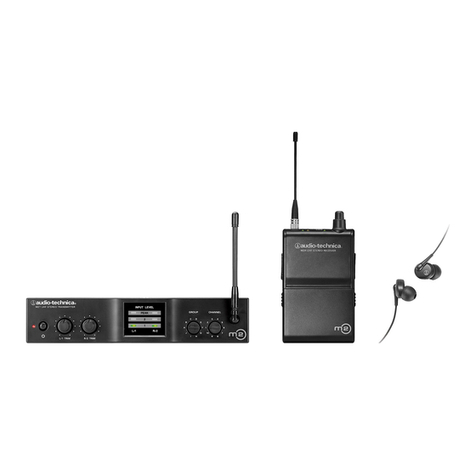
Audio Technica M2 Setup and operation manual

Audio Technica

Audio Technica M2 Setup and operation manual

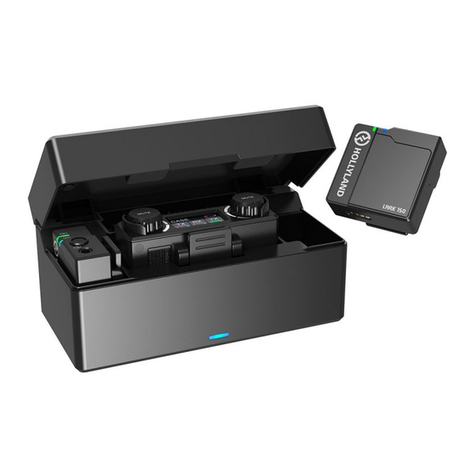
Hollyland HOLLYVIEW LARK 150 Faq

Hollyland

Hollyland HOLLYVIEW LARK 150 Faq

FrontRow symbio 5201R Installer's guide

FrontRow

FrontRow symbio 5201R Installer's guide

Stagg SUW50 user manual

Stagg

Stagg SUW50 user manual

manuals.online logo
manuals.online logoBrands
  • About & Mission
  • Contact us
  • Privacy Policy
  • Terms and Conditions

Copyright 2025 Manuals.Online. All Rights Reserved.