- TIME PRE : Setting recording time prior to event.
(Selectable the recording time is 10 or 20 or 60sec.)
- Time POST : Setting recording time after to event.
(Selectable the recording time is 10 or 20 or 60sec.)
- Overwriting can be done with deleting the oldest file when SD card is reached
maximum capacity.
10
3. Functions
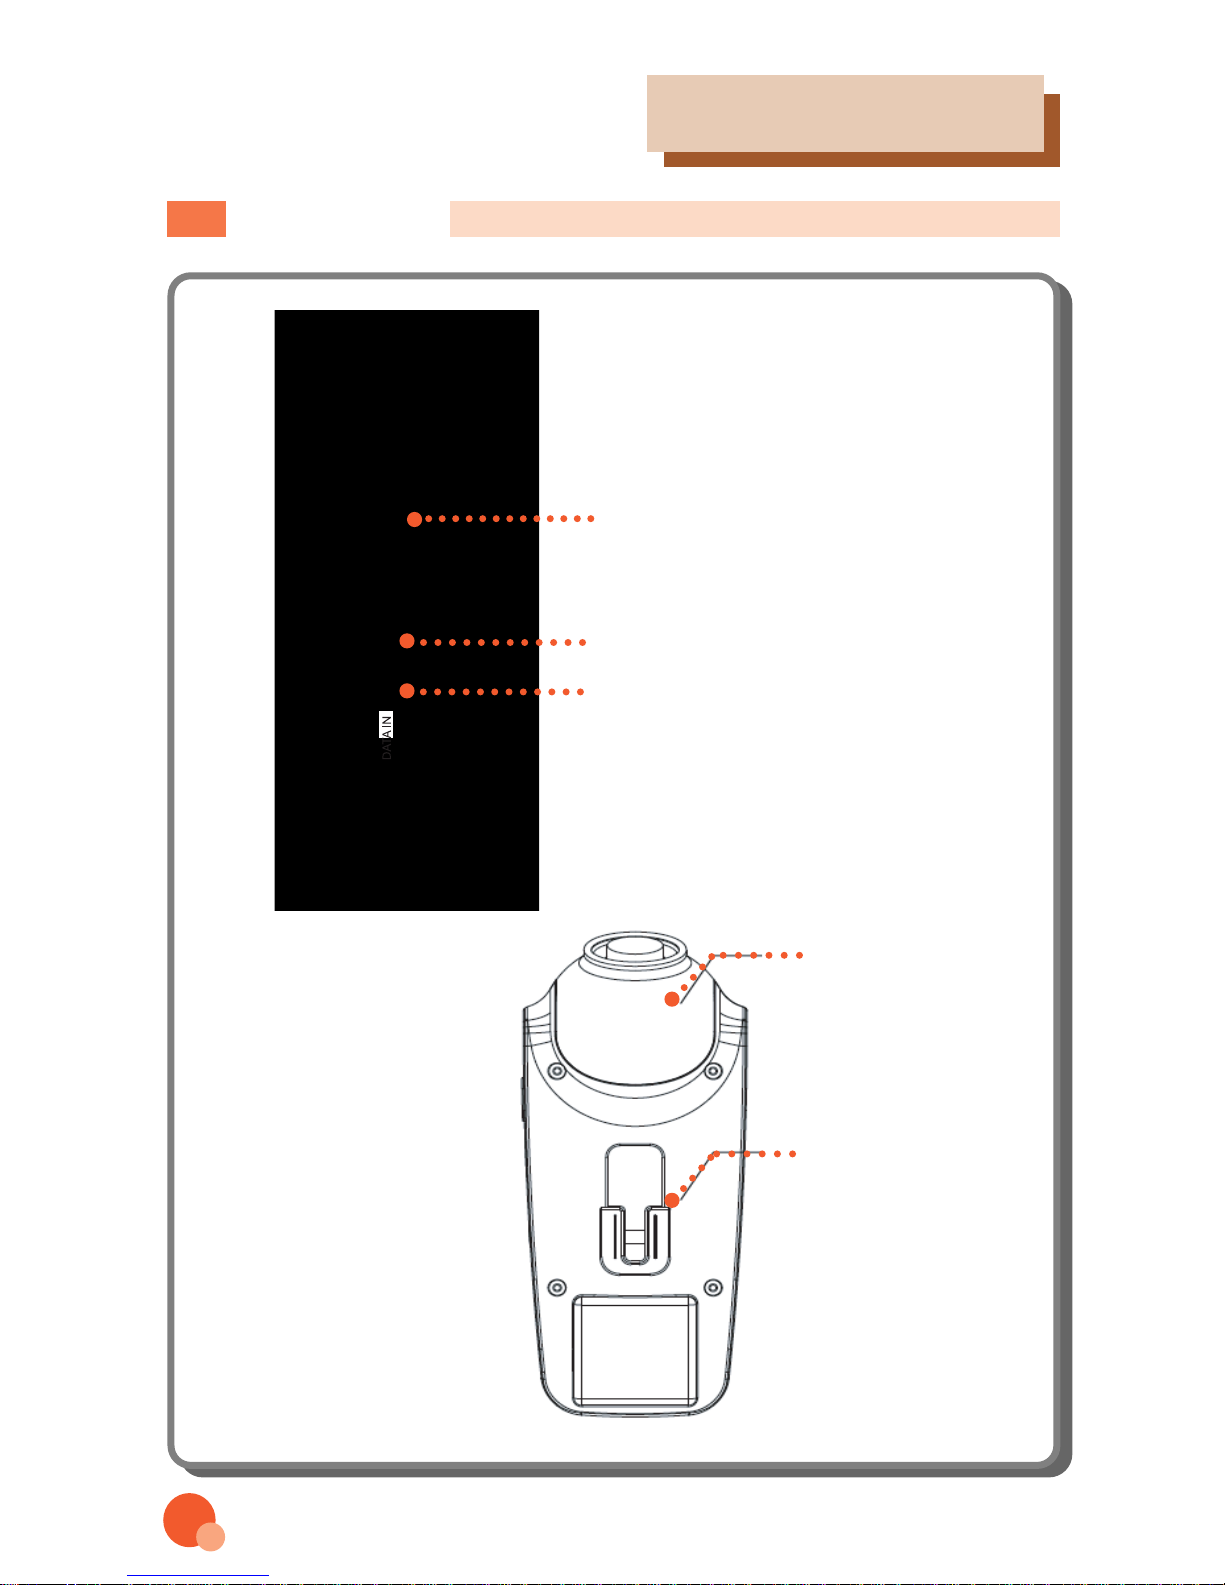
EVENT SETUP
Event recording is triggered by
G-sensor or pressing the REC
key when event occurred. The
recording files are saved in
rooms.
- Room Capacity : The number of storing
room for event recording.
EVENT SETUP
ROOM 20 PIECE
TIME PRE 10 SEC(10,20,60SEC)
TIME POST 10 SEC(10,20,60SEC)
OVERWRITE YES
UP MENU
▲▼: MOVE ◀▶: SELECT MENU : EXIT
VIDEO SETUP
VIDEO Setup : Press the menu key .
Press the▼ key three times and
●key
to choose the video set up.
Choose the recording picture
size-VGA(640x480),QVGA(320x240)
Sensor sensitivity
Set up the sensitivity of sensor
while you drive ( Level 1 to 5,
lower level is more sensitive.)
- Gx indicates the shock level of
Surge (motion back and forth along the
main axis of the vehicles).
- Gy indicates the shock level of sway (Motion back and
forth along the lateral axis of a vehicles).
- Gz indicates the shock level of heave (up and down
motion of vehicle).
4
5
6
SENSOR and INPUT
Sensor X Level 1 2 3 4 5
Sensor Y Level 1 2 3 4 5
Sensor Z Level 1 2 3 4 5
MAIN MENU
▲▼: MOVE ◀▶: SELECT MENU : EXIT
Setting up two cameras.
-Tint : Control density of the tone of colors(1~100 Higher number. denser)
-Color : Control density of hue(1~100 Higher number. denser)
-Brightness : Control the brightness of picture color.(1~100 Higher number.denser)
-Contrast : Control the shading of picture.(1~100 Higher number. denser)
VIDEO SETUP
TINT 50 (1~100)
BRIGHTNESS 50 (1~100)
CONTRAST 50 (1~100)
MAIN MENU
▲▼: MOVE ◀▶: SELECT MENU : EXIT