EuroAir CH90LIN User manual

Carefully read this cooker hood user instructions before using
Read and save these instructions
COOKER HOOD
INSTRUCTION
COOKER HOOD
INSTRUCTION
CH90LIN
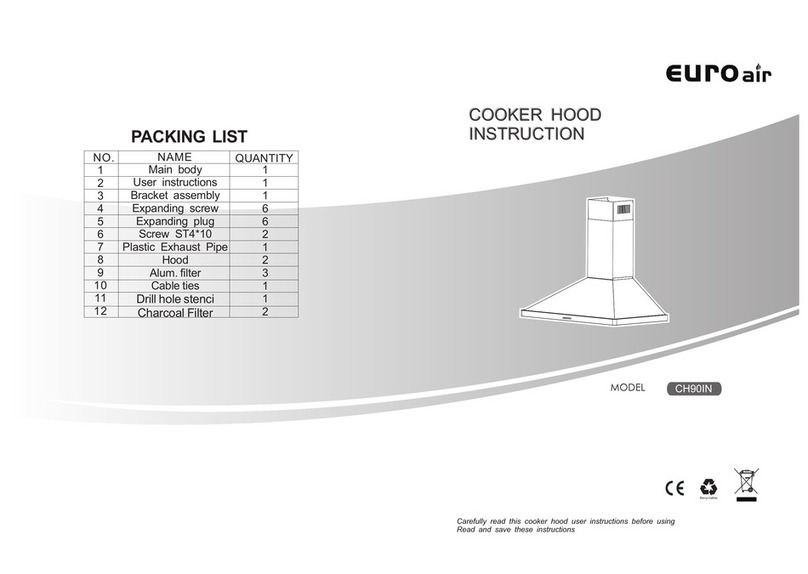
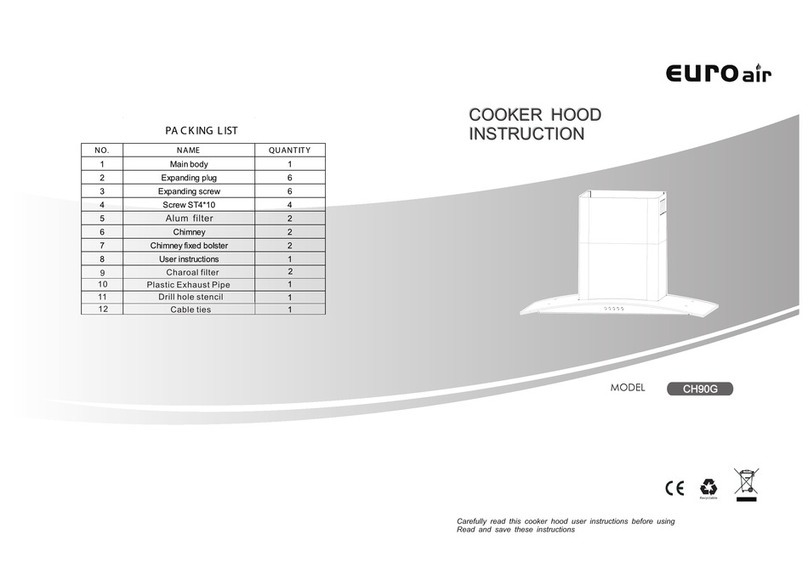
PACKING LIST
NO. NAME QUANTITY
Main body
User instructions
Bracket assembly
Expanding screw
Expanding plug
Screw ST4*10
Plastic Exhaust Pipe
Hood
Alum. filter
Cable ties
Drill hole stenci
Charcoal Filter
1
1
1
6
6
2
1
2
3
1
1
2
1
2
3
4
5
6
7
8
9
10
11
12

Cooker hood
PREFACE CONTENTS
PrefacePreface
Information and advice
Contents
Know your cook hood
Using method
Installation
Maintenance
Information and advice---------------- ---------------------- 1------------------------
Parts generalization------------------------ -----------------2-------------------------
Establishment of function---------- ----------------------3----------------------------
Installation position and height--------- --------------------4-------------------------
Fixing the cooker hood--------------- --------------- --- 5------------------------- -----
Exhaust pipe conjunction------------ ------------------------7-------------------------
Installation of chimney--------------- ----------------------- 8--------------------------
C -----------------------------------------------------------------10 lean the metal filter
Replacing Bulb------------------------------------------------------------------------11
Data-------------------- - ----------------------3--------------------- ----------------------
Troubleshooting
Troubleshooting--------- --- -----------------9------------------------- -----------------
Mount the charcoal filter------------------------------------------------------------- 11
Please read the attached documents careful b
, which include important installation, usage, and safety direction.
And please preserve all the documents appropriately for future reference. Our
company does not take any responsibility if problem arise because of ignorance
of the instructions offered by these documents.
efore installing and/or using the
cooker hood
Congratulations on the purchase of our Cooker hood, which is designed to include
many superior features that permit you the fullest expression of your living.

INFORMATION AND ADVICE KNOW YOUR COOK HOOD
2Cooker hood
1Cooker hood
Parts generalization
Information and advice
Make sure that all the lighting bulb, oil-filter of the cooker hood are
correctly fixed before using.
Please do not put in or pull out the plug of the power supply with your
wet hand.
.
Please make sure that the power system of your house (current,
voltage, and connecting lead) can satisfy the normal load request of
the cooker hood.
Please do not use fuse with high power capacity
Please do not leave the kitchen at will when you cook using animal tallow
or vegetable oil, so as to avoid damaging the cooker hood because of
overheat or causing a fire by igniting the remaining oil in the cooker hood.
In certain circumstances electrical appliance may be a danger hazard.
A) There shall be adequate ventilation of the room when the
cooker hood is used at the same time as appliances
b urning gas or other fuels.
B)Do not check the status of the filters while the cooker hood
is operating.
C)Do not touch the light bulb within half an hour after appliance
use.
D)Do not flambe under the cooker hood.
E)Avoid opening gasometer when there is no pan on the stove ,
as it is damaging for the filters and a fire hazard
F)Constantly check food frying to avoid that the overheated
oil may become a fire hazard. .
G) Disconnect the electrical plug prior to any maintenance
H) The power socket must be attainable after installation.
I) The air must not be discharged into a flue that is used for
exhausting fumes from appliances burning gas and other fuels.
J) Regulations concerning the discharge of air have to be fulfilled.
.
All packing materials are environmental protections and therefore
recyclable. Please deal with all the materials with environment
protecting attitude.
This cooker hood is designed for family cooking only, so fix it in the
kitchen.
Only maintenance staff with professional training and maintenance
qualification can maintain the cooker hood. Other personnel are not
permitted to open the cooker hood and maintain it, so as to avoid
serious consequences.
If you find obvious damage on the cooker hood, please do not connect
the electrical plug, and contact the local customer service center or
dealer immediately.
If the supply cord is damaged, it must be replaced by the manufacture or
its service agent or similarly qualified person in order to avoid a hazard.
This appliance is not intended for use by persons (including children)
and knowledge,unless they have been given supervision or instruction
concerning use of the appliance by a person responsible for their safety.
Children should be supervised to ensure that they do not play with the
appliance.
with reduced physical,sensory or mental capabilities,or lack of experience
1. 2.
3.Bellows 4.Main body assembly
5.Filter assembly
Hood Air duct assembly
2
4
1
3
5

4Cooker hood
3Cooker hood
USING METHOD
Data
Power Supply:220-240V~ 50Hz
Rating:280 watts
Light:Lamp 2 x 40 watts
Our policy is one of continual improvement in design and development,
therefore strict accuracy of illustrations and descriptions cannot be
guaranteed.
This appliance conforms to the
following EC Directive:
This appliance meets the provisions
Of the following directives:
2004/108/EC (electromagnetic compatibility), 2006/95/EC
(electrical equipment designed for use within certain voltage limits) as
amended.
Retention of this instruction book.
Keep this book in a handy place for reference.It contains important
details on the safe and proper use of your appliance.
Not more than 750mm
This cooker hood must be earthed. It
must be put in the indeed earthed socket.
Installation position and height
Please install the cooker hood at the dry place without direct sunlight.
There should be enough intensity and smooth and straight surface
about the metope which is used for fixing the cooker hood. Thus it can
make the cooker hood stable, without any shaking.
The cooker hood should be fixed right above and on the same axis as
the stove.
We recommend that after installation the bottom of the hood should
be not less than 650mm and not more than 750mm above the
stove's heating elements and burners.
Not less than 650mm
2
INSTALLATION
1 2 3
0

6Cooker hood
5Cooker hood
INSTALLATION INSTALLATION
According to the Fig.3, make sure the position of the hoods on the
wall. Then use the stencil to drill four holes Φ8 mm on the wall.
Fix four sets expanding plugs and screws aimed at the four holes.
To install this hood you will require two assistants.
You will need the following tools and material to complete this installation:
*Drill*Flat head screwdriver*Phillips head screwdriver or cordless drill
and Phillips head bit*Tin snips*3/8″nut driver or ratchet with extension
*measuring tape*hand saw or jig saw*electrical tape*duct tape
1. Remove the range hood from the carton.
2. Lay the hood upside down on a table covered with cardboard or paper
to prevent scratching of the table or hood.
3. Hood installation should be within 0.8m radius range from the socket.
Fixing the cooker hood
Ensure the power has been turned off before beginning this installation.
3
Φ8
Table of contents
Other EuroAir Ventilation Hood manuals
Popular Ventilation Hood manuals by other brands

Gorenje
Gorenje S3 IHGC963S4X manual

KOBE
KOBE ISX2136SQB-1 Installation instructions and operation manual

U.S. Products
U.S. Products ADVANTAGE-100H Information & operating instructions

Kuppersberg
Kuppersberg DUDL 4 LX Technical Passport

Framtid
Framtid HW280 manual

Thermador
Thermador HGEW 36 FS installation manual


