EUTRON ER-220 User manual

CASH REGISTER
ER-220
USER MANUAL
EUTRON HUNAN INFORMATION EQUIPMENT CO., LTD.

I
E
R
-220 User Manual
INDEX
INTRODUCTION...................................................................................................................................1
1 GENERAL ADVICE ............................................................................................................................2
2 INSTALLING THE PRODUCT ............................................................................................................2
3.1 WHEN GET A NEW REGISTER...............................................................................................2
3.1.1 OPEN THE PACKAGE ....................................................................................................2
3.1.2 PROGRAMMING ITEMS AND HEADER.........................................................................2
3.2 CLEANING...............................................................................................................................2
4. PRINTER DESCRIPTION..................................................................................................................3
4.1 WHEN THE PAPER RUNS OUT ...............................................................................................3
4.2 PAPER ROLL REPLACEMENT ..................................................................................................3
4. 4 WHEN PAPER BLOCKS IN THE PRINTER .............................................................................3
5 OPERATOR DISPLAY, KEYBOARD, CUSTOMER DISPLAY ..............................................................4
5.1 MAIN KEYS .............................................................................................................................4
5.2 KEY DESCRIPTIONS...............................................................................................................5
5.3 CUSTOMER DISPLAY DESCRIPTION.....................................................................................6
6 FUNCTIONS ......................................................................................................................................7
6.1 OPERATOR AND SALESPERSON............................................................................................7
6.2 NO SALE OPERATION.............................................................................................................7
6.2.1 RECEIVE ON ACCOUNT................................................................................................7
6.2.2 PAID OUT......................................................................................................................8
6.3 DEPARTMENT SALES AND PLU SALES..................................................................................8
6.3.1 DEPARTMENT SALES....................................................................................................8
6.3.2 PLU (ARTICLE) SALES..................................................................................................9
6.3.3 SALES REQUIRING MULTIPLICATION.........................................................................9
6.4 SALES VARIATION FUNCTION............................................................................................. 10
6.4.1 CANCELLING PREVIOUS ENTRY................................................................................ 10
6.4.2 CORRECTION LAST ENTRY........................................................................................ 10
6.4.3 FULL CACELLATION OF RECEIPT .............................................................................. 11
6.4.4 RETURNED GOODS.................................................................................................... 11
6.4.5 DISCOUNT AND INCREASE IN PERCENTAGE........................................................... 11
6.4.6 NET DISCOUNT AND INCREASE ............................................................................... 12
6.5 CONCLUDING TRANSACTIONS, METHODS OF PAYMENT ................................................. 13
6.5.1 CASH PAYMENTS........................................................................................................ 13
6.5.2 PAYING BY CHEQUES, COUPON, CREDIT CARD OR CREDIT.................................. 13
6.5.3 USING OTHER CURRENCY......................................................................................... 14
6.6 OTHER FUNCTIONS AND SPECIAL KEYS............................................................................ 16
6.6.1 SUBTOTAL KEY ........................................................................................................... 16
6.6.2 C KEY .......................................................................................................................... 16
6.6.3 FEED KEY.................................................................................................................... 16
6.6.4 PRICE KEY................................................................................................................... 16
6.6.5 OTHER FUNCTIONS.................................................................................................... 16
7 MANAGE POSITION OPERATION................................................................................................... 17
7.1 CHANGE ITEM PRICE ........................................................................................................... 17
8 PREVIOUS BALANCE FUNCTION ................................................................................................... 18
8.1 START PREVIOUS BALANCE................................................................................................ 18
8.1.1 OPEN AND ADD SALES.............................................................................................. 18
8.1.2 ADD SALES TO AN ACTIVE TABLE............................................................................ 18
8.1.3 PB TRANSFER............................................................................................................. 19
8.1.4 PRINT.......................................................................................................................... 19
8.2 CLOSE PREVIOUS BALANCE................................................................................................ 19
8.2.1 CLOSING WITH PRINTING DETAILED SALES........................................................... 19
8.2.2 COMBINING PREVIOUS BALANCES .......................................................................... 20
8.2.3 CANCEL PB CLOSING................................................................................................. 20
9 READING AND ZEROING............................................................................................................... 21
9.1 READING...............................................................................................................................21
9.2 ZEROING...............................................................................................................................23
12 ERROR MESSAGES....................................................................................................................... 25
1
E
R
-220 User Manual
INTRODUCTION
This manual is applicable for operation of Eutron electronic cash register (ECR) models:
This manual is for programming and setting of Eutron cash register models: ER-220 series.
Brief Specifications:
Model ER-220
Display Operator: 4 linex16 characters backlit LCD
Customer: 12 digits LED
Keyboard 35 keys
Printer 58mm thermal printer
32 characters
Receipt
Department 60
PLU 3000
The manufacturer reserves the right to make any changes necessary to the technical
characteristics of the ECR without notice. The functions and programming described
instructions are referred to standard products available at the time of printing. Any additional
functions will be described in special addendum pages which may be added on request.
The technical manuals of EUTRON products are only available to Authorized Technical
Assistance Centers.
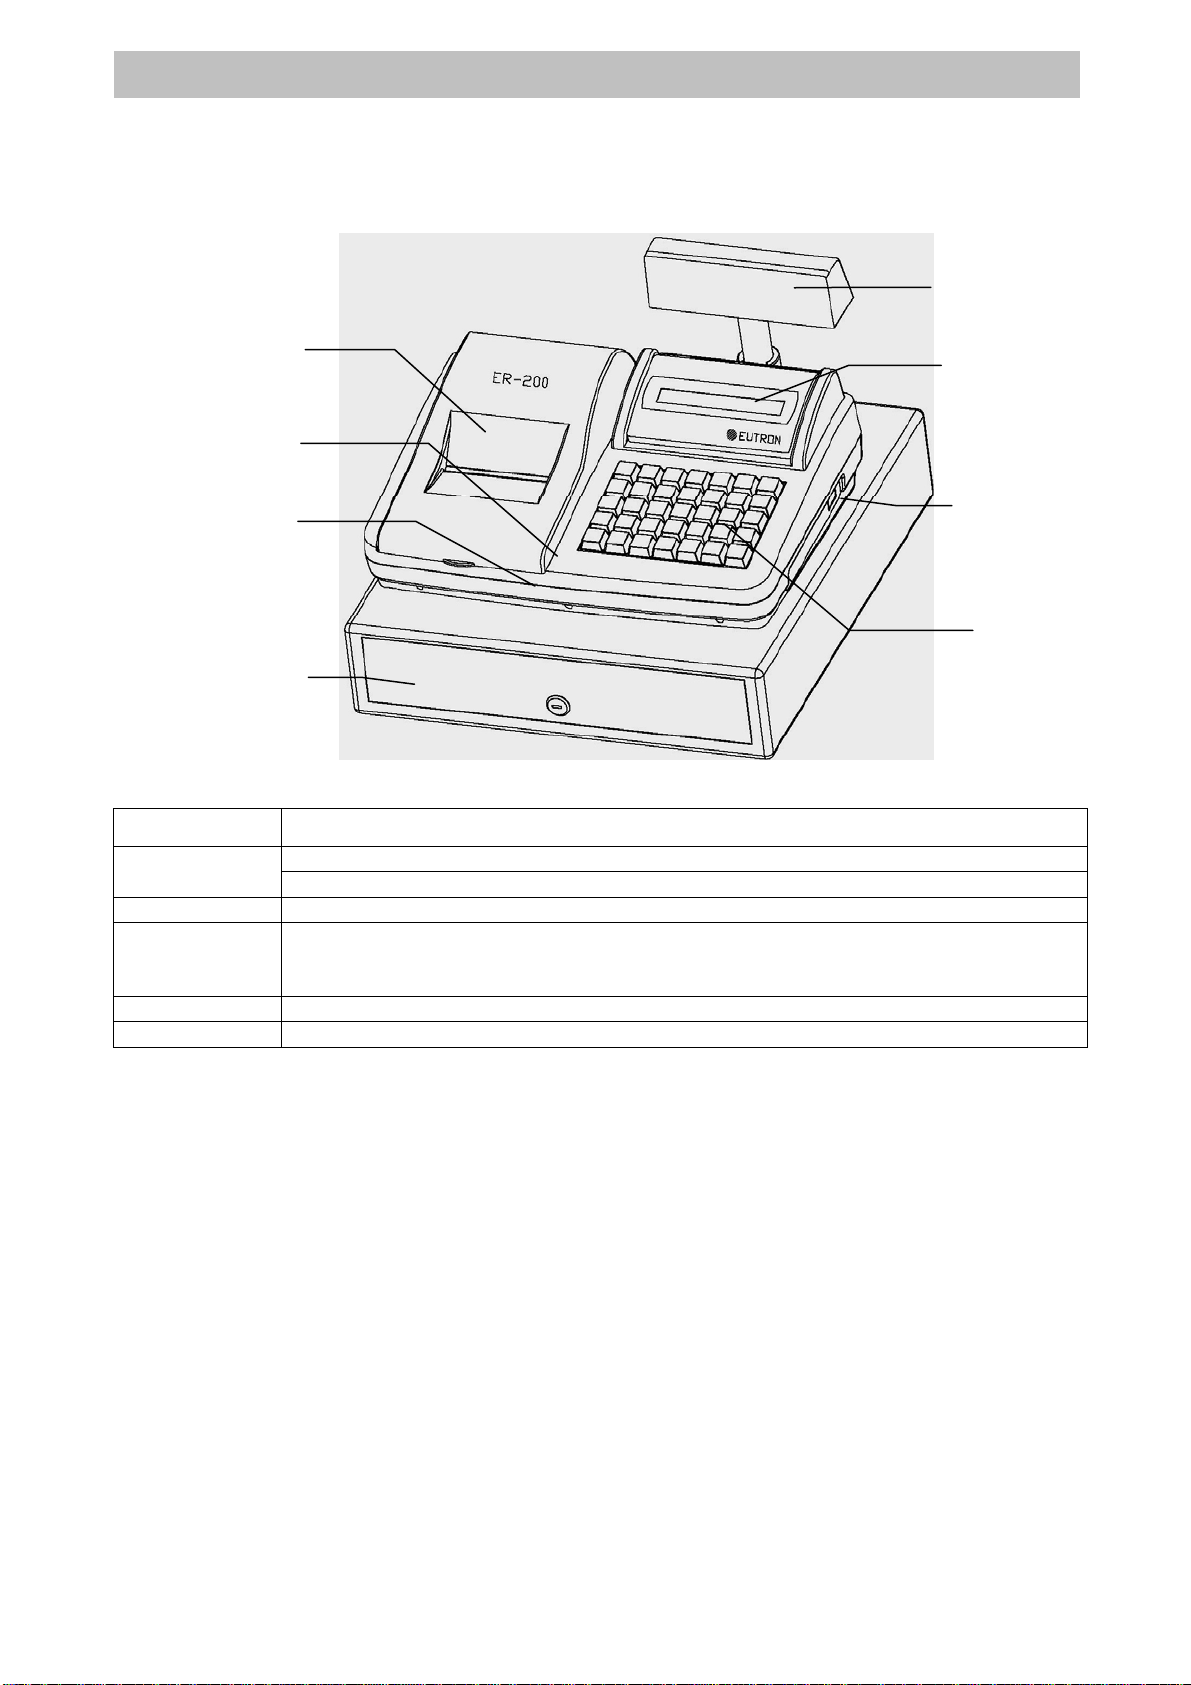
Customer
di l
Operator display
Power Switch
Keyboard
Printer Cover
Case Top
Case Bottom
Cash Drawer

2
E
R
-220 User Manual
1 GENERAL ADVICE
This manual contains instructions for the correct use of the cash register and programming.
Read carefully before using the machine.
The ECR must be placed on a stable, horizontal surface. Ensure that the customer display is
perfectly visible, and check the main power cable frequently.
Extraordinary maintenance and any repairs must be carried out only by an authorized technical
assistance centre.
The manufacturers decline all responsibility if any work is carried out by non-authorized
technicians or non-original parts are used.
Do not interfere with internal workings of the ECR, even if it breaks down. Do not interfere
with or remove the fiscal seal. Only authorized staff at the Authorised Assistance Centre may
do this.
2 INSTALLING THE PRODUCT
The machine must be placed on a stable surface far away from sources of heat or
electromagnetic noise.
Check that the peripheral connections (keyboard, display etc.) connected to the ECR are not a
hindrance to normal sales operations. Check that they are not near live cables, especially if
they are heavy duty.
Failure to earth will result in damage the manufacturer assuming no responsibility
for.
Do not connect the ECR to circuits powering heavy duty machinery (fridges, motors in
general).
Regular checking of the power cable and all the cables connected to the machine help
guarantee the safety of the operator as well as the good operation of the machine.
Any accessories connected to the machine MUST be approved by the manufacturer and
operated by qualified personnel using documentation, which is ONLY available to EUTRON
Assistance Centres or authorized representatives.
The manufacturer declines any responsibility for damage or improper functions in
the event that the above recommendations are not respected.
3.1 WHEN GET A NEW REGISTER
3.1.1 OPEN THE PACKAGE
Open the package and check the printer, power supply, keyboard, display, serial port are OK.
3.1.2 PROGRAMMING ITEMS AND HEADER
Using a computer, items can be uploaded to or download from a register.
3.2 CLEANING
The ECR requires no particular maintenance. If local conditions make it necessary, the case
may be dusted weekly using a soft cloth. The screens may be cleaned using dust repellent
products.
Do not use abrasive solvents or detergents. Never spray directly onto the machine
itself, but use a cleaning cloth if necessary.
A damp brush may be used to remove dirt clogging the keyboard.

3
E
R
-220 User Manual
4. PRINTER DESCRIPTION
4.1 WHEN THE PAPER RUNS OUT
The paper roll has a red band indicating that the paper is running out.
Special sensor inside the printer case detects that the paper roll is running out and stop the
cash register by means of:
If printer runs out of paper roll, message showed on the display:
4.2 PAPER ROLL REPLACEMENT
a) Open the printer cover.
b) Remove excess paper and paper core.
c) Replace new paper and sip the sheet into printer mechanism.
d) Close the printer protective cover and make sure l the paper comes out of the correct slot.
e) Press <FEED> key and if necessary <C>.
4. 4 WHEN PAPER BLOCKS IN THE PRINTER
Should any scraps of paper remain trapped in the mechanism, or because of mechanical fault,
the paper should catch in the printer, proceed as follows:
a) Open the printer cover
b) Press <FEED> key if necessary
c) Clean the bore of the used paper roll and any paper left.
d) Pass the paper under the roller pushing the paper out through the upper guide of the
printer.
e) Remove excess paper
f) Replace new paper
g) Close the printer protective cover and make sure l the paper comes out of the correct slot.
h) Close the printer cover and let the paper come out of the slot.
RG PAPER END!

4
E
R
-220 User Manual
5 OPERATOR DISPLAY, KEYBOARD, CUSTOMER DISPLAY
ECR keyboard is constituted of keys, which allow access to the sales, reading, resetting and
programming functions. A special guide leads the user through the operations.
The keyboard configuration can be customised according to the user’s needs, which
means that the number of keys can be increased or reduced at leisure. The latter
function, which modifies the overall functionality of the ECR, can only be
implemented by calling technical assistance.
5.1 MAIN KEYS
¾Number Keys
The keys 0, 1, 2, 3, 4, 5, 6, 7, 8, 9, 00 are used for the normal entering of sums or codes.
They also allow access to the alphabetic.
¾Special Keys
The keys <ENTER>, <SELECT> and <END> are used to simplify the programming and for
zeroing the ECR.
In the reading, zeroing and programming positions, and for some registering functions, they
take on the following meaning:
SUBTOTAL => SELECT(selection of one of the menu items)
CASH => ENTER (accepting the selection)
CURRENCY => END (end of operations)
¾<KEY>
It is possible to set the ECR in five different ways through the <KEY> key. In order to obtain
the different positions, it is necessary – with the ECR switched on – to press keys 1, 2, 3, 4, 5
before pressing the <KEY>key. This way the ECR will start in one of the following settings:
POSITION OFF: Position OFF deactivates the ECR. With the ECR switched on – simply
press the <KEY> key. To restart the ECR, just press again.
POSITION RG: The REGISTER position is set by pressing keys <1> and <KEY> in
sequence. This position allows all the routine functions of sales and storage to be
performed.
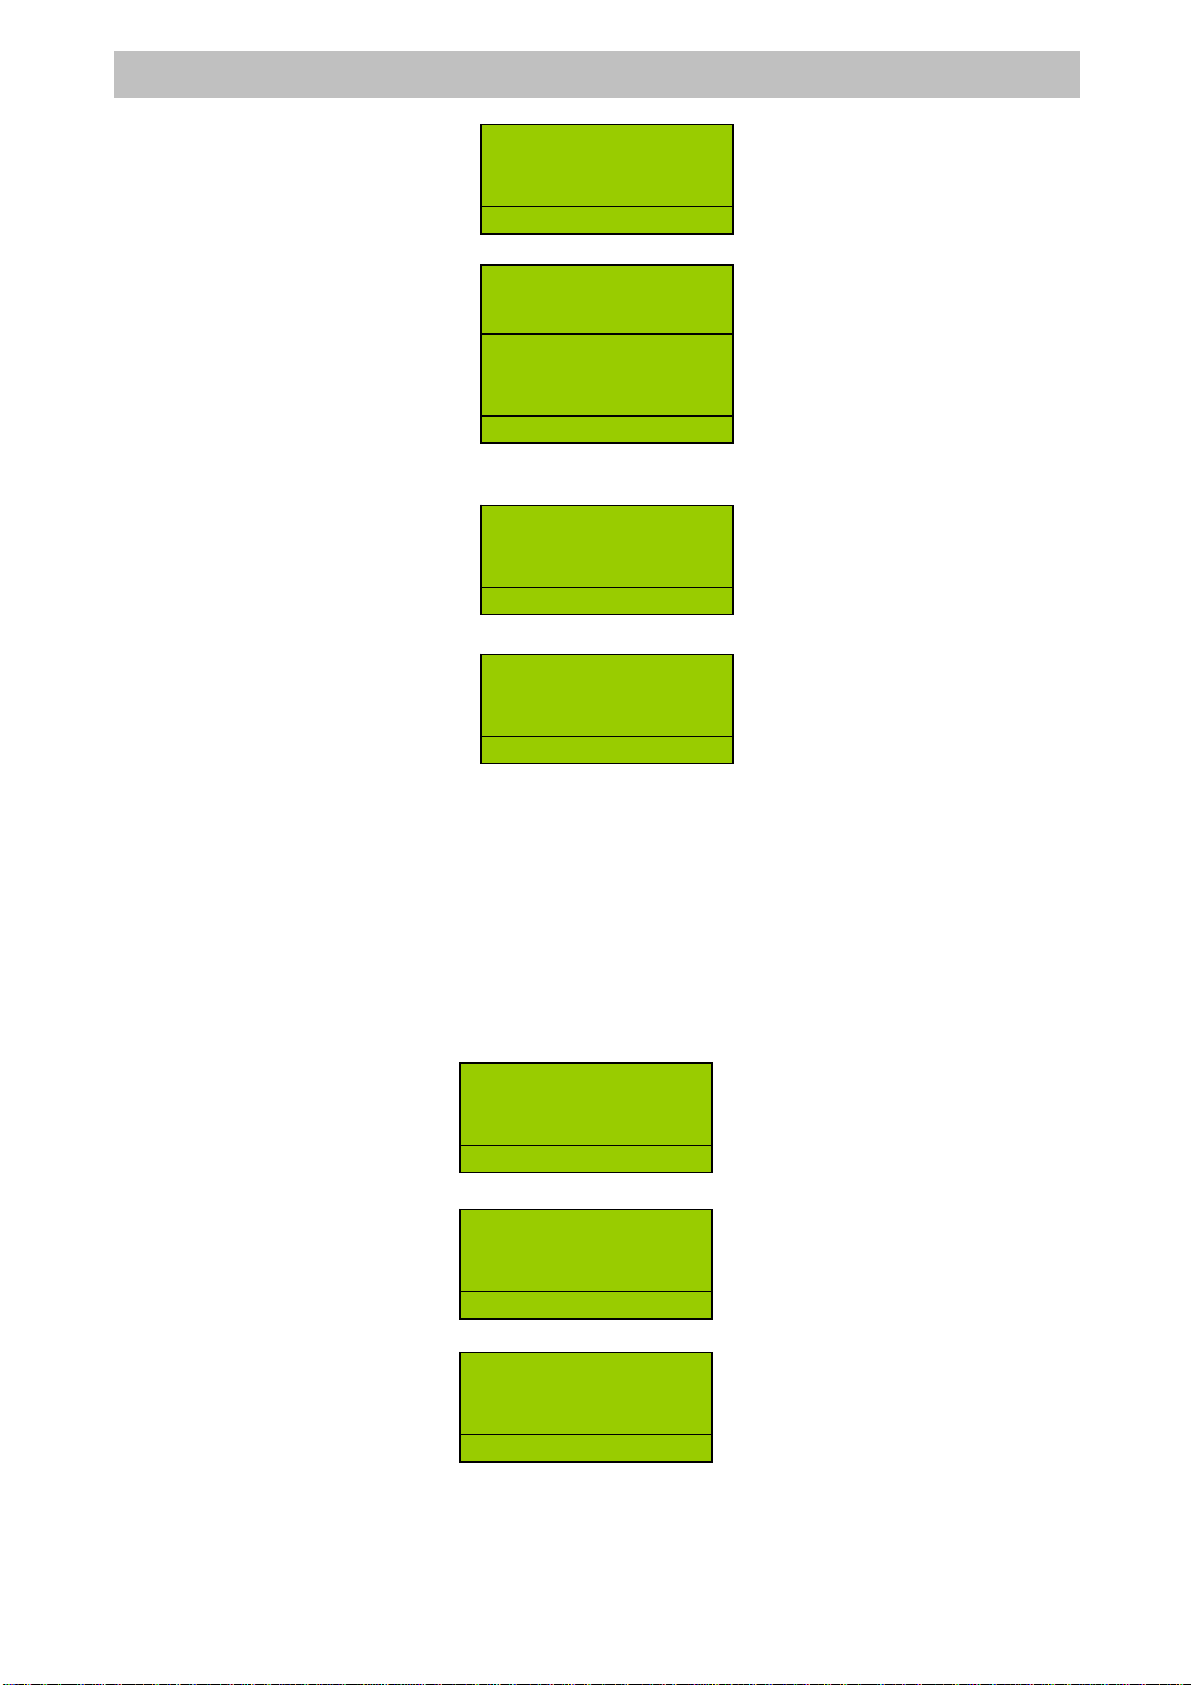
POSITION X: The READING position is set by pressing keys <2> and <KEY> in
sequence. This position allows performing all readings retrievable at any time of the
day.
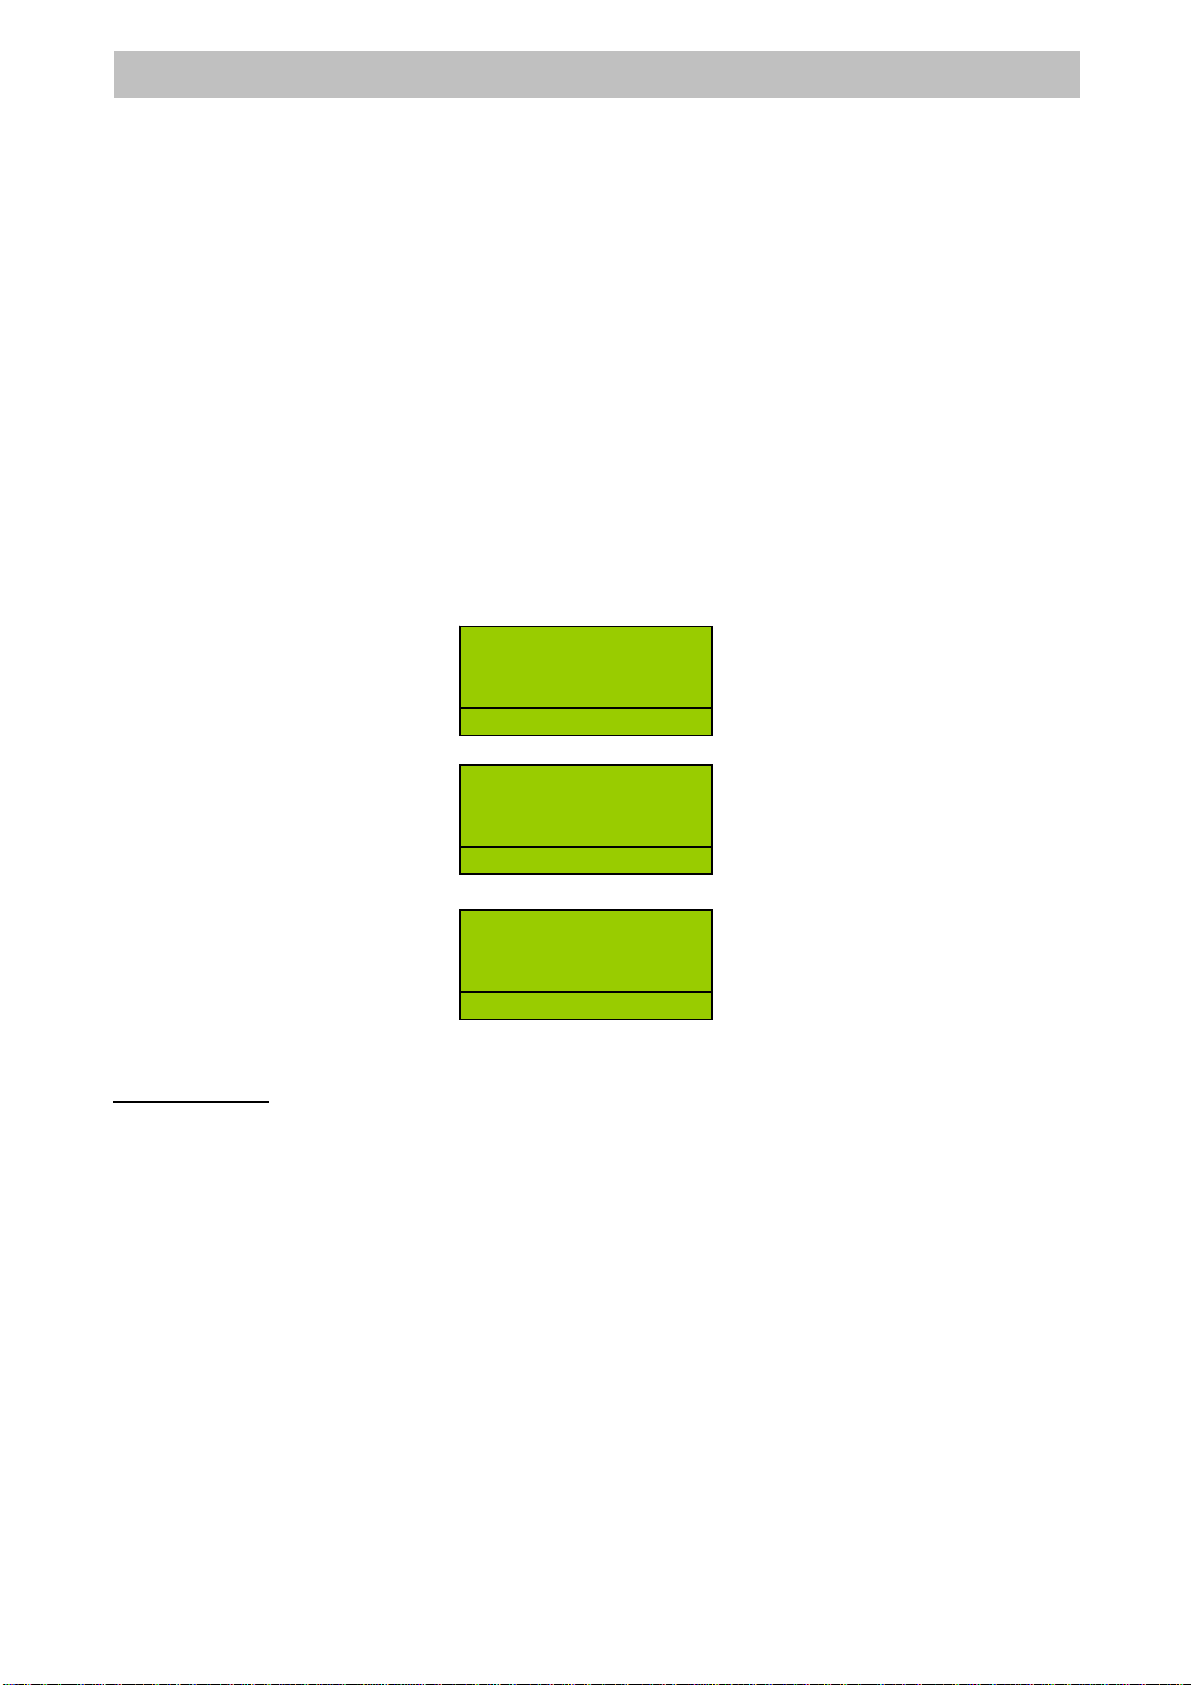
POSITION Z: The CLOSURE position is set by pressing keys <3> and <KEY> in
sequence. This position allows to perform end-of-day zeroing and to reset all the serial
numbers of the cash register; it also provides a printout and the zeroing of totalizer s.
Note that this position is used for the daily closure.
POSITION SET: The PROGRAMMING position is set by pressing keys <4> and
<KEY> in sequence and allows access to ECR programming.
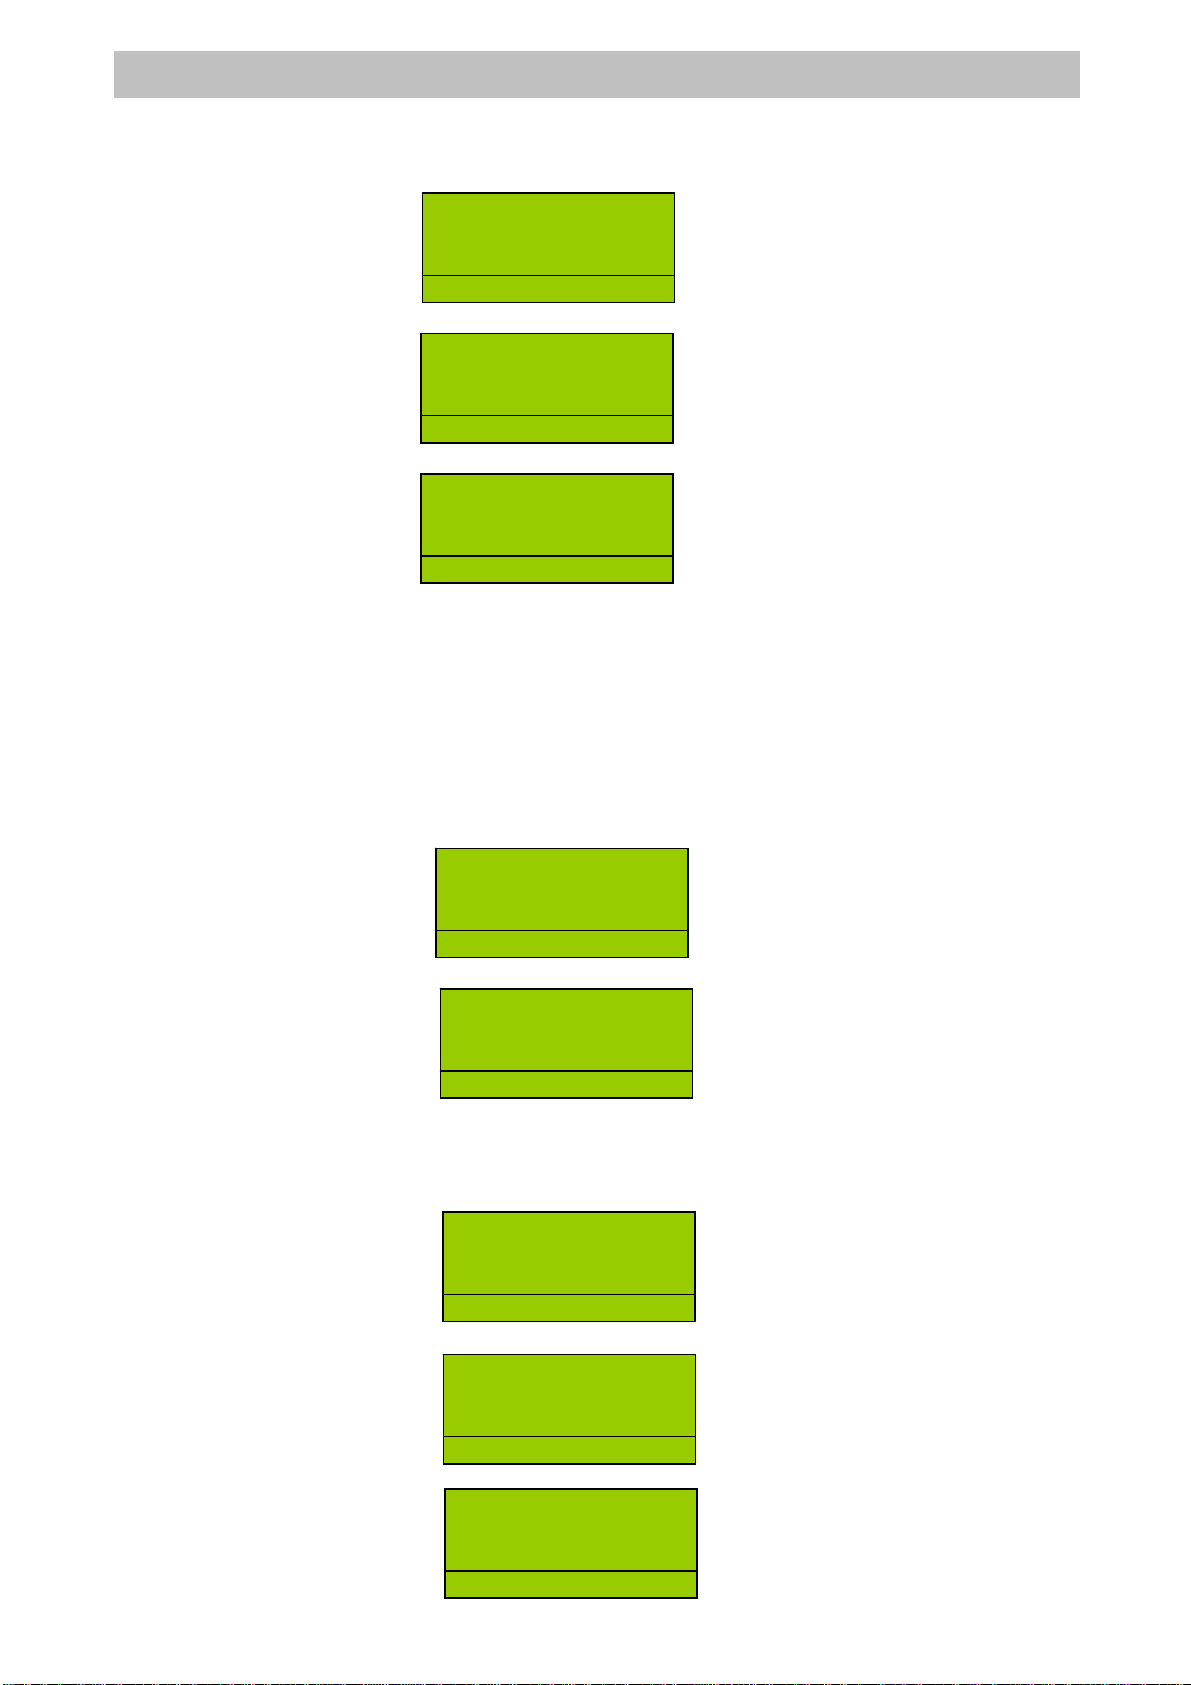
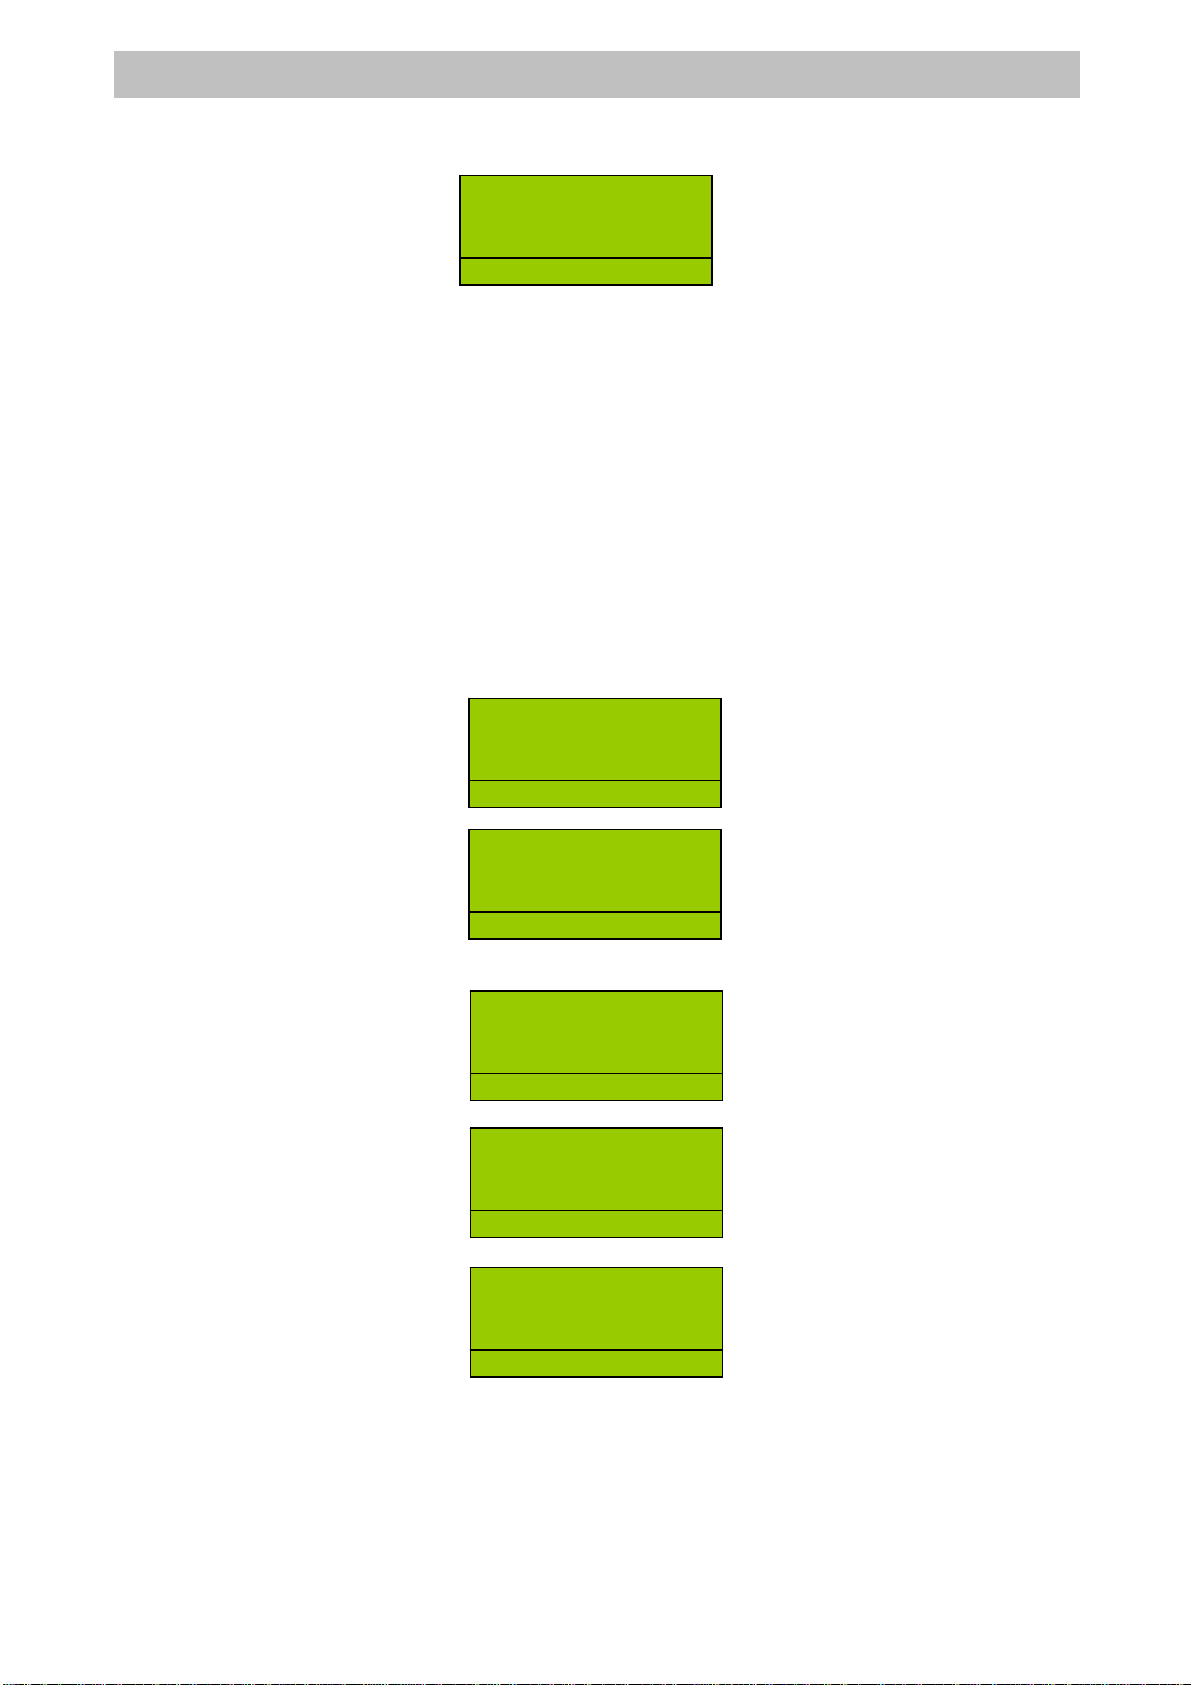
ECR LOCKED
PRESS<MODELOCK>
RG
1.DAILY REPORT
2.PERIOD REPORT
3.PERIOD PLU
X
S
ELE
C
T A REP
1.DAILY REPORT
2.PERIOD REPORT
3.PERIOD PLU
Z
S
ELE
C
T A REP

5
E
R
-220 User Manual
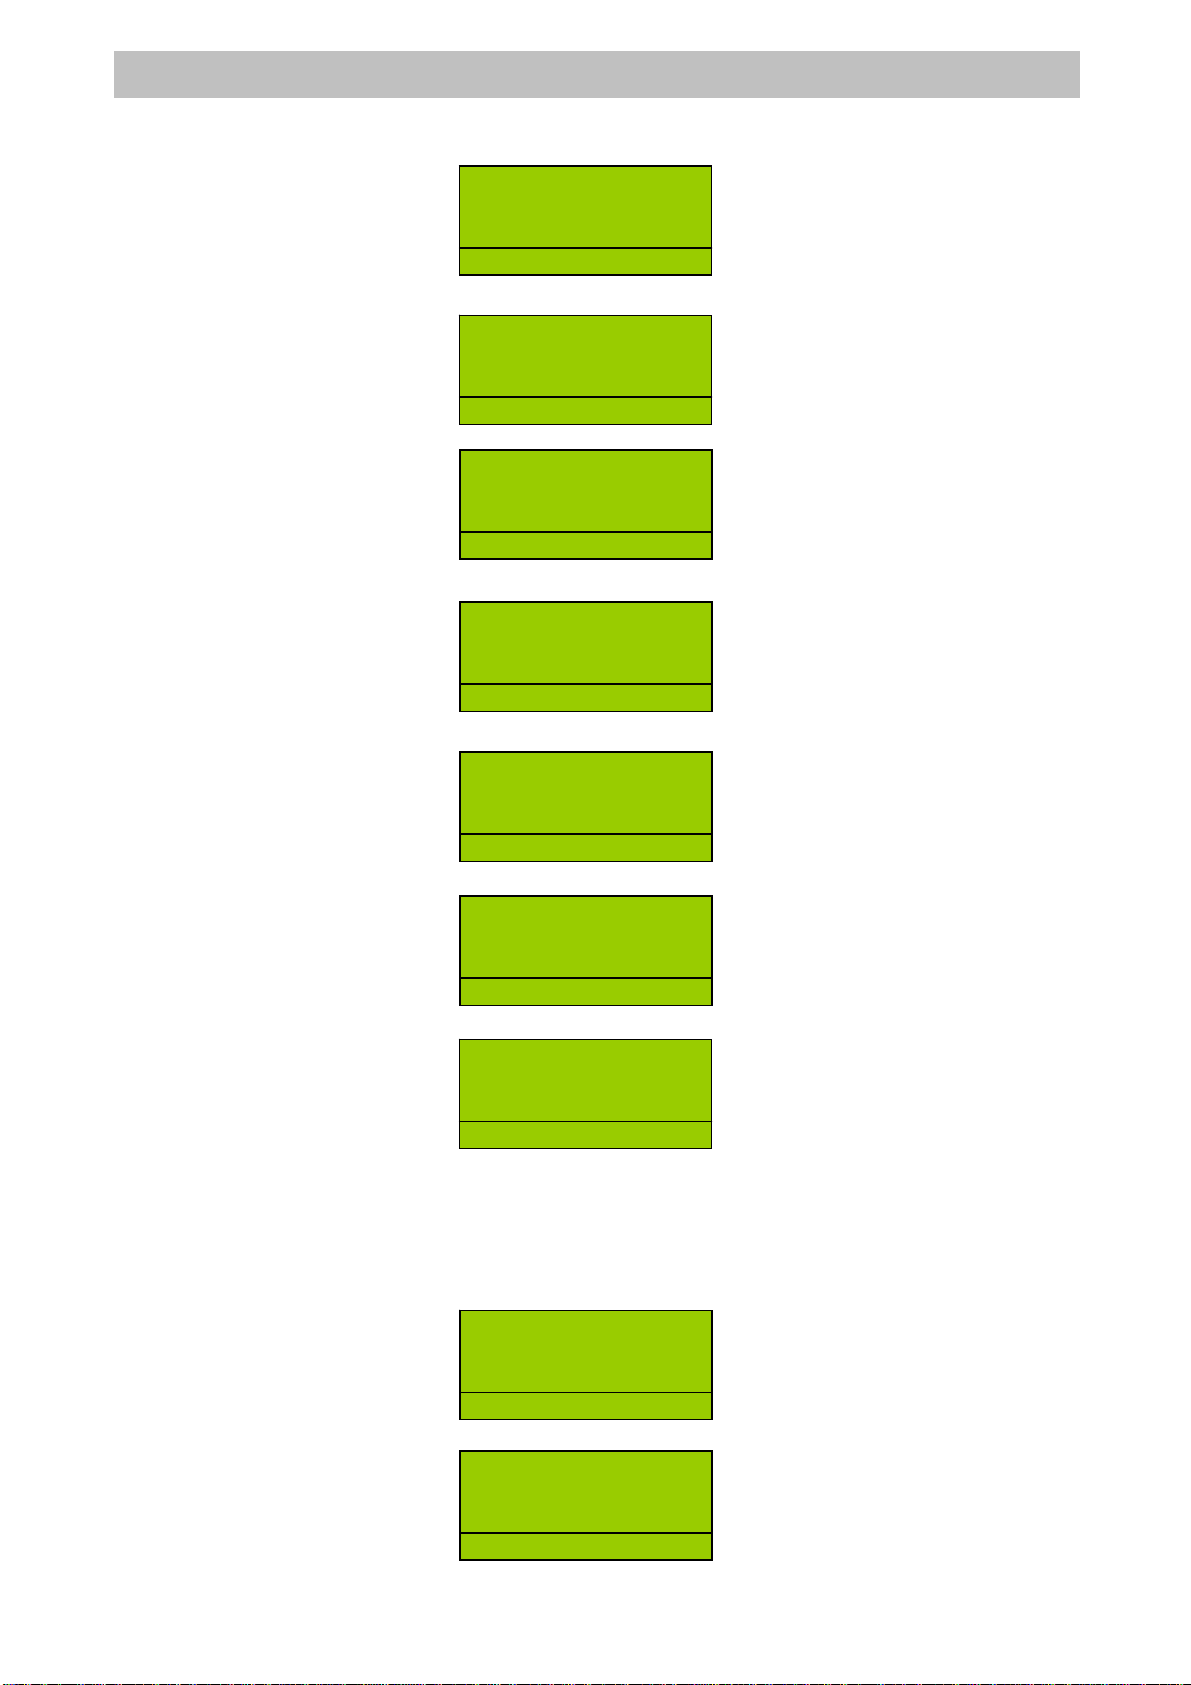
POSITION MG: The MANAGE position is set by pressing keys <5> and <KEY> in
sequence. This position looks like REG position, but can perform stock and chip card
operating functions.
SECRET CODES FOR POSITIONS: X , Z , PG and MG
To prevent involuntary or unwanted zeroing and programming caused by unauthorised users, it
is possible to introduce a key sequence (secret code) that can block positions X, Z and SET.
For further details on this operations, refer to “Programming and use of the secret code in
programming manual
Default Keyboard Layout of ER-220 Series
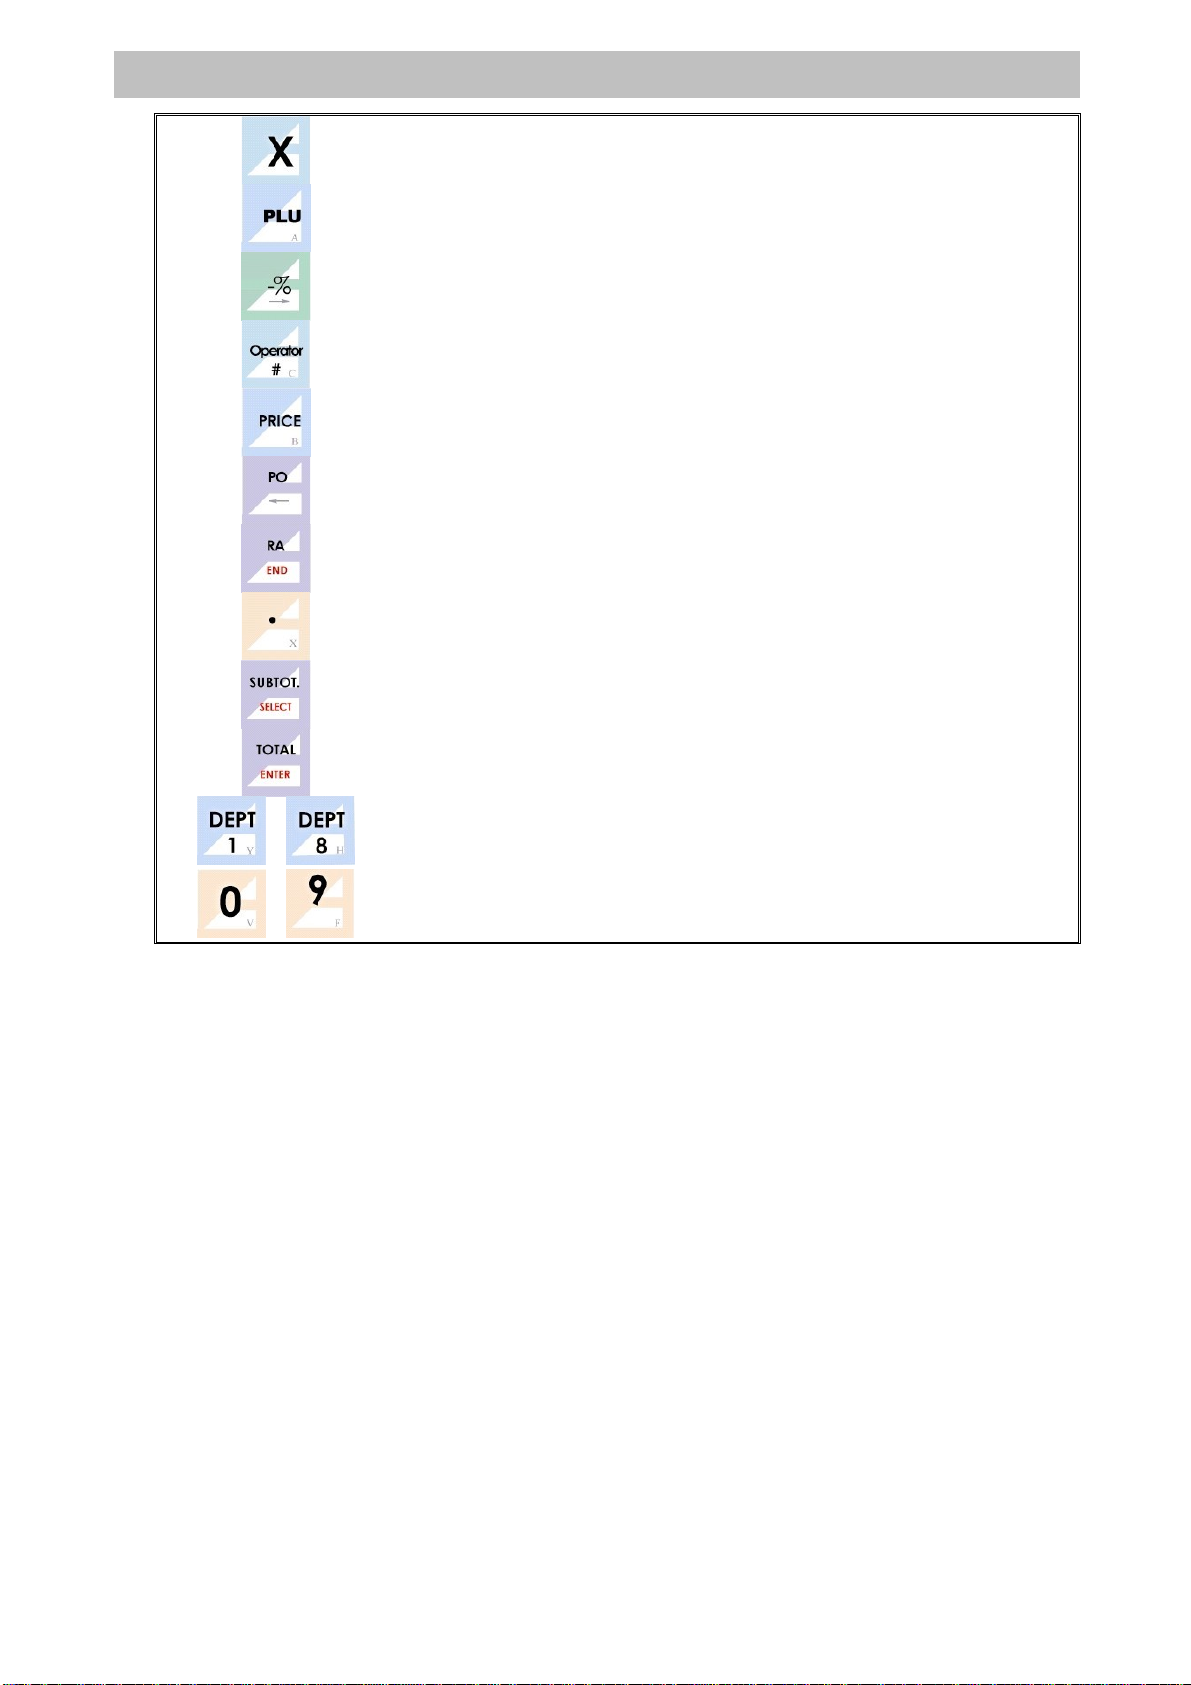
5.2 KEY DESCRIPTIONS
Switch the working modes
Moves the receipt paper on.
Corrects setting and exits error messages.
Cancellation of one of the previous keystrokes.
Refund goods.
Void last sale.
1.GENERAL SET
2.DEPT/PLU…
3.COM/PRINT
P
G
M
G
6
E
R
-220 User Manual
Multiplier for quantities.
Retrieval of a PLU (an item with descriptor and preset price).
Discounts in percentage on an item or on the subtotal.
Operator login by number
Input price while tendering
PO
RA
Decimal point.
Displays and prints the subtotal.
Transaction closure with cash payment.
…Department keys for the functions of sales by departments.
… Digital input
5.3 CUSTOMER DISPLAY DESCRIPTION
All registers have a numeric display with one line by 12 digits.
The left part of the line is used for short descriptions and messages, the right part of the line
displays amounts as they are calculated or entered by the operator.
The table followed shows character displayed on register.

7
E
R
-220 User Manual
6 FUNCTIONS
This chapter describes all of the functions that are available when the ECR is in the Registration
position (RG.).
Before carrying out subsequent functions make sure that the ECR is in this position. This
setting can be activated by typing 1followed by the <KEY>key. Make sure that the following
appears on the display:
The following annotations will be used in this chapter:
Numerical sequences (the amounts for example): amounts
Function keys (for example dept. 1): DEPT1
The => symbol indicates movement onto the subsequent stage
6.1 OPERATOR AND SALESPERSON
Operator sign in
Enter operator number and press <OPERATOR#>. Input password if needed.
If password verified OK, the display shows:
Operator sign out
Press <0><OPERATOR#> sign out and lock keyboard, the ECR won’t work until sign in an
operator, or ECR will feed back an error of “OPER. REQUIRED”.
6.2. NO SALE OPERATION
No sale operation contains paid out and received on account, the default operation is for cash.
You can consider whether open drawer when performing a non-sale operation.
6.2.1 RECEIVE ON ACCOUNT
Enter the amount you wish to receive.
Enter <RA> and drawer will be opened if programmed, and printer received amount on
receipt.
R
G
R
G
----------------
R
G
C
LERK
R
G
O
PER.RE
QU
IRE
R
G
2
00
RA 200.00
R
G
C
LERK

8
E
R
-220 User Manual
6.2.2 PAID OUT
Enter the amount you wish to get out.
Enter <PO> and drawer will be opened if programmed, and printer received amount on
receipt.
6.3 DEPARTMENT SALES AND PLU SALES
6.3.1 DEPARTMENT SALES
The department keys allow printing of sales transactions by department on the receipt.
As well as being accumulated in individual registers, the amounts are totalled in the total on
the current receipt. By repeatedly pressing the department key, registration of the last amount
entered is repeated.
The amount that precedes the pressing of the department key can be omitted if
pre-programmed.
The single strike function set on the department allows the register to produce a receipt by
simply pressing the department key.
For example a sale in an unnamed department:
Enter the price of the department, amount =>
Enter the a DEPT2 key, =>
Press a tender key. CASH=>
Or a sale by in a named department, DEPT3 =>
Press a tender key. CASH=>
R
G
2
0
0
PO -200.00
R
G
C
LERK
R
G
8
DEPT 2 8
1 8.00
R
G
D
0
2
8
.
00
1 8.00
TOTAL 8.00
CASH 8.00
R
G
C
LERK
DEPT 3 3
1 3.00
R
G
D
03
3
.
00
1 3.00
TOTAL 3.00
CASH 3.00
R
G
C
LERK

9
E
R
-220 User Manual
6.3.2 PLU (ARTICLE) SALES
The PLU key preceded by a numerical code of up to 13 figures allows you to recall a
description and unit price that have previously been programmed in the ECR.
For example a nominated PLU sale:
Enter PLU code =>
Enter <PLU> KEY =>
Price of PLU 20 is 3.50.
Or a PLU sale with price variation:
Enter the price of the PLU, and press <PRICE> key,
Enter PLU code =>
Press <PLU> KEY =>
6.3.3 SALES REQUIRING MULTIPLICATION
This function, activated by using the Xkey is used to multiply quantities by amounts, in the
case of sales by department, or quantities by article in the case of PLU sales.
The maximum number of internal figures or decimals accepted as a quantity in the
multiplication is five.
For example, a quantity by amount sale will be:
Enter quantity of the item n° items and/or weight =>
Press <X>=>
Enter unit price =>
Press <DEPT>
R
G
2
0
BOOK 1 3.50
R
G
D
0
1
3
.
50
R
G
3
R
G
2
0
BOOK 1 3.00
R
G
D
0
1
3
.
00
R
G
2
0
R
G
8
DEPT 1 8
20 8.00
R
G
D
0
1 1
60
.
00
1
0
E
R
-220 User Manual
Or a PLU sale with quantities more than 1:
Enter quantity of the item =>
Press <X>=>
Enter PLU code =>
Enter <PLU> KEY =>
6.4 SALES VARIATION FUNCTION
These functions make it possible to modify the contents of a receipt while it is still incomplete.
Correction operations transfer and returns of merchandise on single strikes, discount/increases
and cancellation on the subtotal are possible.
6.4.1 CANCELLING PREVIOUS ENTRY
The <VOID> key allows you to cancel the last entry made. After the key is pressed a line of
description then “CORRECT” and the same amount is printed, but with the sign inverted
compared with the last stroke. For example type:
Register an item: amount =>
DEPT =>
Press < VOID> key =>
6.4.2 CORRECTION LAST ENTRY
Using the <CORR> key it is possible to transfer a previous sale for both a department and
PLU.
For example:
Press<CORR> key=>
Enter amount and press<DEPT> =>
Or Press<CORR> key =>
R
G
2
0
R
G
2
BOOK 20 8.00
R
G
D
0
1 1
60
.
00
DEPT2 8
1 8.00
R
G
D
0
2
8
.
00
1 8.00
DEPT2 8
-1 8.00
R
G
D
0
2 -
8
.
00
DEPT2 8
18.00
R
G
D
0
2
8
.
00
1 8.00
DEPT3 8
-1 8.00
R
G
D
0
2 -
8
.
00
BOOK 1 8.00
R
G
D
0
1
8
.
00

1
1
E
R
-220 User Manual
Enter PLU code and press<PLU>key: Number code => PLU =>
The function will only be applicable if transferring a previous sale contained in the receipt for
the same amount.
6.4.3 FULL CACELLATION OF RECEIPT
The <CANCEL> key allows you to cancel the entire receipt in course bringing the total back to
zero and closing the transaction. It is necessary to press the <ENTER> key at the end as
confirmation.
For example:
Register something and press<CANCEL>, amount => DEPT => CANCEL =>
Press <ENTER> confirm, =>
or press <C> cancel.
6.4.4 RETURNED GOODS
This function allows you to carry out a return of merchandise of any amount in any department
or PLU using the <REFUND> key.
For example, type the following sequence:
Press <REFUND> => amount => DEPT
Or REFUND => PLU code => PLU
6.4.5 DISCOUNT AND INCREASE IN PERCENTAGE
These functions apply a percentage discount or increase on the latest item sold or spreading it
over all sales, on the SUBTOTAL calculated up to that time. The keys to use are
<%DISCOUNT> and, once these have been correctly programmed.
The percentage of discount/increase can either be pre-programmed or typed before the <-%
DISCOUNT> key.
The possible sequences will be:
Enter the amount of department item and press <DEPT> key =>
DEPT2 8
-1 8.00
R
G
D
0
2 -
8
.
00
BOOK -1 8.00
R
G
D
0
1 -
8
.
00
DEPT2 8
1 8.00
R
G
CO
NF?
TOTAL 8.00
CABCEK
-8.00
R
G
C
LE
C
K
DEPT2 8
1 8.00
R
G
D
0
2
8
.
00
BOOK 1 8.00
BOOK -1 8.00
R
G
D
0
1
8
.
00
1
2
E
R
-220 User Manual
Press <-%DISCOUNT> key =>
Or Enter the amount of department item and press <DEPT> key =>
Enter discount rate =>
Press <-%DISCOUNT> key =>
Or Enter the amount of department item and press <DEPT> key =>
Press <SUBTOTAL> key =>
Press <-%DISCOUNT> key =>
6.4.6 NET DISCOUNT AND INCREASE
The NET DISCOUNT/INCREASE key allows you to make an absolute discount by enter an
amount and press < NET DISCOUNT> or <NET SURCHARGE>
For example:
Register something, amount => DEPT =>
Enter the amount of discount/increase =>
DEPT2 8
18.00
-%DISC 1 -0.80
R
G
D
0
2
8
.
00
DEPT2 8
1 8.00
R
G
D
0
2
8
.
00
DEPT2 8
1 8.00
R
G
D
0
2
8
.
00
DEPT2 8
18.00
SUBTOTAL 8.00
R
G
D
0
2
8
.
00
18.00
SUBTOTAL 8.00
-%DISC 1 -0.80
R
G
1
0
DEPT2 8
1 8.00
R
G
1
0
DEPT2 8
18.00
-%DISC 1 -0.80
R
G
1
0
DEPT2 8
18.00
R
G
D
0
2
8
.
00
DEPT2 8
18.00
R
G
2
1
3
E
R
-220 User Manual
Press <NET DISCOUNT> key =>
6.5 CONCLUDING TRANSACTIONS, METHODS OF PAYMENT
The sales transaction is concluded with payment, setting the sequences that allow you to
register the amount taken on the keyboard.
The cash register automatically calculates and displays the change to be given whenever the
amount cashed is greater than the sale price. If the amount cashed is inferior, the ECR displays
the remaining amount (SUBTOTAL) and waits for further payment to be made.
Mixed tenders can be accepted, part in cash and part in credit or by cheque; the change given
is always in cash.
Note that by using the <CURRENCY> function the register accepts payment in foreign
currency.
Below are some examples of the main closure methods:
6.5.1 CASH PAYMENTS
The <CASH> key automatically assumes the meaning of payment in cash. To close cash
transaction and print the receipt type the following sequence:
Enter the item sale, amount => DEPT =>
Press <CASH> =>
Or to calculate the amount of change enter the figure before the <CASH> key
Enter the item sale, amount => DEPT =>
Enter cash amount =>
Press <CASH> =>
6.5.2 PAYING BY CHEQUES, COUPON, CREDIT CARD OR CREDIT
Close the sale and count up payment with cheques, coupons, credit cards or credit. The
amounts are thus assigned to different product registers, which can be seen on the printed
reports for auditing purposes.
For Cheques and Coupon the sequence will be as follows:
Enter the item sale, amount => DEPT =>
DEPT2 8
18.00
NETDISC -2.00
R
G
2
DEPT2 8
18.00
SUBTOTAL 8.00
R
G
D
0
2
8
.
00
1 8.00
TOTAL 8.00
CASH 8.00
R
G
C
LERK
DEPT2 8
18.00
R
G
D
0
2
8
.
00
DEPT2 8
18.00
R
G
2
0
CASH 8.00
RECEIVE 20.00
CHANGE 12.00
R
G
C
LERK
1
4
E
R
-220 User Manual
Enter the amount =>
Press <CHEQUE> or <COUPON> =>
Instead for Credit Cards or Credit it will be like this:
Enter the item sale, amount => DEPT =>
Press <CHEQUE> or <COUPON> =>
Note that in the first case a greater amount can also be entered, with the relevant calculation
of change, while in the second (being credit) the ECR considers this the overall value of the
transaction.
6.5.3 USING OTHER CURRENCY
The <CURRENCY> key allows you to obtain a receipt total expressed in a foreign currency.
By setting the currency code, previously programmed (from 1 to 4) and pressing the
<CURRENCY> key, the display shows the SUBTOTAL of the transaction expressed in the
foreign currency. At this point it is possible to enter the value of the foreign currency actually
cashed and press <CASH>. Payments can also be made in mixed currencies.
For example, use the following keys:
Enter the item sale, amount => DEPT =>
Enter currency code (1, 2, 3, 4)and press <CURRENCY> =>
Press <CASH>=>
DEPT2 8
1 8.00
R
G
D
0
2
8
.
00
DEPT2 8
1 8.00
R
G
2
0
DEPT3 3
1 3.00
R
G
1
TOTAL 8.00
FEE 12.00
COUPON 20.00
R
G
C
LERK
DEPT2 8
1 8.00
R
G
2
0
1 8.00
TOTAL 8.00
COUPON 8.00
R
G
C
LERK
DEPT3 3
1 3.00
R
G
D
03
3
.
00
1 3.00
TOTAL 3.00
CASH $24.00
R
G
C
LE
C
K

1
5
E
R
-220 User Manual
Or enter the item sale, amount => DEPT =>
Enter currency code (1, 2, 3, 4)and press <CURRENCY> =>
Enter the amount =>
Press <CASH>, the register will calculate the change in your own currency, CASH =>
DEPT3 24
1 24.00
R
G
1
DEPT3 24
1 24.00
R
G
RECEIVE $25.00
CHANGE 1.00
DOLLAR $8.00
R
G
C
LERK
1
6
E
R
-220 User Manual
6.6 OTHER FUNCTIONS AND SPECIAL KEYS
This paragraph describes the operational modes for the accessory functions present on the
keyboard.
6.6.1 SUBTOTAL KEY
To display and print the SUBTOTAL amount, or rather the amount of the transaction memorised
up until that time.
For example type the following:
amount => DEPT 1 => ... => DEPT NN => SUBTOTAL
The second typing of the key allows you to display the number of units sold.
6.6.2 C KEY
The <C>key allows you to correct the sequences typed and displayed on the viewer, but not
yet registered. It also allows you escape error conditions.
6.6.3 FEED KEY
By pressing the <FEED> key once the receipt moves forward by one line of print.
6.6.4 PRICE KEY
The <PRICE> Key can be used for changing the unit price of last entry item.
Enter the amount of price and press <PRICE>, amount => PRICE =>
Enter PLU code =>
press <PLU> =>
6.6.5 OTHER FUNCTIONS
Receipt Copy
Receipt copy can be obtained by simply pressing the <SUBTOTAL>key.
The receipt obtained will be a complete copy of the last one produced.
R
G
12
R
G
2
0
BOOK 1 12.00
R
G
D
0
1
12.
00

1
7
E
R
-220 User Manual
7 MANAGE POSITION OPERATION
All functions of REGIST position can be carried out in MANAGE position, and this chapter will
describes functions which can only be performed in this position.
Before carrying out subsequent functions makes sure that the ECR is in this position. This
setting can be activated by typing 5followed by the <KEY>key. Make sure that the following
appears on the display:
All the operations are under manage position (<5> <KEY>), by using the key <SUBTOTAL>
7.1 CHANGE ITEM PRICE
Press <3> and <SUBTOTAL>, 3=> Subtotal =>
Enter the new price and press <X>, price => X=>
Enter the PLU code and press <PLU>, PLU code => PLU =>
Press <SUBTOTAL>, Subtotal =>
M
G
M
G
ALTERPRI
C
E
M
G
3
.
00
BOOK 3.00
M
G
2
0
BOOK 3.00
M
G

1
8
E
R
-220 User Manual
8 PREVIOUS BALANCE FUNCTION
Previous Balance function is developed for restaurant applications. All operations described
below are performed in Register mode if not specified.
8.1 START PREVIOUS BALANCE
Previous balance function is useful for restaurant users where order and payment takes places
in different time.
In below description, key functions of <Open>, <Add>, and <Service> are defined on the
same key in order to save key numbers. The register can execute functions correctly
depending operating stage of transaction. To simplify text, in some cases, we just list the key
function working at that moment, for example <Service> rather than
<Open/Add/Service>.
8.1.1 OPEN AND ADD SALES
Enter table number to be opened, then press <Open/Add/Service> key. For example, to
open #3 Table, follow below steps:
<3> <Open/Add/Service>
After then, items can be added to open table. Take PLU 2 for an example. When items are
added, functions such as Discount, Correction, Void, Refund, and Receipt Cancellation can be
applied. The operation is the same as described in Chapter 3. Please refer to related contents.
<2> <PLU>
After entering all items, press <Open/Add/Service> once, register suspends Table #3, and
temporarily closes the order. The total amount of this table is displayed on register.
<Open/Add/Service>
8.1.2 ADD SALES TO AN ACTIVE TABLE
Press <Add> key after entering the number of an active table, the register displays total
amount of that table, for example Table #3.
<3> <Open/Add/Service>
Now you can add items as you want, for an example PLU 3. During operation of item adding,
Discount, Correction, Void, Refund, and Receipt Cancellation can be applied. Please refer to
Chapter 3 for details.
<3> <PLU>
After finishing items entering, press <Service>, register suspend Table #3 once again, and
temporarily close this table. Register displays the total amount of value just added in this
operation.
TABLE# 3
R
G
S
ERVI
C
E
0
.
00
TALBE# 3
APPLE 1 5.00
R
G
D
0
2
5
.
00
TALBE# 3
APPLE 1 5.00
OPEN 5.00
R
G
C
LERK
TABLE# 3
R
G
S
ERVI
C
E
5
.
00
TABLE# 3
CAKE 1 3.00
R
G
D
03
3
.
00
Table of contents


