B
A1 2 3
4High Current |Installation manual
For proper installation of the High Current it is important that you follow the next steps carefully.
Take the required safety measures and always turn off the power!
Step 1
Turn o the main power in the meter box by ipping the main fuse or by unscrewing the fuses.
Step 2
Remove the screws of the distribution board and open it.
Step 3
Decide where to place the 3 measuring current transformers that will be connected to the High Current,
and make sure they come out of the distribution board. Make sure to do this in a safe and secure manner.
Step 4
Click the measuring current transformers just before or right after the main fuse and put them on the 1st,
2nd, and 3rd phase. Make sure to install them in the same way. It doesn’t matter in what order they are placed.
Step 5
Decide where to place the High Current and attach it to the wall using the xing materials.
Step 6
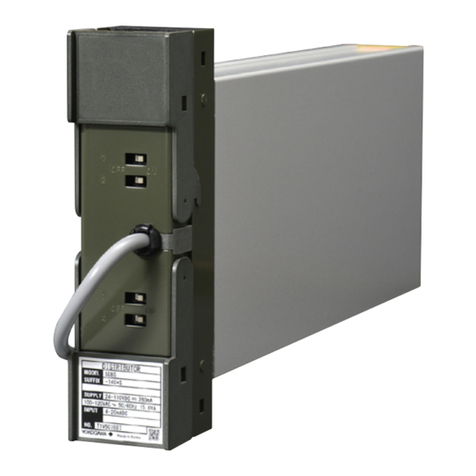
Connect the cables of the measuring current
transformer to the corresponding inputs of the
High Current. See image 1 (nr. 1, 2, and 3). Make
sure they are placed the same!
Make sure to connect the 1st phase with the 1st
phase of the High Current, and do the same with
phases 2 and 3.
The High Current is suitable for a maximum of 20 supply stations and can only be installed with current
transformers which are always included. The High Current goes up to a maximum of 1000A.
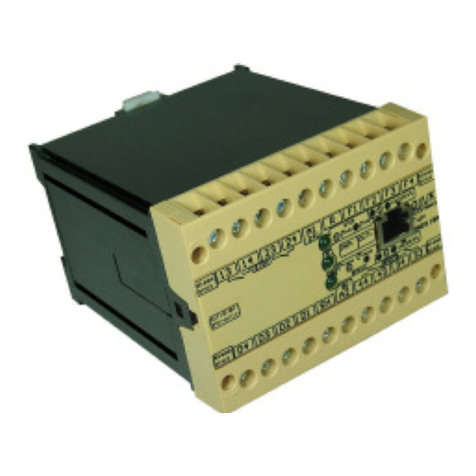
Image 1
1.0 High Current
2.0 Installation High Current
