Evans TV Bed User manual

Evans TV Bed
Double Size
King Size
MK1 210905
Two person
assembly
1 hour approx
assembly time

Evans TV Bed - Assembly Guide - Page 2
Assembly tips
Before you begin, it’s best to identify all parts and fittings to build your bed.Be
We advise laying these out on the floor to check you have everything, and
familiarising yourself before building.
Top tip
We recommend that you build your new bed in the room you’d like it to be
located - this will help prevent any risk of damage to your newly built bed
whilst moving it.
Safety and care
It’s really important to ensure children and animals are kept away from the
assembly area, as there are small components used in this bed which could
present a choking hazard. All plastic and wrapping materials should also be
Help and support
It’s our mission to give the whole nation a great night’s sleep - this
means that the quality of our products is of utmost importance to us.
If there are any issues with your product or any missing parts, please contact
our on-line Help Centre.
Recycling
Please ensure that packaging is disposed of in a safe and environmentally
friendly way, and recycle where possible. Our assembly instructions are
printed on recycled paper. Please keep your assembly instructions safe
to refer back to in the future.
Thank You
Dear Customer, Thank you for choosing to purchase your bed from our on-line store - we hope it
brings you your best ever night’s sleep. Before you begin building your bed, please take a moment
to read through the instructions and make sure that you've got all the relevant parts listed on the
following pages.

Evans TV Bed -
Assembly Guide - Page 3
A
1
1
2
1
A. Headboard
B. Footboard
C. Side rails
D. Centre Support Rail
E. Centre Support Legs 2
B
C
C
King
Double
Double
I
Parts list
E
E
F
F
F
Parts
Important information
The bed you have purchased comes complete with it's own bentwood slat base, please follow the
instructions below in the current order. Before you begin building your bed, please take a
moment to read through the instructions and make sure that you've got all the relevant parts
listed on the following pages.
G
G
G
G
181716151413121111006 7 8 9543210cm
Tools required
No more tools needed.
C
G
G
G
G
G
G
D
D
H
H
G
F
1
F. Double Plastic Slat Caps Double / King 3/4
G. Single Plastic Slat Caps Double / King 6/8
H. Bentwood Slat Set
I. Holster for Remote Controls
2

Evans TV Bed -
Assembly Guide - Page 4
Spring Washers for M8 Bolts
a x16
Bolts (M8x30mm) for fitting
side rails (C) & centre support
rail (D) to headboard &
footboard (A&B)
b x12 c x18
Allen key for M8 Bolts
d x1
Bolts (M8x40mm) for fitting
centre support legs (E) to
centre support rail (D)
e x2
w x1
SMART TV
PlNoteease :kee ide s
USER
aft as you may need
GUIDE
p this user guit in the future.
Spanner for TV VESA Bolts
t x1
TV Remote Control
q x1
Mains Power Lead 3mt
v x1
User Guide for TV
x x3
Cable Clips
y x3
Cable Ties
u x1
TV Lift Remote Control
Flat Washers for M8 Bolts
1
Bed assembly
d x1
x2c
x2e
d
e
c
e
c
e
D
D
F
F
Double Size
King Size
x3 for Double Size
x4 for King Size
F
DE
E
E
Fittings
Packed in an accessory box inside bottom of footboard carton - Pack 2
c
e
c
e
c
D
F
F
F
F
E
E
e
c
F
Fit support legs (E) to centre support
rail then fit double plastic slat caps
(F), align the lugs and push gently
into place.
B
Recover accessory
box from below
footboard in Pack 2

2
c
x12
b
x12x12
a
a
bc
A
AHEADEND
B
B
C
C
3
d
x1
Make certain the bed is squared up
as shown in the diagram then
tighten all bed assembly bolts 100%.
c
x4
Loosely screw in the bolts but do
not tighten them 100% yet.
A B
&
A
B
&
d x1
a
c
d
a
c
100%
a
c
x4
a
Evans TV Bed - Assembly Guide - Page 5
C
d
FOOTEND
FOOTEND
HEADEND
FOOTEND
Carefully place the central slat support
rail (D) into position taking care not to
damage the fabric. Using bolt (a) & flat
washer (c) loosely screw into place.
Please make certain of the correct
orientation by following the labels.

Assembly Guide - Page 6
4
5
Pull the red string and
withdraw the TV plug from
the duct then push plug into
the power socket. Please do
not use this socket for any
other equipment, it does not
have a constant power supply.
Connect Main Power Lead (q)
to your wall socket - for safety,
this must be an earthed supply.
Electrical & Cable Connections
ii) Remove transit packing.
i) iii) Press the “UP” button to raise the TV lift.
iv)
Evans TV Bed -
Make sure all protection is removed then please
dispose of it responsibly.
Remove TV Lift remote control.

Assembly Guide - Page 7
6
7
IF YOU NEED TO CONNECT HDMI CABLES OR AN AERIAL CABLE TO
THE SOCKETS UNDERNEATH THE TV, PLEASE FOLLOW THESE
INSTRUCTIONS.
w x1
i) Unplug TV from it's power socket.
ii) Loosen the x4 VESA bolts using spanner (w),
there is no need to remove these completely.
iii) and hold it safely.
Media Cables are
not supplied
1234567
Evans TV Bed -
FIT YOUR OWN MEDIA CABLES - NOTE: THIS IS FOR ILLUSTRATION PURPOSES ONLY.
1: RJ45 - LAN
2: EARPHONE OUTPUT (MONO)
3: STEREO OUTPUT (L & R)
4: VGA (PC VIDEO CONNECTION)
5: AUDIO INPUT (FROM PC)
6: HDMI SOCKETS x2
7: RF - CO-AX AERIAL SOCKET

PLUG IN - KEEP ALL CABLES TIGH
T
USING
CLIPS & TIES PROVIDED.
cover from cable clips &
adhere to back of TV.
xy
FEED YOUR MEDIA CABLES THOUGH THE DUCTS & CONNECT TO TV
Only if WiFi reception needs to be improved, unclip antenna & raise as shown in the
picture. Do not allow antenna to lean backwards or it shall get trapped & break o˜.
!
8
Evans TV Bed -
Assembly Guide - Page 8
Use clips (x) &
ties (y) to keep
cables taught.

w
Carefully re-fit the TV making certain there
are no trapped cables and then re-tighten the
four VESA bolts, please do not over-tighten.
w x1
9
10
Press the “DOWN” button
to lower the TV lift.
iv)
Re-plug TV into it's power socket.
Evans TV Bed -
Assembly Guide - Page 9

H
G
H
G
F
H
F
H
H
G
Slide slat into the double cap (F)
Slide slats into double caps (F).
Unroll the slats and slide on x6 single caps as shown (G)
Double size bed
King size bed
i)
SLIDE ON
ii)
i)
H
G
iii) Push lugs into holes in the side rails.
ii)
Align lugs with holes in side
rails and press down.
SLIDE ON
11
Evans TV Bed -
Assembly Guide - Page 10
SLIDE ON
H
H
Press
down
H
H
iii)
Unroll the slats and slide on x8 single caps as shown (G)

12
16
8
18
41
81
L
3
U
V
Fit RC holster (I) to
left or right side.
Evans TV Bed -
Assembly Guide - Page 11
Overall Dimensions (LWH cm)
Double: 144 x 217 x 113.6
King: 159 x 227 x 113.6
Internal Dimensions (LW cm)
Double: 193 x 137.5
5.251 x 302 :gniK
Distance between slats (cm)
Double or King: 7.0
Slat width
5.3
H
W
32
Floor to top
of slat
9
Top of side rail
to top of slat
Slat Dimensions (LWH cm)
9.0 x 3.5 x 8.56 :elbuoD
9.0 x 3.5 x 67 :gniK
I

Evans TV bed safety information.
GENERAL INFORMATION
It is very important not to place any vessel containing liquids, e.g. drinks or vase of flowers on top of the TV footboard that may
accidentally spill and enter the TV compartment as this could cause damage to the TV and/or the TV lifting equipment. If this happens
turn o° the power and c ontact your retailer.
Do not expose the bed to an undue level of heat - keep away from radiators.
Never allow anyone to sit on the foot end of the bed - keep children well away from moving parts.
To keep your bed clean, we recommend that it be wiped over with a slightly dampened cloth or if fabric, use a light vacuum cleaner;
disconnect power before cleaning.
Supplied with the bed is a remote control to operate the TV Lift and one to operate the TV itself. Both these remotes are supplied
with batteries that last a reasonable amount of time - there are no batteries in the rest of the equipment.
When it is time to change the batteries there are strict controls for disposal of the old ones - your local council can advise
on how to safely dispose of them. Never burn batteries on an open fire as they could explode.
IMPORTANT POWER INFORMATION
Before fixing the slats to the bed, please follow the instructions below:
Plug in the main power supply lead (q) supplied with your bed; this is packed inside the accessory box which is underneath the bottom
of the footboard inside Pack 2, see Page 4.
It is essential that this power lead is connected to an earthed socket be it a wall socket or extension lead - otherwise there is risk of
damage or even electric-shock.
The wall socket providing the power must be accessible at all times in case you need to switch o˜ the electric supply.
Power cable supplied with this bed or other approved mains powered extension leads used to power your equipment, must not be
placed where they can be walked on - this is dangerous and could lead to accidents.
Power outlets, extension leads or adapters must not be overloaded beyond their limit - this can result in fire or electric shock.
During an electrical or lightening storm - disconnect the power completely as a precaution.
Always un-plug the power when going on holiday or when the bed is not used for an extended period.
If you have young children in the home always disconnect the power at the wall socket for extra safety.
Do not interfere with or modify any cables already fitted and do not add any media cables unless they are routed through the ducts as
shown in Step 7. All leads must be tightly connected to back of TV, never hanging loose where they can get trapped.
Never touch moving parts or any part of the equipment - if something needs to be checked, disconnect the power first.
Do not insert anything into the footboard as this could seriously damage the TV and/or the TV lifting equipment and could, if done
carelessly, cause serious damage or injury.
If the equipment doesn't operate normally or if there is any unusual noises, disconnect the power and contact your retailer for advice.
TELEVISION INFORMATION
Please follow the assembly steps for initial operation the TV and TV Lift in the current order:
Withdraw the TV power plug from the left hand duct by pulling the red string as shown in Step 4.
Push the plug into it's own special socket which is on the face of the footboard - this socket is only to be used for the TV,
it does not have a constant power supply.
Recover the remote control (u) from the accessory box then raise the TV Lift by pressing the top UP button then carefully
remove any remaining transit protection material.
The bed comes with a 32" SMART TV already fitted, please read the User Guide carefully (v).
If required you can connect up to two HDMI cables and an aerial cable to the ports underneath the TV, see Steps 6 & 7..
One can also connect your own cables to the connectionseither on the side of the TV or underneath the TV.
Please use the cable clips & cable ties to make certain there are no loose wires to snag or get trapped.
The television can now be operated following the TV User Guide.
When finished viewing, lower the TV back into the footboard by pressing bottom DOWN button of the remote control, for
safety and to stop TV overheating, power is switched o˜ on the way down .
When the UP button is pressed - the TV Lifting Column rises and power to the TV turns back on automatically.
TROUBLE SHOOTING
If your equipment does not operate please check all the power connections to the wall socket and check that power is
reaching the main power input plug (q) bringing power into the footboard.
Make sure TV is switched on - note: TV will only work when it is in the up position.
Check that the remote control has not lost its connection with the TV Lift - please see top of following page.
Evans TV Bed - Safety Information - Page 12

Care and maintenance
Here are some tips to keep your new furniture in tip-top condition
Cleaning
To clean your new bed, we'd advise using a warm damp cloth or if fabric remove
dust using a low suction vacuum cleaner - please do not use abrasive chemicals
or bleach as this may damage the product.
Checking and moving
Periodically we recommend you check that the screws or fixtures haven't become
loose over time. To move your new bed, we recommend lifting it where possible,
as dragging or pushing it could cause damage to the legs or flooring.
Wood
Please note each of our wooden pieces are unique, meaning that markings and
shade can vary slightly between beds. Over a period of time, the wood might
lighten or fade slightly due to light exposure.
Fabric
Please note depending on the lighting, positioning and surroundings of your
period of time the colour might lighten or fade slightly due to light exposure.
Metal
Metal tends to be more resilient to everyday wear and tear. We recommend to
gently dust your metal furniture and keep it dry to maintain its look.
Thank you for shopping with us - we hope you have
a great night's sleep
IMPORTANT: Care should be taken when connecting electrical items. If you are in any doubt about the connections
please consult an approved electrician. If you still have a problem please contact your retailer for advice.
1.
Disconnect all mains electric power to the bed, for at least 60 seconds.
2.
Press UP or DOWN Button on Remote Control and keep holding button down,
simultaneously re-connect mains electric power to bed keeping button down forat least a
further 5 seconds. TV Lift unit receives signal from Remote Control and lift will begin to
move UP or DOWN whichever direction is appropriate.
3.
Re-connection is now completed.
Occasionally you may find the radio wave connection between remote control and TV Lift is lost,
probably due to atmospheric conditions. In that case please follow these simple instructions:
Evans TV Bed - Care and maintenance - Page 13
Table of contents
Other Evans Indoor Furnishing manuals
Popular Indoor Furnishing manuals by other brands

Vivo
Vivo DESK-V028KB instruction manual
RACK IT PRO
RACK IT PRO 01906 Assembly instructions

World Market
World Market Rapallo 551910 Assembly instructions
Style selections
Style selections LWSGDS quick start guide

Steve Silver
Steve Silver Hilton HI600CSN manual

Super Amart
Super Amart SILVERWOOD 54081 Assembly instruction
URBAN OUTFITTERS
URBAN OUTFITTERS JULIETTE COFFEE TABLE Assembly instructions

RH Baby&child
RH Baby&child AVALON STORAGE BUNK BED FULL OVER FULL Assembly instructions

Crate&Barrel
Crate&Barrel Welkom Assembly
Habitat
Habitat Marble 820983 manual
Bergeron By Design
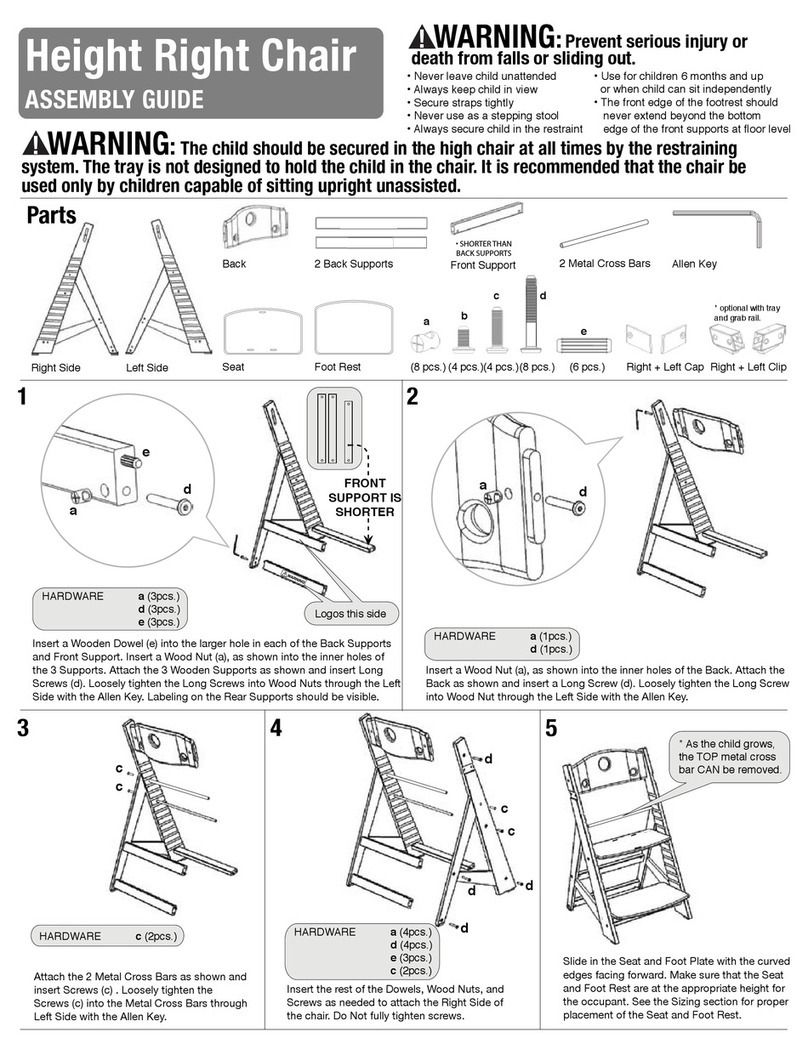
Bergeron By Design Height Right Chair Assembly guide

Sculptures Jeux
Sculptures Jeux Flap 120 Instructions for use
