D
E
CA
B
AUSTRALIA: RACK-IT.COM.AU NEW ZEALAND: RACK-IT.CO.NZ
MADE IN CHINA | DISTRIBUTED BY:
Zenexus (AUS) Ph. 1300 734 714 Zenexus (NZ) Ph. 0800 443 058
TOOLS REQUIRED: WRENCH &
SCREWDRIVER (NOT INCLUDED)
WARNING: HANDLE CUT METAL
EDGES CAREFULLY
You’ve got this. We know because you take pride in your passions. Take care of your stu. That’s why you purchased this Rack It PRO
Deep Single Drawer. You’re particular. And we like that. Because we know you’ll take the time to check oall the Parts listed below
and to read through these Assembly Instructions before you start. Cue Farnsey (or Beyoncé – whatever lifts you).
Let’sdothis.
YOUR HEADACHE-FREE GUIDE TO RACK IT LIKE A BOSS
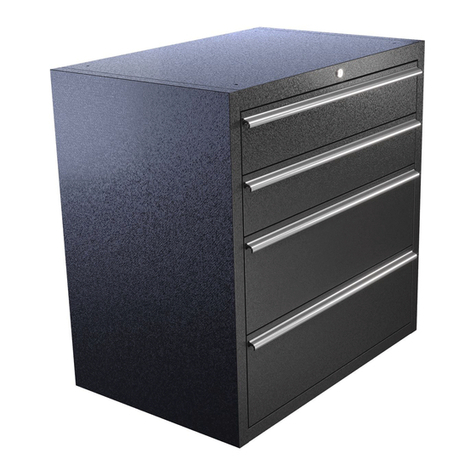
DEEP SINGLE DRAWER
ASSEMBLY INSTRUCTIONS
ITEM CODE: 01906
RACK IT
When assembling or installing this product
wear protective gloves and eyewear
SAFETY TIP
+
PLEASE NOTE: If using an electric screwdriver only loosely tighten screws, finish tightening with hand screwdriver to avoid damage.
HOUSING PARTS:
DRAWER PARTS:
PART A - BOTTOM PANEL x 1 PART B - RIGHT SIDE PANEL x 1 PART C - LEFT SIDE PANEL x 1
PART D - BACK PANEL x 1
PART E - TOP PANEL x 1
PART F - M6 SCREW x 32
PART G
DRAWER BOTTOM x 1
PART J - DRAWER BACK x 1
PART K - DRAWER FRONT x 1
PART L
DRAWER RUNNERS x 4
PART H
DRAWER LEFT PANEL x 1
PART I
DRAWER RIGHT PANEL x 1
PART M - M4 SCREW x 20
(for Drawer Assembly)
Front
Edge
STEP 1 STEP 2
STEP 3
STAGE 1: BOX IT
Your Drawer starts here.
With Bottom Panel (A).
Like the foundations of a house.
So when you’re fixing on Side Panels (B & C),
think: do I want to rush the foundations?
The answer is, of course, no way.
Hot tips:
1. Make sure the pre-punched screw holes on Bottom Panel (A) are to the back.
2. Make sure the narrowest gap between the boxy ridges on the interior and the front
edge of each Side Panel is to the front.
3. Make sure the Square Slots points for the Drawer Runners line up. You’ll thank us later.
Grab your 4x Drawer Runner (L)s, and
gently pull the Inner Runner out to full
extension. Push down on the black toggle
and keep gently pulling until you feel the
catch release and each Runner will separate
into 2 parts.
Congratulations, you’ve unlocked the secret to your Runners’ assembly success:
each Runner has an Inner bit and an Outer bit.
1.The 4x Outer Runners fix to the inside of your Drawer Unit walls.
2.The 4x Inner Runners fix to the outside of your Drawers.
Screw holes at the back of Bottom Panel A
Fix the Outer Runners to the Square Slots
you diligently lined up back in Stage 1.
Slide the back Tab into back Square Slot,
then hook the front Tab over over the top
of the front Slot so it hangs like a, um, hanger.
Hot tips:
1. You can tell the Right Hand Outer Runners from the Left by the way they hang o
the Slots (if they don’t hang in place they’re meant for the other side).
2. Once all 4 Outer Runners are in place, check the Inner Runners slide in and
out easily (like a Sunday morning).
Fix oyour Back Panel (D), followed by your Top panel (E). You’ve boxed It.
Cue roof shout! And let’s move onto Stage 2…
PART L – RUNNER (OUTER)
STEP 4


