WASHING MACHINE DRAINAGE HOSE CONNECTION
CONCEALED CONNECTION
1. Remove the waste junction from the packaging and drill the inside component from the 25mm side connection
on the junction using a 15mm drill bit.
2. Install the waste junction onto the bottom of the basket waste and tighten by hand.
3. Feed the washing machine hose through the top hole located on the side of the unit adjacent to the washing
machine and connect to the 25mm drilled out connection on the waste junction. Using a stainless steel clamp,
tighten the clamp onto the washing machine drainage hose connection on the waste junction using a screwdriver.
CONNECTING THE LAUNDRY SINK TO THE DRAIN
1. Locate the current waste installed in your home, this could be coming through the floor or through the wall.
2. If through the floor, you may require to offset the 50mm waste pipe towards the back of the unit. Underneath the
bottom drawer there is a 100mm space. The drainage pipe can be installed underneath the bottom of the drawer
using 50mm Spigot to Socket 88 Degree PVC elbow.
3. Remove the drawers from the unit by pressing down the black lever on the front of the drawer runner to disengage
the drawer (refer to Removing Drawer instructions below).
4. Using 50mm DWV pipe, connect the existing drainage pipe using approved plumbing fittings to an approved
50mm PVC Trap. The 50mm PVC Trap is installed onto the bottom of the waste junction. Tighten by hand.
5. Ensure the 50mm Trap has clearance around the bottom drawer so the drawer can slide outwards.
6. Reinstall the drawers onto the drawer runners (refer to Inserting Drawers instructions).
7. Test and ensure there are no leaks.
INSTALLING THE TAPWARE
1. Carefully remove the laundry sink from the laundry unit using protective gloves.
2. Install your chosen tapware onto the sink using the supplied tap bracket and seals. Follow the manufacturer’s
instructions on how to install the tapware.
3. Once the tapware is installed, place the laundry sink onto the laundry unit. Seal the top edge of the unit using a
suitable sealant prior to placing the laundry sink onto the unit.
EVERHARD INDUSTRIES
ABN: 41 009 690 859
everhard.com.au | 131 926
Head Oce: 454 Newman Rd, Geebung, QLD, 4034
2
version: 001
Drainage
Solutions
Interior
Products
everhard.com.au | 131 926
Environmental Civil &
Commercial
886
375
452
792
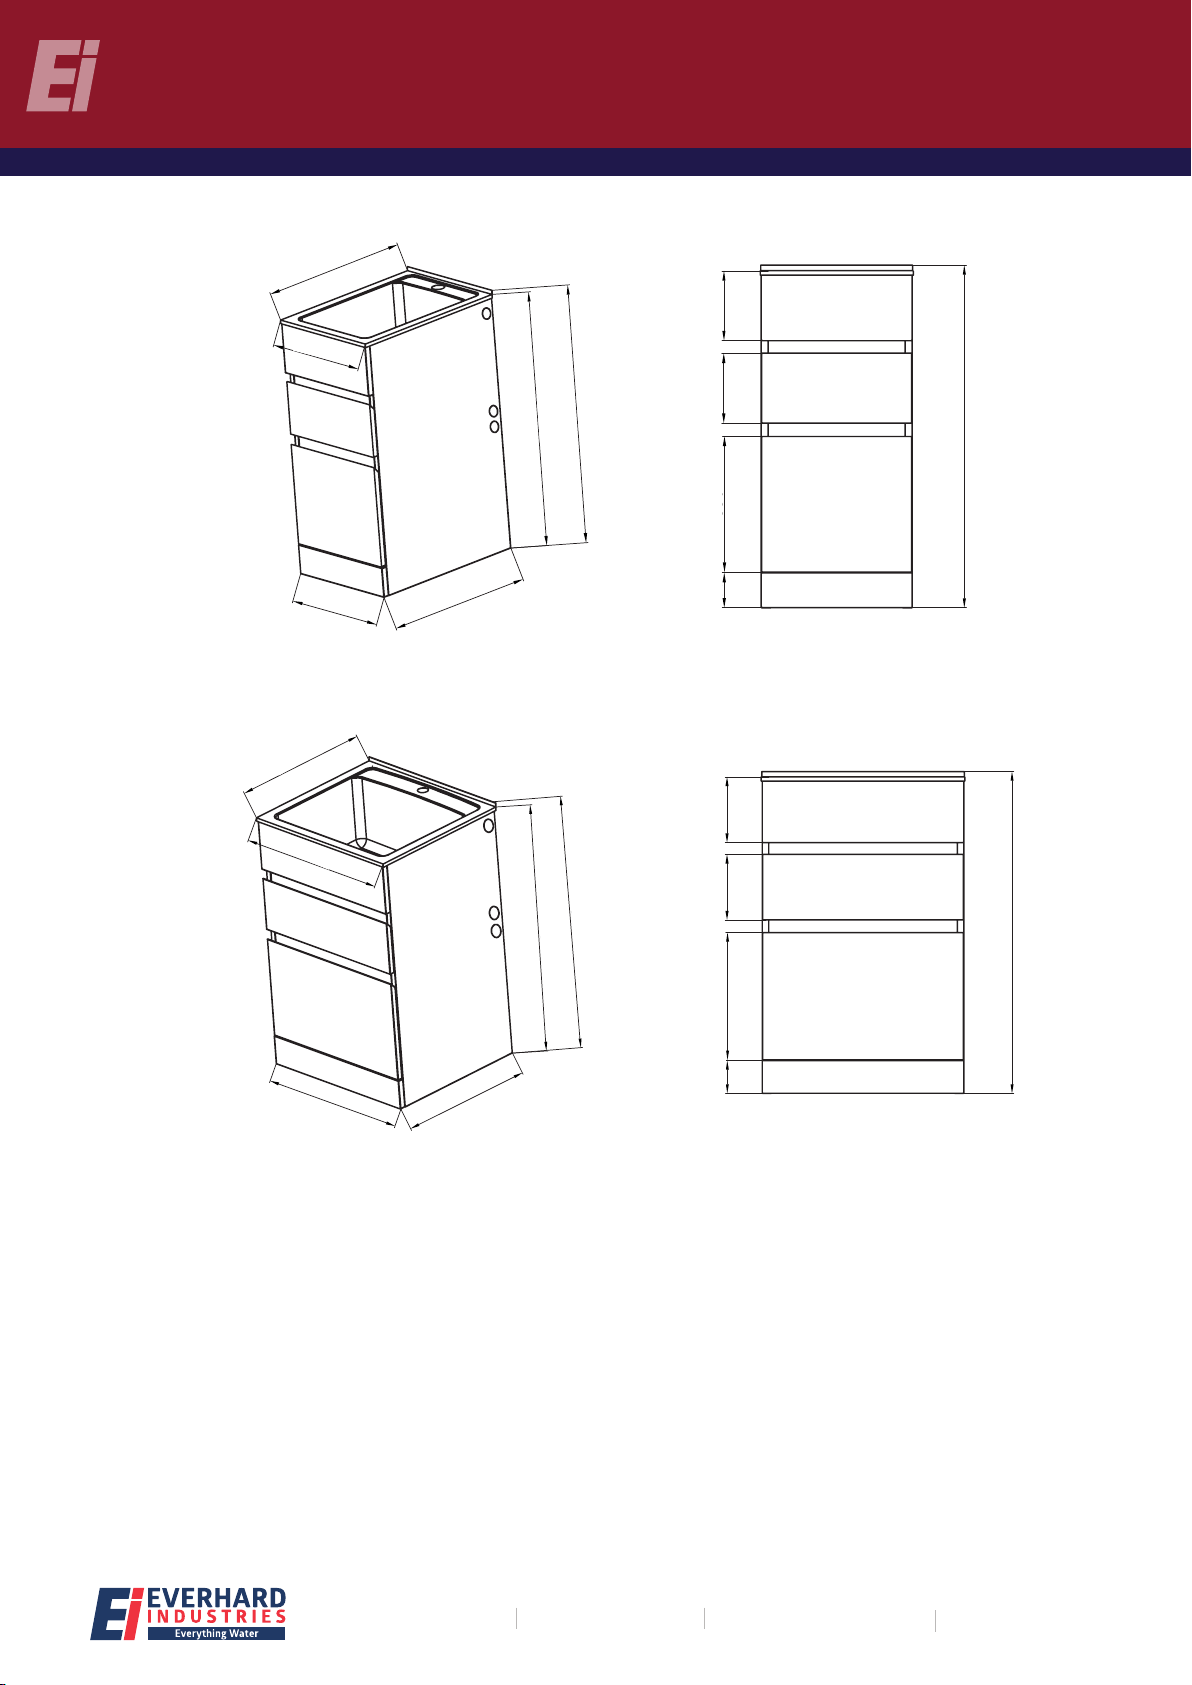
35L
EI code: 71E3510
Washing machine
drainage hose hole
Holes for concealing
washing machine taps
45L
EI code: 71E4510
866
816
455
379