manuals.online logo
Brands
  1. Home
  2. •
  3. Brands
  4. •
  5. expand furniture
  6. •
  7. Indoor Furnishing
  8. •
  9. expand furniture Hover Instruction sheet

expand furniture Hover Instruction sheet

Expand Furniture Inc declines all liability caused by the incorrect assembly
of the bed or failure to mount the bed. If you fail to mount the wall bed to
the wall or correctly fasten it, we do not take responsibility for this.
Tools & Parts that you will need that are not included:
-Step Ladder, Power Drill/Screw Driver
-Wall Anchors for your wall type: ~14 are recommended with a strength rang
of at least 100+ lbs each
-Consider some extra wall brackets x 2 (simple L shape)
Hover Bunks Install
1
Operational Note: Make sure you always attach the ladder to the top bunk
before using it. The ladder is required for stability and support for the top bunk
to be used.
We strongly suggest you unpack everything and check for damage in transit
or missing parts before hiring professional help.
Expand Furniture Inc declines all liability caused by the incorrect
assembly of the bed or failure to mount the bed. If you fail to mount
the wall bed to the wall or correctly fasten it, we do not take
responsibility for this.
We strongly recommend you watch the online video for key steps
like installing the pistons. We have a full video install online:
Important Notes & Tips for all installs:
1. Clear your room as much as possible before you
start the install. Unpacking the panels will take
some me, longer than many expect, so do this in
advance of your install. You will need a power drill,
screw driver, wall anchors and a ladder.
2. All Hover beds are do it yourself assembly and
require wall mounts. It is up to you to determine
your wall type, make sure it is safe and correctly
mount the wall bed to your wall safely and properly.
It is best to hit studs if you have drywall and make
sure to use the correct wall anchors for your wall
type. You can always install extra brackets and
anchors for added security and peace of mind. Your
local hardware store or your handyman/contractor
should be able to advise on this.
Install Notes:
Pistons cannot compress by hand, they will attach to
the bed in the extended position and compress
when the bed is opened naturally.
When you are on the face panel section, we suggest
clipping the panels on an adding only a few support
screws as a test. Once it looks good then add in
more supporting screws. You only need 2/3rds of
the screws installed, spread them evenly apart.
If you get stuck call or email us or hire a professional
to finish off the job: hps://expandfurniture.com/
contact/
2
A2
For some finishes there is a protecve plasc film over the panels. We suggest
removing the inside protecve plasc film layer before installing the panels.
You can leave the outside protecve layer on unl the end if you like,
or remove it now.
Please check panels for damage in transit as soon as you receive the bed and well
before aempng installaon. Panels are boxed with the visual sides facing inwards.
Because of this If there is a light ding or scuff it will likely install with no visible
elements. See the Panel build below. Regardless contact us if you have an issue.
3
A1
B1
B3
B2
B4
LIST OF PARTS
DA
8
Quanty
DE
54
Quanty
DC
8
Quanty
DF
22
Quanty
DD
8
Quanty
DG
20
Quanty
4
Quanty
DZ
16
Quanty
DB
4
Quanty
DH
2
Quanty
DQ
Quanty
DR
8
Quanty
DN
1
Quanty
22
Quanty
DJ
4
DK
5
Step 1 Step 2
DA x2
DC x2
DC x2
6
DLX14
7
Drill holes
step 1 step 2
8
Step 1 Step 2
DB x2
DBDQ
9
Step 1 Step 2
DB
DB x2
DQ
10
Step 1 Step 2
DJ
DJ x4
DQ
11
Step 3Step 4
Step 1 Step 2
Ddx2
Ddx2
12
DR+DF
x4+x8
Label
5.11
6.38
4.48
Face Panel Clips
Please measure the clips to make sure they are in the right posion before drilling them in.
This might require some slight adjustment. You can reposion these a few mes if needed if
you have trouble pung on the face panels.
11.61
12.87
Step 1 Step 2 Step 3
A1-A2
13
step 2
A2
We suggest installing the face panel with 2 people. 1 Face panel at a me.
Step 3 Step 4
Step 2
Step 1
A1
DE X27
Before drilling all the screws into the panels, we suggest pung in only a few support screws to
perform some tests before pung in the remaining screws. 6 screws per panel evenly distributed
is good for this test.
You will only use 2/3rds of the holes on the final install so please do not think you are short screws
if you don’t have enough for all the holes.
Step 1 Step 2
DE
14
15
step 2
A2
We suggest installing the face panel with 2 people. 1 Face panel at a me.
Step 3 Step 4
Step 2
Step 1
A2
A1
16
Step 1 Step 2
X27
DE
DE
17
Step 1 Step 2
X11
DF
X11
DF
DF
B4
B2
B3
B1
Step 1 Step 2
18
DGx6
Step 2
Step 1
DHDH
DGx6
19
20

Other expand furniture Indoor Furnishing manuals

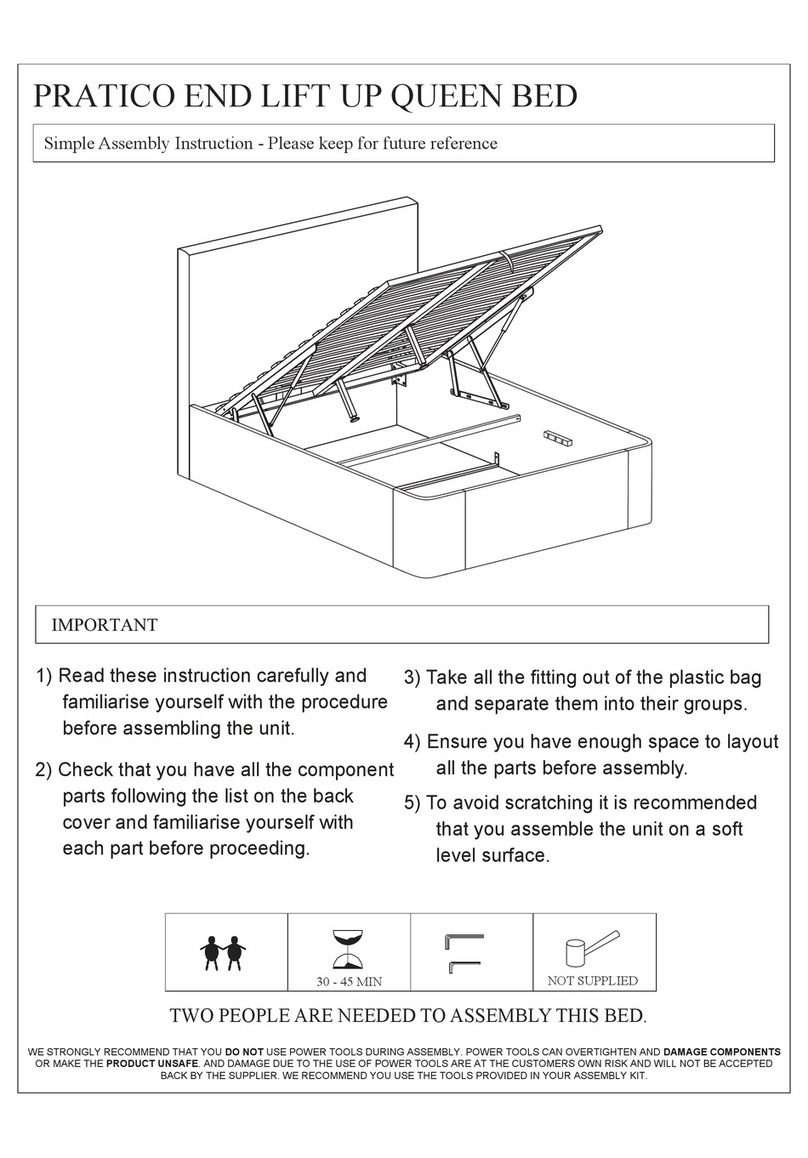
expand furniture PRATICO END LIFT UP QUEEN BED User manual

expand furniture

expand furniture PRATICO END LIFT UP QUEEN BED User manual

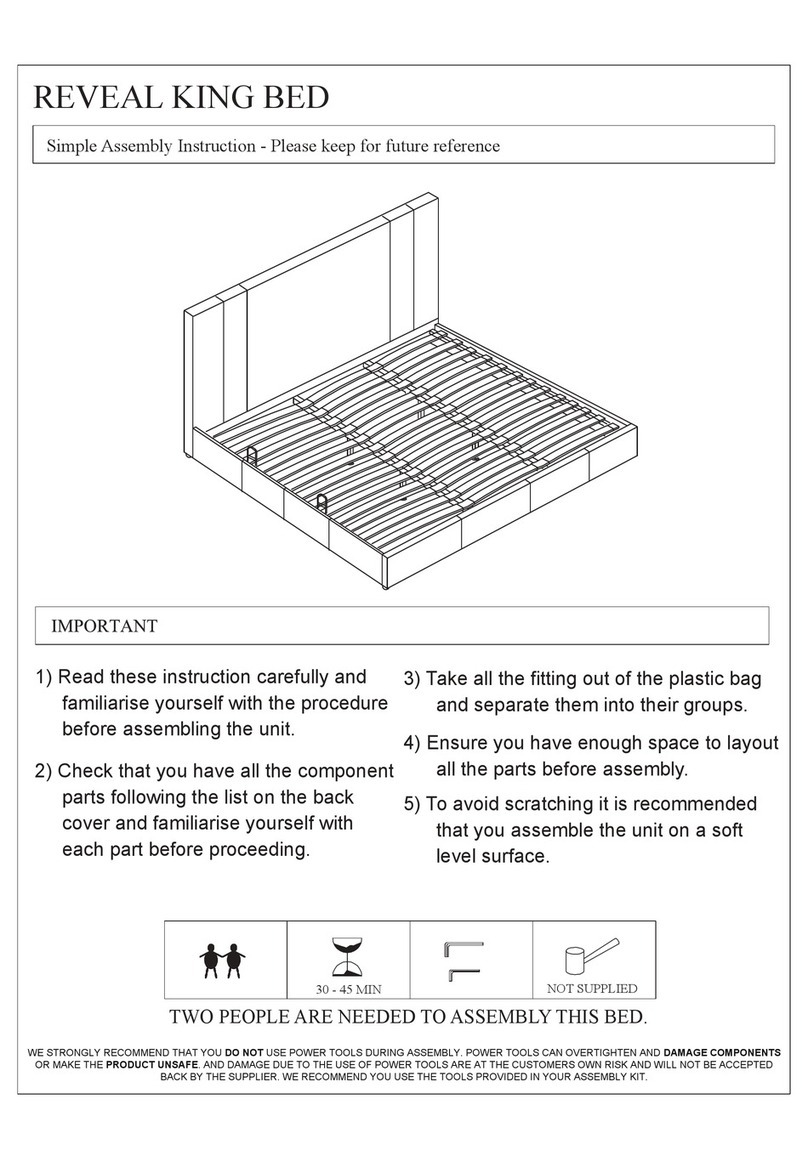
expand furniture REVEAL KING BED User manual

expand furniture

expand furniture REVEAL KING BED User manual

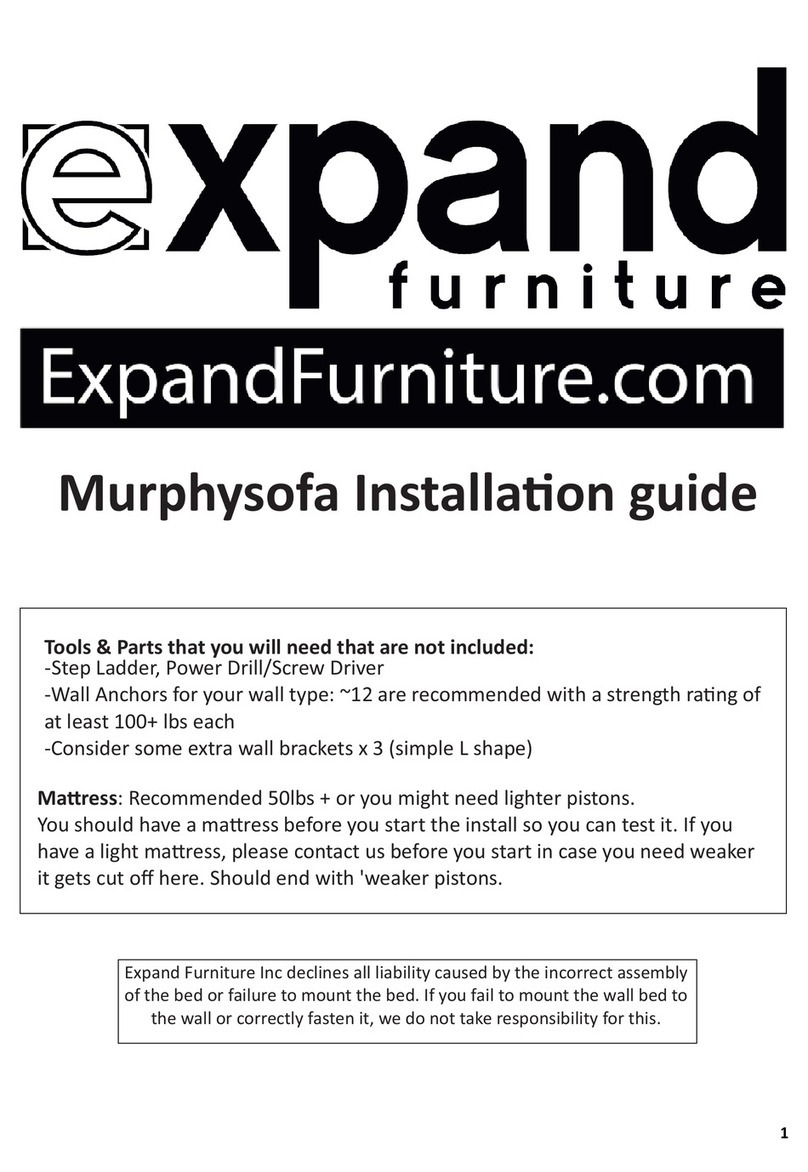
expand furniture Murphysofa User manual

expand furniture

expand furniture Murphysofa User manual

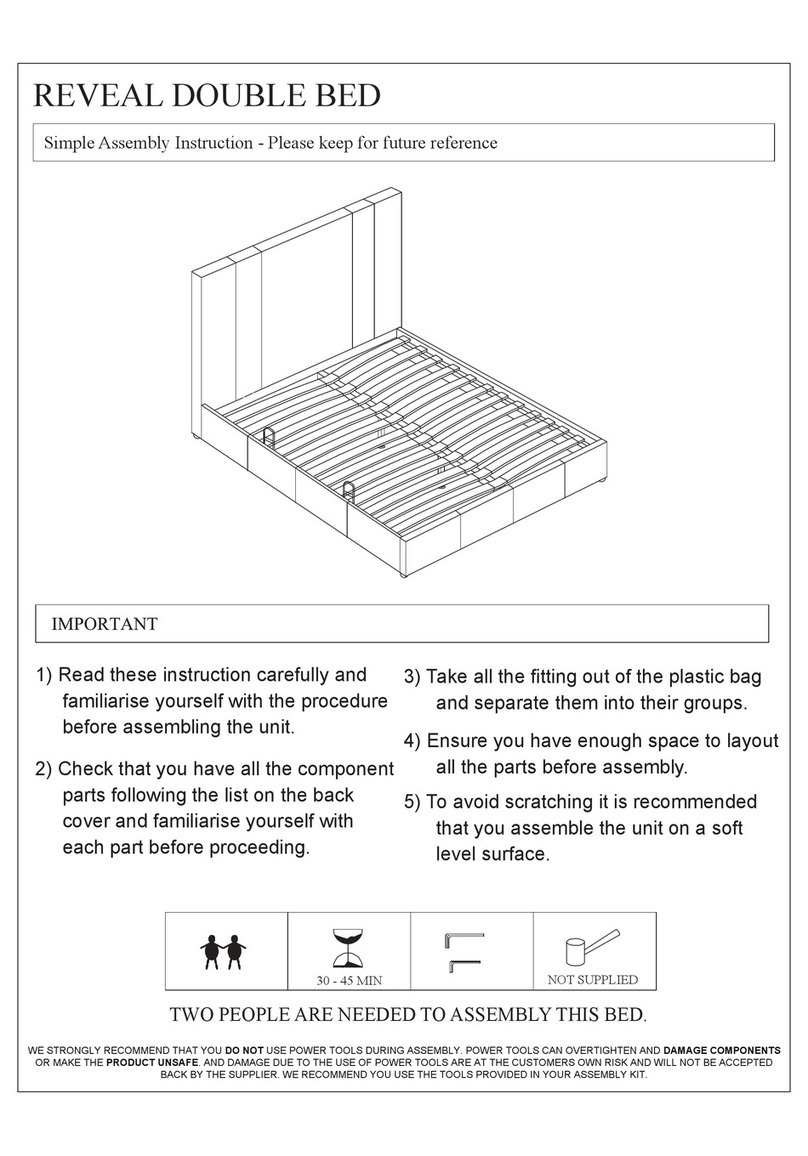
expand furniture REVEAL DOUBLE BED User manual

expand furniture

expand furniture REVEAL DOUBLE BED User manual

expand furniture PRATICO END LIFT UP QUEEN BED User manual

expand furniture

expand furniture PRATICO END LIFT UP QUEEN BED User manual

expand furniture REVEAL User manual

expand furniture

expand furniture REVEAL User manual

expand furniture REVEAL QUEEN BED User manual
expand furniture

expand furniture REVEAL QUEEN BED User manual

Popular Indoor Furnishing manuals by other brands

Next CUBA 753683 Assembly instruction

Next

Next CUBA 753683 Assembly instruction

Safetots ST-ESFSGW/B/G instructions

Safetots

Safetots ST-ESFSGW/B/G instructions

URBAN OUTFITTERS Hugo Assembly instructions

URBAN OUTFITTERS

URBAN OUTFITTERS Hugo Assembly instructions

Monarch Specialties I 7336 Assembly instructions

Monarch Specialties

Monarch Specialties I 7336 Assembly instructions

Clas Ohlson KM-171142 quick start guide

Clas Ohlson

Clas Ohlson KM-171142 quick start guide

Liberty Furniture ROUND PEDESTAL TABLE 198-T4747 Assembly instruction

Liberty Furniture

Liberty Furniture ROUND PEDESTAL TABLE 198-T4747 Assembly instruction

JWA FOXGLOVE 68534 Assembly instruction

JWA

JWA FOXGLOVE 68534 Assembly instruction

New Classic Furniture D400-52S Assembly instruction

New Classic Furniture

New Classic Furniture D400-52S Assembly instruction

Habitat Fleur FLEU-1C-S13-B quick start guide

Habitat

Habitat Fleur FLEU-1C-S13-B quick start guide

Furniture of America CM3984DK-PC-2PK Assembly instructions

Furniture of America

Furniture of America CM3984DK-PC-2PK Assembly instructions

Till-Hilft Fulda 87005.330 Assembly instructions

Till-Hilft

Till-Hilft Fulda 87005.330 Assembly instructions

Next ALIX A27743 Assembly instructions

Next

Next ALIX A27743 Assembly instructions

Habitat Ipanema Bar 846/9760 manual

Habitat

Habitat Ipanema Bar 846/9760 manual

HABAU 2854 Assembly instructions

HABAU

HABAU 2854 Assembly instructions

Rauch M1945 Assembly instructions

Rauch

Rauch M1945 Assembly instructions

SMARTBett V120417 Assembly manual

SMARTBett

SMARTBett V120417 Assembly manual

overstock MF286255 Assembly instructions

overstock

overstock MF286255 Assembly instructions

Home Decorators Collection BRADSTONE S-3426-A Use and care guide

Home Decorators Collection

Home Decorators Collection BRADSTONE S-3426-A Use and care guide

manuals.online logo
manuals.online logoBrands
  • About & Mission
  • Contact us
  • Privacy Policy
  • Terms and Conditions

Copyright 2025 Manuals.Online. All Rights Reserved.