manuals.online logo
Brands
  1. Home
  2. •
  3. Brands
  4. •
  5. Extron electronics
  6. •
  7. Speakers
  8. •
  9. Extron electronics SM 3 User manual

Extron electronics SM 3 User manual

1
Product Category
SM 3 • Setup Guide
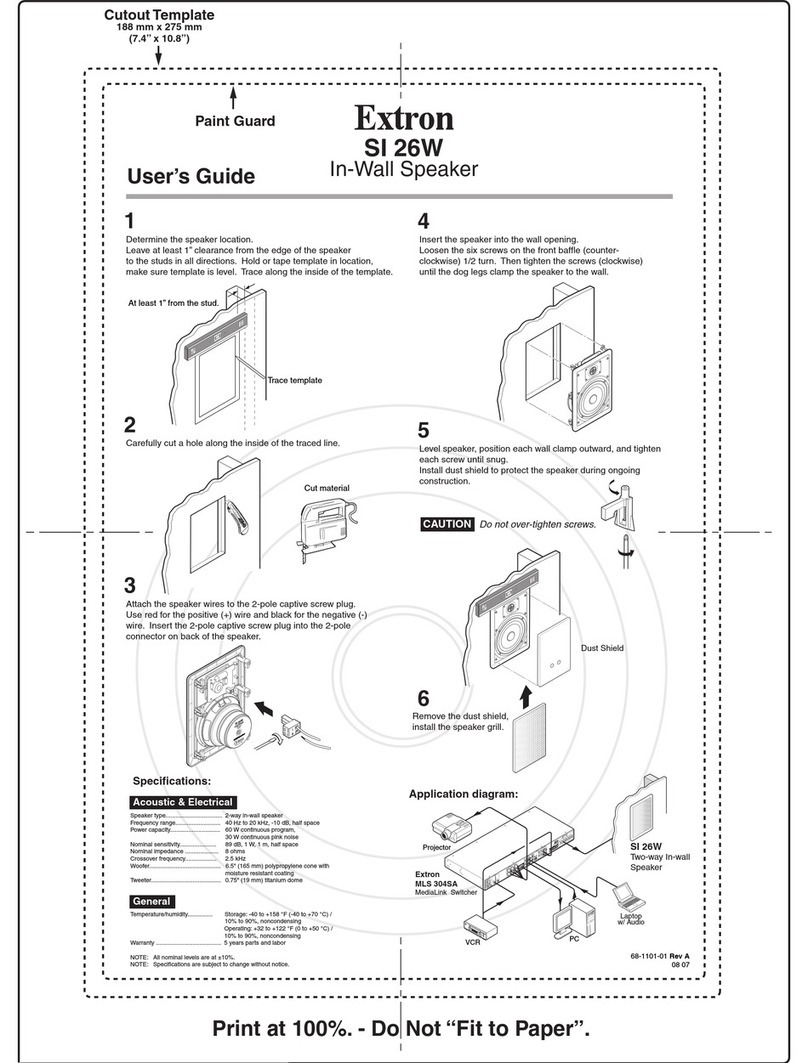
This setup guide contains installation information about the Extron SM 3 speaker. The SM 3 speaker is a low profile surface-
mount speaker system that features a three-inch full-range driver with very wide audio dispersion. Speaker mounting
incorporates a separate wall mounting plate that can be attached directly to a wall stud or to an electrical box behind the
wall. The speaker wiring attaches to the wall mounting plate so that the speaker can easily slide into the mounting plate,
making electrical contact between the mounting plate and the contacts on the speaker. A built-in locking mechanism
between the speaker and the mounting plate also prevents the speaker from being removed by unauthorized personnel.
The speaker may be easily removed by depressing a hidden release mechanism that does not require tools. As an added
feature, a security key is provided to lock the mechanism in order to prevent unauthorized speaker removal.
CAUTION:Installation and service must be performed by authorized personnel only.
The illustration below is one example of configuring a system using the SM 3 speakers.
POWER
12V
3AMAX
OUTPUT
4/8
OHMS
INPUTS
LR
LR
REMOTE
VOL/MUTE
10V 50mA
L
MPA152
R
CUS
LISTED
17TT
AUDIO/VIDEO
APPARATUS
CLASS2 WIRING
DONOT GROUND
ORSHORT
SPEAKEROUTPUTS!
Extron
CONFIG
DISPLAY
VOLUME
1
2
3
4
ON
OFF
MLC 104 IP PLUS
VIDEO
AUX
VIDEO
PC
IMAGE
MUTE
Extron
MPA 152
Mini Power
Amplier
RGBHV
S-Video
Audio
Audio
Audio
Audio
Video
DVD/VCR
Combo
Laptop
Projector
RS-232 or
IR Projector
control Extron
MLC 104 IP Plus
MediaLinkController
with IP Link
Extron
SM 3
Full-range
Speakers
Installing the Speaker Mounting Plate
The SM 3 speaker comes with two types of speaker adapter plates:
z0° mounting plate — The 0° mounting plate allows the speaker to be mounted flat on a vertical wall surface with the
speaker protruding less than four inches (ADA compliant) from the wall surface (see the illustration below).
z10° mounting plate — The 10° mounting plate allows the speaker to be mounted at a ten degree angle so that the
speaker can be pointed down from an elevated position (see the illustration below).
0° Mounting Plate 10° Mounting Plate
2
SM 3 • Setup Guide (Continued)
Mounting to a Wall Box
1. Install the speaker cables into the wall or conduit before installing the wall box.
2. Place the wall box against the installation surface, and mark the guidelines for the opening on the wall.
3. Cut the material from the marked area.
4. Insert the wall box to check the size of the opening and fit. Enlarge or smooth the edges of the opening if needed.
5. Feed cables through punch-out holes of the wall box leaving enough slack for the speaker connections and secure them
with cable clamps to provide strain relief.
6. Insert the wall box into the opening and attach it to the wall or stud, leaving the front edge flush with the outer wall.
7. To attach a wall box to wood, use four #8 or #10 screws or 10-penny nails. A minimum of 1/2 inch (1.3 cm) of screw
threads must penetrate the wood.
Wall opening
flush with
edge of box
Speaker
Cables
Cable Clamp
Screws or Nails
Wall Stud
Mounting to a Wall Stud
1. Install the speaker cables into the wall or conduit before installing the speaker mounting plate.
2. Locate the wall stud where the mounting plate will be installed and while positioning the mounting plate on the wall
mark the location of two pilot holes using the holes on either side of the mounting plate so that the stud does not
interfere with the speaker wire routing, as shown below.
NOTE: A speaker wire access hole (see below) must also be cut in the wall, so mark that hole location now with the mounting
plate positioned on the wall while ensuring that the wall stud does not interfere with the wire routing and that the
mounting plate hides the access hole.
Mounting Screws
3. Drill the mounting plate pilot holes and cut the speaker wire access hole, as previously marked.
4. Route the speaker cables through the wall without snagging while leaving enough slack to connect the wires to the
mounting plate quick connect contacts.
3
Product Category
Wiring the Speaker Mounting Plate
1. Route the two speaker wires through the rear of the mounting plate and attach the wire ends to the quick connect
contacts using a small screwdriver (see the example illustration below) while observing the correct polarity.
NOTE: The positive (+) connector and the negative (-) connector are marked on the mounting plate.
2. Attach the mounting plate to the wall box (where used) or to the wall stud, using two mounting screws (see the
example illustration below).
NOTE: The mounting screw holes in the mounting plate allow for some degree of play and lateral movement so that the
mounting screws may be aligned properly with the screw holes of the wall box.
Mounting Screws
Quick Connect Contacts
Attaching the Speaker to the Mounting Plate
Step 1: Attaching the speaker
Position the rear mounting slot of the speaker above the catch tab of the adapter plate
and slide the speaker down into the mounting plate so that the speaker is secured in place
(see the illustration on the right). When properly seated, the speaker connections are
automatically made.
NOTE: By default, the speaker is set to the “unlocked” position.
After mounting, the speaker may be locked to the mounting plate by turning the key
to the locked position (see step 2).
NOTE: To avoid misplacing the key, store the key in a secure location for future use.
Catch Ta b
4
68-1540-50
Rev. A
01 12
Extron Headquarters
+1.800.633.9876 (Inside USA/Canada Only)
Extron USA - West Extron USA - East
+1.714.491.1500 +1.919.863.1794
+1.714.491.1517 FAX +1.919.863.1797 FAX
Extron Europe
+800.3987.6673
(Inside Europe Only)
+31.33.453.4040
+31.33.453.4050 FAX
Extron Asia
+800.7339.8766
(Inside Asia Only)
+65.6383.4400
+65.6383.4664 FAX
Extron Japan
+81.3.3511.7655
+81.3.3511.7656 FAX
Extron China
+4000.398766
Inside China Only
+86.21.3760.1568
+86.21.3760.1566 FAX
Extron Middle East
+971.4.2991800
+971.4.2991880 FAX
Extron Korea
+82.2.3444.1571
+82.2.3444.1575 FAX
Extron India
1800.3070.3777
Inside India Only
+91-80-3055.3777
+91 80 3055 3737 FAX
©2012 Extron Electronics All rights reserved. www.extron.com
Step 2: Using the security key to lock the speaker
The SM 3 speaker uses an included security key to lock and unlock the speaker to its mounting plate (see the illustrations
below). The key has two positions, lock and unlock. The active position of the key is nearest the top of the speaker.
Insert the key into the center keyhole of the speaker grill and turn the key as needed (see the illustration below). There are
three small raised “dimples” on the grill surface that surrounds the keyhole.
Tw ist to
Lock/Unlock
Unlocked
Front View Rear View
Locked
CAUTION:The key must be rotated to the unlocked position before the speaker is mounted to the mounting plate
(see the rear view illustration above). Failure to place the speaker in the unlocked position will result in
damage to the speaker lock mechanism should an attempt be made to mount the speaker.
Removing the Speaker from the Mounting Plate
To remove the speaker from the mounting plate, you must unlatch the locking
mechanism:
1. Insert the security key into the keyhole of the speaker grill (see Step 2of
the previous section) and turn the key to the unlocked position.
2. Remove the security key.
3. Apply pressure with your finger over the keyhole to unlatch the speaker
from the mounting plate and lift up on the speaker (see the illustration
on the right).
CAUTION: To avoid damaging or scratching the grill, do not use tools
or sharp instruments to depress the unlocking mechanism
hidden behind the center of the grill.
Pr
ess to Release

Other manuals for SM 3

3

Other Extron electronics Speakers manuals
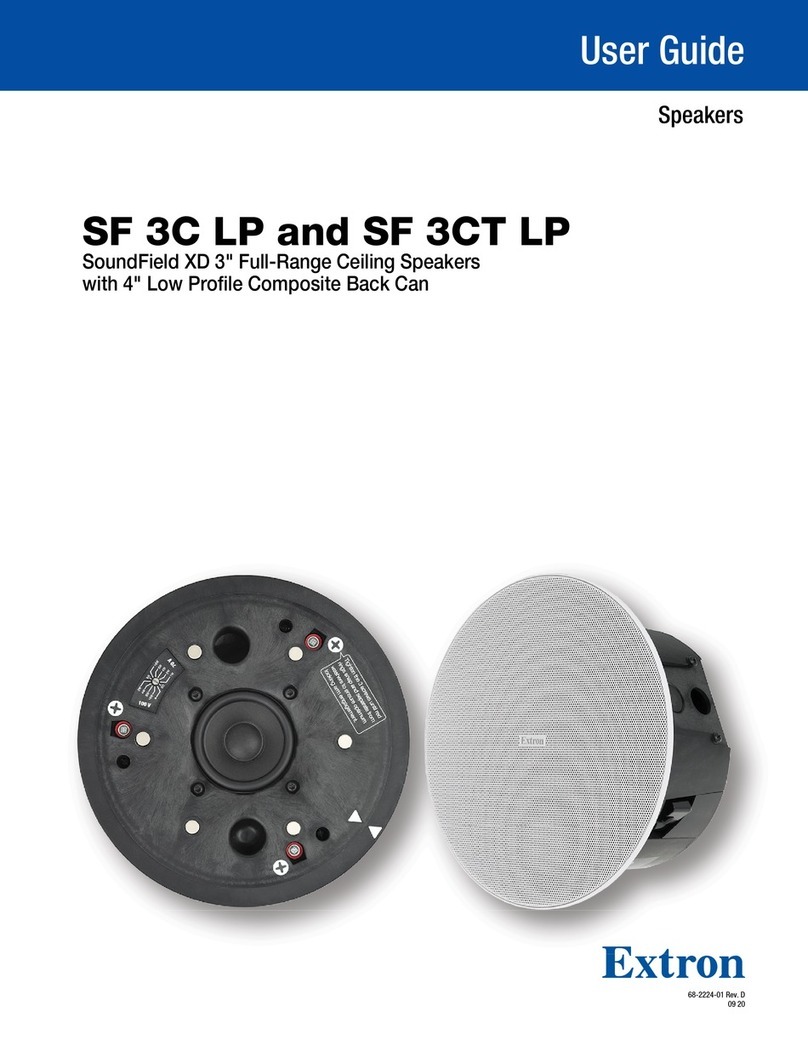
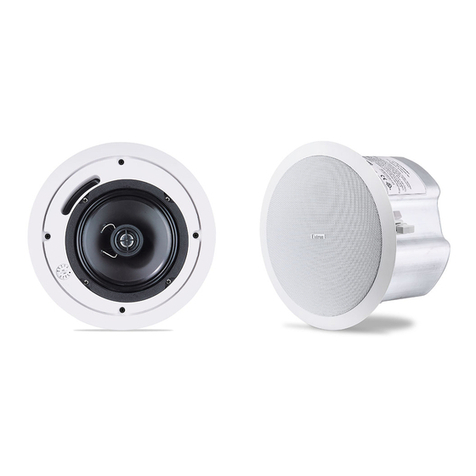
Extron electronics SI 3CT LP User manual

Extron electronics

Extron electronics SI 3CT LP User manual

Extron electronics FF 120T User manual

Extron electronics

Extron electronics FF 120T User manual

Extron electronics SM 26 User manual

Extron electronics

Extron electronics SM 26 User manual

Extron electronics SI 28W User manual

Extron electronics

Extron electronics SI 28W User manual

Extron electronics SI 26CT User manual

Extron electronics

Extron electronics SI 26CT User manual

Extron electronics SF 228T Plus User manual
Extron electronics

Extron electronics SF 228T Plus User manual

Extron electronics FF 220T User manual

Extron electronics

Extron electronics FF 220T User manual

Extron electronics DAK SF 26CT User manual

Extron electronics

Extron electronics DAK SF 26CT User manual

Extron electronics SI 26 User manual

Extron electronics

Extron electronics SI 26 User manual

Extron electronics SI 26CT User manual

Extron electronics

Extron electronics SI 26CT User manual

Extron electronics BCK SF 26CT User manual

Extron electronics

Extron electronics BCK SF 26CT User manual

Extron electronics SI 26CT User manual

Extron electronics

Extron electronics SI 26CT User manual

Extron electronics SF 3C LP User manual

Extron electronics

Extron electronics SF 3C LP User manual

Extron electronics SF 228T User manual
Extron electronics

Extron electronics SF 228T User manual

Extron electronics SB 33 A Series User manual

Extron electronics

Extron electronics SB 33 A Series User manual

Extron electronics SB 33 A Series User manual

Extron electronics

Extron electronics SB 33 A Series User manual

Extron electronics SI  26X User manual

Extron electronics

Extron electronics SI 26X User manual

Extron electronics SF 26PT User manual

Extron electronics

Extron electronics SF 26PT User manual

Extron electronics SI 3CT LP User manual

Extron electronics

Extron electronics SI 3CT LP User manual

Extron electronics SoundField XD SF 26CT LP User manual
Extron electronics

Extron electronics SoundField XD SF 26CT LP User manual

Extron electronics SpeedMount SM 26 User manual

Extron electronics

Extron electronics SpeedMount SM 26 User manual

Extron electronics DAK SF 26CT User manual

Extron electronics

Extron electronics DAK SF 26CT User manual

Extron electronics BCK SF 3CT LP User manual

Extron electronics

Extron electronics BCK SF 3CT LP User manual

Extron electronics SB 33 A Series User manual
Extron electronics

Extron electronics SB 33 A Series User manual

Popular Speakers manuals by other brands

iKANOO BT029 user manual

iKANOO

iKANOO BT029 user manual

Barefoot Sound FOOTPRINT03 owner's manual

Barefoot Sound

Barefoot Sound FOOTPRINT03 owner's manual

Meridian DSP9 quick start guide

Meridian

Meridian DSP9 quick start guide

Blueant Burleigh product manual

Blueant

Blueant Burleigh product manual

Phonic SAFARI 3000 manual

Phonic

Phonic SAFARI 3000 manual

Dynasound DS1390 manual

Dynasound

Dynasound DS1390 manual

Russound Acclaim 7C51 Specifications

Russound

Russound Acclaim 7C51 Specifications

awave AW-F650C user guide

awave

awave AW-F650C user guide

Dell AX510PA Setup guide

Dell

Dell AX510PA Setup guide

Wheelock Cooper ET70 manual

Wheelock

Wheelock Cooper ET70 manual

Seeburg G3 dp user manual

Seeburg

Seeburg G3 dp user manual

Valcom VE4022A manual

Valcom

Valcom VE4022A manual

TOPPOINT LT91264 user guide

TOPPOINT

TOPPOINT LT91264 user guide

JBL VTX B18 Series user manual

JBL

JBL VTX B18 Series user manual

Niles CM830 Specification sheet

Niles

Niles CM830 Specification sheet

Pyle PWMA-970 manual

Pyle

Pyle PWMA-970 manual

Thiel Coherent Source CS.5 technical information

Thiel

Thiel Coherent Source CS.5 technical information

Polk Audio SR6500 owner's manual

Polk Audio

Polk Audio SR6500 owner's manual

manuals.online logo
manuals.online logoBrands
  • About & Mission
  • Contact us
  • Privacy Policy
  • Terms and Conditions

Copyright 2025 Manuals.Online. All Rights Reserved.