7
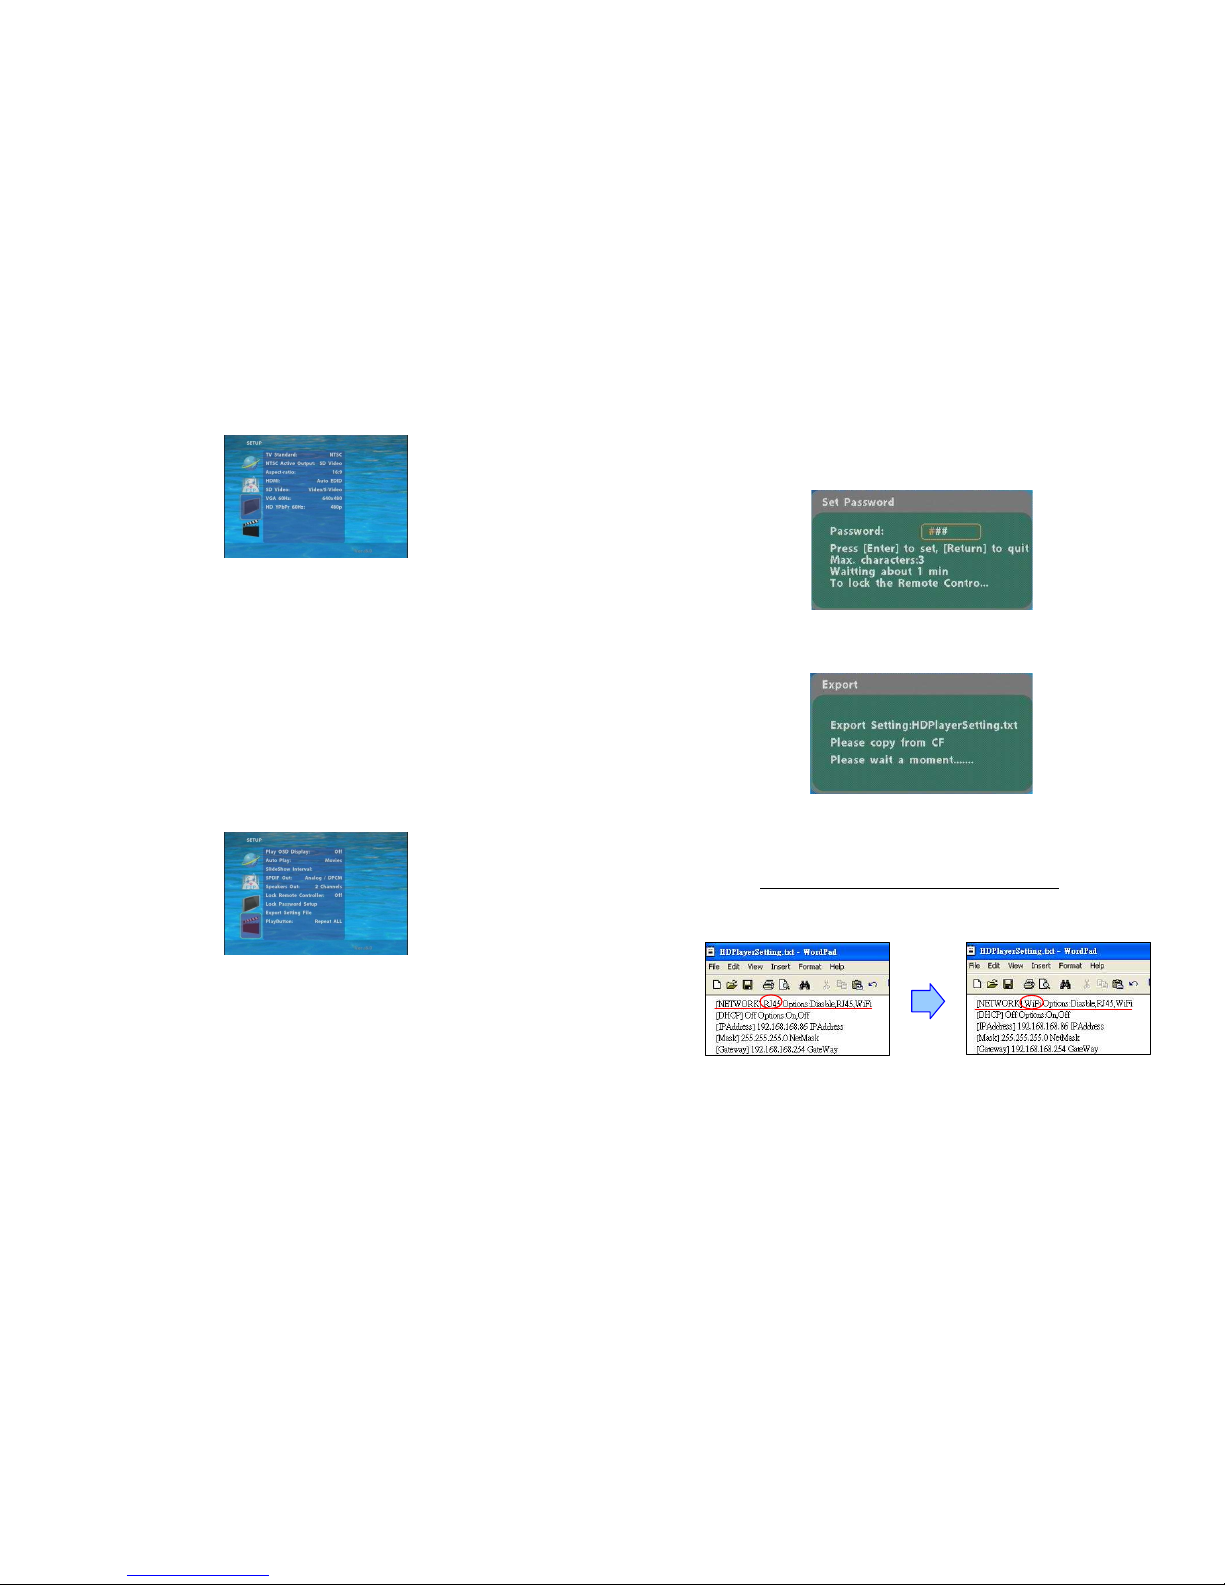
7.1 NETWORK SETUP (continued)
NOTE:
::
:Before setting the IP address, Mask, Gateway and DNS, check the network information
of your PC. Please follow the steps below to get the network information of your PC.
Step 1:
::
:Click on “Start“ →“Run“ and type in ”command“, then press “ENTER”.
The MS-DOS window will appear, type in ” ipconfig “ and then press “ ENTER “
to get the network information.
Step 2:
::
:Assign IP Address, Mask (Subnet Mask) and Gateway (Default Gateway)
for the Eyezone B1080PW-1.
Enter the same values of the Subnet Mask and Gateway, and be careful not to enter
the values of IP address that are already used by other devices on the network.
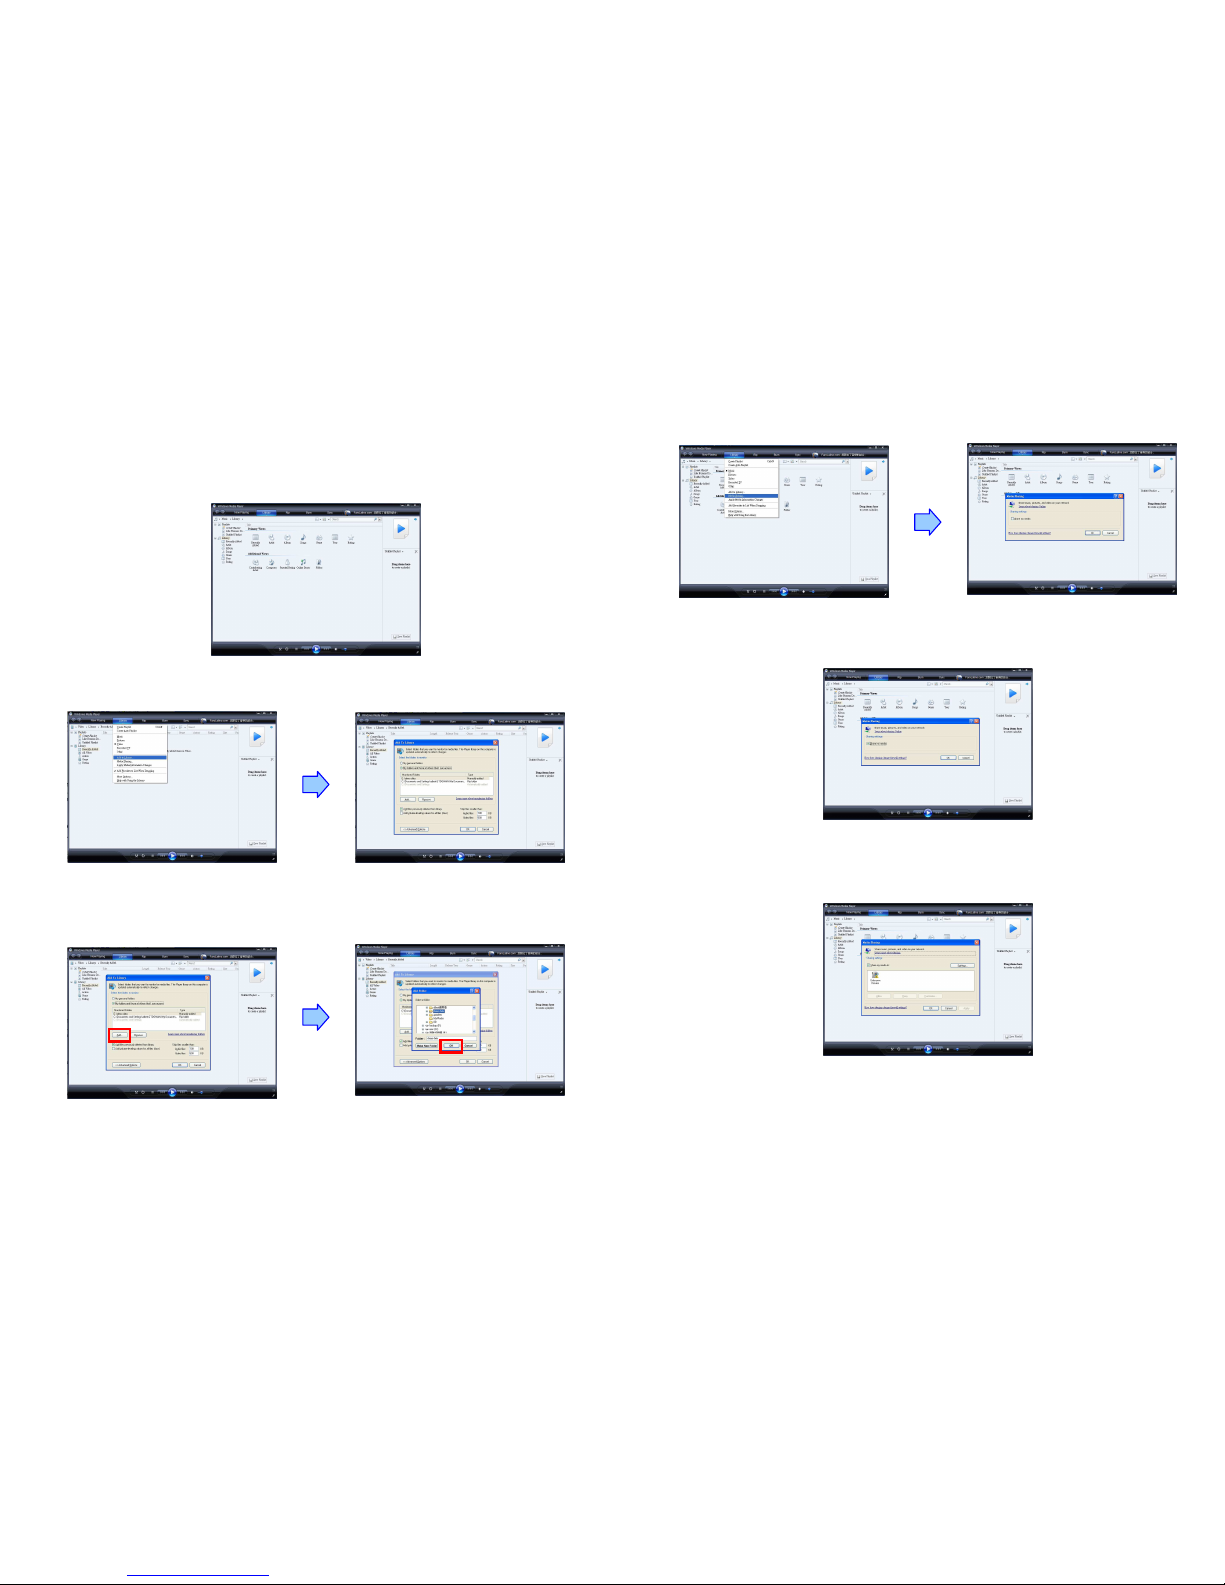
Media Player 11 Server:
::
:Enable/ disable the Media Player 11 server.
Wi-Fi SSID:
::
:Select the SSID that is being used by your wireless network.
NOTE:
::
:If your router does not list its SSID, then it is a hidden network, and the Eyezone
B1080PW-1 cannot detect it. You must manually enter your wireless settings in “Wi-Fi
Encryption Setup”.
Encryption Mode:
::
:Disable/ enable the encryption function. Eyezone B1080PW-1 supports
WEP (Wired Equivalent Privacy) encryption technology used by wireless device.
Wi-Fi Encryption Setup
- SSID:
::
:The SSID name selected in “Wi-Fi SSID” appears here. You can also enter SSID
name manually here.
- Password:
::
:To connect to an encrypted wireless device, the password you enter here must
match the password of the device exactly. (The Eyezone B1080PW-1 can use
16bit Hex WEP protection)
NOTE:
::
:The SSID and password are case-sensitive.
Wi-Fi Connection Status:
::
:Shows the Wi-Fi information (SSID Name/ Quality/ Channel/
Connection Speed).
8
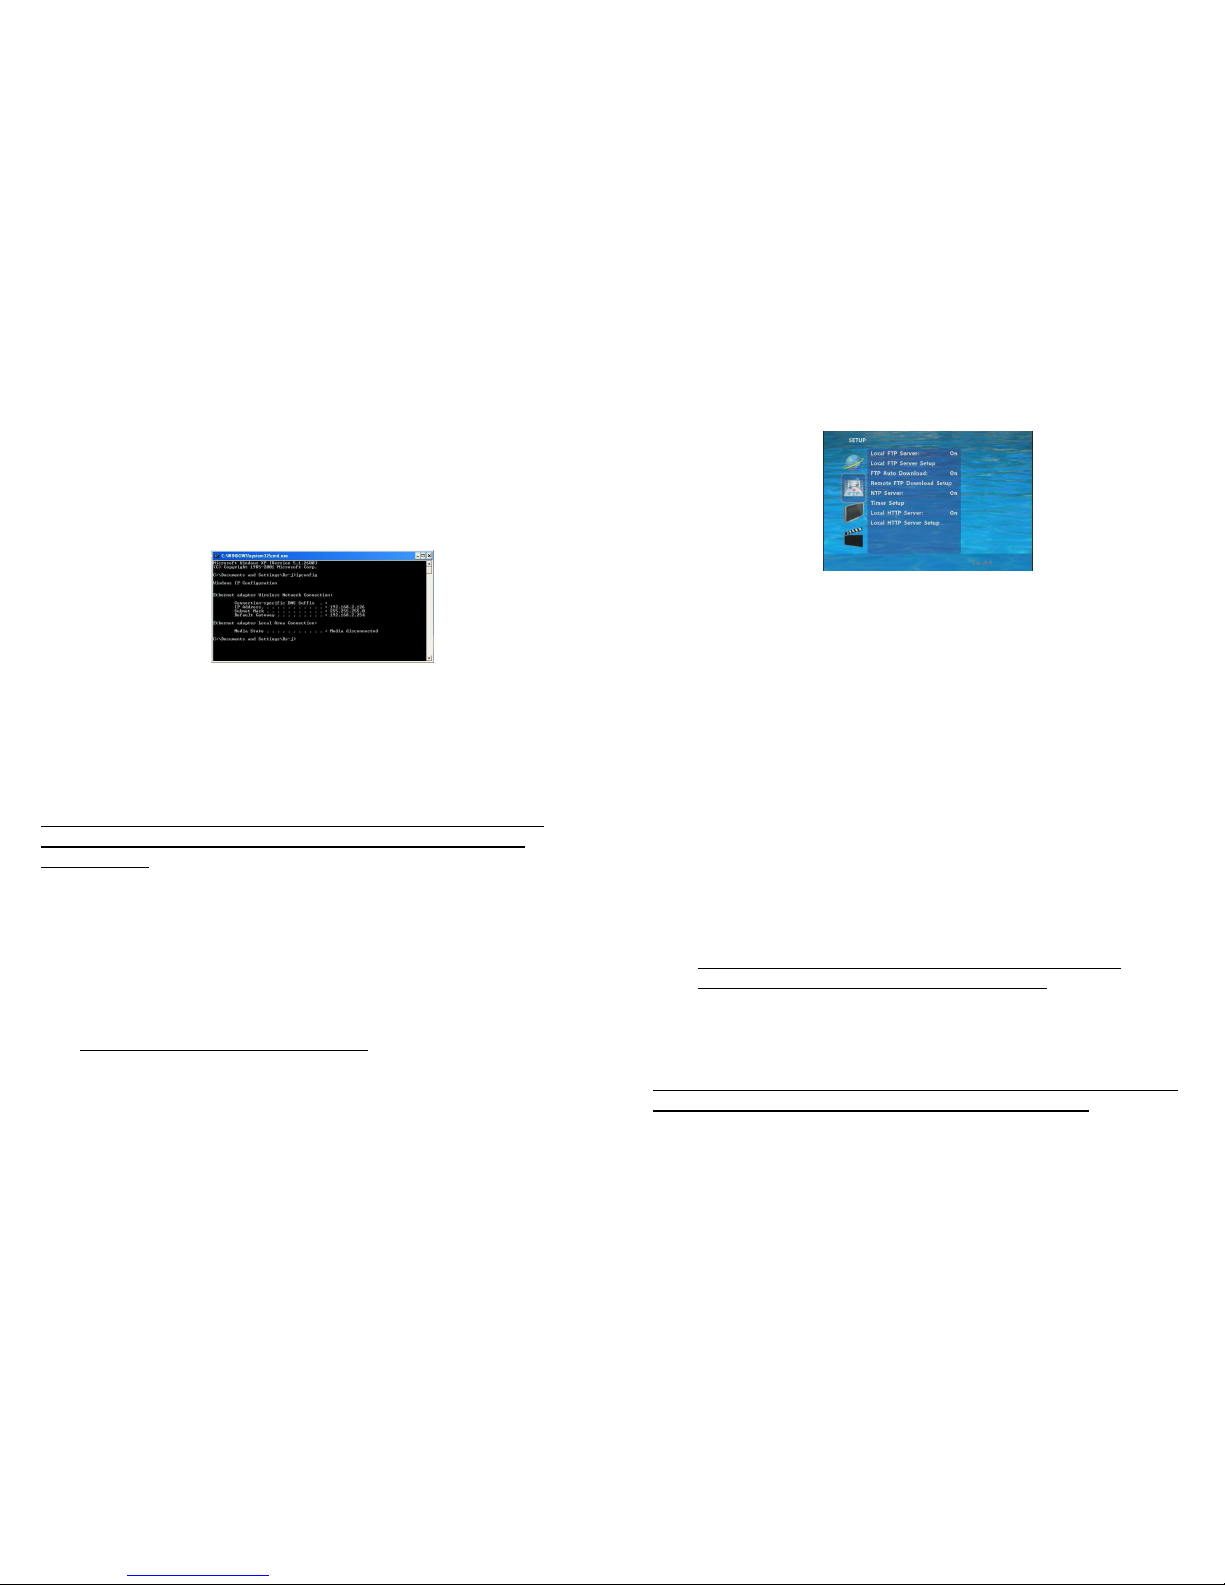
7.2 FTP SETUP
Local FTP Server:
::
:Turn on/ off the Eyezone B1080PW-1 server.
( If you use the Eyexone B1080PW-1 server, please disable the DHCP function and input
a fixed IP address, Mask, Gateway and DNS of the Eyezone B1080PW-1. )
Local FTP Server Setup:
::
:To set the “Port”, “User ID” and “Password” of the Eyezone
B1080PW-1.
(The Default Port:21, User ID:root, Password:admin)
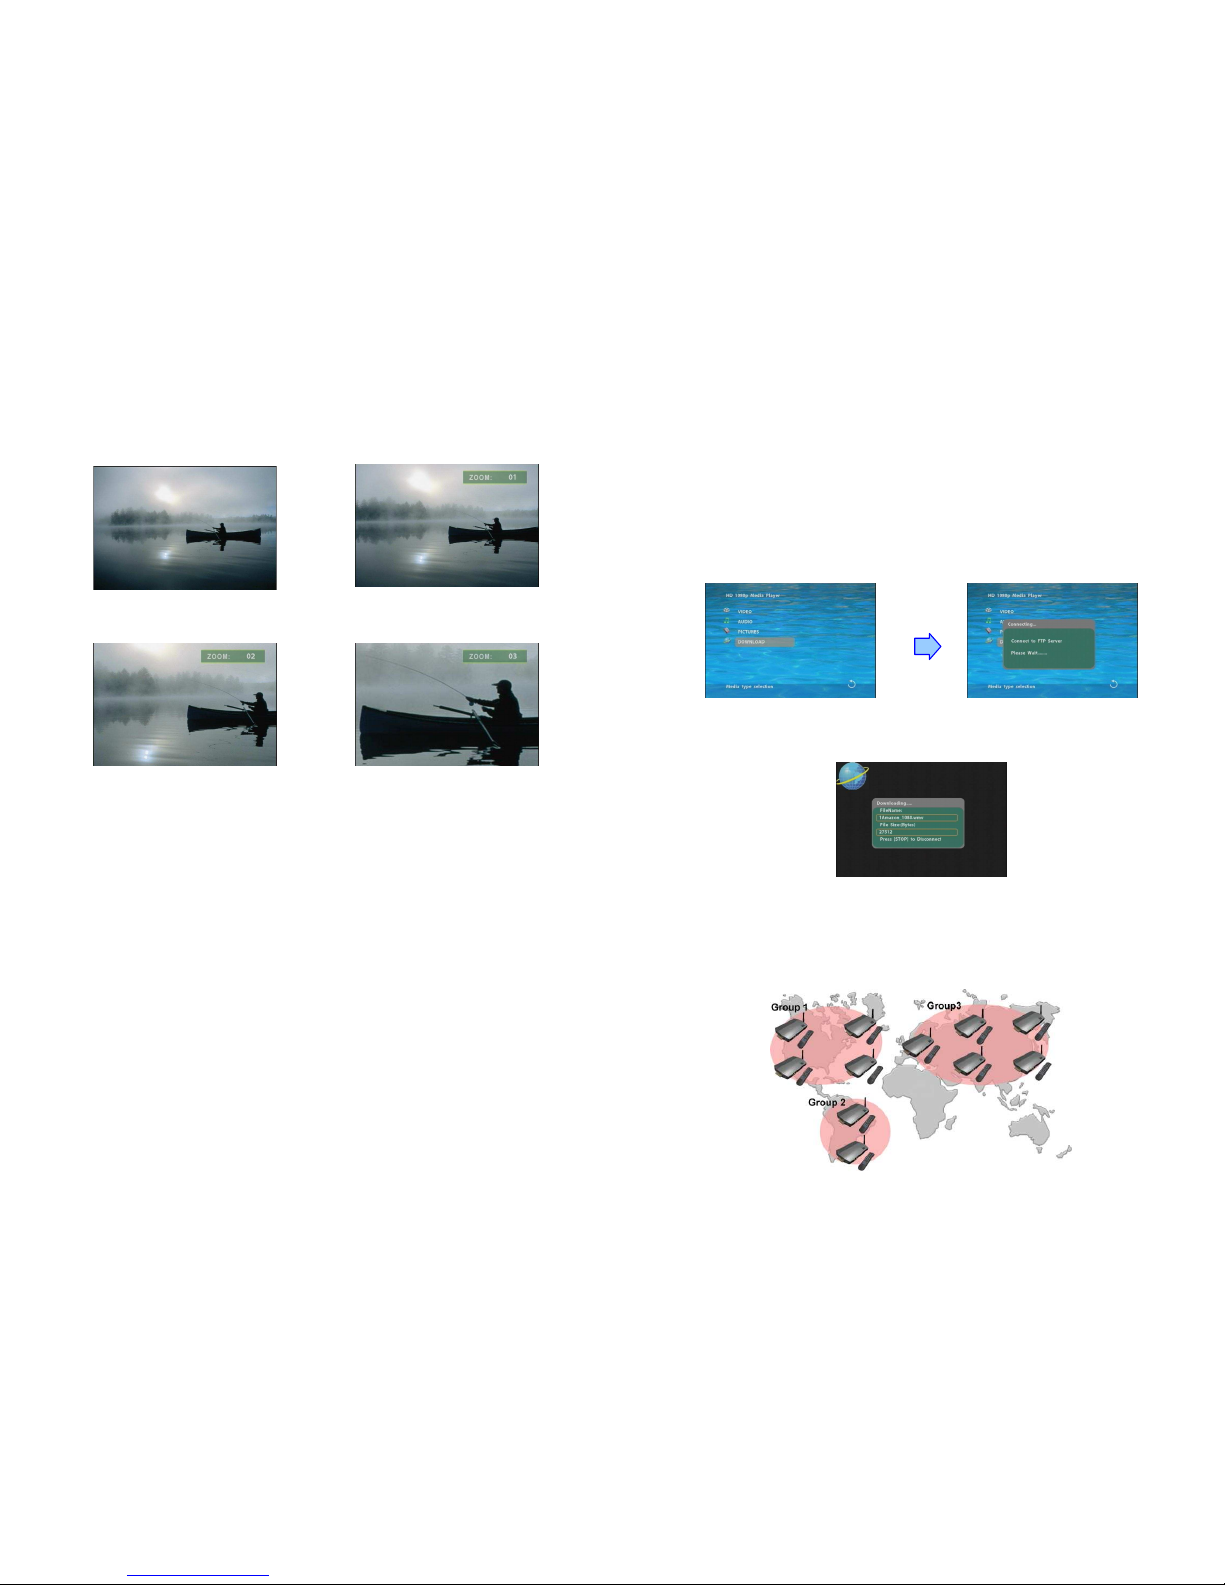
FTPAuto Download:
::
:Enable/ Disable the FTP auto download function.
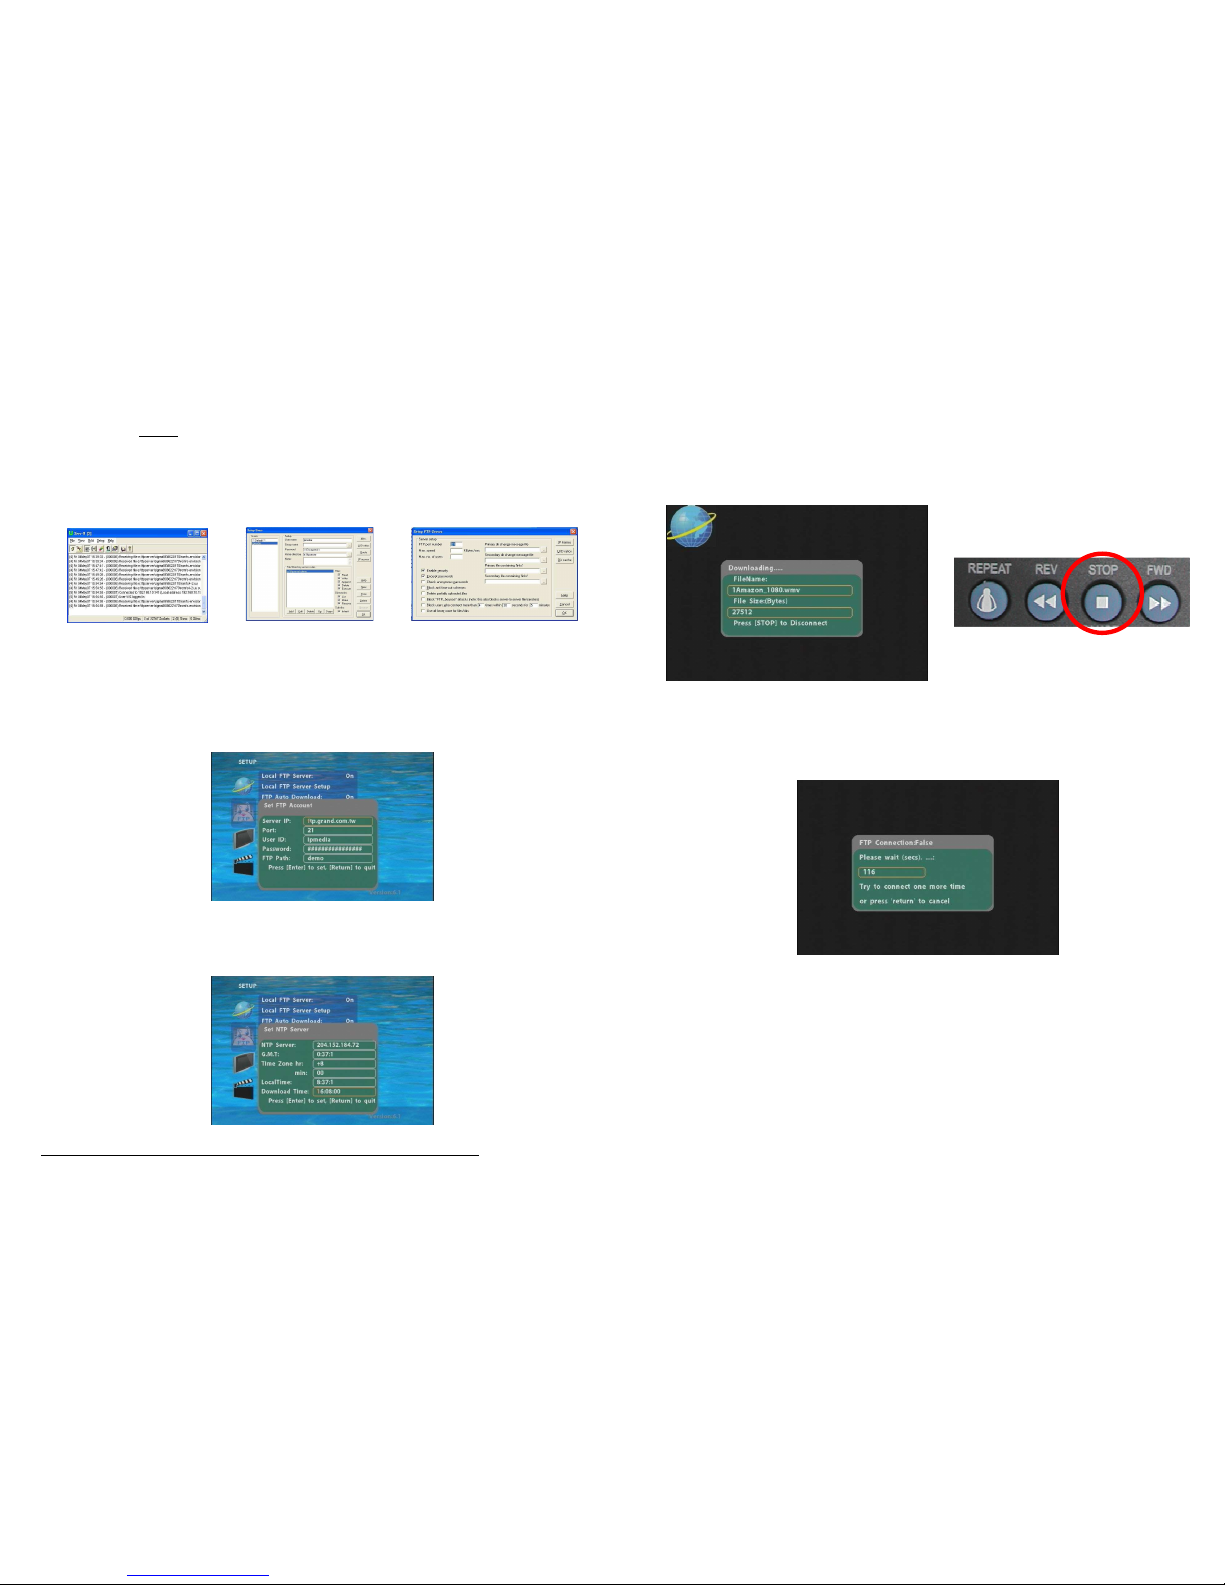
Remote FTP Download Setup
- Server IP:
::
:Type in the domain name of the FTP site or IP address as was given to you by
your Web hosting provider.
- Port:
::
:The default port for FTP is 21. In most cases you should not change this number.
If the FTP site uses a port other than 21, you should enter the correct port.
- User ID:
::
:Type the user name of the Remote FTP server.
- Password:
::
:Type the Password of the Remote FTP server.
- FTP Path:
::
:Enter the folder path that you want to share.
NTP Server: Enable/ Disable the NTP server function.
Timer Setup: Set the NTP Server, Local Time (only for B1080PW-2) and Auto Download
Time here.
1. It is recommended to use 204.152.184.72 as the IP address for the NTP server.
2. Time Zone must be set properly for the auto-download function.
Local HTTP Server:
::
:Enable/ Disable the HTTP command function.
Local HTTP Server Setup:
::
:To set the “Port”, “User ID” and “Password” of the Eyezone
B1080PW-1. (The Default Port:80, User ID:root, Password:admin)
NOTE:
::
:Press the “SETUP” button on the remote control to save the settings, and it
will auto exit the settings screen, then restart the Eyezone B1080PW-1.