Falcon Electronics FE3CAM1080P User manual

3 Cam Dash Cam
Instruction Manual
Model : FE3CAM1080P

Key Operating :
1. USB Power Supply /GPS
2. TF Card 1
3. Up
4. MENU /OK

5. Down
6. Camera 1
7. Microphone
8. Camera 2
9. Camera 3
10. TF Card 2
11. LCD Screen
Main Menu interface and setting
How to Video recording and Menu setting
Video recording
Power on the camera, be sure camera is not recording. (Short press the “Menu/OK” button to stop the
camera from recording.) Long Press (hold down for 3 to 5 seconds) “Menu “button to enter Main Menu
interface. Press Up/Down button to select Video recording icon , Press “MENU/OK” button to start
recording ,Press again to stop ,the Video file will save to TF Card
Menu Setting Option
Power on the camera, be sure camera is not recording. (Short press the “Menu/OK” button to stop the
camera from recording.) Long Press (hold down for 3 to 5 seconds) “Menu/OK “button to enter Main
Menu interface. Press Up/Down button to select setting icon Press “Menu/OK”to enter Menu
setting option. Press Up/Down button to select specific parameters Press “Menu/OK” button to confirm,
long Press Menu button to Exit.

The following headers are located in the Menu Setting Options:
1. Front Camera
1080P 1920*1080P
720P 1280*720
480P 720*480
VGA 640*480
2. Side Camera
VGA 640*480
HD 1280*720
3. Time Stamp
Off No display date and time
Date Only Only display date
Date and Time Display date and Time
4. Loop Recording
1Min Video files will be 1 minute in length. When the Card is full, camera will delete front files
3Min Video files will be 3 minute in length. When the Card is full, camera will delete front files
5Min Video files will be 5 minute in length. When the Card is full, camera will delete front files
Off Camera will stop recording when card is full
System Set Up
Power on the camera, be sure camera is not recording. (Short press the “Menu/OK” button to stop the
camera from recording.) Long Press (hold down for 3 to 5 seconds) “Menu/OK “button to enter Main
Menu interface. Press Up/Down button to select setting icon Press “Menu/OK”to enter Menu
setting option. Press Up/Down button to scroll to “Set Up” and press “Menu/OK” to select set up.
The following headers are in the “Set Up” option:
1. Beep
On Turns on sound for operation button
Off Turns off sound for operation button
2. Screen Off
Off Keeps Camera LCD on

1 Min After 1 min camera enters screensaver
3 Min After 3 min camera enters screensaver
5 Min After 5 min camera enters screensaver
(In the Screensaver status ,Press any button to restore screen)
3. G-sensor
When an emergency happens, the camera will auto protect the file, and when the Card is full these files
will not be deleted unless the camera is formatted
Setting G-sensor sensitivity:
Off –Camera will not protect files
High –Very sensitive and will protect files
Normal –Medium sensitivity and will protect files
Low –Least sensitive setting that will protect files
4. Date Format
YY/MM/DD
MM/DD/YY
DD/MM/YY
5. Date Input
1)Press “Up”/Down button to set number
2)Press “Menu/OK” button to switch fields
3)Press “Menu/OK” button to confirm and Exit set
6. Time Input
1)Press “Up/Down”button to set number
2)Press “Menu/OK” button to switch fields
3)Press “OK” button to confirm and Exit set
7. Time Zone
Cancel
Set Setting GPS Time zone
8. Sys. Reset
This option restores factory setting

9. Fw Version
Checks software version information
Format TF Card 1 / Card 2
In the Video recording Mode , long Press “Menu/OK“button enter Main Menu interface ,Press Up/Down
button to select format TF Card 1/ Card 2 Press “Menu/OK ”button enter setting interface
Press “Menu/OK “button finish
Language Setting
In the Video recording Mode, (while the camera is not recording) long press (hold down for 3 to 5
seconds) “Menu/OK“button to enter Main Menu interface, Press Up/Down button to select Language
icon
English/ French/ Deutsch/Italian/Spanish/Portuguese / T-Chinese/ S-Chinese/ Russian/
Turkish/Korean/Japan
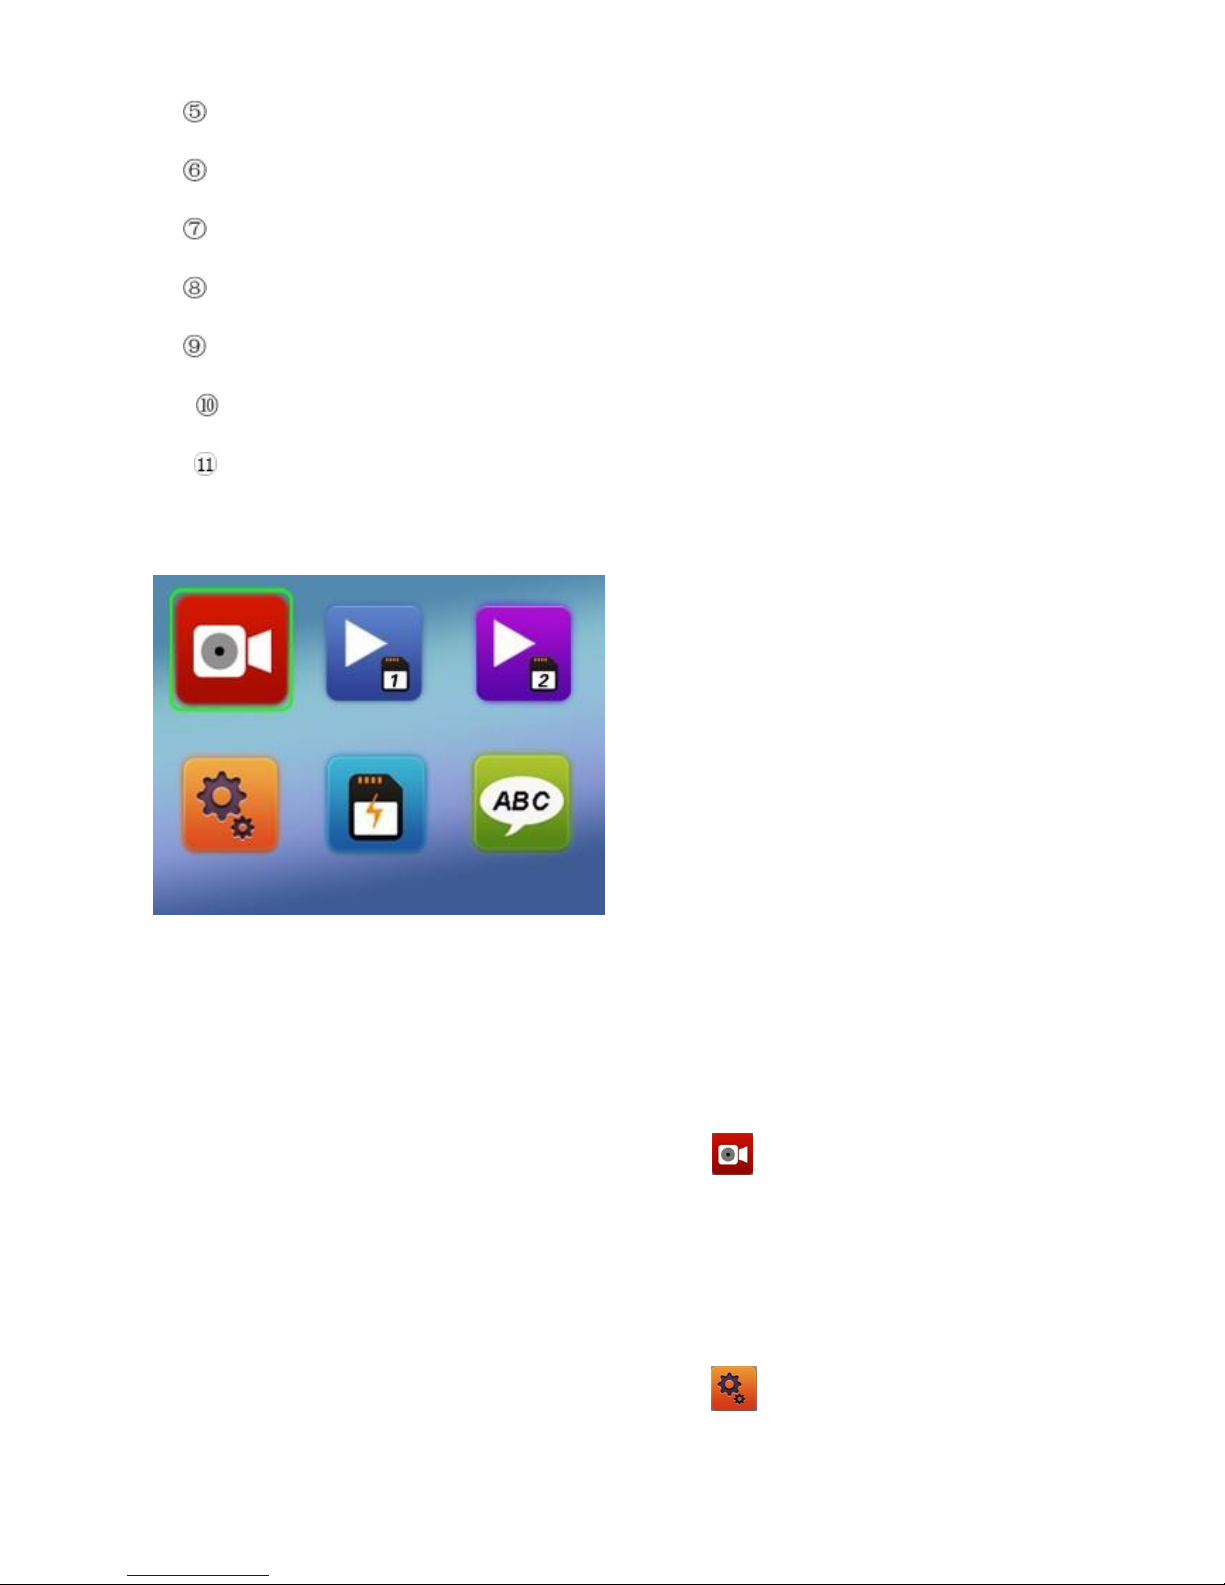
Playback Mode
In the Video recording Mode, (while the camera is not recording) long press (hold down for 3 to 5
seconds) “Menu/OK“button to enter Main Menu interface ,Press Up/Down button to select Playback
icon Card 1 or Card 2
1. Press Up/Down button to select previous/next video file
2. Press “Menu/OK” to Play/Stop video
3. long Press “Menu/OK” button Exit playback mode
GPS Function
Connect the GPS module to the GPS slot, then start recording. Camera will start searching for GPS
Signal. The GPS icon starts flashing after the camera receives GPS Signal, and then the GPS icon will
light up and the date and time will auto update.
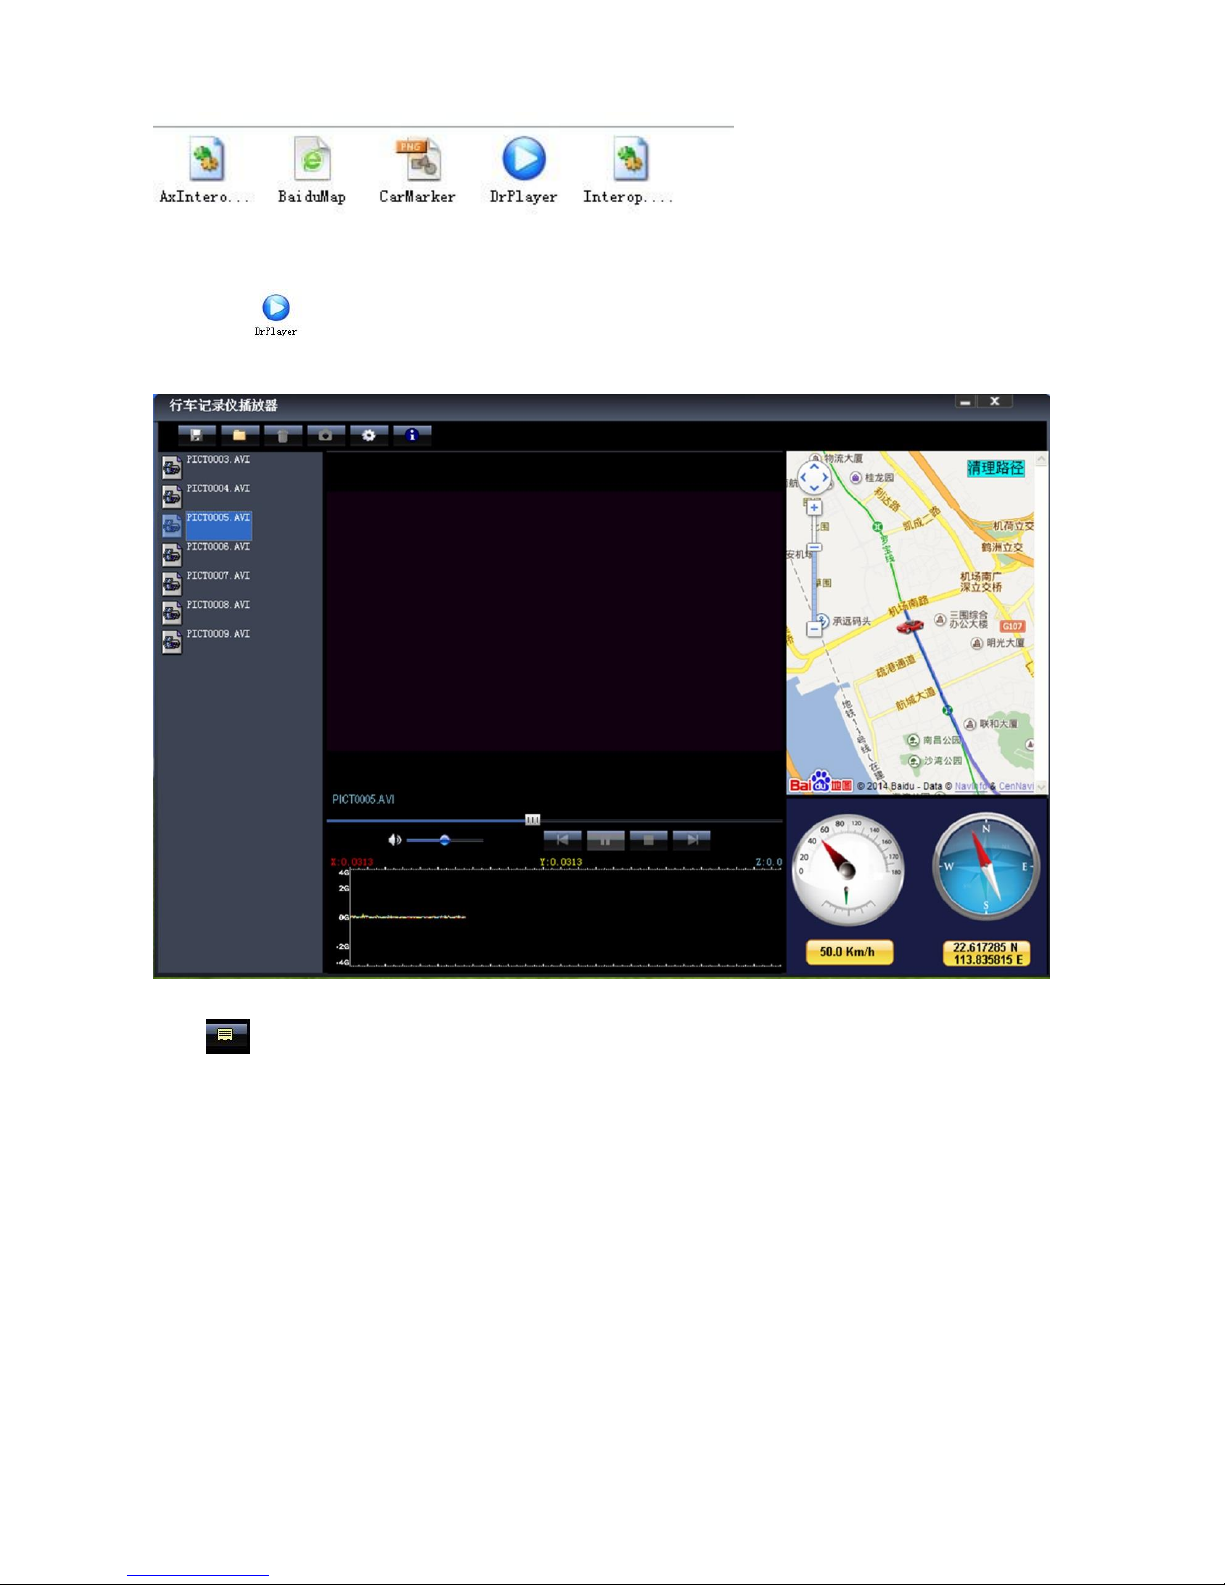
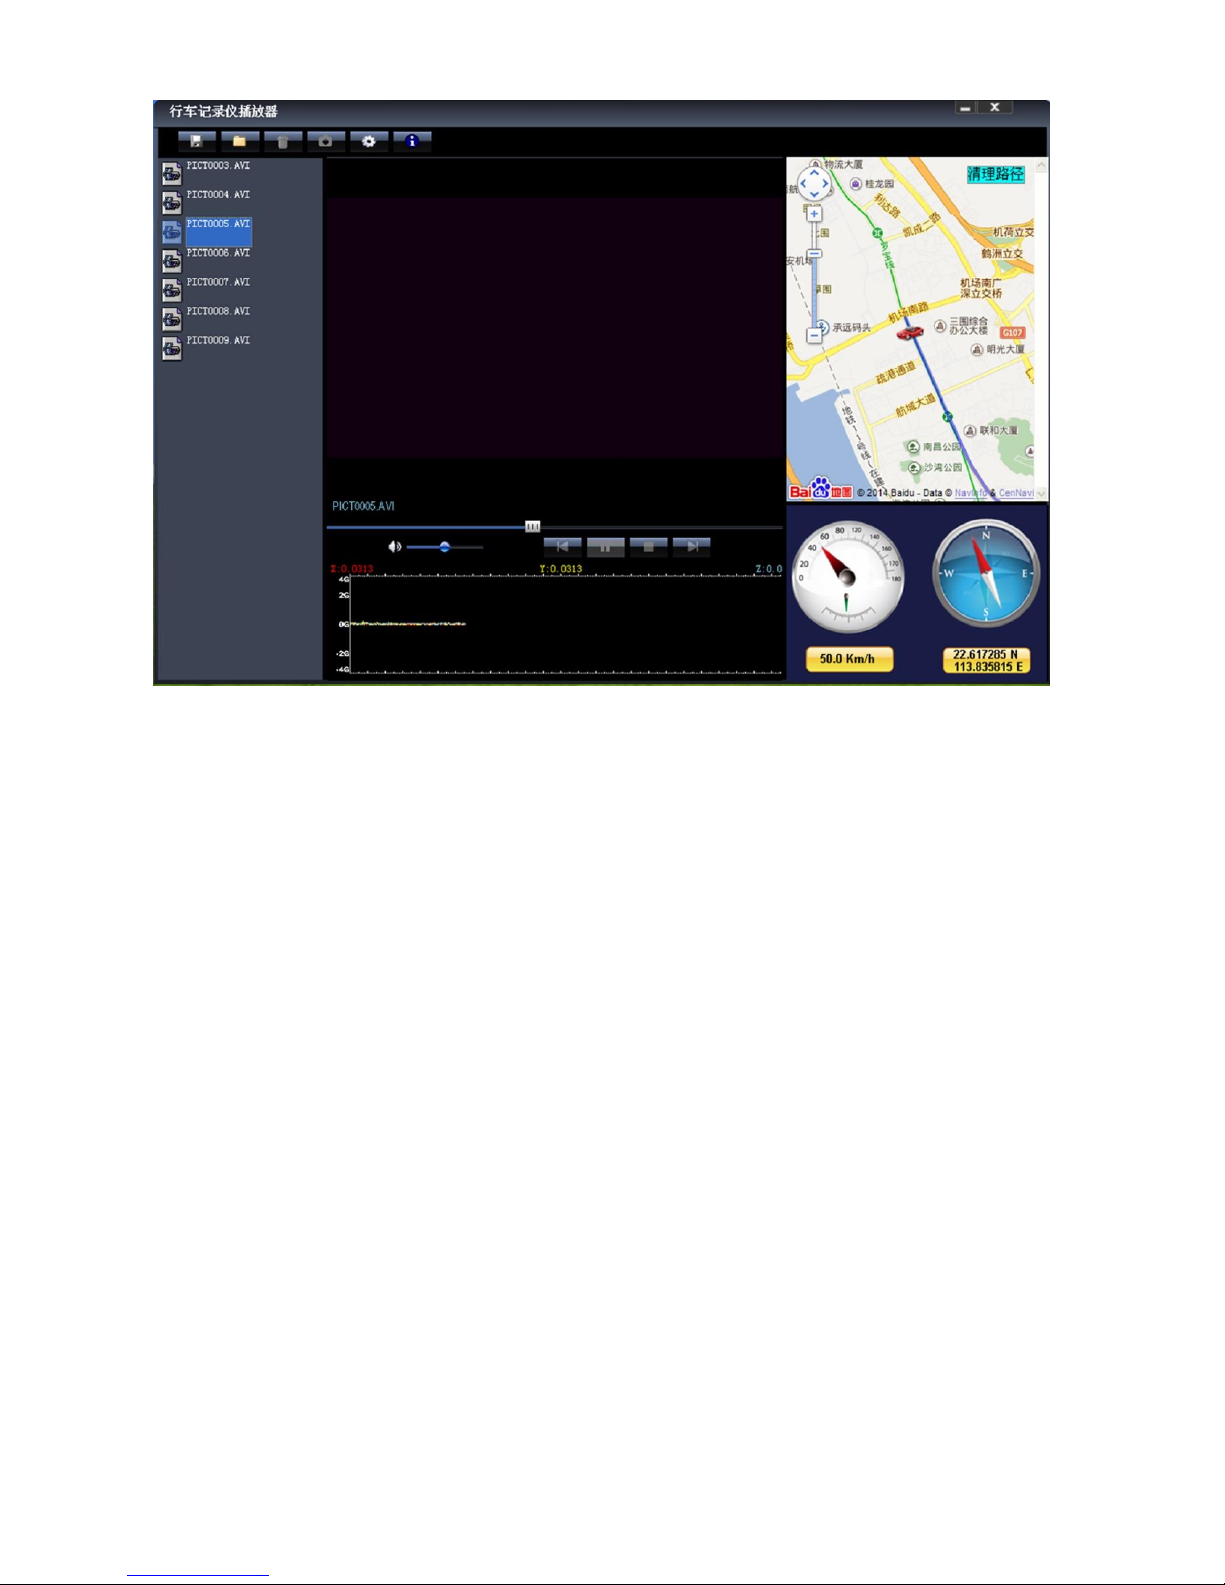
Playback GPS file
Open GPS Player (DR Player)

Open icon
Click button to select GPS file then Click “Play” button to playing as follow

Camera Change
1) Front Camera When the side cameras are showing, Press the “Up“button so the image shown
can be changed from the side camera(s) to the front camera
2) Side Camera When the front camera is showing, Press the “Down“button so the image shown
can be changed from the front camera to camera 2 or camera 3 or both.
Parking Mode
When the camera is powered on but not recording for 3 minutes, the camera will auto change to parking
mode. The LCD will display “Parking Mode”. In the parking mode the video files show as 1FPS
TF Card Installment :
1. Insert the TF Card in the TF Card slot according to the indicative direction, until it softly clicks
2. When removing the TF Card push in the TF Card and gently release to eject it.
Notes:
1. Make sure the TF Card are facing the right way, if it is in the wrong direction, it may damage the
Camera and TF Card
2. If the TF Card is incompatible with the Camera, please try to insert again, change other TF Card
3. Please use the high- speed TF Card. (The Card have CLASS⑩icon)

Technical Specifications
LCD screen
3.0 TFT
Language
English/ French/ German /Italian/Spanish/Portuguese / T-Chinese/
S-Chinese/ Russian/ Turkish/Japan
Video format
AVI (H.264)
Video Resolution
Front Camera 1080P, Back Camera VGA
Memory card
TF Card 1 Up to 128GB TF Card 2 Up to 128GB
Microphone
Built–in
GPS Tracks
Support
G-SENSOR
Support
System
Windows 2000/XP/Vista/windows 7
Notice: Due the camera software update camera function has change, without prior notice

Wire Controller Function
The Functions of the wire controller and the LED indicators lights are as follows:
1. Lock Videos/SOS recording - Short press any key once
2. Turn off microphone - Short press any key twice in a row
3. Stop and Start recording - Short press any key three times in a row
4. Turn Camera off and on - Long press any key
PICTURE AS BELOW:

MANUFACTURER
Limited Warranty
What warranty covers: Manufacturer warrants to the original purchaser that the product furnished hereunder shall
be free from defects in material and workmanship under normal use and service. In the event of any defect in
material or workmanship, the Manufacturer will for twelve (12) months from the date of delivery of the product to
purchaser, F.O.B. point of origin replace any defective parts in respect to the product or replace the product with new
or like new product at the manufacturers option. In the event of a defect, return the product in tact to the
manufacturer (shipping to manufacturer will be paid by purchaser) with evidence of purchase date within the last 12
months of purchase for proper handling of the warranty claim.
What is Not Covered:
Defects or damage resulting from the use of product(s) in other than the normal and customary manner
intended.
Defective or damage from misuse, accident, water or neglect.
Scratches or cosmetic damage that does not affect operation of the product.
Product damage or bodily injury.
Contact Manufacturer to purchase an extended replacement warranty
General Provisions: This warranty is given in lieu of all other express warranties, implied warranties, including
without limitation, implied warranties or merchantability and fitness for a particular purpose, are limited to the
duration of this limited warranty, in no event shall the Manufacturer or seller be liable for damages in excess of the
purchase price of the product
Product Disclaimer: This system is designed to be an aid and should not replace the need to drive carefully and will
not guarantee that driver will not have any accidents while reversing. Under no circumstances will manufacturer,
supplier or retailer accept any responsibility or cannot be held liable for any direct or indirect incidental or
consequential damage or for injuries that result from installing or using this system or from any backing accident. This
device may not be used to violate the privacy rights of others. In no way will manufacturer or its subsidiaries or
partners be held responsible for inappropriate use of this product. It is the sole responsibility of the buyer to consult
legal counsel for the interpretation of any laws applicable to the area of intended use of these products.
Table of contents
Other Falcon Electronics Dashcam manuals
Popular Dashcam manuals by other brands

Vicovation
Vicovation Vico-Marcus 3 installation guide

Fleetworks
Fleetworks FLTW-7633 installation instructions

RVS systems
RVS systems RVS-DC1075 Product manual installation & instructions

Vicovation
Vicovation Vico-Marcus 4 Instruction guide

Drive Proof
Drive Proof DP-210WH instruction manual

Alpine
Alpine HCE-C157D owner's manual