Famous Trails ViewCatcher DCB 822 User manual

Digital Camera
Resolution 640X480(VHI)/ 320X240(LO)
Photograph measure HI -52/ LO -209
Image sensor CMOS sensor
Specifications
Focus range 10m~infinity
Exposure Auto
White balance Auto
Memory inside 8MB SDRAM
Battery AAA alkaline battery x 2
Binoculars
Specifications 8 x 22mm
Angular field of view 7 Field of view: 122m at 914m
Exit pupil 2.6mm
Eye Relief 10mm
Prism Type K9
Coatings Single layer, fully coated
Close focusing distance 5m
Package Contents
USB Cable 1
CD-ROM 1Photo Express V3.0,
Optimum Win98SE/2000/XP/ME
Housing Dimensions 112mm X 91.8mm X 50.2mm
Housing Weight 264.5g
ViewCatcher
Digital
Integrated Binocular and Digital Camera
USER GUIDE

P.13
Troubleshooting
Please make sureto use thefollowing connection anddisconnection
procedures to downloadpictures.
a. Only connectViewCatcher to yourPC when thePC is onand
Windows has completedloading.
b. Your ViewCatcher and PC must be connected before running the
software program.
c. Avoid connecting, disconnecting andreconnecting the camera,
if you haveDownloaded pictures anddisconnected the camera,
please reboot beforereconnecting.
. Always disconnectViewCatcher before shuttingdown the PC.
If ViewCatcher isunexpectedly not recognizedby the software
program, close theprogram, disconnect thecamera and reboot
your PC. Onlyconnect and disconnectyour ViewCatcher using
the procedure outlinedin this section.
User's guide
Contents
1. Introduction....................................................................P.1
2. Name of each part.............................................................P.2
3. How to use your binocular.............................................P.3~4
4. How to use your camera................................................P.4~5
5. Digital camera modes.......................................................P.6
7. Software and driver installation.....................................P.7~13
8. Maintenance........................ .........................................P.14
*Inserting Batteries / Taking Pictures / Self-Timer Mode / Erasing/ Deleting Picture
*Adjustment of Eye Relief for Eyeglass Wearers / Adjusting the Eyepieces /
Focusing the Binocular
*Resolution Options / Other Modes
*Software Installation / Driver Installation / Important Note Regarding Device Driver
Installation / Troubleshooting
6. System Requirements........................................................P.7
ViewCatcher
Digital
ViewCatcher
Digital

P. 1
ViewCatcher is a 8 x 22 binocular integrated with a digital camera
that is great for spotting events, concerts and wildlife activities such as
hunting or bird-watching. It is not the tool for a serious photographer,
but it is a ton of fun and lets you record memories and sights at the
touch of a button. Use the full-featured 8x22 binocular for closer
views and capture images to take home with you at the same time.
ViewCatcher makes it possible to share your fun with others by
downloading images from the camera right to your computer for fax
or e-mail to your friends and family.
Image Download
1.Open Photo Express software
2.Display download selected screen and press
"Acquire" or others item.
3.Image will be download to PC.
1
2
3
4
P.12
ViewCatcher
Digital
ViewCatcher
Digital
1. Introduction
5

P.11 P. 2
1
2
3
4
5
6
7
89
10
1.Diopter Knob(on underside)
2.Center Focus Knob
3.Objective Lens
4.Power/Mode Button
5.Shutter/Set Button
6.USB Port
7.Eyepiece
8.Camera Lens
9.LCD Screen
10.Battery Compartment Lid
11.Barrel
2. Name of each part
11
-
+
7
311
8
7
Fig.1
8.Auto installing 9.Press "Finish" torestart your computer
ViewCatcher
Digital
ViewCatcher
Digital

Looking at or near the Sun will cause instant and irreversible damage
to your eye. Eye damage is often painless, so there is no warning to
the observer that damage has occurred until it is too late. Do not
point the binocular at or near the Sun.
Children should always have adult supervision while observing.
WARNING !
Never use a ViewCatcher to look at the sun !
P. 3
3. How to use your binocular
Adjustment eye-relief for eyeglass wearers
Fold down the rubber eyecups and place them against your glasses to
get the best viewing result.
Adjusting the eyepieces
The distance between your eyes is called interpupillary distance, or IPD.
The IPD is different from one person to another. It is important to
adjust to your IPD before using your ViewCatcher:
- Hold ViewCatcher firmly in the normal viewing position.
- Adjust the barrels by pushing together or pulling apart until you see a
single circle field with both of your eyes. (Fig.2)
Focusing the Binocular
a.Set the Diopter on underside of ViewCatcher (Fig.1) at its center
point between + and - .
b.Choose an object that is 5m away.
c.Looking with just your left eye, rotate the Center Focus Knob(Fig.1)
until the object you are viewing is in best focus.
d.Looking with just your right eye, rotate the Diopter Knob(Fig.1)
until the object you are viewing is in best focus.
.Viewing your object with both eyes, turn the Center Focus Knob
(Fig.1) to bring it in best focus.
P.10
1. Insert yourCD
2.In Photo Express3.0 Auto runscreen and
select Install Photo Express3.0
3. Select installlanguage you wantand
press
4.Step by stepto Install PhotoExpress as
instruction
ViewCatcher
Digital
5.Install ViewCatcher driver(USB cable must
be unplug fromViewCatcher)
6.Step by stepto install driveras instruction 7.Press "Next"

P. 9
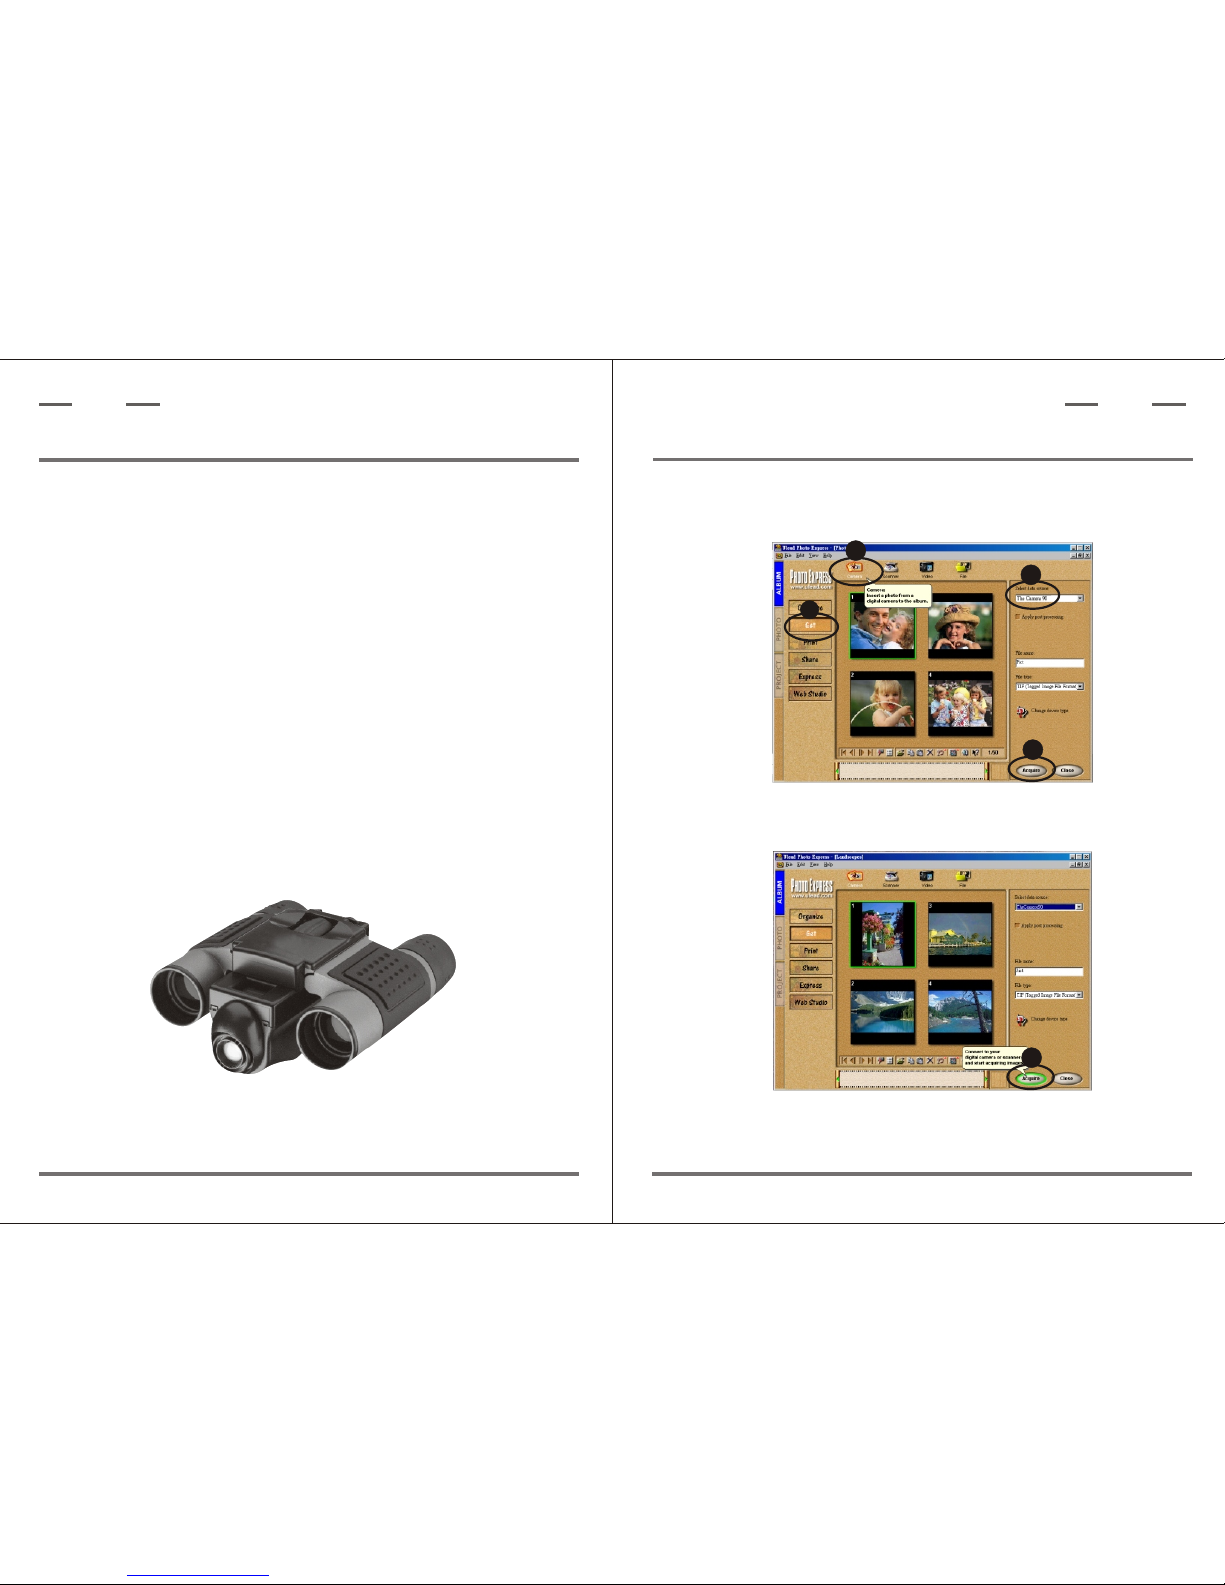
With the software and driver loaded, your computer rebooted and the
ViewCatcher connected to your PC, you are now ready to run the Ulead
Photo Express software to download and share images.
Ulead Photo Express allows you to capture, print, and e-mail images,
and create custom cards, messages, and greetings. You will find the
ViewCatcher camera listed asTheCamera90 within the software program.
Refer to the manual loaded on your hard drive(Start/Programs/Ulead
Photo Express) and the on screen Help menu for more information about
the program.
NOTE:
For best image viewing, set your PC monitor to 16-bit or 24-bit color.
Ulead Photo Express is a proprietary program, and may not be sold,
licensed or distributed without the express written consent of Ulead.
For more information about Ulead Photo Express you may visit the
Ulead website at www.ulead.com/pe.
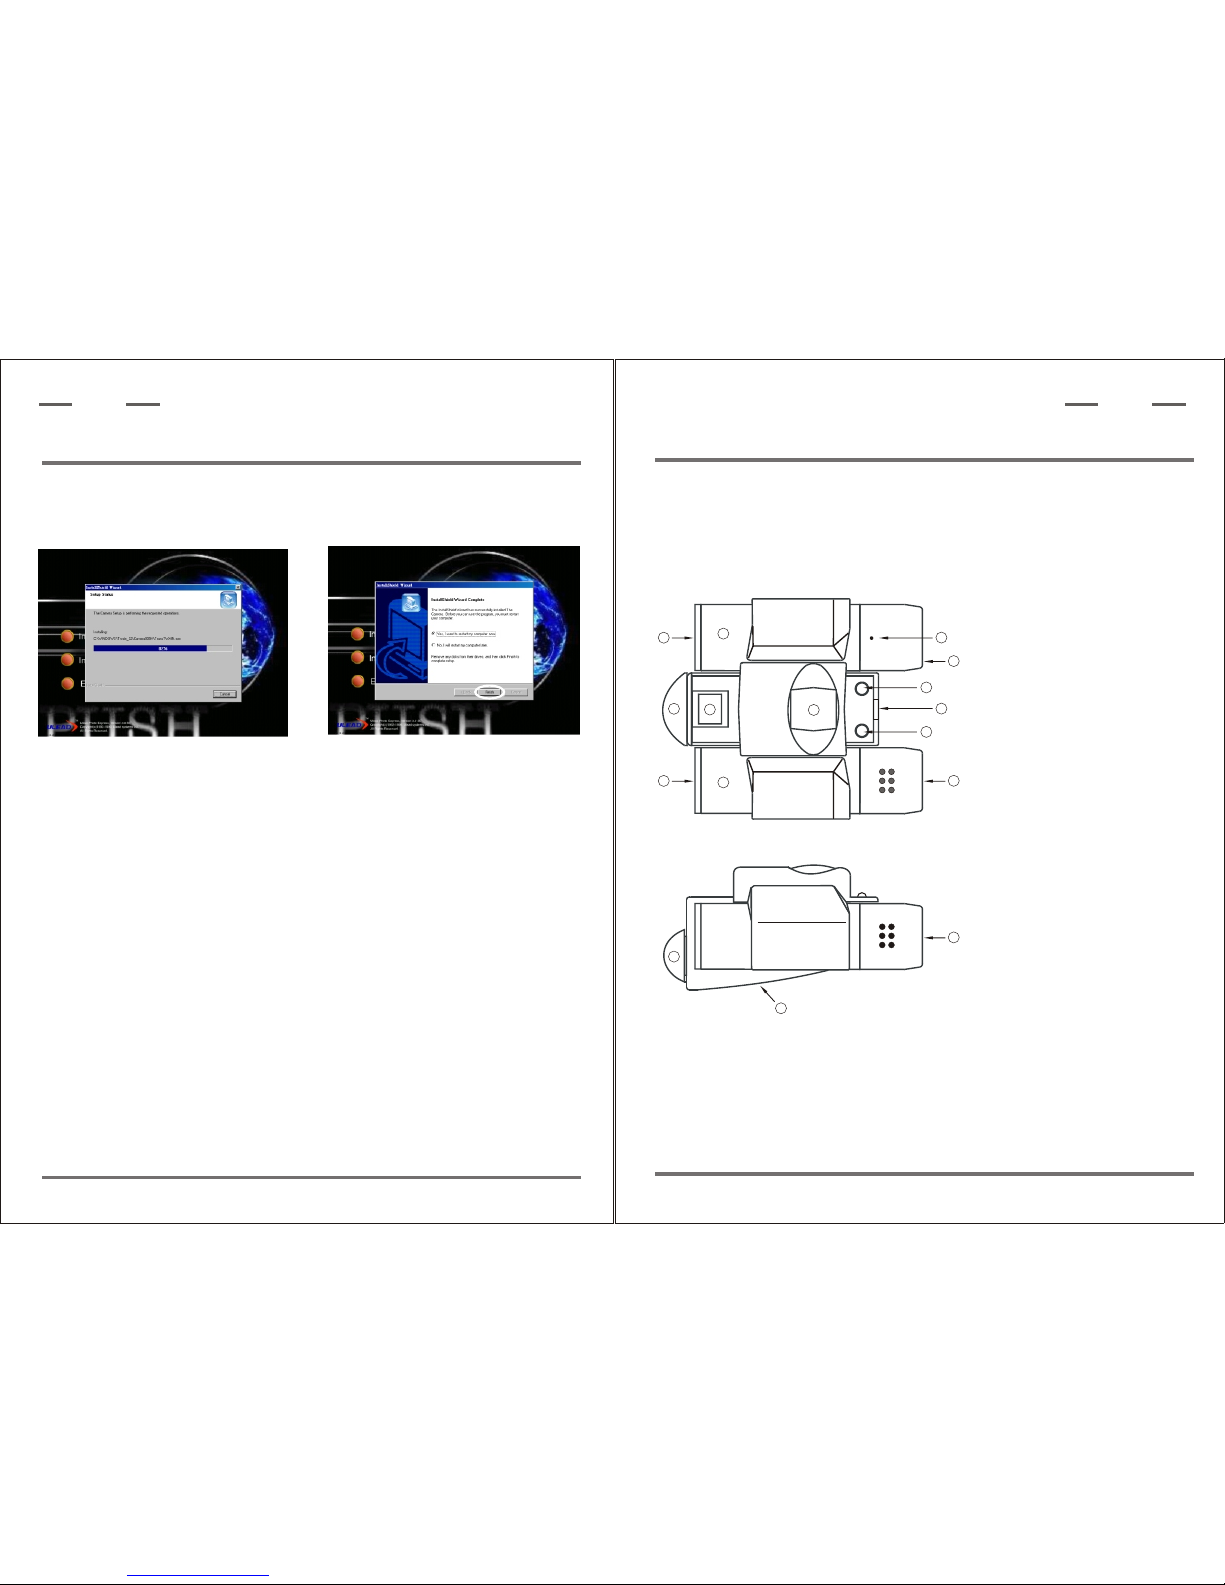
7-4.Click the OK button in the next window.
7-5.Windows again asks for the installation disk. Click the OK Button.
7-6.Windows is now looking for another system file. Repeat steps 2-4.
7-7.Windows is now looking for an initialization file(filename.ini).
Repeat steps 2-4.
7-3.If necessary, navigate to your CD driver, open the Driver folder and
then click the open button.(Please notice that Windows may already
be in this folder. The needed files are all located in the D:\Driver
folder. Most CD drives are assigned as drive D. Please substitute
your CD driver letter for D as appropriate for your CD driver.)
P. 4
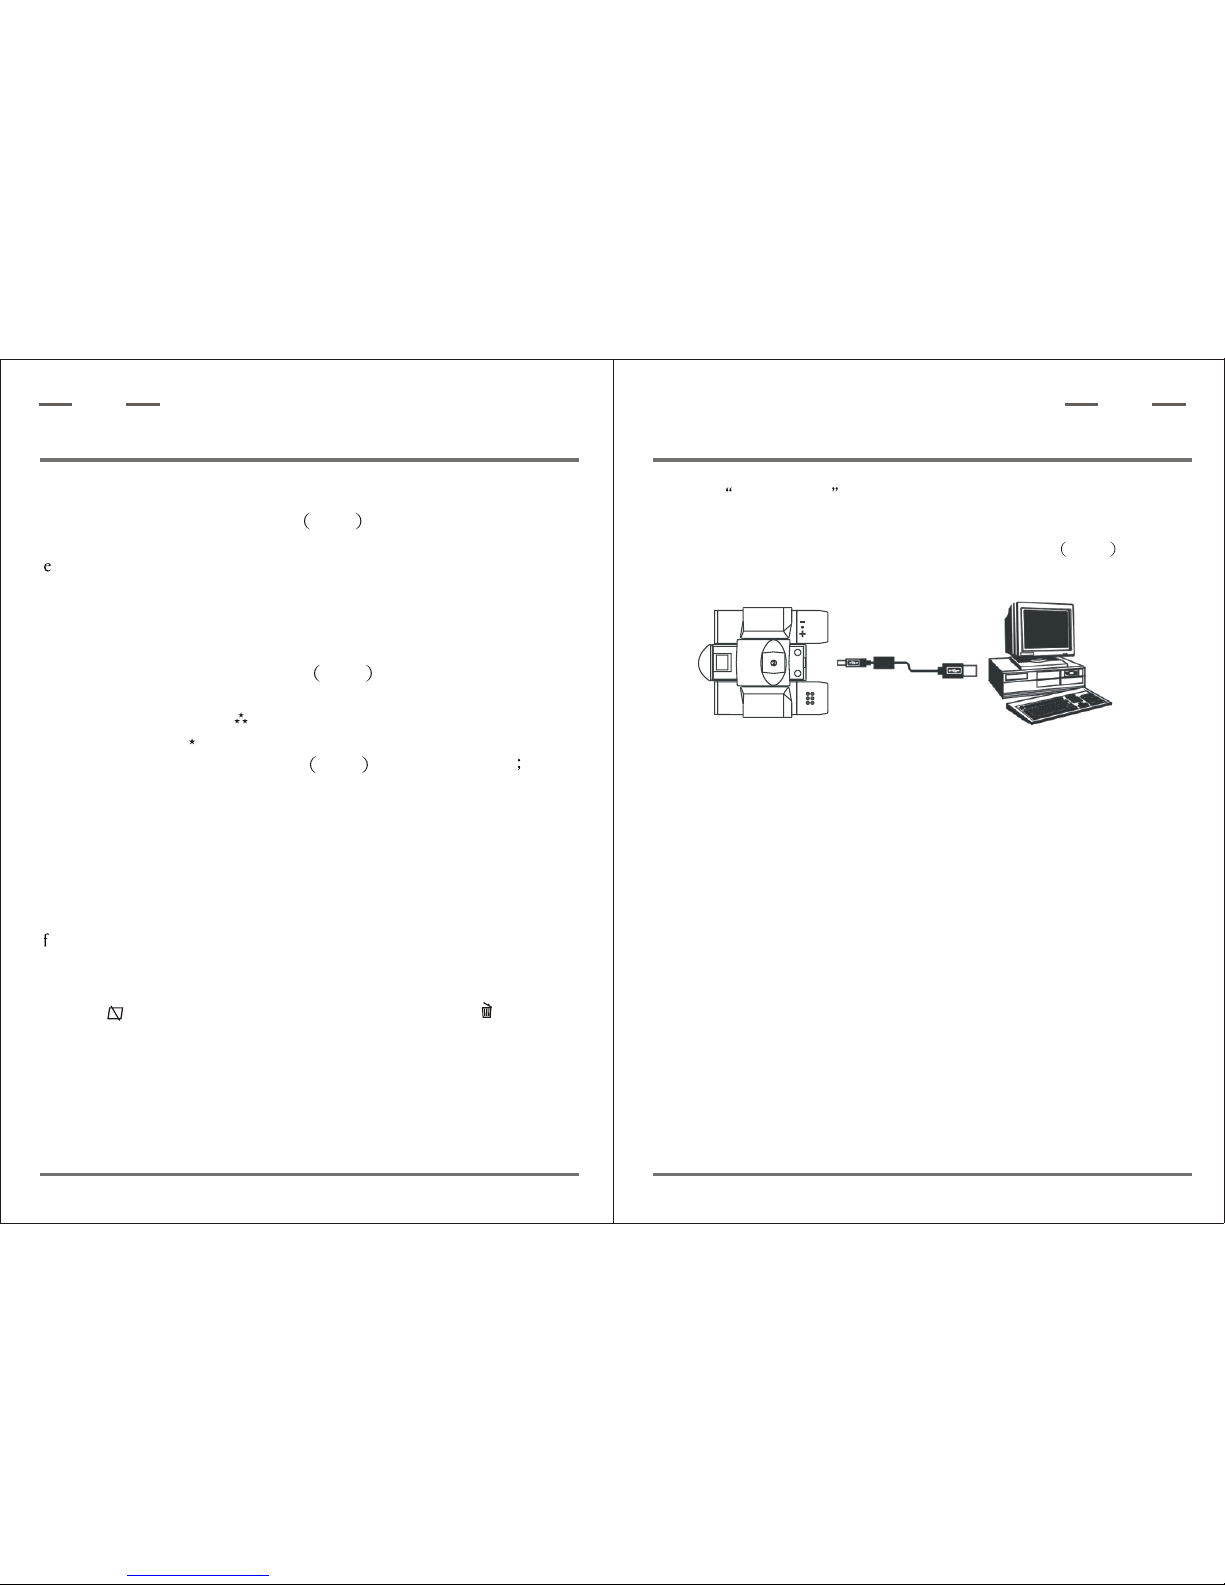
4. How To Use Your Camera
Attention!!:
- Remove the batteries whennot using thecamera.
Failure to doso will resultin losing picturesand dead batteryafter
several days.
- When batteriesare removed, memoryof pictures canmaintain for
90 seconds. Batteriesmust be replacedwithin 90 secondsto avoid
losing pictures. Besure the ViewCatcheris OFF beforecharging
the batteries.
Inserting Batteries
Lift the batterycompartment lid Fig. 1 and insert twoAAA size
batteries.
Fig.2:Adjustment of interpupillary Distance (IPD).
Taking Pictures
a. Press thepower/ mode buttonto turn onthe camera.
. Select a picture resolution mode by pressing thepower/mode button,
to show the" " screenfor 640x480 high resolution mode and the
" " screenfor 320x240 resolutionmode.
Use the shutter/select button Fig.1 to select a mode a beep
will sound toconfirm the selection.The mode selectedwill show on
the LCD. See"Digital Camera Modes"for more information.
ViewCatcher
Digital
ViewCatcher
Digital

ViewCatcher PC with USB port
AB
P. 5
c. View atarget throughViewCatcher.
d. Press theshutter/select button Fig.1 .
A beep soundsto confirm thata picture wastaken.
. The counter in the LCD decreases by one.
Self-Timer Mode
The self-timer allowsa 10 seconddelay before takinga picture.
a. Press the power/mode button Fig.1 to turn onthe camera.
b. Select apicture resolution modeb pressing thepower/mode
button to showthe " " screen for 640x480high resolution
mode and the" " screen for 320x240resolution mode.
Use the shutter/selectbutton Fig.1 to select amode
a beep willsound to confirmthe selection. Themode selected
will show onthe LCD. See"Digital Camera Modes"for more
information.
c. Press the power/mode buttonuntil the self-timeroption displays.
It shows theresolution you choseand a clock.
d. Press the shutter/select button.It breeds a"Be" sound.
e. ViewCatcher beepswhen the picturehas been taken.
. The counterin the LCDdecreases by one
.
Erasing/Deleting Pictures
Use the optionto erase thelast picture, oruse the option
to erase allthe pictures .
P. 8
Important Note for Device Driver Installation
Depending upon the device drivers that are already installed on your
computer system, the ViewCatcher driver installation just outlined may
not be recognized correctly by Windows the first time you connect he
camera. If this occurs, it is easily remedied by performing the following
in response to the questions Windows will ask you:
7-1.After connecting the ViewCatcher to you PC for the first time,
Windows asks you to insert the installation CD into your CD-ROM
driver. Please insert the CD and click the OK Button.
7-2.Windows will tell you it needs to find some files. Windows first
asks for a system file(filename.sys). Click the Browse...button.
Click on Install Driver on the software installation screen and follow
the prompts. When prompted, restart your PC. After Windows loads,
connect the ViewCatcher to the computer's USB port Fig. 3 .
How to download image from ViewCatcher (see P.12)
Fig.3:Connecting ViewCatcher toa PC.
ViewCatcher
Digital
ViewCatcher
Digital

P. 6
Erase All Image Mode.
Erase Last Picture Mode.
Default Setting: Taking pictures at this mode.
The selected resolution displayed at bottom left.
The battery life indicator displayed at lower right.
High Resolution (640x480)Mode(VHI).
ViewCatcher will store up to 52 images.
5. Digital Camera Modes
Low Resolution (320x240)Mode(LO).
ViewCatcher will store up to 209 images.
Off screen.
Resolution Options
Other Modes
Self-Timer Mode with 10 second delay.
P. 7
6. System Requirements
6-1.Windows 98SE / Windows Me / Windows 2000 / Windows XP.
6-2.200MHz (or equivalent) processor or faster.
6-3.64 MB of SDRAM
6-4.Video (VGA) card with 2MB of RAM for minimum 16-bit
(High Color) display.
6-5.CD-ROM driver
6-6.USB port
6-7.600 MB of free hard drive space.
7.Software and Driver Installation
Put the CD (bundled with your ViewCatcher) into the CD-ROM
driver, then the start screen will come up automatically.(see P.10)
Driver Installation
Before connecting the ViewCatcher to your PC, you need to
install aTheCamera90 driver for your PC to recognize the
ViewCatcher. (See P.10)
ViewCatcher
Digital
ViewCatcher
Digital
As taking pictures, the number of picture is down counting.(For example,
when you take by hi resolution for 5 pictures, the monitor appears "47" and so on.)

8.Maintenance
Operating Environment: 41 to 104 F (5 to 40 C). 20%-85%
relative humidity, non-condensing
Care of your ViewCatcher
8-1.Never immerse ViewCatcher into any fluid or liquid.
Remove dust or stains with a soft cloth dampened with water
or neutral detergent. Keep in a dry and cool dust-free environment
or a container when it is NOT used.
8-2.Take the batteries out when ViewCatcher is NOT to be
used over a long period.
8-3. Avoid dropping the ViewCatcher. Do not disassemble ViewCatcher.
8-4.Download pictures to your PC before removing the batteries.
P.14
ViewCatcher
Digital
Table of contents