
CH27 DMR
10
GENERAL SAFETY INSTRUCTIONS
These safety instructions are meant for the
owners of FARMI machine, as well as those who
operate, service or repair it.
The instructions help with:
• using the machine safely, appropriately and
eectively.
• identifying, avoiding and preventing poten-
tially dangerous situations.
The manufacturer supplies an instruction ma-
nual, which must always be available at the
place of operation of the machine. Each user
must read the safety, maintenance and opera-
ting instructions before operating the machine,
and comply with these instructions at all times.
Ensure that every operator
of the machine is familiar
with the content of the
instruction manual and
situation-specic safety
instructions, and has been
suitably trained before operating the machi-
ne.
The machine complies with technical require-
ments and applicable safety regulations. Howe-
ver, incorrect use, maintenance or repair of the
machine may cause risks.
In addition to the instruction manual, remem-
ber to comply with regulations of the local
occupational health and safety authorities,
and with your country’s laws and decrees.
The manufacturer is not liable for damages
caused by:
• incorrect, negligent or inappropriate use of
the product.
• non-original spare parts.
• normal wear and tear.
• misuse caused by an untrained person’s
improper actions.
• alterationsmadewithoutthemanufacturer’s
permission.
CAUTION!
!
Written authorization must
be requested from the
manufacturer for any altera-
tions to the machine.
STARTING
Please read the operating
instructions carefully be-
fore using, maintenance
or repairing the machine.
Observe all operating and
safety instructions when-
ever using the machine.
1. Familiarize yourself thoroughly with the
use, operation and controls of the machine
and its equipment before starting.
2. Familiarize yourself with the capacities and
limitations of the machine and its equip-
ment.
3. Do not use the machine unless you are
completely familiar with its operation.
4. Be aware of the machine’s danger zones.
5. During operation, prevent bystanders
from ntering the danger zone. If necessary,
work must be stopped.
6. Ensure that each operator has the necessary
safety equipment, such as a helmet, safety
goggles, work safety boots and suitable pro-
tective clothing.
7. Never wear loose clothing around moving
parts. Protect long hair!
8. Ensure that work is carried out according to
the stipulations of applicable occupational
health and safety legislation.
9. Before starting up or using the machine,
ensure that it cannot cause a risk to other
people or property.
10. Perform a safety check on the machine
before every use. If you observe any faults or
deciencies, repair the machine immediate-
ly.
11. Before operating the machine, ensure that
there are no foreign articles in it.
12. Place the machine on a hard, level surface
for operation. In the winter avoid working in
slippery areas.
CAUTION!
!
WARNING!
!


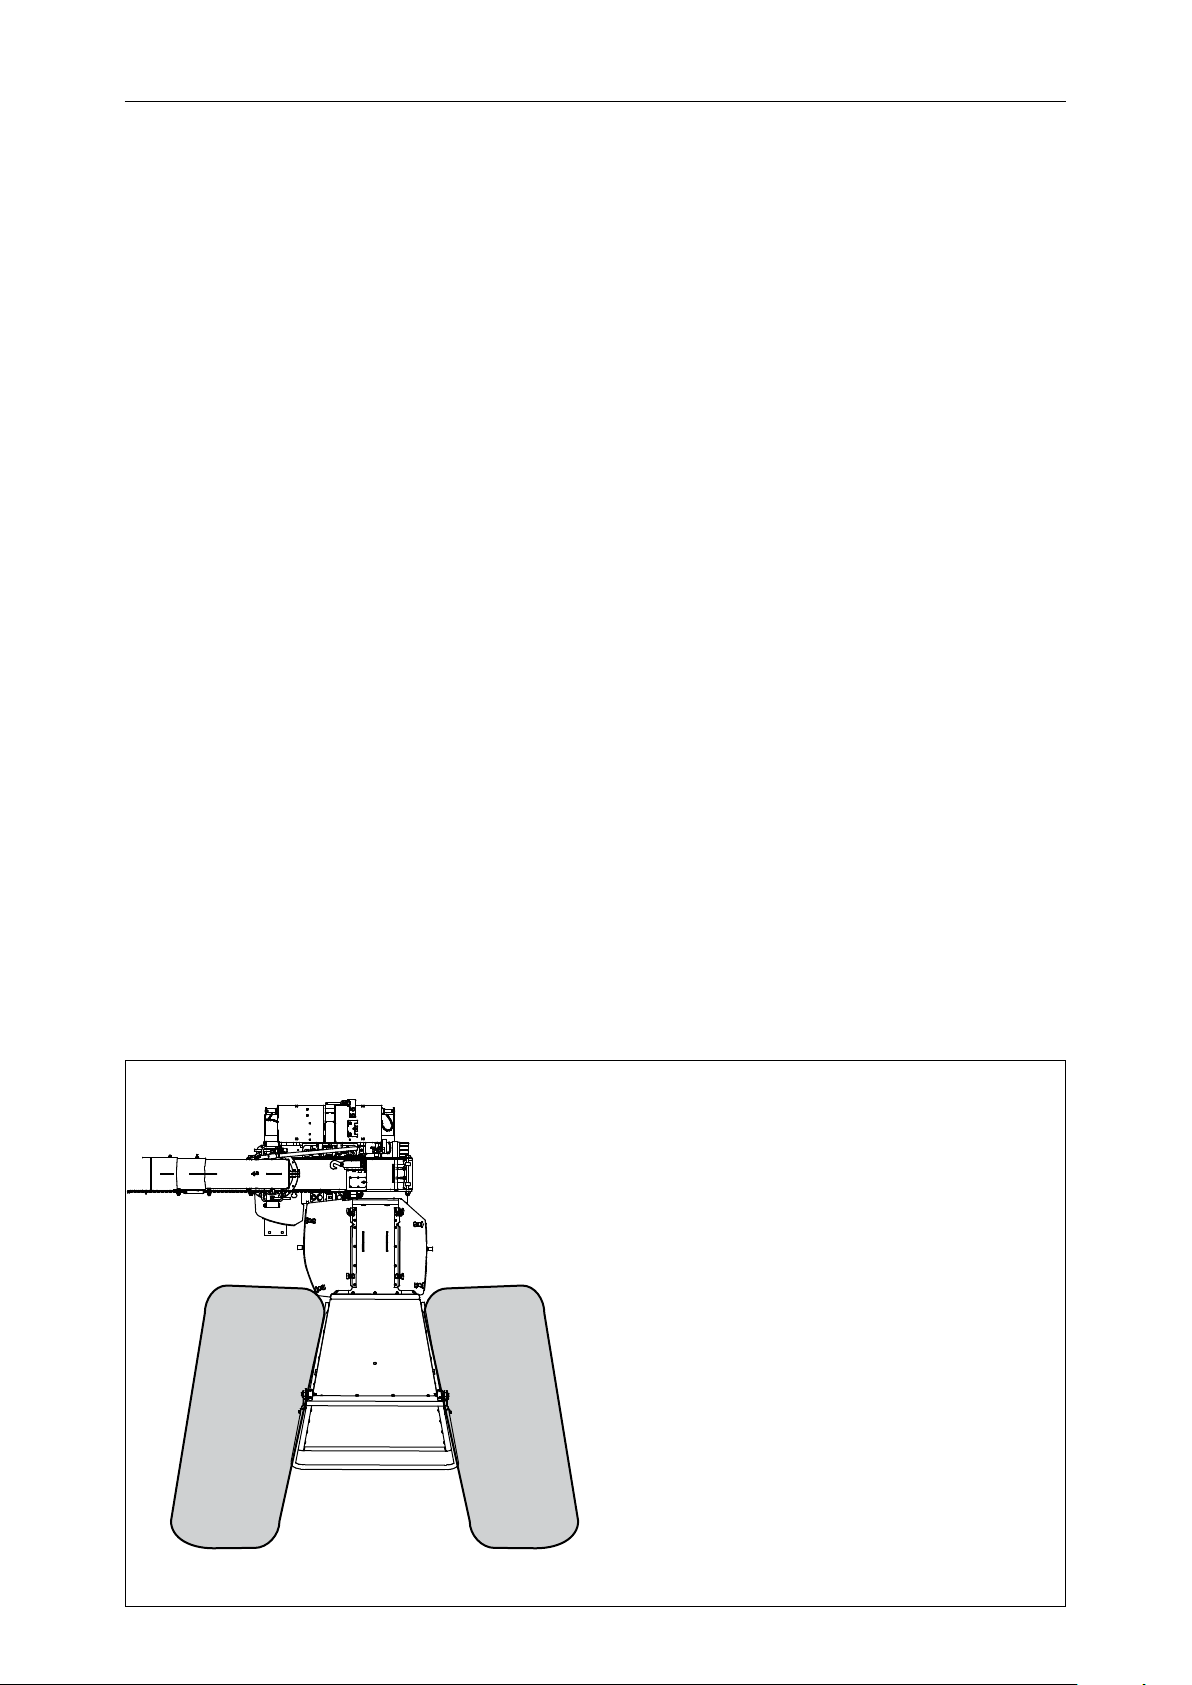


 Specifications")


