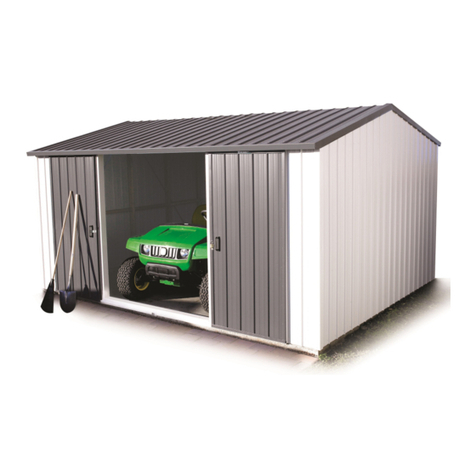
Feider Machines FAJ130 User manual

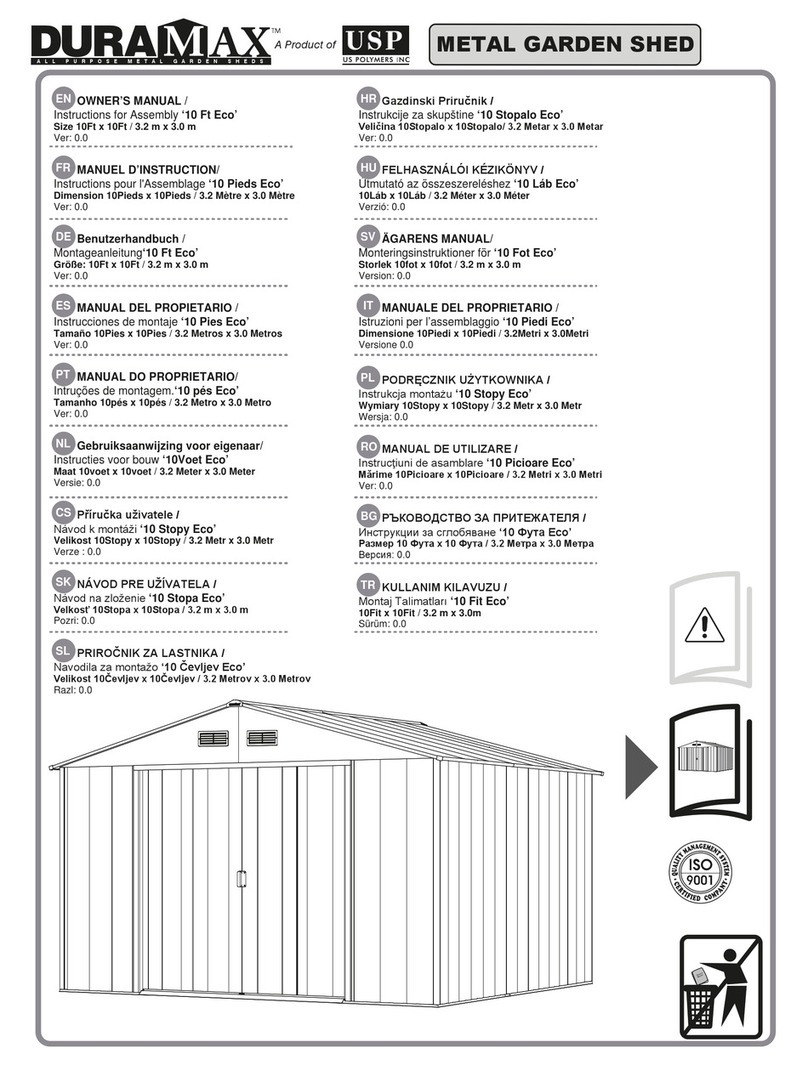
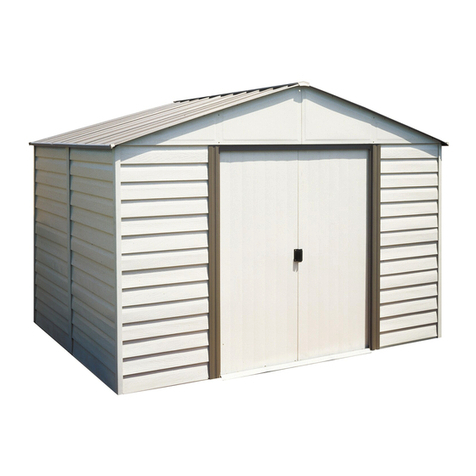
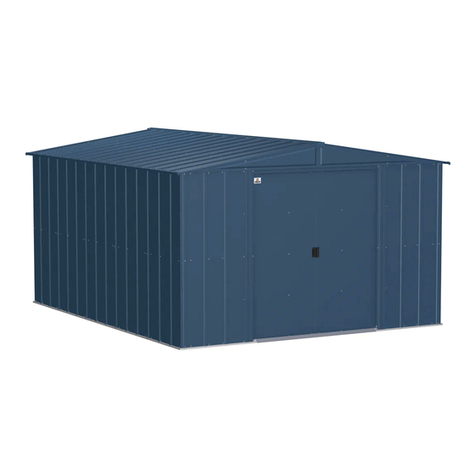
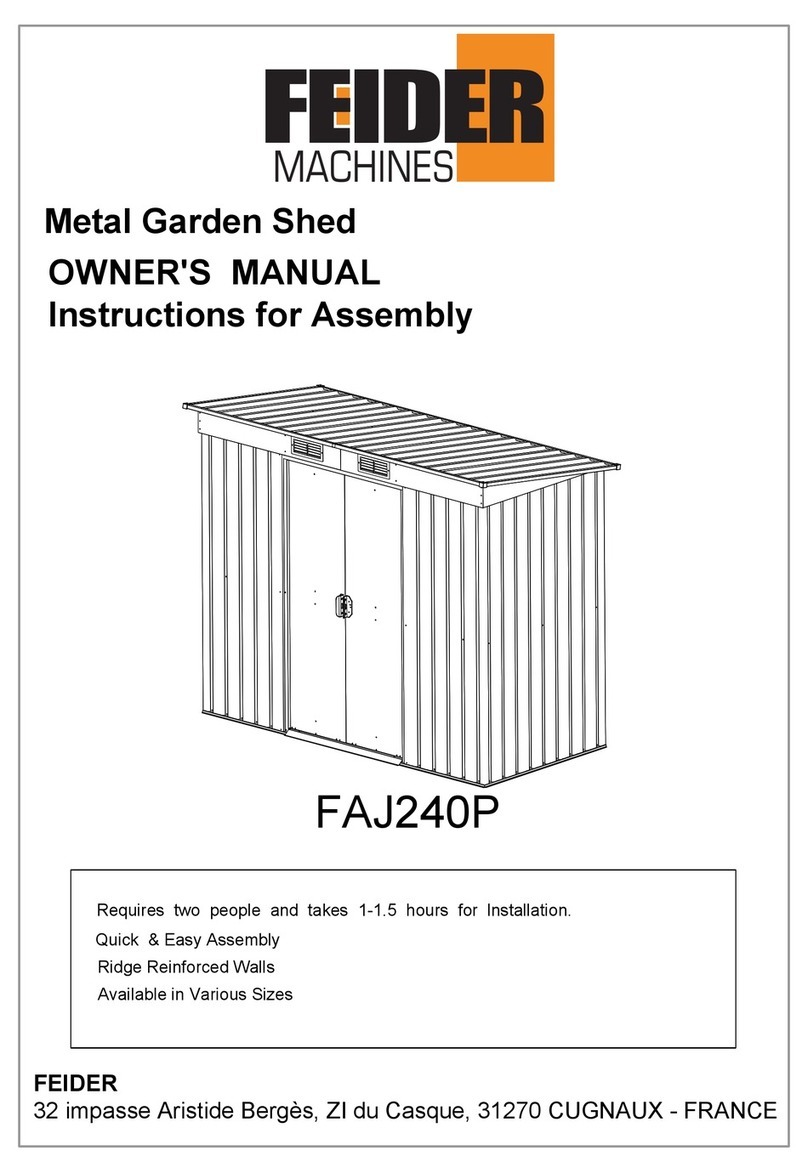
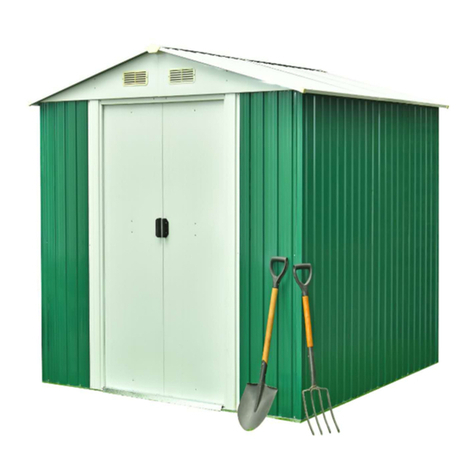
Metal Garden Shed
OWNER'S MANUAL
Instructions for Assembly
Requires two people and takes 1-1.5 hours for lnstallation.
Quick & Easy Assembly
Ridge Reinforced Walls
Available in Various Sizes
FAJ130
BUILDER SAS
32 impasse Aristide Bergès, ZI du Casque, 31270 CUGNAUX - FRANCE

BEFORE YOU START
Owner's Manual
Prior to installation, it is important that you contact your local government authority to
determine if building approval is required. Study and understand this owner's manual.
Important information and helpful tips will make your construction easier and more
enjoyable.
Assembly instructions
Instructions are supplied in this manual and contain all appropriate information for your
building model. Review all instructions before you begin. During assembly, follow the
step sequence carefully for correct results .Please be aware: this unit takes two people
about one full day to complete.
Parts
Check to be sure that you have all the necessary parts for the building.
Separate contents of the carton by the part number while reviewing parts list.
Familiarize yourself with the hardware and fasteners for easier use during
construction. These are packaged within the carton. Note that extra fasteners have been
supplied for your convenience.
TOOLS MAY REQUIRED
Use heavy duty gloves when handling steel sheets and flashing
PLAN AHEAD
Watch the weather:
Please be sure the day you select for installation is dry and calm.
DO NOT attempt to assemble your shed in windy weather
because of risk of damage to panels, or personal injury. Be careful
of wet or muddy ground.
Teamwork:
Whenever possible, two or more people should work together to
assemble the building. One person can position parts or panels
while the other is able to handle the fasteners and the tools.
It requires two people a full
day to complete installation
-1-

PLAN AHEAD
Site Selection
lAvoid overhanging trees as much as possible as leaves will make regular cleaning
necessary and broken branches are a potential hazard.
lSmall trees,bushes or fences nearby can be helpful,acting as a wind break.
Site Preparation
The site must be prepared so that the base of the shed is level all round and checking
with a spirit level is required.
The base can be constructed by treated timber or concrete,in order to stop the moisture
getting into the shed.The shed is not designed to be built onto lawn directly.Also the
ground will get muddy during rainy days.
If a concrete pad is made,it is important that this slopes towards the edges to prevent
water ingress.
Time must be allowed for any concrete or cement to dry before building the shed on top.
Bases can also be constructed from bricks,blocks,or mounted on a concrete pad.
The bricks or blocks should be cemented onto firm and level concrete footings and the
greenhouse frame drilled and screwed to the base.
IMPORTANT NOTES:
lFind someone to help you:it is much easier with someone to hold parts,pass tools
ect.Also some steps require two people to lift structures together.This is not very
heavy work so would suit most able-bodied people.
lAllow plenty of time:rushing often causes errors and the re-doing of incorrect
assemblies.If you have never built a shed before,it can take most of a day to carefully
complete the construction.
lHave the right tools to hand.
lSafety clothing as recommended in the 'Tools' section.
lIdeally lat out the parts and check that all are present before commencing
construction.Lay on cloths or plastic sheets if there is any risk of scratching the parts.
lTighten all nuts carefully,being sure not to miss any.Check the frame is square and
using a spirit level to check that it is upright.
-2-

PART
NO. Qty.
1
PART
NO. Qty.
1
752mm
1
1
1-1
2
752mm
1394mm
1
10 1354mm
P1 1
1300mm
GC
F1
F2
S2
S3
4
F3
J1 4
9724mm 2
2
15 852mm
P2
1300mm
P3
1250mm
P4
1250mm
1
1
1
P5 3
1195mm
P6 3
852mm
2
J2
31
1394mm
1460mm 2
17
7
4L
4R
1
1300mm
1
1300mm
1
1354mm
P7 2
1300mm
61
1354mm
D1 2
18 4
318mm
1285X322mm
G2 4
GD 4
2
GB
140
8
40
120
30
-3-

GC
GC
GC
GC
15
15
17
17
P6
P6
P6
2
3
1
1
P5
P5
P5
P4
P2
P1
P3
9
9
J2
J2
10
P7
P7
4R
4L
J1
J1
J1
J1
6
7
GB
18
18
18
18
D1
D1
-4-

1、Wen diagonal measurements are
equal,the frame is square.
2、The Floor Frame must be
BOTH square AND level or the
holes will not line up properly.
1
PART
NO. Qty.
1
1
1-1
2
PART
NO. Qty.
1
3
1
F1
F1
2
3
1
1-1
PART
NO. Qty.
J1 4
F1
J1
J1
J1
-5-

PART
NO. Qty.
1
1
P3
P5
F1
S3
F2
S3
P5
P3
3
PART
NO. Qty.
1
1
P4
P5
F1
S3
F2
S3
P5 P4
3
PART
NO. Qty.
1
1
P2
P7
F1
S3
F2
S3
P7
P2
-6-

PART
NO. Qty.
1
1
P1
P7
F1
S3
F2
S3
P1
P7
PART
NO. Qty.
1
10 10
F1
S3
PART
NO. Qty.
29
F1
S3
9
F1 S3
9
-7-

PART
NO. Qty.
G2 4
71
61
6
7
G2 G2 G2 G2
F1 S3
6
PART
NO. Qty.
2
J2
F1
J2
PART
NO. Qty.
1
1
4L
4R
F1 S3
F2
S3
4L
4R
-8-

PART
NO. Qty.
1
P5
F1
S3
F2
S3
PART
NO. Qty.
3
P6
P6
P6
P6
F2
S3
F1 S3
PART
NO. Qty.
2
15
F2
S3
F1
S3
15 15
P5
-9-

17
17
PART
NO. Qty.
2
17
PART
NO. Qty.
4GC
F1
-10 -

PART
NO. Qty.
GD 4
D1
GE S3 F2
PART
NO. Qty.
418
18
18
S3
F1 F2
S3
F2
PART
NO. Qty.
D1 1
2
GB
GB
F2
D1
D1
x2
x2
D1
-11 -

F3
7&8 G2
D1
D1
-12 -

Metal Garden Shed
Instructions for Assembly
Metal Garden Shed
Foundation Kit
Instructions for Assembly
Size MF-BS-F10
-13-

PART
NO. Qty.
W31
1355mm
W1
W3
F1
-14-

WARRANTY
The manufacturer guarantees the product against defects in material and workmanship for a period of 2
years from the date of the original purchase. The warranty only applies if the product is for household use.
The warranty does not cover breakdowns due to normal wear and tear.
The manufacturer agrees to replace parts identied as defective by the designated distributor. The
manufacturer does not accept responsibility for the replacement of the machine, in whole or in part , and/or
ensuing damage.
The warranty does not cover breakdowns due to:
• insucient maintenance.
• abnormal assembly, adjustment or operations of the product.
• parts subject to normal wear and tear.
The warranty does not extend to:
• shipping and packaging costs.
• using the tool for a purpose other than that for which it was designed.
• the use and maintenance of the machine done in a manner not described in the user manual.
Due to our policy of continuous product improvement, we reserve the right to alter or change specications
without notice. Consequently, the product may be dierent from the information contained therein, but a
modication will be undertaken without notice if it is recognized as an improvement of the preceding
characteristic.
READ THE MANUAL CAREFULLY BEFORE USING THE MACHINE.
When ordering spare parts, please indicate the part number or code, you can nd this in the spare parts list
in this manual. Keep the purchase receipt; without it, the warranty is invalid. To help you with your product,
we invite you to contact us by phone or via our website:
• +33 (0)9.70.75.30.30
• https://services.swap-europe.com/contact
You must create a "ticket" via the web platform.
• Register or create your account.
• Indicate the reference of the tool.
• Choose the subject of your request.
• Describe your problem.
• Attach these les: invoice or sales receipt, photo
of the identication plate (serial number), photo
of the part you need (for example: pins on the
transformer plug which are broken).
WARRANTY
-15-

WHAT TO DO IF MY MACHINE BREAKS DOWN?
If you bought your product in a store:
a) Empty the fuel tank.
b) Make sure that your machine is complete with all accessories supplied, and clean! If this is not the case,
the repairer will refuse the machine.
Go to the store with the complete machine and with the receipt or invoice.
If you bought your product on a website:
a) Empty the fuel tank.
b) Make sure that your machine is complete with all accessories supplied, and clean! If this is not the case,
the repairer will refuse the machine.
c) Create a SWAP-Europe service ticket on the site: https://services.swap-europe.com When making the
request on SWAP-Europe, you must attach the invoice and the photo of the nameplate (serial number).
d) Contact the repair station to make sure it is available before dropping o the machine.
Go to the repair station with the complete machine packed, accompanied by the purchase invoice and the
station support sheet downloadable after the service request is completed on the SWAP-Europe site
For machines with engine failure from manufacturers BRIGGS & STRATTON, HONDA and RATO, please
refer to the following instructions.
Repairs will be done by approved engine manufacturers of these manufacturers, see their site:
• http://www.briggsandstratton.com/eu/fr
• http://www.honda-engines-eu.com/fr/service-network-page;jsessionid=5EE8456CF39CD572AA2AEEDFD
290CDAE
• https://www.rato-europe.com/it/service-network
Please keep your original packaging to allow for after-sales service returns or pack your machine
with a similar cardboard box of the same dimensions.
For any question concerning our after-sales service you can make a request on our website https://
services.swap-europe.com
Our hotline remains available at +33 (9) 70 75 30 30.
PRODUCT FAILURE
-16-

THE WARRANTY DOES NOT COVER:
• Start-up and setting up of the product.
• Damage resulting from normal wear and tear of the product.
• Damage resulting from improper use of the product.
• Damage resulting from assembly or start-up not in accordance with the user manual.
• Breakdowns related to carburetion beyond 90 days and fouling of carburetors.
• Periodic and standard maintenance events.
• Actions of modication and dismantling that directly void the warranty.
• Products whose original authentication marking (brand, serial number) has been degraded, altered or
withdrawn.
• Replacement of consumables.
• The use of non-original parts.
• Breakage of parts following impacts or projections.
• Accessories breakdowns.
• Defects and their consequences linked to any external cause.
• Loss of components and loss due to insucient screwing.
• Cutting components and any damage related to the loosening of parts.
• Overload or overheating.
• Poor power supply quality: faulty voltage, voltage error, etc.
• Damages resulting from the deprivation of enjoyment of the product during the time necessary for repairs
and more generally the costs related to the immobilization of the product.
• The costs of a second opinion established by a third party following an estimate by a SWAP-Europe repair
station
• The use of a product which would show a defect or a breakage which was not the subject of an immediate
report and/or repair with the services of SWAP-Europe.
• Deterioration linked to transport and storage*.
• Launchers beyond 90 days.
• Oil, petrol, grease.
• Damages related to the use of non-compliant fuels or lubricants.
* In accordance with transport legislation, damage related to transport must be declared to carriers within 48
hours maximum after observation by registered letter with acknowledgement of receipt.
This document is a supplement to your notice, a non-exhaustive list.
Attention: all orders must be checked in the presence of the delivery person. In case of refusal by the
delivery person, it you must simply refuse the delivery and notify your refusal.
Reminder: the reserves do not exclude the notication by registered letter with acknowledgement within 72
hours.
Information:
Thermal devices must be wintered each season (service available on the SWAP-Europe site). Batteries must
be charged before being stored.
-17-
WARRANTY EXCLUSIONS
Table of contents
Other Feider Machines Outdoor Storage manuals
Popular Outdoor Storage manuals by other brands

Moebelix
Moebelix BS-MK1-EXT owner's manual

USP
USP DURAMAX 35525 owner's manual

Arrow Storage Products
Arrow Storage Products CO1014-C1 Owner's manual & assembly instructions

Keter
Keter Duotech Hight-Store+ user manual

Décor et Jardin
Décor et Jardin GAMACHE Assembly Notice

Galvo Shed
Galvo Shed GVO 3023 Assembly instructions

Keter
Keter MANOR 4x3 Assembly instructions

Duratuf KIWI
Duratuf KIWI KL1 Assembly instructions

Luoman
Luoman Lillevilla 580 Assembly and Maintenance

SPACEMAKER
SPACEMAKER RGB1012ONEU Owner's manual & assembly instructions

Outsunny
Outsunny 845-428V01 Assembly & instruction manual

Keter
Keter DARWIN 6x6W user manual