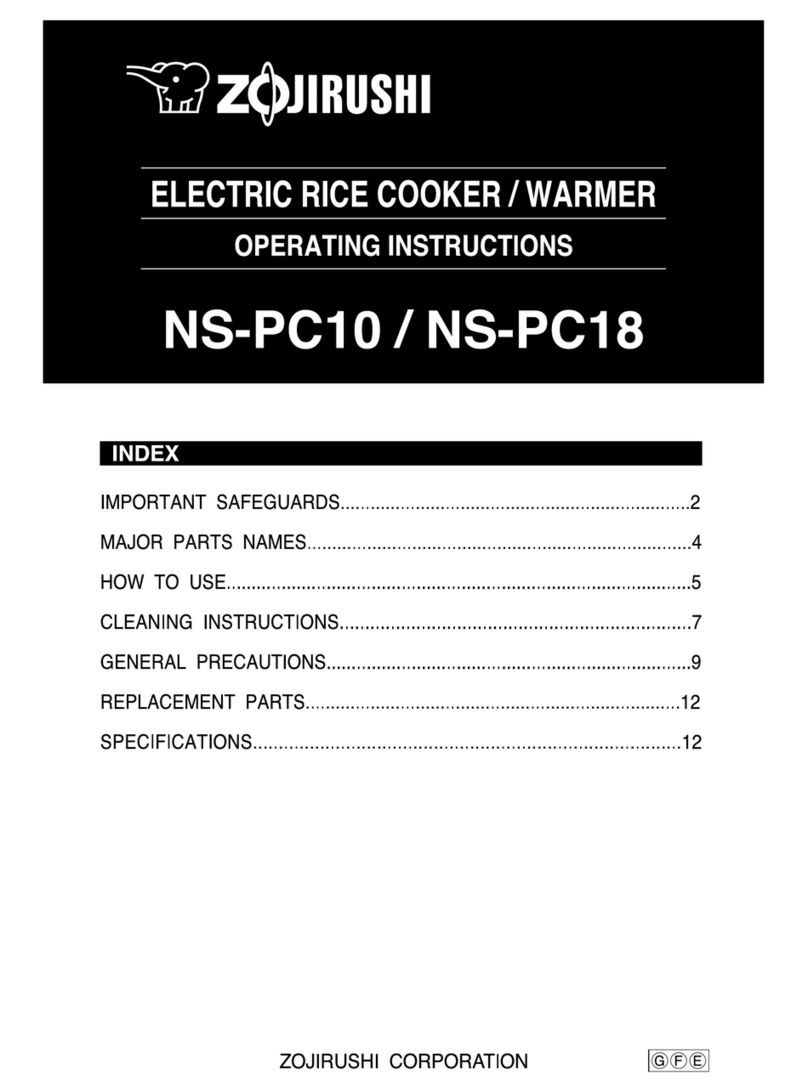
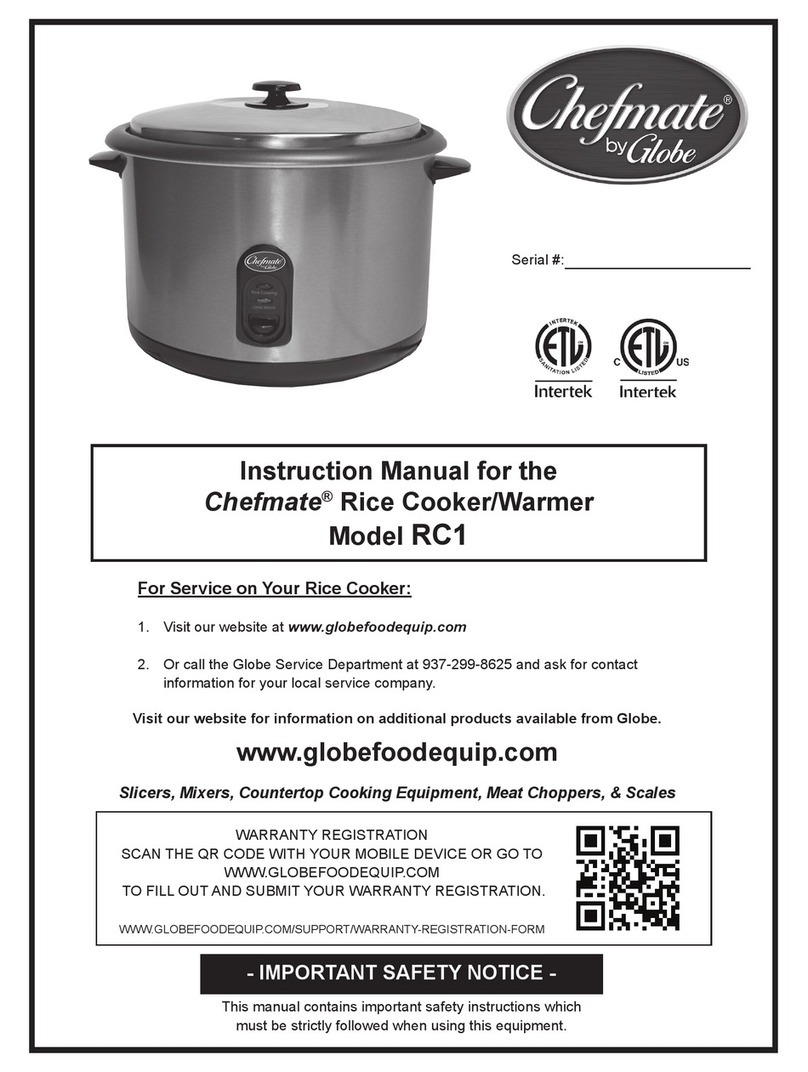
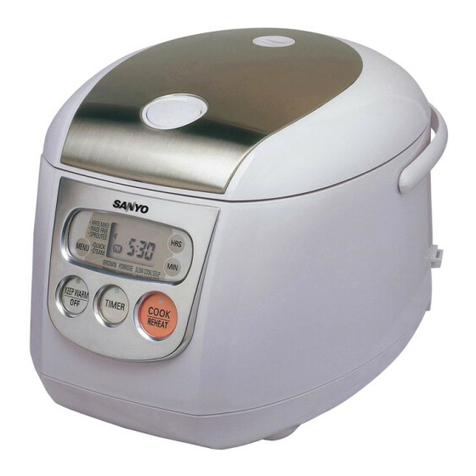
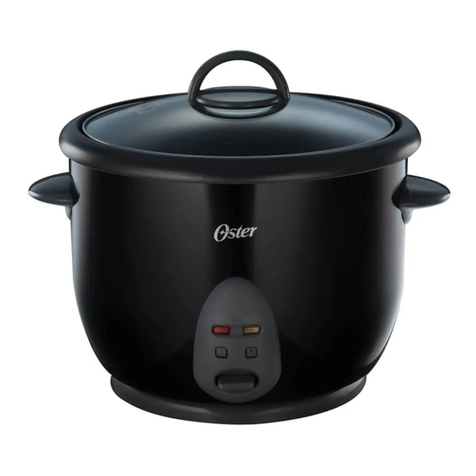
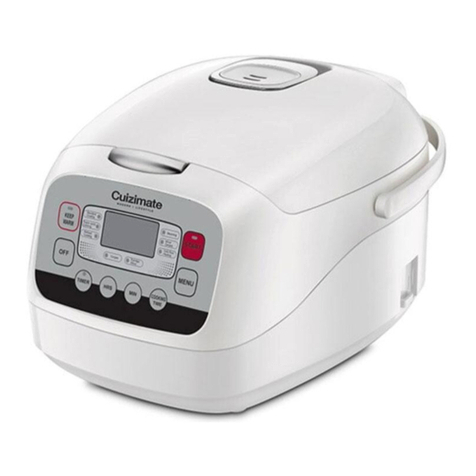
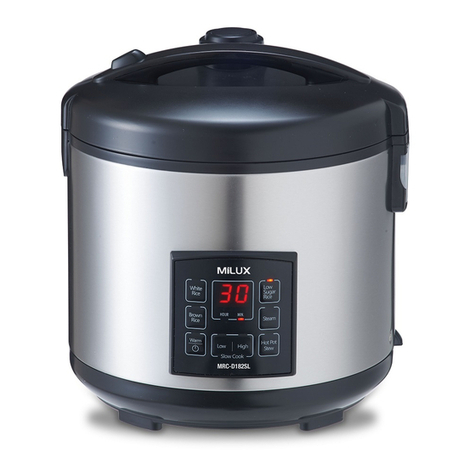
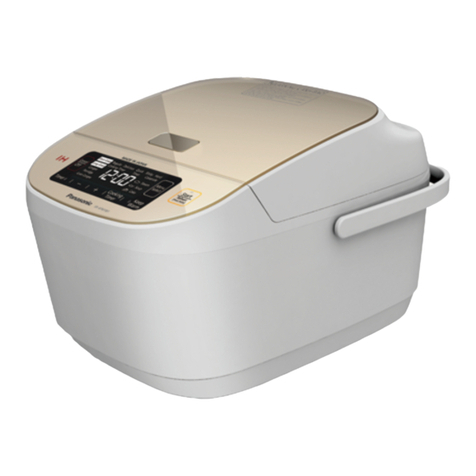
FELLER ENGINEERING RC 130 User manual


PRODUCT SPECIFICATION
ACCESSORIES
English
Before operating this unit, Please read the instruction manual
carefully.
This product is for household use only.
RCL 130 | RCL 140 | RCL 150
Model RCL 130RCL 140RCL 150
Retade Voltage 220 V ~ 50 Hz
Rated Power 700 W 800 W 900 W
Control Method Micro-computer
Weight 3.6 Kg 4.4 Kg 4.6 Kg
Inner Pot Capacity 1 L 1.5 L 1.8 L
Power Cord 1 m
Cup Capacity 1 ~ 6 2 ~ 10 2 ~ 12
Outer Dimension )mm( 374×276×235 253×294×398 272×294×398
Power CordSpatulaMeasuring Cup
Soup LadleSpatula
Holder
Steam Cooking
Container
1

2
COMPONENT
CONTROL PANEL
Outer Lid
Seal Ring
Aluminium Inner
Lid
Steam Vent
Handle
Spatula
Spatula Holder
Groove
To install and detach the spatula
holder, please follow the brief
illustration.
Inner Pot
Open Button
Control Panel
Main Body
21
2
1
"Start/Reheat"
Key
"Menu" Key
"Time" Key
"Minute" Key
"Keep Warm"
Key
"O" Key
"Pre-set" Key
"Hour" Key

3
Regular Small amountQuick Steam
Reheat SoupBrown Yogurt
LCD
1. When plug o, the LCD displays time.
2. Plug in, the LCD displays time and it acquiesced select regular function.
LCD color display status
1. When adjusting clock, LCD display yellow;
2. In waiting time, LCD display seven color cycling for 30s;
3. In per-set mode, LCD display blue;
4. In regular,quick, small amount, brown and steam function, LCD display red;
In reheat function, LCD display white; In soup function, LCD display purple;
In yogurt function, LCD display cyan;In keep warm mode, LCD display
green.
“Menu”key
1. Plug in, press”Menu“key to select various functions;
2. The functions circulate as follows:
“Start/Reheat”key
1. Plug in, select the desired function, then press”START/REHEAT“key to
enter corresponding working process.
2. When in waiting mode, press”START/REHEAT“key twice to enter
reheating function directly.
3. When time has been set, press this key, the cooker start to time, and the
LCD displays present time.

4
“Time”key
1.When selecting steam, yogurt and soup functions, you can press”TIME“key
to set the cooking time, the other functions can not set cooking time, the
LCD displays default cooking time.
2. Steam: the default cooking time is 15 minutes, the minimum time is 10
minutes, the maximum time is 1 hour.
3. Yogurt : the default cooking time is 3 hours, the minimum time is 3
hours, the maximum time is 6 hours.
4.Soup: the default cooking time is 1 hour, the minimum time is 30 minutes,
the maximum time is 4 hours.
5. During heating process, you can press”TIME“key to view the rest cooking
time, when release it, it will return to display present time.
“Pre-set”key
1. Only regular, quick, small amount, steam, soup and reheat functions can
choose ”PRE-SET“key, yogurt and brown function can not choose”PRE-
SET“key.
2. Setting time is end time.
3. When in steam, or soup function, you must press”Time“key to set the
cooking time, then press”PRE-SET“key to set the ending time of cooking.
“Hour”and“Minute”key
1. Adjust : when in waiting mode, press”HRS“or”MIN“key for more than 1
second, time on the LCD will ash, you press”HRS“and”MIN“key to adjust
present time. Time will be conrmed automatically if you do not press any
key for 5 seconds after setting the time.
2. Preset: after selecting Pre-set function, then press”HRS“key and”MIN“key
to set cooking nished time.
3. Time: after selecting Time function, then press”HRS“key and”MIN“key to
set cooking time.
“Keep warm”key
1. When in waiting mode, press this key to enter keep warm mode.
2.After all the functions complete, it will enter keep warm mode automatically.
The right of LCD displays keep warm, the middle displays keep warm time,
and it starts to time with 0h.
“O”key
When in function selection mode, working mode, or keep warm mode,
press this key to cancel all setting, and return to waiting mode.

5
ADJUST CLOCK
If the clock is not correct, please adjust it according to the following steps.
For example: to adjust the present time 9:40
1. When in waiting mode, press”HRS“or”MIN“key for more than1 second,
time on the LCD will ash.
2. Every time you press”HRS“key, it will increase one hour, and circulate
like this:
012 0123; Hold down the”HRS“key, hour value will
increase progressively until the number displays 9.
3. Every time you press”MIN“key, it will increase one minutes, and circulate
like this:
00010203 5900;Hold down the”MIN“key, minute value
will increase progressively until the number displays 40.
4. Not press any key, the time will be conrmed after 5 seconds ash, it
indicates that the clock has been adjusted.
Galanz micro-computer cubic rice cooker adopts the most advanced Fuzzy
Logic Control for optimum cooking. Supervise temperature and water level
automatically and heat by fuzzy logic control to make the rice taste soft
and tasty. This cooker combines multi-functions including regular, quick,
small amount, steam, yogurt, soup, brown, reheat and keep warm. It is an
easy and ideal appliance for modern kitchen.
Note:
1( You must adjust the time after you insert the plug, and in
the waiting mode.
2( After the time has been adjust, you can also press”START/
REHEAT“key to conrm.

6
OPERATION
1. Measure rice with measuring cup One
measuring cup is 0.18L)about 150g(.
Rinse rice with other container never use
inner pot avoid risk of damage of non-stick
coating or deformation.
2. Pour rice into inner pot, and add water to
appropriate scale on the inner side.
Adjust water level for your preference and
never exceed the maximum scale.
3. Clean and dry the inner pot, and then put
it back into the main body, gently turn it to
left and right to ensure its proper contact
with the heat plate. No foreign matter exists
between inner pot and heating plate.
Put rice in the inner pot evenly, not pile it up.
4. Install the aluminum lid and cover the
outer lid Make sure the aluminum lid is
closed. please click shut upper lid.
Make sure the upper lid is completely closed,
lest it aects cooking.
5. Correctly plug power cord to cooker outlet
and plug the other end.
Connect to power source, and the screen
displays the present time and it acquiesced
select regular function, enter waiting mode.

7
COOKING RICE
1. Press”MENU“key to select the desired cooking function,the LCD displays
corresponding function.
Regular: It is suitable for dierent amount of rice,
and all will have ideal eect. Large amount of rice
is recommend.
Quick: It is designed to meet speedy cooking
need. Small or medium amount of rice is
recommended.
Small amount: It is suitable for small
household use. Small amount of rice is
recommended.
The dierence of three cooking rice mode
2. Press ”START/REHEAT“ key to enter
corresponding working process, the left
of LCD displays heating symbol” “and
present time.

8
When entering into braise rice mode, the LCD display the nished time
and count down;
The braise rice time of various functions is as follow )just for reference(
3. When cooking process is nished, it will enter keep warm mode
automatically.
To prevent rice become lumpy, loosen the rice within 30 minutes.
4. After nishing, press”OFF“key to enter waiting mode, then unplug the
rice cooker to switch it off.
When stopping keep warm, you must press”OFF“key to let the cooker in
waiting mode, then remove the plug.
The table below shows the cooking time in each function )just for reference(
Function
Time
Regular
13-15 minutes
Quick
10 minutes
Small amount
13 minutes
Function Regular Quick Small amount
Time)minutes
40-50 30-40 30-40
Note: The actual cooking time may vary depending
on voltage, amount of water, amount of rice, room
temperature, water temperature, and types of rice.
SOUP/PORRIDGE
1. Preparation is done.
Add water to corresponding scale.
2. Connect to power source, press ”MENU“
key to select soup function.

9
3. Press TIME key to set the desired
cooking time, the default cooking time
of 1 hours is displayed.
Press the HRS and/or MIN buttons to set
the desired time. You can set any time
between 30 minutes and 4 hours .
4. Press START/REHEAT key to start the
soup cooking process.
5. When soup is nished, it will enter
keep warm mode automatically.
Note: when cooking soup, you can press”TIME“ and ”HRS“
”MIN“ key to adjust cooking time:
soup)30 minutes-4 hours(; the cooking time of soup is the
whole working time.
YOGURT
1. Pour warm milk and yogurt mixture
into the inner pot.
2. Connect to power source, press
”MENU“key to select yogurt function.
3. Press TIME key to set the desired
cooking time, the default cooking time
of 3 hours is displayed. Press the HRS
and/or MIN buttons to set the desired
time. You can set any time between 3
hours and 6 hours .
4. Press START/REHEAT key to start the
yogurt cooking process.
5. When the cooking process is nished,
press the open button to open the lid.
6. Press OFF key to enter waiting mode
or unplug the rice cooker to switch it o.

10
STEAM
BROWN
1. Preparation is done.
2. Connect to power source, press
”MENU“key to select steam function.
3. Press”START/REHEAT“key to enter
steam working process, the left of LCD
displays heating symbol ” “ and
present time.
Press ”TIME“ key during steaming
process, the LCD display the rest
working time. When release it, the LCD
return to displays present time.
4. When steaming is nished, it will
enter keep warm process automatically.
Note: You can press ”TIME“ and ”HRS“ ”MIN“ key to set the
desired steaming time, the default steaming time is 15
minutes, you can set any time between 10 minutes and
1 hour, every time you press ”MIN“ key, it will increase 1
minute. The steaming time is the whole working time.
1. Preparation is done.
2. Connect to power source, press”MENU“
key to select brown function.
3. Press ”START/REHEAT“ key to enter
brown working process, the left of
LCD displays heating symbol” “and
present time.
4. When buzzer sound, put vegetable
into inner pot and close the lid.

11
5. When the cooking process is nished it will enter keep warm mode
automatically.
Amount of rice
Model
Below or equal to 3 measuring cups RC 130
Below or equal to 4 measuring cups RC 140
Below or equal to 5 measuring cups RC 150
Note: when cooking soup, you can press”TIME“ and ”HRS“
”MIN“ key to adjust cooking time:
soup)30 minutes-4 hours(; the cooking time of soup is the
whole working time.
1. Before heating up, add some water onto the rice to make
the rice less dry.
2. Make sure the rice is loosened up. If lumpy, it may cause
rice burned or agglomerated.
3. After heating nished, loosen up the rice again to make it
less likely to harden.
4. If repeatedly use cold rice reheating, it may lead to rice
burned or stuck together.
5. If too much rice, heating may not be thoroughly.
Please check the following chart for reference.
REHEATING
1. Place cold rice in inner pot, and stir it up.
2.Connect to power source, press”MENU“
key to select reheat function.
3. Press ”START/REHEAT“ key to enter
reheating working process, the left side
of LCD displays heating symbol ” “,
and the middle displays minutes count
down.
4. When reheating process is nished,
the cooker will enter keep warm mode
automatically.

12
KEEP WARM
PRESET
Amount of rice
Model
Below or equal to 3 measuring cups RC 130
Below or equal to 4 measuring cups RC 140
Below or equal to 5 measuring cups RC 150
1. Preparation is done.
2. Connect to power source, press”KEEP
WARM“key to enter keep warm process,
the right side of LCD displays keep warm
word, the middle displays keep warm
time, and it will start to time with 0h.
Keep warm cautions:
1( To prevent rice become dry and lump, please loosen up
the rice and close the lid rmly.
2( Keep warm never exceed 12 hours, never keep warm the
cold rice longer time.
3( Please cut o the power when stopping keep warm.
About inner pot
1. To avoid damaging inner coating, using attached scoop rather than
other accessory.
2. Don't clean with vinegar lest corrosion
3. When long time using, some coating may fall o. And it is no harm for
your health and safe use.
Regular,quick,smallamount,steam,soup,re
heat functions can choose preset function,
you can use it to set the ending time of
cooking. Brown and yogurt functions can
not choose preset function.
The preset time is within 24 hours.
For example: to nish cooking at 11:30
)Quick cooking(
1. Preparation is done.
2. Connect to power source, press ”MENU“

13
key to select quick function.
3. Press”PRE-SET“key to set the nished time of
cooking.
”Pre-set“word on the right of LCD ash.
Function
The beginning of heating time
Regular minutes before the set nished time 60
Quick/small amount minutes before the set nished time 50
Steam/soup Before the set cooking time
The LCD display the default nished time of this function.
4. Press”HRS“”MIN“key to adjust nished time to 11:30.
”HRS“key in the unit of 1 hour, ”MIN“key in the unit of 1 minute increase.
5. Press ”START/REHEAT“key, the right side of LCD displays ”pre-set“word,
and the word switch from ash to light up, the LCD display present time.
The cooker start to time, and when timing to the set time, the LCD does
not display”pre-set“word, the cooker start to heat, enter into cooking
process of selected function.
You can press”PRE-SET“key to view the set preset time during timing
process, it will return to display present time after 5 seconds.
If the preset time is shorter than the required total cooking time of the
selected function, press ”START/REHEAT“key, the cooker start to heat
immediately.
DEALING WITH POWER CUT
Preset
Heating
Keep warm
Power o More than two hours Less than two hours
E5 error will occur,
press ”O“
key to enter waiting
mode, then
reset the time.
Continue to time if it does
not arrive at the set time
Start to cook immediately, if
it is over the set time.
Continue to cook
Continue to keep warm

14
Long time power o will aect cooking eect.
If the battery is out of power ,you should adjust the time after it is
electried.
1. Do not share with other electric
appliance with multi-socket.
2. Do not put the cooker in damp or
unsteady place.
Keep away from re or heat source.
3. Do not heat inner pot on fire directly.
4. Put cooker out of the reach of children
otherwise
may cause hazard by wrong operation.
5. Keep face and hand away from hot
steam outlet on upper lid lest scald.
6. Do not immerse cooker in water or
other liquid for safety consideration.
7. Do not cover steam outlet with cloth
lest upper lid deformation or color
change.
8. Power cord should not be subjected to
twisting
and knitting. When plug o, take hold of
plug instead of cord.
If the supply cord is damaged, please
replace it with specialized cord rather
than other cord.
9. Do not cook acid alkaline food or alike
substance lest corrode inner pot.
10. Avoid damaging inner coating ,use
attach accessory but do not put any other
accessories in the pot. Clean with damp
sponge or soft scouring pad with mild
detergent.
As a long time use ,interior coating may
fell a little , no harm for your health safe
for use.
WARNING

15
11. Turn o when not in use.
12. Whenever”E5“shown on the screen, press ”OFF“key
to be in waiting mode and then reset again.
Disassemble steam valve
)as illustrated of solid arrow(
1. Remove the steam valve
from outer lid.
2. Press steam valve seat
according to the direction
of arrow, turn the slip
buckle of the steam lid so
that the slip buckle turns on
the buckle.
3. Then open upwards the
steam valve seat to detach
the steam lid and valve seat.
4. Remove the steam seal
form groove and clean it.
Do not twist and pull.
Install steam valve )as
illustrated of hollow arrow(
1. Put the steam seal into
groove according to the
correct direction, do not twist.
2. The steam lid is installed
on the steam valve seat.
3. Press steam valve seat with hand, turn the slip
buckle to the buckling position with the other hand.
The steam lid is buckled until click sound.
4. Correctly insert valve into valve hole on the upper lid.
STEAM VALVE

16
1. Aluminum inner lid
1( Take apart: press the buckle with"1" arrow place, take down the lid
toward "2" arrow direction and clean it.
2( Mount: insert the "1" arrow direction of buckle into hole on the button
lid and press the "2" arrow direction of buckle.
2. Inner pot,steamer
Take out inner pot and steamer, wash it with clean water and detergent,
then dry it with soft cloth.
Forbid to wash inner pot with metal brush or through brush to prevent
damaging interior coating.
Grains of rice and other foreign matters may cling to the heat plate, wipe
them o with 320# sand paper and clean with soft dry cloth to make sure
that inner pot can adequately contact with heat plate.
CLEANING METHODS
REPLACEMENT OF BATTERY
Please install the battery rst before
using the cooker. If the cooker does
not connect to power, the LCD does
not display or display faintly, please
replace the battery. Please use two
1.5v 7 number battery, the method
of installation is as follow:
1. Unplug the cooker, take out
of the inner pot and steam valve,
reverse the cooker, and place it on
the desk with soft cloth on it.
2.Open the battery lid on the
bottom of body.
3. Install the new battery, and pay
attention to the polarity of the battery )+and -(.
4. Close the battery lid.

17
Caution: The battery used in the cooker may contain some
material that will cause pollution to environment. So please
take the battery out of the cooker rst before throwing
away, then dispose the waste battery safely. At the same
time, if you do not use the cooker for a long time, you must
take the battery out of the cooker.
CLEAN AND MAINTENANCE
Unplug from outlet and allow to cool before cleaning.
Must clean the cooker with the home washing detergent when nished
cooking.
If not , it can emanate peculiar smell.
Outer lid,inner side
After cooking, wipe with wet cloth
Aluminum inner lid
Take down and wash
Part of water storage
Sometimes, water may collect
here, wipe o
Heating plate
Temperature sensor
If rice cling to these places, may
aect the rice cooking, wipe it with
320# sand paper and soft dry cloth

18
MALFUNCTION AND SOLUTION
Don't repair cooker by yourself. If any problem, please send it to after Sele
Service center of Feller.
Malfunction Cause Solution
Plate doesn't
heat up
1. Circuit power disconnect
2. Circuit board failure
3. Circuit board conductor broke
4. Main circuit board failure
1. Check switch, socket, fuse,
power conductor no failure,
plug in place
2. Send to after Sele Service
center of Feller
Plate heat up Main circuit board failure Send to after Sele Service
center of Feller
Plate doesn't
heat up
1. Main temperature control
failure
2. Heating plate components
burned up
3. Circuit conductor partly bro-
ken
4. Circuit board failure
Send to after Sele Service
center of Feller
Rice not done
well or cooking
time too long
1. Keeping warm time is not
long enough
2. Heat plate deformation
3. Inner pot title to one side
4. Foreign matter between heat
plate and inner pot.
5. Inner pot deformation
6. Main circuit board failure
Main
7. temperature control ab
normal
1. Keep warm according to
requirement
2. Clean with sand paper
serious after Sele Service
center of Feller
3. Turn inner pot to make it
normal
4. Wipe clean with 320# sand
paper
5. Send to after Sele Service
center of Feller to exchange
inner pot
6. Send to after Sele Service
center of Feller
7. Send to after Sele Service
center of Feller
Rice burned or can
not keep warm
automatically
1. Main temperature control
abnormal
2. Main circuit board failure
Rice cooking do not ar-
rive
at boiling point for a
long
time
1. Main circuit board failure
2. Upper lid temperature control
abnormal
Indicator failure Indicator work

20
This manual suits for next models
2
Table of contents
Languages:
