Fencing SmartBox SmartBox User manual

Features and Benefits
General
Follows FIE regulations and timings
Powered by six standard AA batteries
Batteries can be changed in seconds without any tools
Rechargeable batteries may be used
Ultra bright and efficient LED’s
Four line LCD display
Diagnostic tests for all electric equipment
Robust ABS box with polymer cover
Foil
Only registers hits of at least 14ms
Registering of non-valid hits is optional
Locks out successive hits after 300ms from initial hit
Compensates for micro-breaks (<0.2ms) during hit detection
Constant off target stops sounding after 3 signals
Training mode shows duration of hit and whether a hit
would register as a valid touch
Épée
Indicates guard short on either wire
Diagnostic function for testing guard connections
Ignores hits to opponents guard and tip
Does not register hits of less than 2ms of contact
Locks out successive hits after 40ms from first hit
Automatic scoring (optional)
Sabre
Does not register hits under 0.1ms
Locks out successive hits after 120ms from initial hit
Annuls “whip-over” hits
White lights indicate faults (can be disabled)
Can test lamé for dead spots using opponents blade
Scoring is unaffected by players ‘blocking’. See FAQ F2.
Armourer
Real-time graphical display of resistance
Displays all three wires in spools/bodywires/ground wires.
Counts the number of breaks to detect intermittent faults
Tests an épée for guard shorts and wire breaks
Shows resistance and breaks for both foils and sabres
Tests all types of body wire including the lame cable


PLEASE NOTE
There are buttons either side of the screen. Throughout this guide they will be referred to as
LB (left button) and RB (right button). The sockets along the top of the SmartBox are split in
to two sets. They are referred to as either the left player’s or right player’s connection. Each
player’s connection is made of 3 separate sockets. They are referred to as S1 to S6 with S1
being the left most socket.
Contents
1. Weapon Selection............................................................................................................................3
2. Match Screen................................................................................................................................... 4
3. Options Screen.................................................................................................................................5
5. Armourer Mode............................................................................................................................... 7
6. Armoury Guide.................................................................................................................................8
7. Frequently Asked Questions............................................................................................................ 9
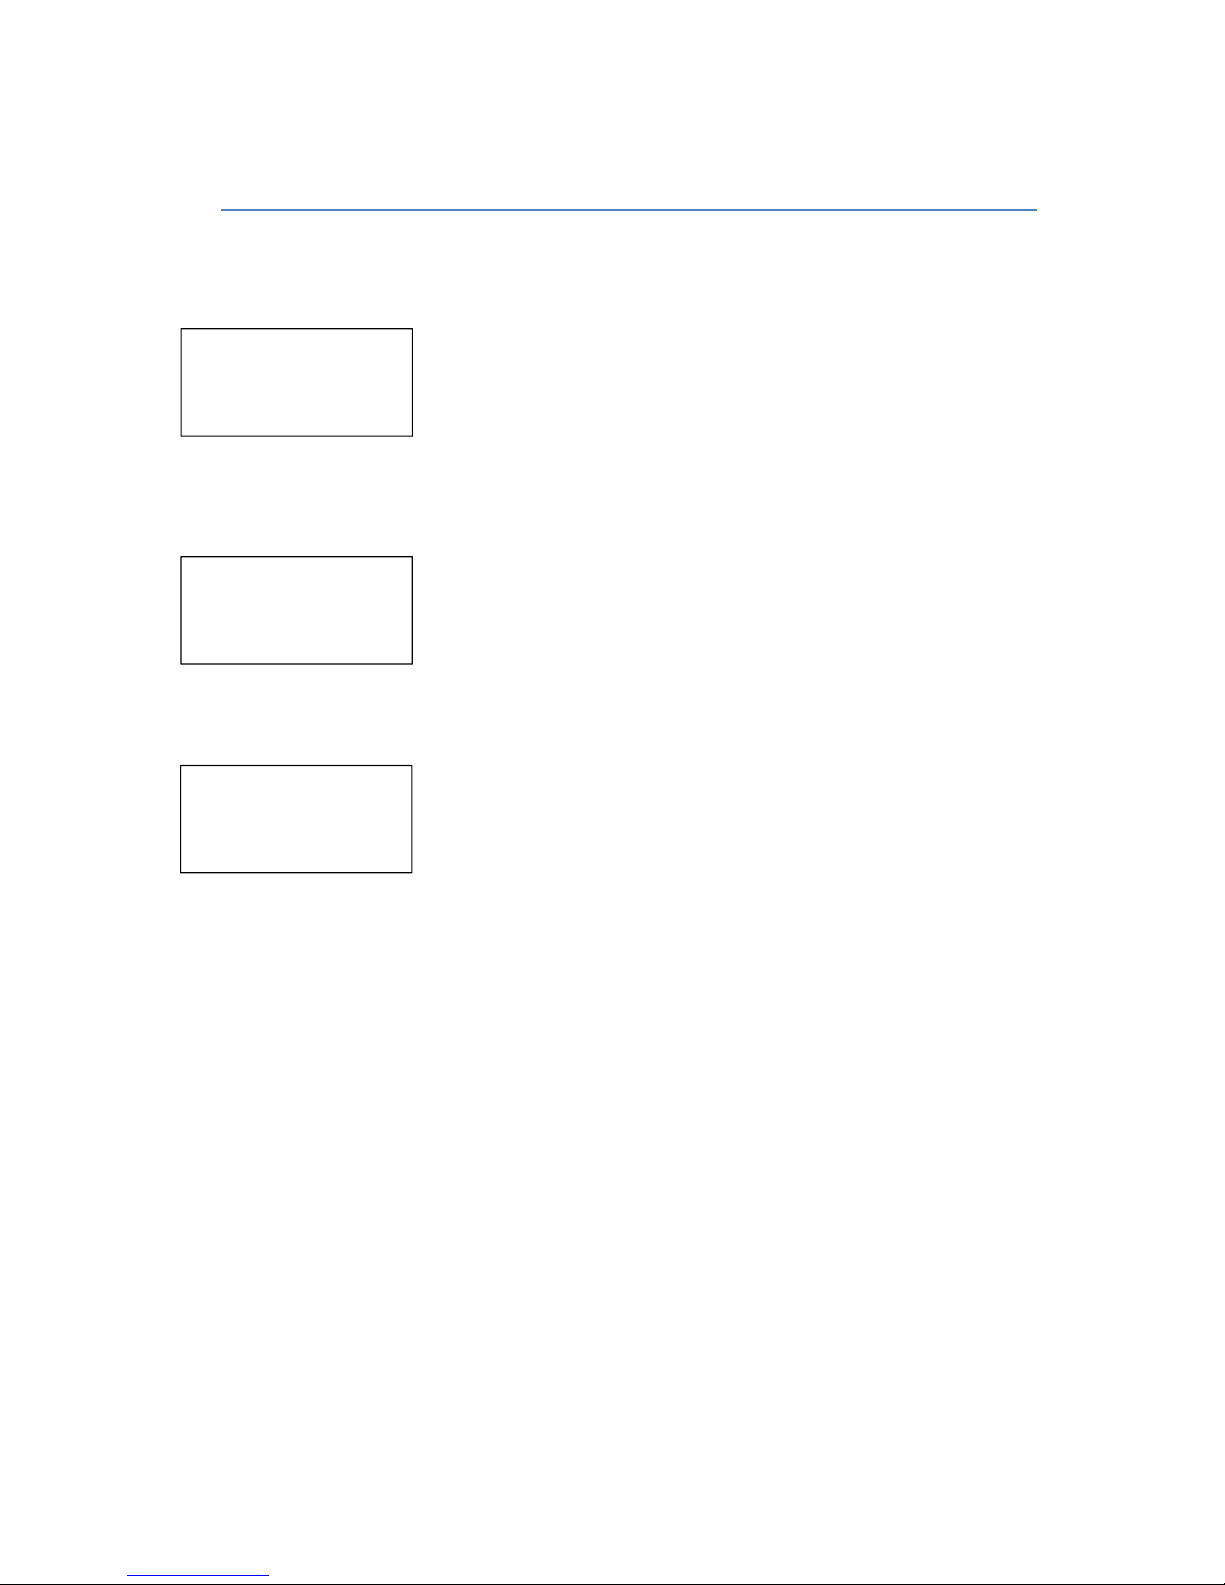
Foil
<<<CHANGE>>>
Test weapons
to start
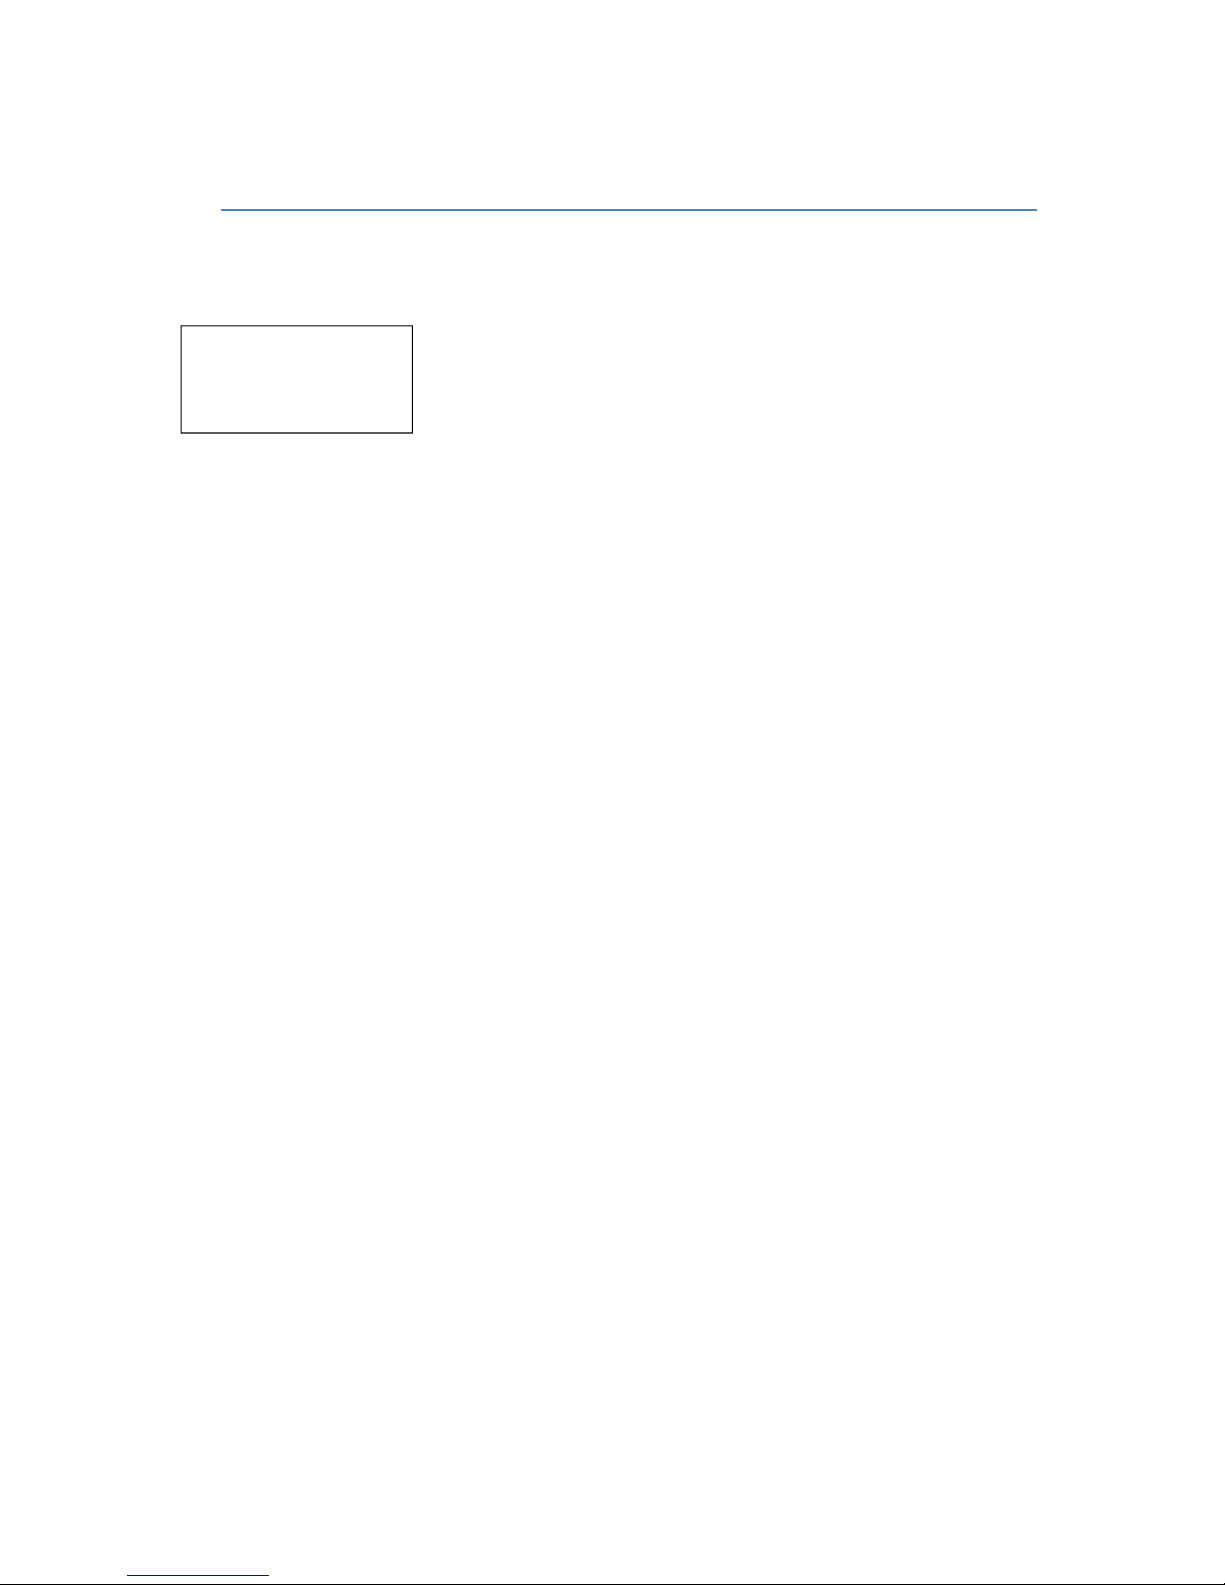
Foil Practice
<<<CHANGE>>>
Test weapons
to start
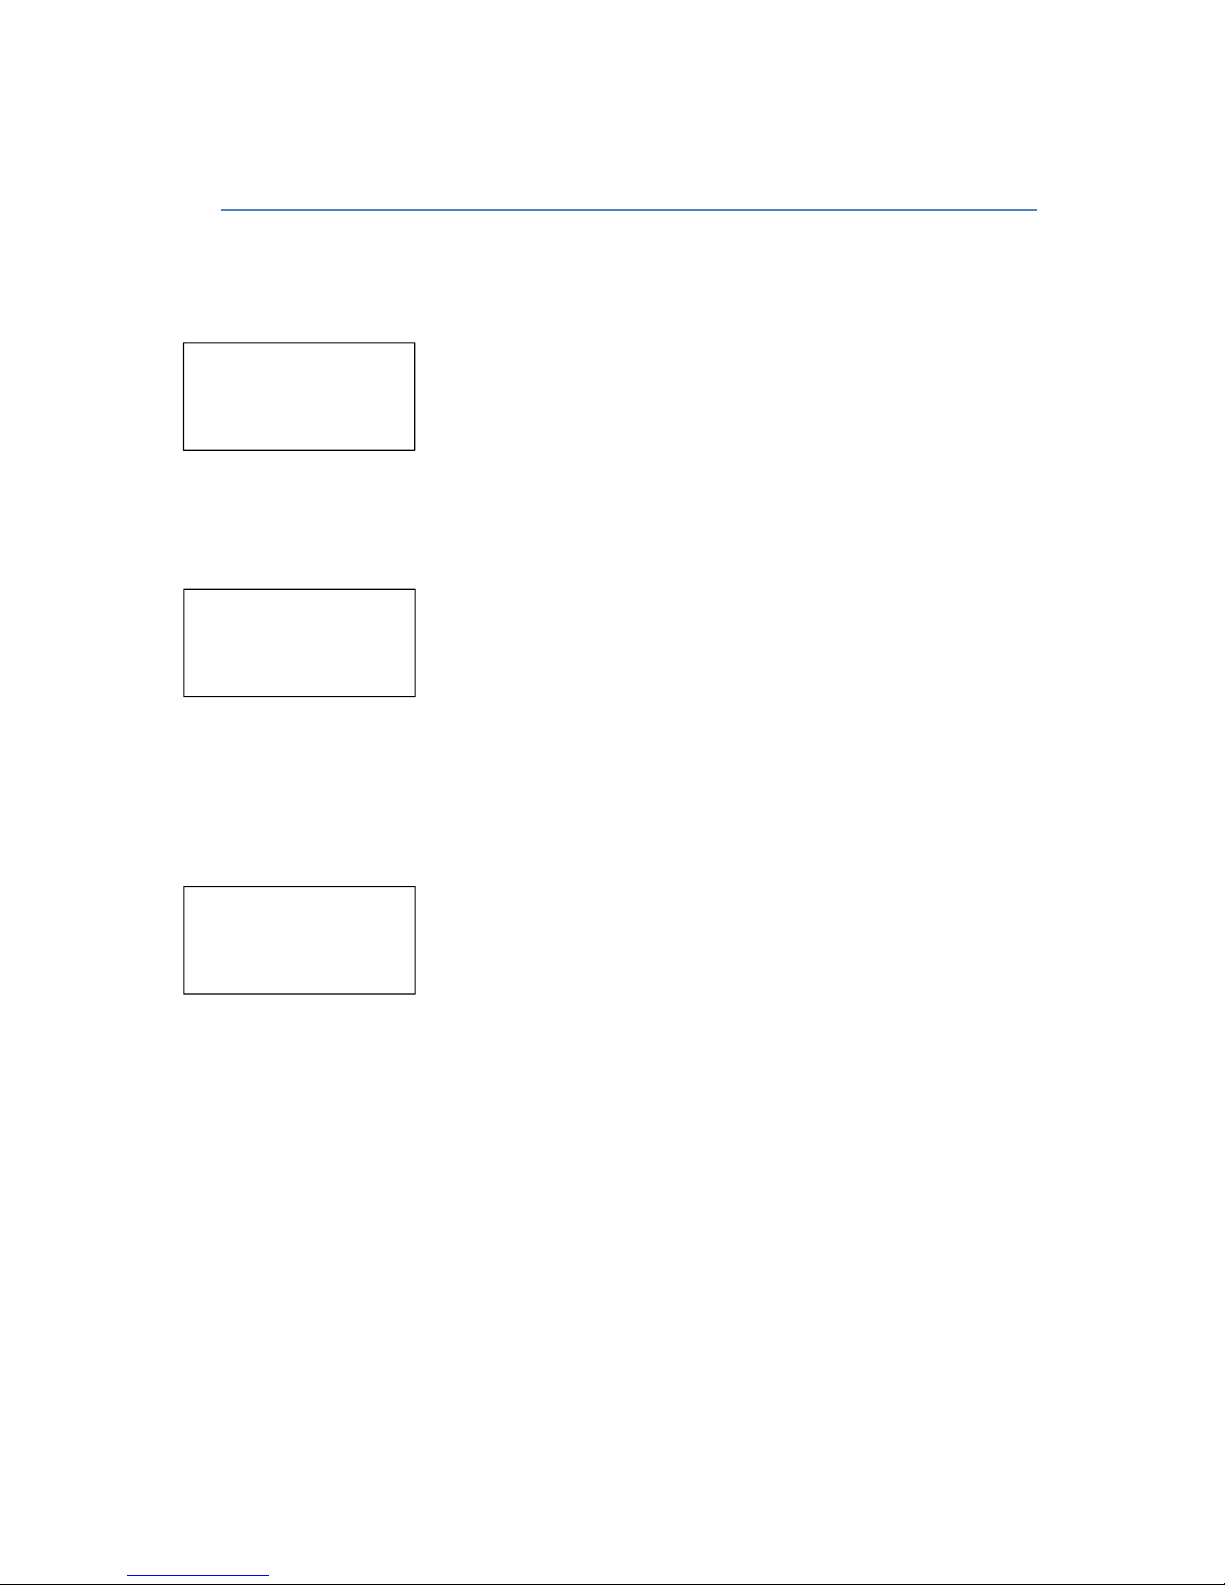
Armourer
<<<CHANGE>>>
Connect inner
pins together
1. Weapon Selection
Previous mode <<< LB RB >>> Next mode
This menu screen allows you to change the mode. You can select
sabre, épée, foil, foil practice or armourer. To start a match
simply select the desired weapon and test both players’ weapons
are working. The SmartBox will beep twice to indicate the match
has started.
ÉPÉE /SABRE/FOIL: Only registers hits for that weapon.
FOIL PRACTICE: Plug a foil via a bodywire in to either player’s
connection. When the foil tip is pushed it will display the break in
milliseconds (ms). Any hit over 13ms will trigger a green light and
a long beep. Anything below that will trigger a red light and short
beep to show that the hit duration would not be sufficient to
register a touch in a match.
ARMOURER: Enabled when S3 is connected to S4. This can be
achieved by connecting a wire (such as a ground wire or épée
bodywire) between both sides. A foil/sabre bodywire can also be
used by plugging it in to the left player’s side and then touching
the lamé clip to S4.

Foil
Score: 5 - 12
<<<Menu -Pts>>>
2. Match Screen
<<< LB - Open Menu Screen Enable scoring / minus point - RB >>>
Once the match has started the chosen weapon will be shown at
the top of the screen. To change to another weapon simply turn
the SmartBox off and on again.
Pressing LB opens the options menu. Pressing RB enables
automatic scoring which will be shown underneath the weapon
type. In épée, double hits will add one point to both scores.
However, in foil and sabre only a single coloured light on the box
will award a point; therefore if both players hit simultaneously,
whether on or off target, it will not affect either score (see Scoring
FAQs).
In this event, to add a point to a player they must hit the other
player’s lame with their weapon to get a single light on the
SmartBox.
To deduct a point from either player press RB, the bottom line of
the screen will now display <<< Left Right>>>. Press either LB or
RB to deduct a point from the relevant player.
>Diagnostic
Reset Scores
Change Option
Return to match
3. Options Screen
<<< LB - Next option Select option - RB >>>
Each row displays a different menu option. The cursor (> symbol)
on the left indicates the currently selected option. Press LB until
the cursor is next to the option you want to select then press RB
to activate it.
Diagnostic: Displays the diagnostic screen
Reset Scores: Sets scores to zero and returns to match screen
Change Option: This option is different for each weapon
Sabre: Change lockout time (120ms/170ms)
Épée: No option
Foil: Change Off Target setting – Club, FIE, Off
The ‘FIE’ setting will only register a hit once the resistance
of a player’s foil circuit goes above 200 ohms. If a player is
registering random off target hits then the sensitivity can
be set to ‘Club’, this changes the resistance setting to 250
ohms. Changing the setting to ‘Off’ means that off target
hits simply do not register at all.
Return to match: Returns to match without making any changes
4. During Match Diagnostic
<<< LB - Back to Match Open Lamé test (Foil/Sabre) - RB >>>
Foil/Sabre: Displays the resistance for each player’s circuit in
blocks of 10 ohms. High resistance (more than 2 or 3 blocks)
indicates there could be a fault. Likewise, if the resistance changes
by several blocks when a piece of equipment is moved (foil tip,
spool, bodywire etc.) this indicates a fault with that item. A white
light on either side indicates a complete break in that players
circuit such as when the foil tip is pushed.
Lamé option: Players can test their opponent’s lamé by running
the foil tip over the surface of the lamé. The green light will
indicate a good connection and a red light will indicate resistance
high enough to prevent a valid touch being awarded. If no light
comes on then it means that there is no connection through the
lamé. Either player may test their opponent’s lamé but they
cannot be tested at the same time.
Epee: When both players guards/weapons are connected
together as though parrying it will form a circuit. The green light
will be shown if the entire circuit resistance is lower than 100
ohms. If the green LED does not come on it means that one of the
player’s guards is not properly connected. If this test shows a
green light but hits to the guard are still being registered, it is
most likely dirt or rust on either the tip or the guard.
Left :#
Right:####
# = 10 ohms
<<<Back Lamé>>>
Lame Test
72 ohms
<500 = GOOD
<<<Back
Touch guards or
blades,green LED
shows if working
<<<Back

5. Armourer Mode
<<< LB - Previous option Next option - RB >>>
Foil/Sabre BdyW: When there is a break in the circuit the white
light is illuminated, otherwise the resistance is shown graphically
on the top line. When the circuit is remade it gives you the length,
in milliseconds, of the break. This is useful for detecting small
intermittent breaks in a foil or bodywire. To test the lame wire,
contact the crocodile clip to the foil guard or blade; the green
light will illuminate when there is a connection.
Pressing RB again will open the lame test screen. The resistance
between S3 and S4 is displayed in blocks of 50 ohms. When a
connection is made between the sockets a green light indicates
the resistance is below the FIE limit of 500 ohms and a red light
indicates the resistance is above this limit. If dedicated leads are
not available simply plug in two bodywires, clip one to the lame
and use the other lame clip to probe the lame surface. When a
Epee (weapon): When the tip of a connected epee is pressed the
resistance will be shown in blocks of 10 ohms. If there is a guard
short it will display which wire (or both) is shorting. If pressing the
epee tip does not register, press the tip against S4 (or the pin of a
connected bodywire). If nothing happens then there is no
connection from either wire, otherwise the resistance of each
wire is displayed on separate lines.
Spool/Grnd Wire: This displays the resistance between the three
sockets on the left to the three sockets on the right in 10 ohm
blocks. On the bottom line it counts the numbers of breaks in
each connection. The breaks total can be reset to zero by pressing
RB. This can be used to test bodywires, ground wires and spools.
Intermittent faults can be located by moving the cables/spools
and checking the number of breaks.
>Foil/Sabre BdyW
Epee (weapon)
Spool/Grnd Wire
Back to Menu

6. Armoury Guide
Foil
1. Weight Test
Connect the foil to either side so the connection arrow is displayed. Pushing the tip
will break the circuit and the arrow will disappear. Use the weight to push the tip
down, when you release the weight the spring should have enough force to lift the
tip which is indicated by the arrow reappearing in the corner of the screen. For a
more accurate test use the “Foil/Sabre/BdyWr” test to see the change in resistance.
2. Intermittent Off Target
For a resistance reading select the “Foil/Sabre/BdyWr” option in armourer mode.
Move the foil parts to see what causes an increase in resistance, a complete break
will be shown by a white light. It can also be worth checking with the foil practice
mode. Nothing should trigger a break except pressing the foil tip. Try moving the
blade, barrel, tip, and socket to determine what triggers a break.
3. Nothing happens on hit
Select the “Foil/Sabre/BdyWr” option in armourer mode. Disconnect the tip
completely by removing the grub screws. If the white light is not shown then there is
a short along the blade somewhere. Check along the length of the blade, flexing as
you go to check for any visible sign of contact between the wire and blade. Next
loosen the handle and check it is not pinching the wire. Retighten the handle. Try
pushing the plastic cup inside the barrel with something non-conductive. If this
affects the resistance or causes a white light then the wire is broken or has not been
pulled through fully.

7. Frequently Asked Questions
Scoring
1. How do you enable automatic scoring?
After the match has started it will say Score>>> on the bottom right of the screen.
Pressing RB will enable scoring from then onwards. Pressing RB will now deduct a
point once the player is selected. (see Q3 below).
2. How do you disable automatic scoring?
In Epee mode press LB to open the menu screen and press RB until ‘Disable Scores’ is
selected. Press RB and the scores will no longer be displayed. For foil and sabre press
LB to bring up the match menu, press LB to select ‘Reset Match’ then press RB to
reset the match.
3. How do you remove points from the scores?
Simply press RB during a match. This will then show left and right at the bottom of
the screen. Select the player you wish to deduct the point from. (I.e. LB removes a
point from the left player)
4. In foil and sabre how can you award a point if both players hit, resulting in two lights?
Wait until the lights have gone out and then instruct the player who has been
awarded a point to score on the opponent’s lamé with their weapon, this single light
will automatically add a point to their score.

Sabre Mode
1. What do the white lights mean?
A white light will illuminate when there is a break in one of the two wires going to
the sabre. The side the light is on indicates which player has the equipment fault. If
both lights are on then there are faults with both players equipment.
2. When in the weapon selection menu, what do the arrows in the top corners mean?
These arrows indicate when a player is connected. Both arrows should be shown
when the players are connected. If a player is connected but the arrow on their side
is not shown then there is a fault on their side.
Epee Mode
1. What do the arrows in the top corners mean?
The arrow will point to the player with a guard short. If you have a guard short then
you will be unable to score if there is any contact between both players épées i.e.
when your opponent parries you cannot score. Use the épée armoury test to
determine which wire is making contact with the guard.
Table of contents
Popular Accessories manuals by other brands


Playmate
Playmate Remote Pad quick start guide

SAGEMCOM
SAGEMCOM Fast PLUG 500 premium Quick installation guide

Vega
Vega VEGAPULS 61 Quick setup guide
 Specification sheet")
Panasonic
Panasonic MA4X726 (MA726) Specification sheet

AGT
AGT PSG BCR01 Installation Manual, Operating Manual, Maintenance Manual, Spare Part List

T&D
T&D RTR-500MBS-A Getting started guide