FIBRO F-16 User manual

WINTERIZING
A F-16 MODEL
FIBRO POOL
Sand or glass system
It is important to follow these instructions to ensure the pool’s proper functioning and
durability.
Basic rule: NEVER EMPTY YOUR POOL without the manufacturer's authorization,
because of the possible water pressure under the pool. If not, the warranty will no longer
be in effect.
The water level in the draining well must be checked before reducing the water level in
the pool. The draining well must always be at least 2 feet (66 cm) lower than the water
level in the pool. It is important to consider in the calculations the decrease in the pool's
water level (5 inches (13cm) below the opening of the skimmer) for the closing as
illustrated below. There must always be more water in the pool than in the groundwater;
this principle is valid for concrete or vinyl swimming pools.
Important: Should the forecast predict heavy rain, it is important to check the water level
level in your draining well before, during and after. The water level in your well should be
lower than the one in your pool. If necessary, empty out the well using a submersive pump.
It is normal for the pool's water to be high. Best be too high than too low.
draining well 5" pcs (13 cm)
Necessary items:
•Mop
•Vaccuum cleaner that blows and sucks air (Shop Vac)
Kit
or compressor
•Winterizing kit (supplied at the time of purchase)
•8 litres of biodegradable antifreeze
Fall net
•Right-handed screwdriver
•Leaf net (needed to facilitate the pool's opening.
Without this net, the leaves settle to the bottom and may
stain the swimming pool).
Winter tarp
Make sure the water chemistry is balanced: before closing the swimming pool, it is
important to balance the water to avoid the appearance of stains and tartar.
•Vacuum the pool
•Purchase a chemical winterizing kit

WINTERIZING A F-16 MODEL
FIBRO POOL
Steps:
1. Important: Check the draining well before emptying the pool. (img.1)
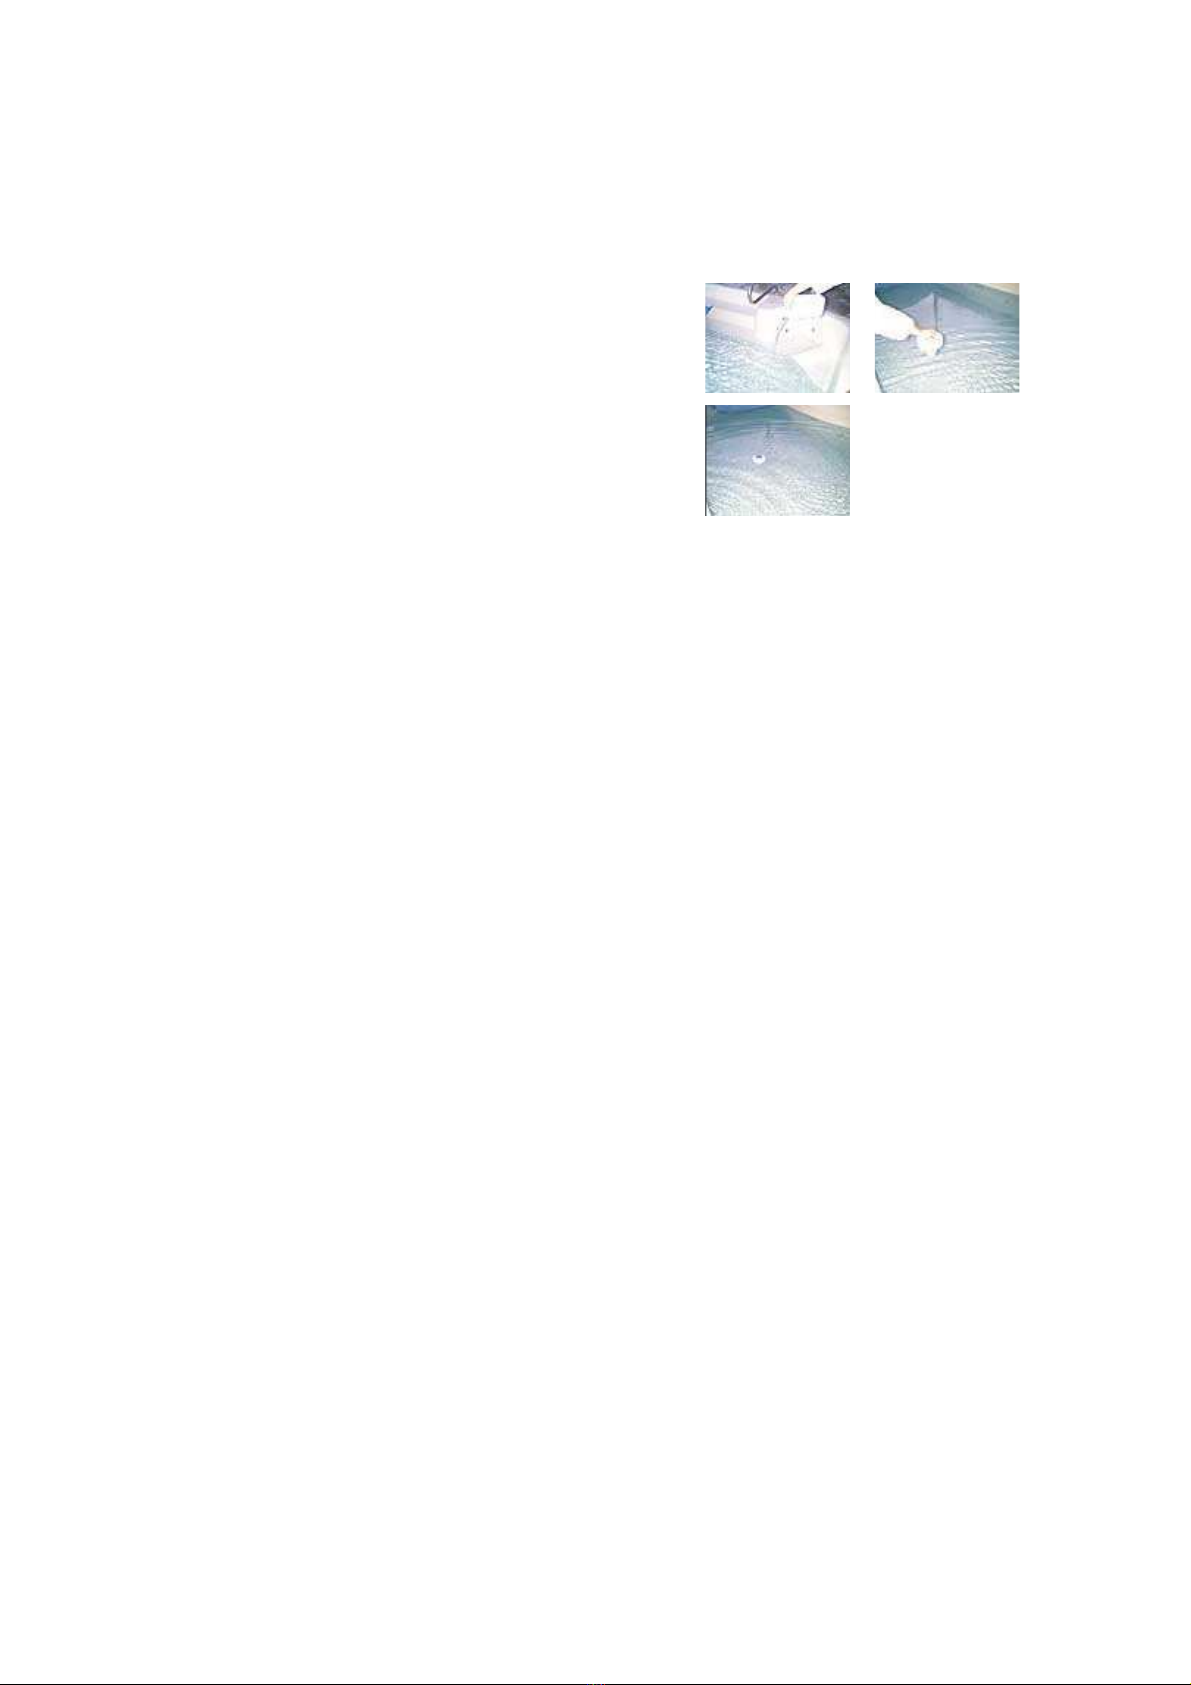
2. Reduce the water level to 5 inches (13 centimetres) below the skimmers
opening (img.2). The pool's water level should be below the return jets (img.3).
3. In order to do so, place the level (img.4/red) of the skimmer's valve (img.5) to
the horizontal position (img.4/black) and turn the white lid above the valve's top
vent (img.4/blue).
4. Connect the backwash hose to the filtration system and lay it out toward the
street to prevent the water from returning to the pool (img.6).
5. Place the valve of the pump's lever in Waste position (img.7). The F-16 has
two suctions and two thrusts. Make sure that the suction valve (at the pump level)
is indeed in "Pool" mode.
6. Let the garden hose slightly flow into the skimmer (img.8). This step prevents
the pump from drying up when the water level is lower than the skimmer's
opening.
7. Temporarily drain the spa area. In order to do this, put the suction valve's lever
(at the pump level (img.9)) in "Spa" mode. Remove the rest of the water from the
spa area with a "Shop Vac" or with a bucket.
8. Once the pool's water level has been lowered, disconnect the
electrical supply from the pump.

9. Empty your filter's tank by unscrewing the plug at its base (img.10). Then, remove the
sight-glass and its "gasket" (img.11) at the top of the filter (img.12) as well as the
gauge (img.13)
** For those with a permanent backwash pipe. To empty the pipe, put the lever at the
top of the filter in the Closed position (img.14), then blow air from the opening of the
sight-glass (img.15).
9.1. Put the lever at the top of the filter in the Winter position (img.16). Then, cover
the top of the filter to protect it against winter weather (img.17).
10. Remove the 2 drain plugs from the bottom of the pump (img.18-19).
11. Detach the suction pump (img.20) and the filtration system's return lines (img,21).
12. Remove the valve from the skimmer by unscrewing the 2 screws (img.22/purple).
13. With your jet tools, unscrew the pool's return jets (img.23-24), as well as the spa
jets.
14. Shut the air controls (img.25) on the side of the pool, if necessary.
15. With a Shop-Vac or air compressor, blow air into both plumbing lines from the
filter system to the pool (img.26).
15.1. Start with the pool area. Place the air relief valve's lever to the "Pool" position
and blow air until all the water is purged from the 3 return jets located inside the pool
and from the single return jet inside the spa. (Please note, if applicable, you must
drain the water from all accessories at this point (waterfall, solar system, heater). All
valves connected to each of your options must be opened in order for the purging
process to take place).
15.2. Then, drain the spa section. Put the air relief valve's lever to the "Spa"
position (img.27) and blow air until the water no longer flows through the 5 jets
located inside the spa section.

16. Once all the water has been purged, the return lines can be capped (img.28) with
threaded plugs or expandable rubber plugs (img.29) depending on your pool's type
of jets. Then, reopen the air controls (img.30) on the edge of the pool, pour in 4 litres
of antifreeze and shut the air controls.
17. Before purging the suction lines, place a temporary 2" threaded plug in the
skimmer (img.31). You must place the plug in the hole that is closest to the pool
(img.32), this opening is connected to the bottom drain (img.33). This procedure
prevents gravity from causing the water to return to the skimmer, thus avoiding
draining the bottom of the skimmer.
18. Suck and blow air from the front of the pump to empty the lines of both
suctions.
18.1. A) Start with the swimming pool area. Place the suction valve to the "Pool"
Position (img.34). Blow and suck the air until the water no longer passes through the
mouth of the skimmer (img.35). With a mop, dry the remaining water from the
suction opening of the skimmer (img.36). Finish this step by pouring 4 litre of
antifreeze into the skimmer (img.37).
18.1. B) Screw the Gizzmo (type of green bottle) with the expandable teflon (img.38)
in the suction opening of the skimmer (the hole that ties furthest from the pool
(img.39)) and NOT the opening from the bottom drain (img.40 /blue).
18.2. A) Then, suck the water out of the spa area. Place the suction valve (img.41)
to the "Spa" position. Blow air until the water no longer passes through both side drains
in the spa area.
18.2. B) Unscrew the grids from both side drains in the spa area and insert two
waterproof plugs. Afterwards, fill the spa no more than two inches below the
jets. (img.42)
Table of contents


