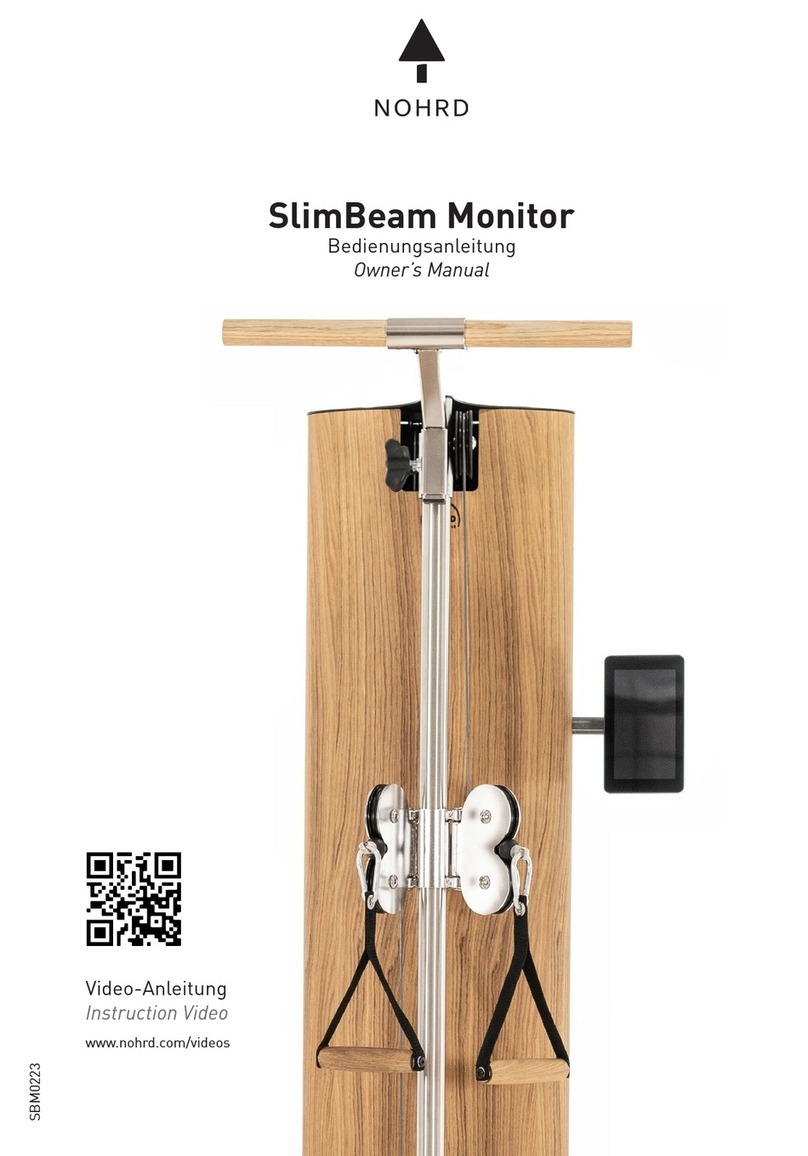
FIELDPOWER Multi Combi User manual

User’s Manual
Art.Nr. 2936101

1

2
Your FieldPower
The FieldPower will bring your training and rehabilitation program to the next level!
This manual will help you understand how to use the FieldPower, the do’s and the dont’s. If you have
any questions, please mail us at team@fieldpower-training.com.
Below you can personalize your FieldPower, which can also be used for reference if you need
assistance.
Serial number FieldPower:
(you can find the serialno. On the bottom of the FieldPower container).
Your Name:
Date of purchase:

3
Table of content
Page 2 Your FieldPower
Page 3 Table of content
Page 4 Content of your FieldPower
Page 5 FieldPower Models
Page 6, 7 Safety Instructions
FieldPower assembly
Page 8 …using the FieldPower foot
Page 9 …connecting to a wall
Page 9 …connecting to a pole
Page 10 FieldPower Container overview
Page 10 Multi (Free block with hook) setting options
Page 11 External setting options
Setting the resistance
Page 12 …by moving towards or away from the FieldPower
Page 13 …by using the double cord setting
Page 14 …using the cleats
FieldPower attachment assessories
Page 15,16 FieldPower Vest
Page 16 360 Belt
Page 17 Upper leg straps
Page 18 Palm Straps
Page 18 Ankle Straps
Page 19 FieldPower positioning
Page 20 General Training guide
Page 21 Cord Maintanance
Page 22 Training with the FieldPower
Page 23, 24, 25 Ideas for exercises

4
Content of your FieldPower
Choose the product you purchased and check if all parts are present.
FieldPower Container (Multi, Force, or XL
model), 1 x 107cm Tube with 1 x 8mm ring and
1 x 32mm ring , 1 x Socket bolt 8mm, and 1 x
Rubber Cap.
FieldPower Foot
FieldPower Assessories
•1 x FieldPower Vest M
•1 x Hip Flexor Set
•1 x Palm Strap Set
•1 x Ankle Strap Set
•1 x 360 belt M

5
FieldPower Models
FieldPower Multi Combi
•1 x FieldPower Tower with 2 standard cords with 11 meter
max. reach. Both cords offer 1,5kg to 7kg resistance, and
have a Multi connector (an extra block with hook that can
be reconnected at different fixation points on or apart
from the FieldPower)
•1 x 78cm diameter Foot
•Assessory kit
FieldPower Multi XL Combi
•1 x FieldPower Tower with 2 standard cords with 21 meter
max. reach. Both cords offer 1,5kg to 7kg resistance, and
have a Multi connector (an extra block with hook that can
be reconnected at different fixation points on or apart
from the FieldPower)
•1 x 78cm diameter Foot
•Assessory kit
FieldPower Multi Force Combi
•1 x FieldPower Tower with 1 standard and 1 heavy cord
with 11 meter max. reach. 1 standard cord offer 1,5kg to
7kg resistance, and has a Multi connector (an extra block
with hook that can be reconnected at different fixation
points on or apart from the FieldPower)
•1 x 78cm diameter Foot
•Assessory kit
NOTE: the FieldPower Multi Force is frequently used in pairs. In
this case, place the unit with the heavy cord right on the left side,
and the unit with the heavy cord left on the right side.

6
Safety instructions
General safety
Maintain the equipment in good working condition. If there are signs of wear, contact your supplier.
Specifically a) check the cords, they should not be damaged, and they should always run free over
the pulleys without any rubbing against other parts or the cord itself, b) check the assessories, they
should not be damaged, the stitches and webbing should all be in good condition, c) the container
should be securely connected to a firm fixation point and d) the FieldPower foot should be
completely filled with water or sand.
Do not attempt to service the equipment yourself other than the maintenance instructions found in
the manual, or instructed by the producer.
Close supervision by qualified personnel is necessary when the equipment is used at all time.
Before starting any exercise you are advised to read the whole manual thoroughly and get to know
the equipment’s controls. These instructions were written to ensure your safety and to protect the
unit.
Use the equipment only for its intended use as described in the user manual. Only perform the
exercises for which the equipment has been designed, following the instructions given in the manual.
Any other use is to be considered improper and therefore dangerous.
Do not stand in the line of the cords or near the FieldPower during use.
Keep hands away from moving parts.
Make sure the force direction is never directed to or near the head.
Do not use attachments or other products not recommended in this manual.
At the beginning of each exercise, make sure you are in the correct position,and the cords can run
freely during the whole exercise.
Do not allow children unsupervised access to the equipment; parents and guardians must assume
responsibility for the children in their care and avoid the occurrence of situations or usage for which
the equipment was not designed. Children must be closely supervised when using the equipment,
with careful attention paid to their mental and physical development. The equipment must under no
circumstances be adapted or used as a toy.
Health check
You should always consult with a qualified and licensed medical professional or healthcare
practitioner before starting any exercise program. You are advised to investigate and inform yourself
about any health related actions and choices you make.

7
Choose suitable exercises for your physical characteristics and state of health, starting out with light
loads.
Do not overexert yourself or work to exhaustion. If you feel any pain or abnormal symptoms, stop
your workout immediately and consult your physician.
Incorrect or excessive exercise may cause physical harm.
Wear proper exercise clothing and shoes during a workout, no loose clothing. Tie long hair back.
Keep garments or towels away from moving parts
Surrounding check
Make sure the training area is safe to work on.
Assemble and operate the equipment on a solid, level surface
During use people must remain at a safe distance.
Do not use the equipment in presence of small children or pets.
Warning !
FieldPower Training and Rehabilitation International B.V. will be held responsible for its equipment
only if the following precautions are observed:
. the equipment must be used as specified;
. the User manual must be read thoroughly throughout;
. the place of installation must meet the requirements stated in the User manual;
. the maintenance must be done by FieldPower Training and Rehabilitation International B.V. , or
personell authorized by FieldPower Training and Rehabilitation International B.V.
. suitable clothing must be worn;
. towels and other items must not be put on the equipment.
. FieldPower Training and Rehabilitation International B.V. is not responsible for any damages due to
any failures or damage caused by unauthorized service, misuse, accident, negligence, improper
assembly or installation, debris resulting from any construction activities in the product's
environment, rust or corrosion as a result of the product's location, alterations or modifications
without FieldPower Training and Rehabilitation International B.V. ‘s written authorization or for
failure on your part to use, operate and maintain the products as set out in this User Manual.

8
FieldPower assembly
…using the FieldPower foot
Foot bottom side Foot top side Foot + tube Tower + Foot
1. Unscrew the bushing bolt with the 8mm hole ring and 32mm hole ring from the 107 cm long
tube.
2. Put the foot on her side and slide the tube in the foot
3. Screw the socket bolt with the 8mm ring into the bottom side of the tube (use hex key
number 6) until it is securely fixated, and raise the foot upright
4. Push the 32mm ring down from the top side until it supports on the foot
5. Fill the foot completely with water or sand (it can take about 55 liters) and place the water
cap
6. Slide the FieldPower onto the tube with the first exit pulleys on the bottom side
7. Screw the rubber cap onto the top side of the tube
•Never stand on top of the foot !
•For moving, lift the foot by placing your hands in the insert on the front side, and tilt the
foot until it rolls on its wheels.

9
…connecting to a wall
1. Fixate 2 handrail brackets with 33 mm hole onto the wall. Find the distance you need by
measuring the total length of the inner tube in the FieldPower container (should be at least
930 mm).
2. Take the 107cm long tube and screw the rubber cap onto it.
3. Place and hold the FieldPower between the 2 brackets, and insert the tube.
…connecting to a pole
Find a pole that is firmly fixated and connect the FieldPower tot he pole using the 2 strap bands (see
pictures below). Make sure the pole cannot break, move, or fall over at any time.

10
FieldPower container overview
The FieldPower has 6 or 8 saddles: 2 or 4 on the
lower end, 2 in the middle, and 2 on the upper
side.
On the top, the cords exit through the cam
cleats, that can be used to change the cord
resistance.
On the front, the cords exit through the fixated
exit blocks, then run through the free (middle)
blocks with hook, and have an exit hook on the
end.
NOTE: the heavy cords do not have a free block.
Multi (Free block with hook) setting options
The Multi blocks (only available with light-middle resistance cords) offer the possibility to redirect the
force, and to double the resistance.
•Setting a –Free block with hook connected to the middle saddles, exit hook connected to
vest or belt.
•Setting b –Free block with hook connected to the upper saddles, exit hook connected to vest
or belt.
•Setting c –Exit hook connected to the middle saddle, free block with hook connected to vest
or belt. See also ‘double resistance setting’.
•NOTE: do not use the lower saddles !

11
External setting options
Setting d - connect the free block with
hook to an external fixated point for
overhead exercises.
Setting e –connect the exit hook to an
external fixated point for 3D exercises.

12
Setting the resistance
…by moving towards or away from the FieldPower
The core of the FieldPower is a long elastic cord. When moving away from the FieldPower, the cord is
stretched, and the resistance increases.
For the FieldPower Multi and Force models, the maximal extension is 11 meters. For the XL model
the maximal extension is 21 meters.
Note: the cords can be stretched further than the maximal extensions as mentioned, yet further
extension than adviced in this manual will increase the wear of the cord, and lower the durability.
Over- extensions may also damage the internal of the cord.
FieldPower Multi / Force
FieldPower XL
Maximal extension of
cords when the hooks
are connected to middle
or upper saddle.
External fixation point
If an external fixated
point for hook
connection is used, then
subtract the distance
between exit hook and
connection point from
the maximal extension.
So if 3 meters away, then
the maximal extension
for the Multi is 8 meter.
Double resistance / 3D
For double and 3D
settings, use half of the
maximal extension
mentioned.
Important ! if you use the upper saddles, it is crucial to have the foot filled completely with water
and not to exceed the distances as mentioned above, otherwise the tower could fall over !

13
…by using the double cord setting
Double cord setting
The Exit hook is connected to the
middle saddle or an external fixated
point, and the free block with hook is
connected to the vest or belt (see
‘setting c’on page …).
For double settings, use half of the
maximal extension mentioned. For
example, if the cord is not on the cleat,
the maximal extension is 5,5 meter for
the Multi or Force, and 10,5 meter for
the XL model, if the cord is 1 meter
extended at the cleat, the maximal
extension is 4,5 meter for the Multi or
Force, and 9,5 meter for the XL model.
3D setting
The Exit hook is connected to an
external fixated point, and the free
block with hook is connected to the
vest or belt (see ‘setting e’on page …).
For the 3D setting, use half of the
maximal extension mentioned,
including the loss of extension for
distance to fixation point.
For example, if the cord is not on the
cleat and the distance from the exit
block to the external fixation point is 3
meter, the maximal extension is 4
meter for the Multi or Force, and 9
meter for the XL model

14
…using the cleats
On the top side of the FieldPower, the
cords exit through the cam cleats, that
can be used to change the cord
resistance.
1. Pull the cord out of the cleat by
pulling the cord to the front and
upward. The cord wil now jump
out of the cleat.
2. Pull to cord up to increase
resistance, or release the cord
down to decrease resistance.
•NOTES: pull or release in
a way that the cord rubs
onto the cleat or other
material as few as
possible. Never pull the
cord up while in the cleat!
•Do not release the cord
by slipping it through
your hands, as it can
cause burns on the
hands.
3. Pull the cord back onto the cam
cleat while pulling up slightly.
The cords on the Multi or Force model
have lines 1 meter separated from each
other for reference.
NOTE: we strongly advice to use the cleat resistance change only for exercises close tot he
FieldPower (up to 2 meter), such as vertical jumps near the FieldPower.,
During exercises further away from the FieldPower, do not increase the resistance using the cleats,
but by standing closer or further away from the FieldPower.

15
FieldPower attachment assessories
FieldPower Vest
A Medium size vest is included with the FieldPower Combi. Other sizes available are Small, Large and
Extra Large.
Side Rear Front
There are 16 different connection rings:
1. Low side left & right
2. Mid side left & right
3. High side left & right
4. 180 free ring
5. Low back
6. Mid back
7. High back center
8. High back left & right
9. Mid front left & right
10. High front left & right
Never have the cord close to
or aimed at the head!

16
Connect the heavy cord or double standard cord only
on connection rings number 1, 2 (low & mid side) and
only if the force is aimed to the side, or to connection
ring number 5 (low back) if the force is aimed to the
back.
For forward moves with high resistance, use the 360
belt instead.
Connect the single standard cord to rings number 1, 2,
3, 4, 5, 6, 7.
Use rings number 8, 9 and 10 only for suspension
activities!
When using more cords on the vest: connect each cord to another ring.
360 Belt
There are 3 sizes, Small, Medium, and Large.
The FieldPower combi comes with a medium
360 Belt.
Pull the 360 belt opening over your head until
the waist.

17
Upper leg straps
The upper leg straps can be used in connection with the Vest.
1. Step into the opening with the low hook on the rear side and the triangle pointing upwards.
NOTE: the opening should not be tight around the leg.
2. Connect the upper hook to the low side ring on the Vest.
3. Adjust the height as such that the lower webbing is positioned just above the knee.

18
Palm Straps
Insert the hand into the palm strap opening like in the pictures. The thumb is inserted in one
opening, the other fingers in the other opening. Never have the cord aimed in the direction of
the head!
Ankle straps
Insert the webbing through the ring and fasten with the velcro.

19
FieldPower Positioning
All models can be used as stand alone or as a pair.
Single FieldPower use by one or two people simultaneously.
If you use 2 FieldPowers for 1 person, you can perform vertical jumps with perfect vertical resistance
when standing between both FieldPowers. Also, you have more resistance possibilities, and you can
perform activities like skippings, jumps, the snatch or scissors jump with simultaneous arm action,
with 4 connection points, for example to waist and hands.
In this case, place the fieldpower feet approximately 1,2 meter apart from each other.
Symmetric resistance on waist and hands using 2 FieldPowers (left), place the heavy (black) cords on
the inside when using 2 Force FieldPowers.
This manual suits for next models
2
Table of contents
