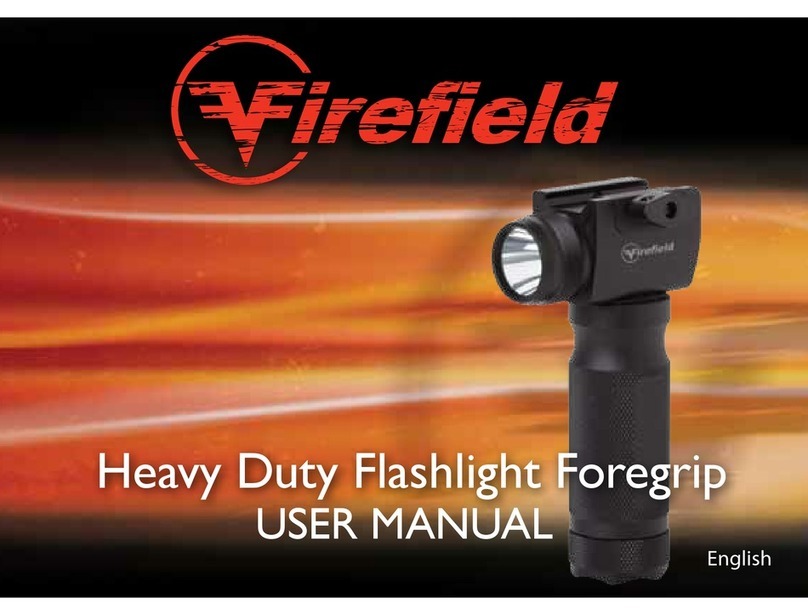
Firefield RIVAL XL FOREGRIP FF35010K User manual

RIVAL XL FOREGRIP
FLASHLIGHT AND LASER COMBO
FF35010K FF35011K
USER MANUAL
(Red Laser) (Green Laser)

www.re-eld.com
Engineered for high intensity, fast-paced situations, from shooting sports to
tactical training simulations to home defense, Fireeld products are designed
for the next generation shooter and serious gun enthusiast. Our goal is to
provide optimal solutions for demanding tactical, hunting and competitive
training situations.
Fireeld products are tested for durability in extreme terrain and extreme
climates. Consisting of shooting accessories compatible with extreme
shooting guns, AR-15s, tactical carbines, air guns, shotguns and pistols, the
Fireeld product line includes: riescopes, red dot sights, reex sights, laser
sights, magniers, bore sights, night vision, digital night vision, ashlights,
spotting scopes, rails and mounts.
Delivering high quality and exceptional durability to every intense moment,
Fireeld is the key to victory. Transform fear to power, panic to excitement
and chaos to glory with Fireeld units.
*www.re-eld.com*
© Sellmark Corporation, all rights reserved
1
ABOUT
• Compact and lightweight
• Ergonomic switch activation
• 5mW green laser
• Windage and elevation adjustable
• Quick target acquisition
• 600 yards visibility at night
• Up to 50 yards visibility in daylight
Fireeld’s newest Foregrip-and-Flashlight combination is the perfect addition
to any M-LOK styled AR rail. The foregrip is compact, lightweight and features
durable composite and metal construction with a matte-black nish. The
integrated 5mW red laser/ashlight emits powerful illumination with 300-
yard nighttime visibility. The laser also delivers 20-yard daytime visibility. The
Rival XL Foregrip Flashlight Red Laser Combination is a valuable accessory
for short-range shooters and hunters alike in any lighting conditions.

3
Technical
Specications FF35010K FF35011K
Hand stop length (in/mm) 1.58/40 1.58/40
Hand stop width (in/mm) 0.50/12.7 .50/12.7
Hand stop height (in/mm) 1.16/29.4 1.16/29.4
Spacer length (in/mm) 1.58/40 1.58/40
Spacer width (in/mm) 0.50/12.7 0.50/12.7
Spacer height (in/mm) 0.32/8.2 .32/8.2
Angled grip length (in/mm) 3.64/93.5 3.64/93.5
Angled grip width (in/mm) 0.50/12.7 0.50/12.7
Angled grip height (in/mm) 2.0/52 2.0/52
Weight, oz. 2.4 2.4
Laser wavelength 532
Laser Type Red Green
Laser Power < 5
Flashlight Type LED LED
Flashlight Brightness (Lumens) 600/550 600/550
Dimensions (in/mm) 4.33/.98/1.77
110/28/45
4.33/.98/1.77
110/28/45
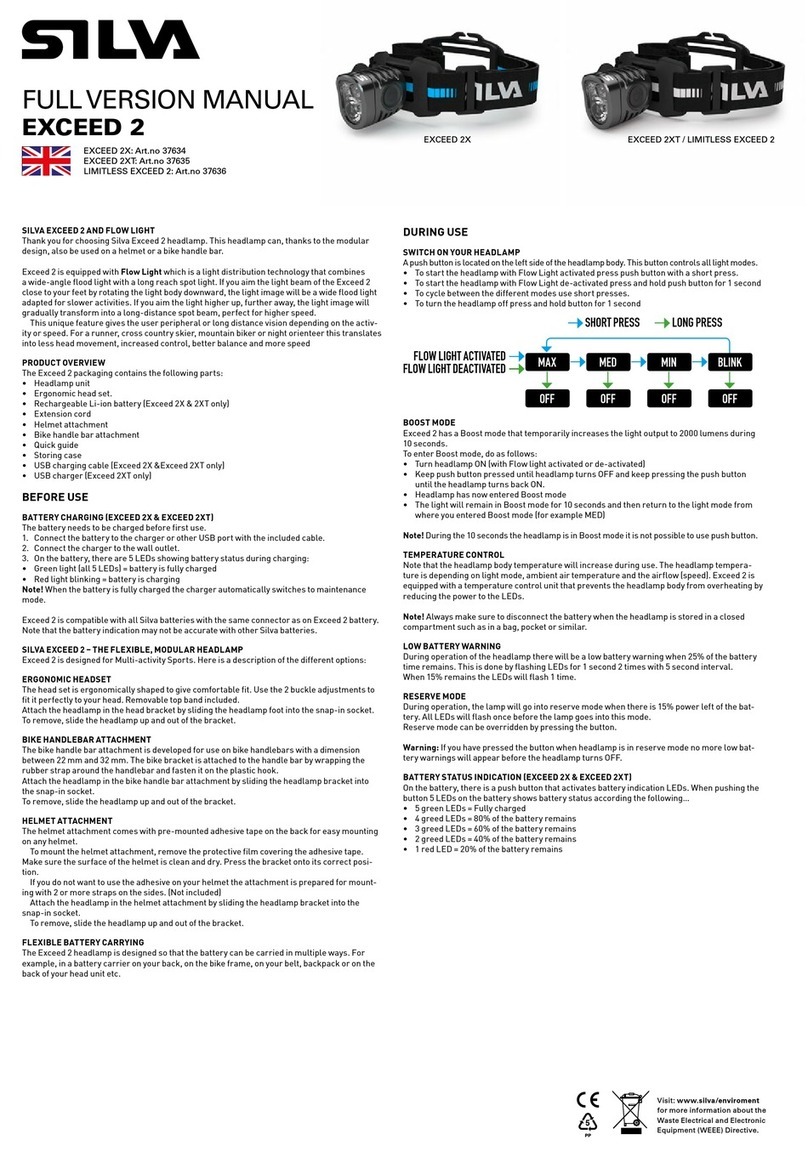
TECHNICAL SPECIFICATIONS DIAGRAM
1. Laser apertures
2. Elevation/Windage adjustments
3. Flashlight aperture/ battery cap
4. Power/ light brightness button
5. Laser/ light mode Select button
6. Mounting bolts/ nuts
7. Spacer section
8. Hand stop section
9. Angled grip section
2
2
1
4
3
5
7
6
8
9

4
INSTALLING THE BATTERY
5
The lasers and lights are powered by one CR123A battery. Should
the laser or light grow dim or not activate, the battery needs to be
replaced. To install a new battery:
1. Unscrew the battery cap (3) counterclockwise.
2. Remove the battery.
3. Insert a CR123A batteries positive (+) side rst.
4. Turn clockwise to close. Do not over tighten.
TO MOUNT
1. Loosen the mount by rotating the bolt (6) counterclockwise.
2. Attach the mount to the bottom half of your rearm’s M-LOK rail by
aligning the M-LOK nut (6) in to one of the M-LOK slots.
3. Tighten the bolt clockwise. Determine if the foregrip position is
comfortable and that the rearm feels balanced. If not, remove the
foregrip, reposition and repeat steps 1 to 3.
4. Finally, use the hex key to tighten the mount bolt until it is securely
attached to the rearm. Do not over tighten.
ON OFF OPERATION
The light is controlled using the buttons (4) for the light
1. Push the button down.
2. A click should be heard, and the light will activate.
3. Press again to cycle through high brightness, low brightness, and
strobe mode for the light.
4. Hold the button down to shut off the unit
(Arrange into your preferred layout)
ZEROING THE LASER
Zeroing and test ring should be performed safely on a ring range.
Laser boresights are a quick and accurate method to sighting in all
weapon sights. If the rearm’s optical sight is already zeroed, the
laser can be zeroed by aligning the laser dot to the crosshair’s center.
Adjustments to the laser dot are made by operating the windage and
elevation adjustments.
The laser is controlled using the button (5)
1. Push the button down.
2. A click should be heard, and the laser will activate.
4. Hold the button down to shut off the unit.

6 7
WARNING
Before handling the laser sight, read and understand the contents of
your rearm’s manual, and the Fireeld BattleTek laser/ lights manual.
Follow all standard safety precautions and procedures during rearm
operation, even when the laser sight is not in use.
• NEVER point the laser sight directly at, or into, an eye. This may
cause damage to the eye, or blindness.
• Avoid looking directly into the laser.
• Avoid shining the laser into mirrors or other reective surfaces.
• ALWAYS check the chamber of your weapon is clear before mounting
or dismounting the laser sight.
• The laser sight should be tested during periods of non-use to make
sure it is still operating properly.
FAILURE to follow standard rearm safety precautions and procedures,
as well as the above warnings, is dangerous and may result in serious
injury, damage to property, or death.
CAUTION-USE OF CONTROLS OR ADJUSTMENT OR PERFOR-
MANCE OF PROCEDURES OTHER THAN THOSE SPECIFIED
HEREIN MAY RESULTS IN HAZARDOUS RADIATION EXPOSURE.
OPERATING WINDAGE AND
ELEVATION ADJUSTMENTS
In order to make windage and elevation adjustments:
1. Locate the windage and elevation adjustments (2).
2. Rotate the windage and elevation adjustments to move the alignment
of the laser dot using the provided hex key.
MAINTENANCE
Proper maintenance of the Fireeld lasers and lights is recommended
to ensure longevity. It is recommended to remove the battery to ensure
the laser will not activate during maintenance procedures. When the
sight becomes dirty it should be wiped down with a dry or slightly
damp cloth. To clean off dirt, debris, or oils from the laser’s aperture,
rst make sure the laser is deactivated. Apply denatured alcohol to the
cotton swab rst and using small circular motions clean the laser’s lens
with the cotton swab. Allow the alcohol to evaporate. Afterward, use
your breath to fog the lens. Immediately afterward use a new cotton
swab to clean the lens again to remove any residue. No further mainte-
nance is required.
180
DANGER
Laser Radiation
Avoid direct
eye exposure
Class IIIa Laser Product

8 9
TROUBLESHOOTING
Proper authorization is required before shipping any product back to
Fireeld. Failure to obtain authorization could result in your product
being returned to the wrong address, lost, or damaged. Fireeld is not
liable for products returned without authorization.
1. The unit does not turn on - Try replacing the battery. Also check
the battery polarity and follow the manual’s instruction for correct
installation.
2. The unit is not holding zero - Check the mount is securely attached
to the rearm. Also verify the laser sight is mounted securely in the
mount. If there is any shifting, retighten the mounting system
according to the mounting instructions, but do not over tighten.
3. The unit turns off while ring - Tighten the battery cap so the cap is
fully seated.
4. The laser dot is blurry – Blow off any dust or debris from the lens on
the laser aperture. Next, clean any oils on the lens of the laser
aperture with a small cotton swab and denatured alcohol.
See maintenance section in this manual.
FIREFIELD WARRANTY
Please visit www.re-eld.com for warranty details and information.
NOTES

www.re-eld.com
This manual suits for next models
1
Table of contents
Other Firefield Flashlight manuals
