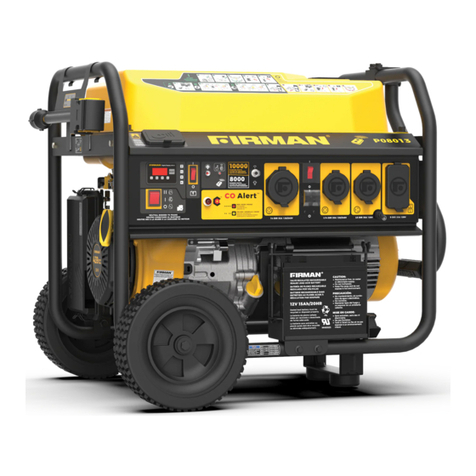
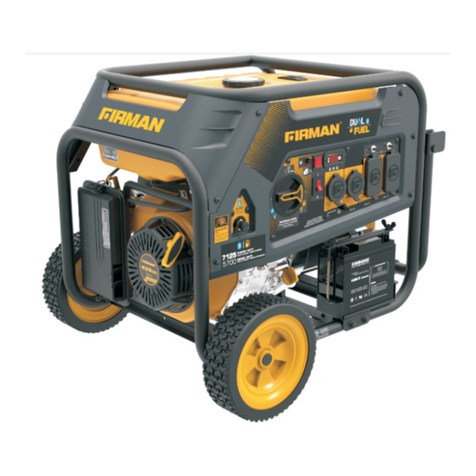
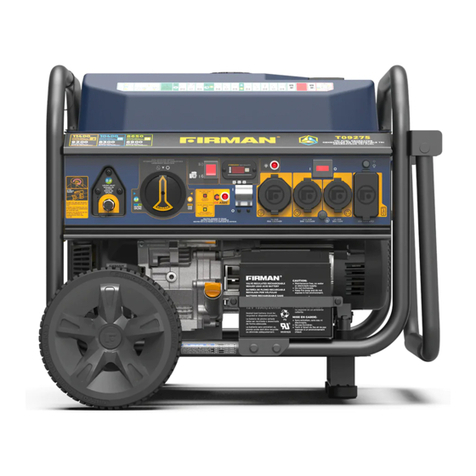
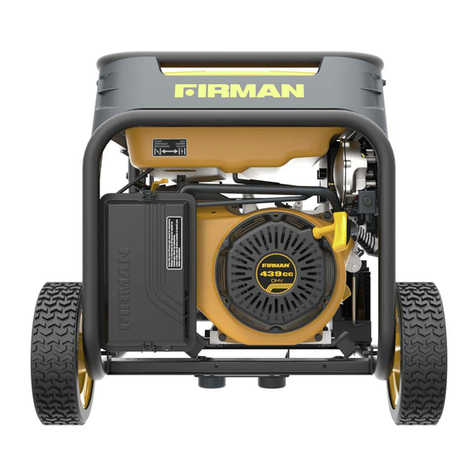
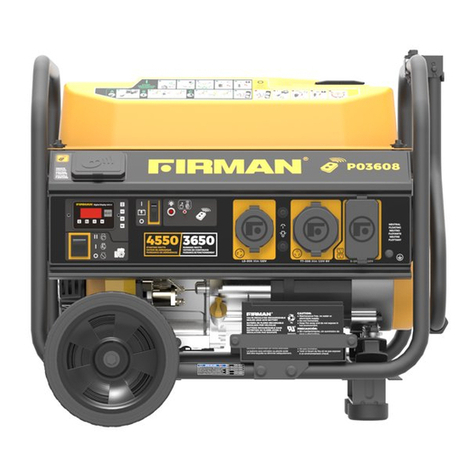
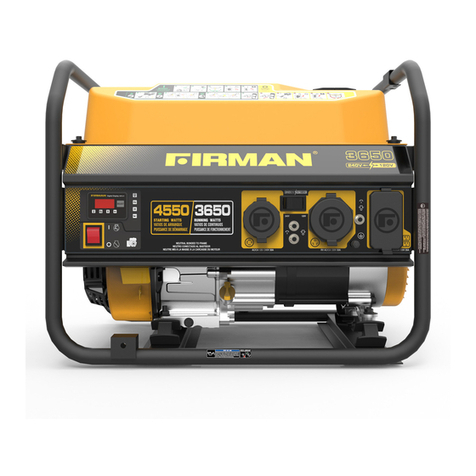
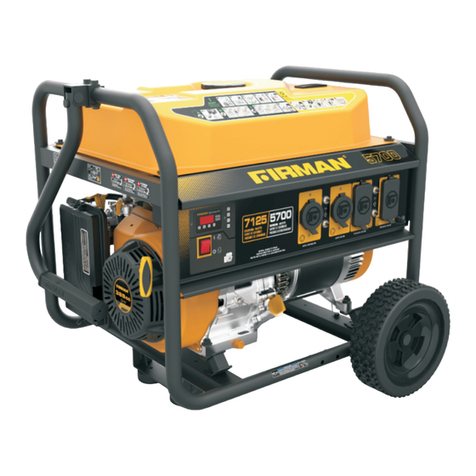
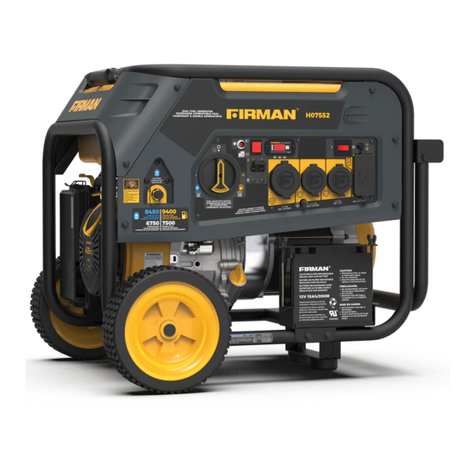
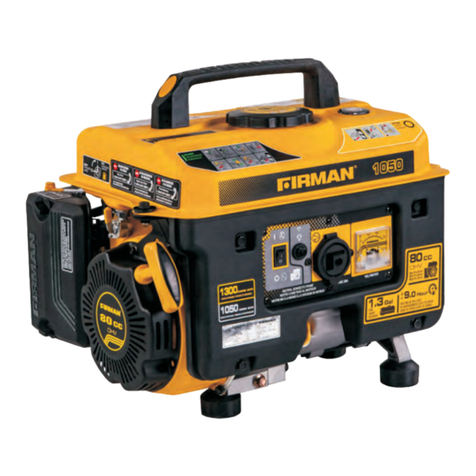
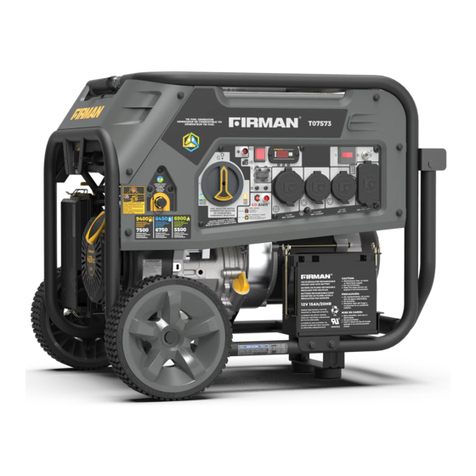
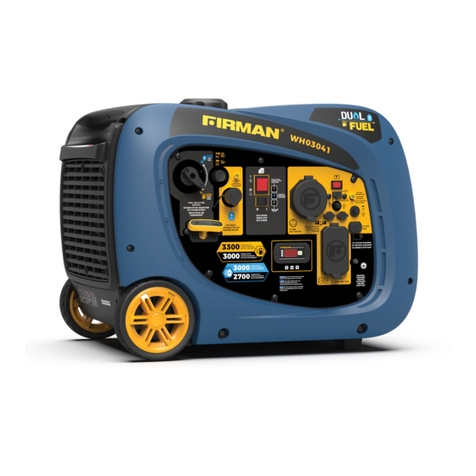
Firman 9350 Starting Watts User manual

RD9000E
OWNER’S MANUAL
®
Read all safety precautions and instructions carefully
before operating equipment.
Ensure engine is stopped and level before performing
any maintenance or service.
IMPORTANT:
Record product information to reference when ordering parts or
obtaining warranty coverage.
Specification:
Serial Number:
Purchase Date:
www.firmangenerators.com
DUAL FUEL GENERATOR
9350 Starting Watts/7500 Rated Watts (GAS)
8400 Starting Watts/6700 Rated Watts (LPG)

NOTE:
[CAUTION]
WARNING
Do not operate the generator before you have read and understood the instructions.
Failure to do so could result in personal injury or equipment damage.
The generator is designed to give safe and dependable service if operated according
to instructions.
Indicates a strong possibility of severe personal injury, loss of life and equipment damage if
instructions are not followed.
Indicates a possibility of personal injury, or equipment damage if instructions are not followed.
Gives helpful information.
If a problem should arise, or if you have any questions about the generator, consult a dealer
selling FIRMAN generators.
Thank you for purchasing a FIRMAN generator.
This manual covers operation and maintenance of the FIRMAN generators. All information in this
publication is based on the latest production information available at the time of approval for
printing.
Pay special attention to statements preceded by the following words:
WARNING
Page 01

Safe Operation Checklist
Safe operation of the portable generator requires the completion of the following tasks:
Carbon Monoxide (CO) Alarm
Carbon monoxide (CO) alarm(s) in working order.
Smoke Alarm
Smoke alarm (s) in working order.
Generator Location
Generator placed in a Carbon Monoxide (CO) safe zone. See Generator Location to
reduce the Risk of Carbon Monoxide Poisoning.
Generator placed in a fire safe zone. See Generator Location to reduce the Risk of
Generator located on flat and level surface.
Oil and Fuel
Engine filled to proper oil level. See Add Engine Oil.
Fuel tank filled at or below baffle. See Add Fuel
.
Inspect fuel lines, tank, cap and fittings each time before using generator. DO NOT
use if fuel leak or damage is found.
Electrical
When connecting to a buildings electrical system, install listed transfer equipment.
See Connecting to a Building Electrical System.
Electrical cords are rated for intended loads. See Cord Sets and Receptacles.
Electrical cords do not run through doorways, windows, holes in ceilings, walls or
Inspect electrical cords thoroughly before each use. DO NOT use if damaged.
All labeled electrical cord safeties are understood and being followed.
Operation
Start engine. See Starting the Engine.
Fire.
floors.
Page 02

1. SAFETY PRECAUTIONS .................................................................................04
2. SPECIFICATIONS..........................................................................................09
3. COMPONENTS............................................................................................10
4. PRE-OPERATION CHECKS............................................................................11
5. OPERATING PROCEDURES...........................................................................16
6. SERVICING THE GENERATOR.......................................................................22
7. “HOW-TO” MAINTENANCE...........................................................................23
8. PREPARATION FOR STORAGE.......................................................................26
9. TROUBLE SHOOTING...................................................................................27
10. WARRANTY..................................................................................................28
Table of Contents
Page 03

1. SAFETY PRECAUTIONS
Page 04
WARNING
POISONOUS GAS HAZARD.
Engine exhaust contains carbon monoxide, a poisonous gas that could
kill you in minutes. You CANNOT smell it, see it, or taste it. Even if you do
not smell exhaust fumes, you could still be exposed to carbon monoxide
gas.
Operate this product ONLY outside far away from windows, doors and vents to reduce
the risk of carbon monoxide gas from accumulating and potentially being drawn
towards occupied spaces.
•
•Install battery-operated carbon monoxide alarms or plug-in carbon monoxide alarms
with battery back-up according to the manufacturer’s instructions. Smoke alarms
cannot detect carbon monoxide gas.
•DO NOT run this product inside homes, garages, basements, crawlspaces, sheds, or
other partially-enclosed spaces even if using fans or opening doors and windows for
ventilation. Carbon monoxide can quickly build up in these spaces and can linger for
hours, even after this product has shut off.
•ALWAYS place this product downwind and point the engine exhaust away from
occupied spaces. If you start to feel sick, dizzy, or weak while using this product, shut
it off and get to fresh air RIGHT AWAY. See a doctor. You may have carbon monoxide
poisoning.

WARNING
Page 05
Starter cord kickback (rapid retraction) will pull hand and arm toward
engine faster than you can let go which could cause broken bones,
fractures, bruises, or sprains resulting in serious injury.
When starting engine, pull cord slowly until resistance is felt and then pull rapidly to
avoid kickback.
•
•NEVER start or stop engine with electrical devices plugged in and turned on.
WARNING
Fuel and its vapors are extremely flammable and explosive
which could cause burns, fire, or explosion resulting in death
or serious injury.
WHEN ADDING OR DRAINING FUEL
Turn generator engine OFF and let it cool at least 2 minutes before removing fuel cap.
Loosen cap slowly to relieve pressure in tank.• Fill or drain fuel tank outdoors.
•
•DO NOT overfill tank. Allow space for fuel expansion
If fuel spills, wait until it evaporates before starting engine.
•Keep fuel away from sparks, open flames, pilot lights, heat, and other ignition sources.
Check fuel lines, tank, cap, and fittings frequently for cracks or leaks. Replace if
necessary.
DO NOT light a cigarette or smoke.
•
•
•
WHEN STARTING EQUIPMENT
Ensure spark plug, muffler, fuel cap, and air cleaner are in place.
•DO NOT crank engine with spark plug removed.
•
WHEN OPERATING EQUIPMENT
DO NOT operate this product inside any building, carport, porch, mobile equipment,
marine applications, or enclosure.
•
DO NOT tip engine or equipment at angle which causes fuel to spill.
DO NOT stop engine by moving choke control to “Choke” position ( )
•
•
WHEN TRANSPORTING, MOVING OR REPAIRING EQUIPMENT
Transport/move/repair with fuel tank EMPTY or with fuel shutoff valve OFF.
•
•DO NOT tip engine or equipment at angle which causes fuel to spill.
Disconnect spark plug wire.
•
WHEN STORING FUEL OR EQUIPMENT WITH FUEL IN TANK
•Store away from furnaces, stoves, water heaters, clothes dryers, or other appliances
that have pilot light or other ignition source because they could ignite fuel vapors.

Page 06
WARNING
This generator does not meet U. S. Coast Guard Regulation 33CFR-183 and should not
be used on marine applications.
•
•Failure to use the appropriate U. S. Coast Guard approved generator could result in
death or serious injury.
WARNING
Generator voltage could cause electrical shock or burn resulting in death
or serious injury.
Use listed transfer equipment, suitable for the intended use, to prevent backfeed by
isolating generator from electric utility workers.
When using generator for backup power, notify utility company.
Use a ground fault circuit interrupter (GFCI) in any damp or highly conductive area,
such as metal decking or steel work
DO NOT touch bare wires or receptacles.
DO NOT use generator with electrical cords which are worn, frayed, bare or otherwise
damaged.
DO NOT operate generator in the rain or wet weather.
DO NOT handle generator or electrical cords while standing in water, while barefoot,
or while hands or feet are wet.
DO NOT allow unqualified persons or children to operate or service generator.
•
•
•
•
•
•
•
WARNING
Exhaust heat/gases could ignite combustibles, structures or
damage fuel tank causing a fire, resulting in death or serious
injury.
Contact with muffler area could cause burns resulting in
serious injury.
DO NOT touch hot parts and AVOID hot exhaust gases.
Allow equipment to cool before touching.
Keep at least 5 feet (1.5 m) of clearance on all sides of generator including overhead.
It is a violation of California Public Resource Code, Section 4442, to use or operate the
engine on any forest-covered, brush-covered, or grass-covered land unless the exhaust
system is equipped with a spark arrester, as defined in Section 4442, maintained in
effective working order. Other states or federal jurisdictions may have similar laws.
Contact the original equipment manufacturer, retailer, or dealer to obtain a spark
arrester designed for the exhaust system installed on this engine.
Replacement parts must be the same and installed in the same position as the original
parts.
•
•
•
•
•

WARNING
Unintentional sparking could cause fire or electric shock resulting in death
or serious injury.
WHEN ADJUSTING OR MAKING REPAIRS TO YOUR GENERATOR
Disconnect the spark plug wire from the spark plug and place the wire where it cannot
contact spark plug.
•
WHEN TESTING FOR ENGINE SPARK
Use approved spark plug tester.
•DO NOT check for spark with spark plug removed.
•
WARNING
Starter and other rotating parts could entangle hands, hair, clothing, or
accessories resulting in serious injury.
NEVER operate generator without protective housing or covers.
DO NOT wear loose clothing, jewelry or anything that could be caught in the starter
or other rotating parts.
Tie up long hair and remove jewelry.
•
•
•
[CAUTION]
Excessively high operating speeds could result in minor injury.
Excessively low operating speeds impose a heavy load.
DO NOT tamper with governor spring, links or other parts to increase engine speed.
Generator supplies correct rated frequency and voltage when running at governed speed.
DO NOT modify generator in any way.
•
•
NOTE:
DO NOT exceed the generator’s wattage/amperage capacity.
Start generator and let engine stabilize before connecting electrical loads.
Connect electrical loads in OFF position, then turn ON for operation.
Turn electrical loads OFF and disconnect from generator before stopping generator.
Use generator only for intended uses.
If you have questions about intended use, ask dealer or contact local service center.
Operate generator only on level surfaces.
DO NOT expose generator to excessive moisture, dust, dirt, or corrosive vapors.
DO NOT insert any objects through cooling slots.
If connected devices overheat, turn them off and disconnect them from generator.
Shut off generator if:
-electrical output is lost;
-equipment sparks, smokes, or emits flames;
-unit vibrates excessively.
•
•
•
•
•
•
•
•
•
•
•
Page 07

Page 08
DANGER
Liquid Petroleum Gas (LPG) is highly flammable and explosive.
Fire or explosion can cause severe burns or death. Unintentional startup can
result in entanglement, traumatic amputation or laceration.
•
•
•
•
•
•
•
•
Keep any and all LPG away from skin at all times.
LPG is highly flammable and explosive .
Flammable gas under pressure can cause a fire or explosion if ignited.
LPG is heavier than air and can settle in low places while dissipating.
LPG has a distinctive odor added to help detect potential leaks quickly.
In any petroleum gas fire, flames should not be extinguished unless by doing
so the fuel supply valve can be turned OFF. This is because if a fire is
extinguished and a supply of fuel is not turned OFF, then an explosion hazard
could be created.
When exchanging LPG cylinders, be sure the cylinder valve is of the same type.
Always keep the LPG cylinder in an upright position.
LPG will burn skin if it comes in contact with it.
•

120/240V
ST190FDE-2-A9
211 lbs
29.8 X 21.1 X 21.7 in.
Rated AC Voltage
Phase
Power Factor
Engine Model
Engine Type
Voltage regulator
Generator
Model RD9000E
AVR
Single Phase
1
Single Cylinder, 4-Stroke OHV Air Cooled
Displacement
Maximum output
Ignition System
Starting System
Fuel
Capacity Fuel Tank
439cc
Breakless Ignition Type, Flywheel Magneto
GAS/LPG()
6 Gallon
38 oz
Lubricating Oil
Capacity
Counter Clockwise (Facing P.T.O.)
Float
Brush
Polyurethane Type
Carburetor Type
Air Cleaner
Alternator Type
P.T.O. shaft rotation
Dime-
nsion
L X W X H
Dry Weight
Engine
Page 09
15HP
2 . SPECIFICATIONS
Recoil/Electric
Running Watts
Starting Watts 9375Watts@60Hz(Gas) 8400Watts@60Hz(LPG)
7500Watts@60Hz(Gas) 6700Watts@60Hz(LPG)

3. COMPONENTS
Page 10
1
2
14
45
6
7
8
9
10
11
12
15
16
18
1. FUEL SELECTOR SWITCH
2. DIGITAL DISPLAY
3. GROUND TERMINAL
4. CIRCUIT BREAKER
5. SOCKET
6. IGNITION SWITCH
7. BATTERY SWITCH
8. FUEL GAUGE
9. FUEL TANK
13
3
17
10. FUEL TANK CAP
11. AIR CLEANER
12. RECOIL STARTER
13. LPG HOSE CONNECTOR
14. OIL FILLER CAP
15. MUFFLER
16. SUPPORTING LEGS
17. CHOKE LEVER
18. WHEELS

Page 11
Remove the Generator from the Shipping Carton
1. Set the shipping carton on a solid,flat surface.
2. Remove everything from the carton except the generator.
3. Carefully cut each corner of the box from top to bottom. Fold each side flat on
the ground to provide a surface area to install the wheel kit and support leg.
Install the Wheel Kit
[CAUTION]
The wheel kit is not intended for over-the-road use.
1. Attach the support leg to the generator frame with cap screws and nuts.
2. Tip the generator slowly so that it rests on the wheels and support leg.
Install the Support Leg
4. PRE-OPERATION CHECKS
1.Before adding fuel and oil, tip the generator on it’s side.
2. Slide the M10x125 wheel bolt through the washer, bushing and wheel.
3. Slide the bolt through the mount point on the frame.
4. Fasten securely with the M10 lock nut.
5. Repeat steps 2-4 to attach the second wheel.

CHECK ENGINE OIL
Remove oil filter cap and check the engine
oil level.
Oil capacity:
Model................Upper level
RD9000E.............38 oz
Change oil if contaminated. (See “HOW-TO”
MAINTENANCE)
If oil level is below the lower level line, refill
with suitable oil (see table below) to upper
level line. Do not screw in the oil filler cap
when checking oil level.
Multigrade
Ambient -20 -10
0
10
20
30
40
-4
14
32
50
68
86
104
5W
10W
20W
#20
#30
#40
10W-30
10W-40
Single grade
C
F
Page 12
Before checking or refilling oil, be sure the
generator is put on a stable and level surface
with engine stopped.
temperature

Check fuel level at fuel gauge.
CHECKING COMPONENTS
Do not refuel while smoking or near open flame or other such potential fire hazards.
Otherwise a fire accident could occur.
If fuel level is low, refill with unleaded automotive gasoline.
Fuel tank capacity:
RD9000E.............6 Gallon
Make sure you review each warning in order to prevent fire hazard.
Fuel leakage from fuel hose etc. ,
Tighten any loose bolts or nuts.
Check components for damage or breakage.
Check following items before starting engine:
Do not refill tank while engine is running or hot.
Close fuel valve before refueling with fuel.
Be careful not to admit dust, dirt, water or other foreign objects into fuel
Wipe off spilt fuel thoroughly before starting engine.
Keep away from open flames.
Be sure to use the fuel filter screen on the fuel filter neck.
CHECK ENGINE FUEL
WARNING
WARNING
Fuel must meet these requirements:
•Clean, fresh, unleaded gasoline.
Octane rating of 86(R+M)/2 or higher.
Research Octane Number(RON)91
octane minimum.
Gasoline up to 10% ethyl alcohol,90%
unleaded is acceptable.
Methyl Tertiary Butyl Ether(MTBE) and
unleaded gasoline blend(max 15%
MTBE by volume)are approved.
Do not add oil to gasoline.
Do not overfill fuel tank.
Do not use gasoline older than 30 days.
•
•
•
•
•
•
•
NOTE: E15,E20 and E85 art NOT approved and should NOT be used, effects of old, stale
or contaminated fuel are not warrantable.
Page 13

Page 14
1. Make sure the selector switch on the generator is in the off position.
2. Attach the LPG hose (included) to the LPG hose connector on the side of the
generator and tighten with a 19 mm or adjustable wrench.
Important: DO NOT use tape or any other type of sealant to seal LPG hose
connection.
3. Remove the safety plug or cap from the cylinder valve.
4. Attach the other end of the hose to the LPG connector on the cylinder and
hand tighten.
5. Check all connections for leaks by wetting the fittings with a solution of soap
and water. Bubbles which appear or bubbles which grow indicate that a leak
exists. If a leak exists at a fitting then turn off the gas valve at the tank and
tighten the fitting. Turn the gas back on and recheck the fitting with the soap
and water solution. If the leak continues or if the leak is not at a fitting then do
not use the generator and contact customer service.
NOTE:
[CAUTION]
Connecting Liquid Petroleum Gas (LPG) Cylinder
Use only standard 20 or 30 pound capacity LP tanks with Type 1, right hand
Acme threads.
Verify the requalification date on the tank has not expired.
All new cylinders must be purged of air and moisture prior to filling. Used
cylinders that have not been plugged or kept closed must also be purged.
The purging process should be done by a LPG supplier. (Cylinders from an
exchange supplier should have been purged and filled properly already).
Always position the cylinder so the connection between the valve and the
gas inlet won’t cause sharp bends or kinks in the hose.
If there is a strong smell of gas: Close off the gas supply at the cylinder. Use soapy
water, which will produce a large bubble at the point of any leak, to check the
hose, and connections on the cylinder valve and the generator. Do not smoke or
light a cigarette, or check for leaks using a match, open flame source or lighter.
Contact a qualified technician to inspect and repair the LPG system if a leak is
found, before using the generator.
Do not allow children to tamper or play with the cylinder or hose connections.
Use approved LPG cylinders equipped with an OPD (overfilling prevention
device) valve. Always keep the cylinder in a vertical position with the valve on
top and installed at ground level on a flat surface Cylinders must not be
installed near any heat source and should not be exposed to sun, rain, and dust.
When transporting and storing, turn off the cylinder valve and fuel valve, and
disconnect the cylinder. Plug the outlet, usually by a plastic protective cap, if
one is available. Keep cylinders away from heat and ventilated when in a vehicle.

CHECKING GENERATOR SURROUNDINGS
Make sure you review each warning in order to prevent fire hazard.
Keep area clear of inflammables or other hazardous materials.
Keep generator at least 3 feet (1 meter) away from buildings or other structures.
Only operate generator in a dry, well ventilated area.
Keep exhaust pipe clear of foreign objects.
Keep generator away from open flame.
Keep generator on a stable and level surface.
Do not block generator air vents with paper or other material.
Page 15
WARNING
Move the generator to the desired location.The generator is very easy to move.
CHECKING GROUND TERMINAL
The ground terminal is used to assist in properly grounding the generator to help protect
against electrical shock. Consult with a local electrician for grounding requirements in
your area.
THERE IS A PERMANENT CONDUCTOR BETWEEN THE GENERATOR (STATOR WINDING)
AND THE FRAME.

Page 16
5. OPERATING PROCEDURES
The LPG fuel valve (A) is to the LPG position .
The gas fuel valve (B) is to the Gas position.
Fuel Selector Switch
The fuel selector switch on the front panel of the generator is designed specifically to
choose between the fuel source desired, Gas or LPG.
A
B
B
A

STARTING THE ENGINE
(a) Make sure the AC circuit breaker is in the OFF position. The generator may
be difficult to start if a load is connected.
Page 17
GAS
(b)Turn the fuel selector switch to the “GAS(A)” position.
(c)Move the choke lever to the “CHOKE” position.
(d)Flip the IGNITION SWITCH to the “ON” position.
(e)Turn the BATTERY SWITCH to the “ON” position.
(f)ELECTRIC START:
Press and hold the ignition switch to the “START” position. Release as the
engine begins to roll over. If the engine fails to start within five seconds,
release the switch and wait at least ten seconds before attempting to start the
engine again.
RECOIL START:
Pull the starter cord slowly until resistance is felt and then pull rapidly.
(g) After the engine started, return the choke lever gradually to "RUN” position.
(h) Warm up the engine without load for a few minutes.

Page 18
LPG
(a) Make sure the AC circuit breaker is in the OFF position. The generator may be difficult
to start if a load is connected.
(b)Fully open the LPG cylinder fuel knob. Turn the fuel selector switch to the
“LPG(A)” position.
(c)Move the choke lever to the “CHOKE” position.
(d)Flip the IGNITION SWITCH to the “ON” position.
(e)Turn the BATTERY SWITCH to the “ON” position.
(f)ELECTRIC START:
Press and hold the ignition switch to the “START” position. Release as the
engine begins to roll over. If the engine fails to start within five seconds,
release the switch and wait at least ten seconds before attempting to start the
engine again.
RECOIL START:
Pull the starter cord slowly until resistance is felt and then pull rapidly.
(g) After the engine started, return the choke lever gradually to "RUN” position.
(h) Warm up the engine without load for a few minutes.

USING ELECTRIC POWER
Be sure to ground the generator if the connected electrical equipment is grounded.
NOTE:
(a) Check the digital display for proper voltage.
(b) Turn off the switch(es) of the electrical appliance(s) before connecting to the generator.
(c)Insert the plug(s) of the electrical appliance(s) into the receptacle.
(d) Check the amperage of the socket, and be sure not to take a current exceed the exceed the
specified amperage.
This generator is thoroughly tested and adjusted in the factory.
If the generator does not produce the specified voltage, consult your nearest FIRMAN
Generator dealer.
Be sure that the total wattage of all appliances does not exceed the rated output of the
generator.
When the circuit breaker or no-fuse breaker turns off during operation, the generator is
overloaded or the appliance is defective.
Stop the generator immediately, check the appliance and /or generator for overloading
or defect and repair as necessary.
(e) Make sure the AC CIRCUIT BREAKER is "ON". If the breaker is "OFF", set the breaker “ON”.
Page 19
This manual suits for next models
3
Table of contents
Languages:
Other Firman Portable Generator manuals

Firman
Firman H05751 User manual

Firman
Firman H07551 User manual

Firman
Firman R-P01201 User manual

Firman
Firman P03612 User manual

Firman
Firman P08005 User manual

Firman
Firman R-P03501 User manual

Firman
Firman R-P01001 User manual

Firman
Firman W03663OF User manual

Firman
Firman P03607 User manual

Firman
Firman W03383 User manual

Firman
Firman P08004 User manual

Firman
Firman 1005 User manual

Firman
Firman P12001 User manual

Firman
Firman H03651 User manual

Firman
Firman P03619 User manual

Firman
Firman H05754 User manual

Firman
Firman H08052 User manual

Firman
Firman T07573 User manual

Firman
Firman WH03562OF User manual

Firman
Firman P06702 User manual