FirmTek SeriTek /e6G User manual

1
Store and Share your Digital Creations
SeriTek™/e6G
Two Port External Hot-Swap Serial ATA PCIe 6G Host Adapter
With Port Multiplication
Macintosh User Manual

FirmTek, LLC
www.firmtek.com
Copyright
Copyright © 1999-2010 FirmTek, LLC. All rights reserved. No part of this manual may be
reproduced, translated by any means, photocopied, or transmitted in any form without the prior
written permission of FirmTek.
Trademarks
FirmTek, UltraTek, AV-Tek, SeriTek names and logotypes are trademarks of FirmTek, LLC.
Apple, Macintosh, Mac OS, OS X, and the Mac logo are registered trademarks of Apple
Computer, Incorporated. The "Built for OS X" graphic is a registered trademark of Apple
Computer, Incorporated, and used under license. All other manufacturer product names
mentioned in this manual are for identification purposes only and are trademarks or registered
trademarks of their respective owners.
Changes
FirmTek reserves the right to make any changes to product design, specifications, or details
without notice. Actual product photos or screenshots may look different from those provided.
Notice
The material content of this manual is for informational purposes only. It is possible the content
of this manual may contain technical inaccuracies, typographical, or other errors. FirmTek
assumes no liability for any errors, omissions, or from the use of this manual that may result from
such errors, including, but not limited to loss of data or profits.
Before installing the SeriTek/e6G or any other hardware or software, you are responsible for
backing up data contained on any storage devices. After hardware or software installation, you
are responsible for backing up data on any storage devices at frequent intervals. FirmTek, LLC is
not liable for any loss of data or damage to equipment resulting from the use of the SeriTek/e6G
host adapter.
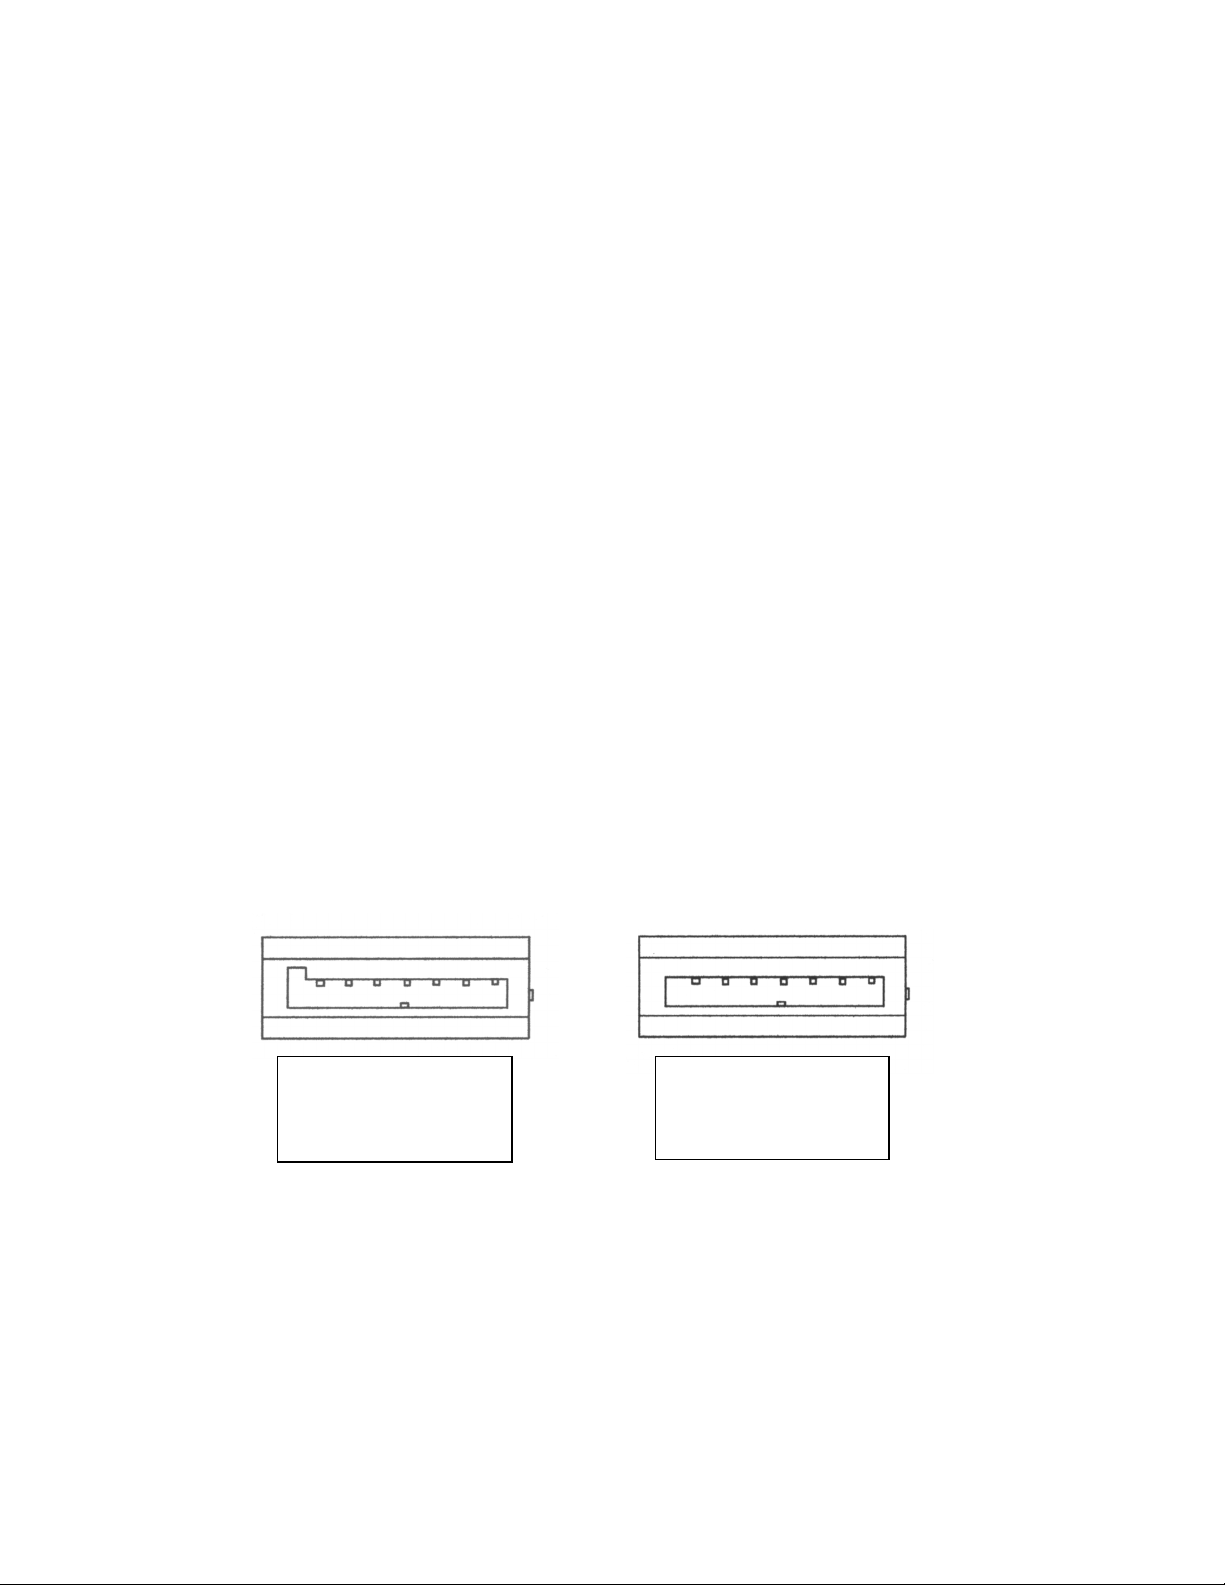
External Shielded Serial ATA Cable
The SeriTek/e6G host adapter uses specially shielded external Serial ATA cables to ensure
integrity during data transfers. Please use caution and handle the cables carefully. Hold the
connector at the ends (not the cable itself) when inserting and removing the cable from the
SeriTek/e6G and the external enclosure. To maintain peak performance keep the number of
cable insertions and removals to a minimum.

TABLE OF CONTENTS
I. Introduction…………………………………………………………………. 4!
II. Installing the SeriTek/e6G .............................................................................. 8
III. Connecting External Enclosure(s)...............................................................10
IV. Using SeriTek/e6G Hot-Swap Functionality ..............................................17
V. Troubleshooting ………...……………………………………………… 19
VI. Product Support…………………………………………………………...20
VII. Product Warranty and Disclaimers..............................................................21!
VIII.Regulatory Compliance Statements ........................................................... 22!

4
I. Introduction
Welcome
Congratulations and thank you for purchasing the SeriTek/e6G Serial ATA host adapter. This
product is another innovative solution made possible by the creative engineers at FirmTek.
About This Manual
This user manual was written with the assumption you are familiar with the Macintosh computer,
and are comfortable with opening its case. For further information, and to get acquainted with
your computer, please refer to your Macintosh user manual.
About Serial ATA Technology
An evolutionary replacement for Parallel ATA, Serial ATA (Advanced Technology Architecture)
provides an interface that allows computer users to connect additional hard disks and peripherals.
Serial ATA offers insulated cables that are thinner and longer with smaller 7-pin connectors which
results in easier installation and improved airflow, compared to wider and shorter Parallel ATA
cables. Improved airflow translates into a cooler operating environment for the Macintosh and
hard disks.
About the Port Multiplier Specification
Originally, Serial ATA adapters and enclosures supported a single drive connected to a single
port via a single cable. The maximum number of hard disks supported on a Serial ATA adapter
depended on the adapter's port count. The Serial ATA port multiplier specification allows multiple
hard disks to share a single port.
The SeriTek/e6G supports traditional direct-connect enclosures with one drive per port such as
the SeriTek/2EN2, and port multiplier enabled enclosures with up to 5 drives per port such as the
SeriTek/5PM. Two SeriTek/5PM enclosures can be used to support up to 10 hard disks. Port
multiplier enabled enclosures such as the SeriTek/5PM include additional internal circuitry, which
allows the connection of multiple hard disks to a single SeriTek/e6G port.
About the SeriTek/e6G Serial ATA Host Adapter
The SeriTek/e6G host adapter adds Serial ATA 6.0 Gbit/sec performance to the outside of the
Macintosh computer chassis, enabling users with PCI-Express compatible Macintosh computers
to take advantage of high performance external Serial ATA enclosures.
With two external port multiplier enabled Serial ATA ports and internal PCI-Express connectivity,
the SeriTek/e6G host adapter provides the high bandwidth necessary to meet the needs of
performance-hungry applications while offering hot-swap flexibility similar to that of Universal
Serial Bus (USB) and FireWire. The SeriTek/e6G host adapter provides the latest I-shaped
eSATA connectors.
Original L-shaped
Serial ATA connector
Newer rectangular
eSATA I-shaped
connector

5
SeriTek/e6G Package Contents
•SeriTek/e6G Serial ATA host adaptor
•CD-ROM Containing the Macintosh User Manual
SeriTek/e6G Key Features and Benefits
•Two-port eSATA 6G host adapter with 64-bit and 32-bit "Snow Leopard" compatibility
•Backward compatible with Mac OS X 10.4.6 or higher
•Compatible with all Apple Mac Pro models
•Compatible with PowerMac G5 (11,2) PCIe model
•Onboard SATA 6Gb/s PCI-Express 2.0 to Serial ATA controller chip
•Low power usage = Low Heat = No Fan Required = Quiet Operation
•Supports Disk Utility RAID 0, 1 and JBOD configurations
•S.M.A.R.T application support for third party Macintosh utilities
•PCI-Express 2.0 compliant, backward compatible with PCIe 1.0 slots
•SATA 6Gb/s compliant, backward compatible with SATA 3.0 and SATA 1.5 Gb/s
•Provides hot swap and PM support not available with internal Mac Pro bays
•Hot swap enclosure leaves internal Mac Pro bays open for Mac OS X and Boot Camp
•Complete CRC error checking, for all bits transmitted offers enhanced data protection
•Bus Mastering off-loads data I/O handling from CPU
•User-upgradeable firmware
•Utilizes standard eSATA connectors
•2-port 6G controller with PM support, Oxford 936 and direct connect support
•Port multiplier support: Connect up to 10 drives using SeriTek/5PM enclosures
•Direct connect support: Connect up to 2 drives with a SeriTek/2EN2 enclosure
•Simple to install, easy to use

6
SeriTek/e6G Specifications
Hardware
Requirements
•PCI-Express based Macintosh or Windows PC
with an available PCI-Express Slot
Operating Systems
Supported
•Mac OS X version 10.4.6 or later, Windows
Bus Type
•PCI-Express 2.0 x1 - Compatible with X4, x8,
x16 slots
•Backward compatible with PCI-Express 1.0
External Connectors
•2-port external Serial ATA (SATA 6G) interface
supports up to 2 external hard disk enclosures
with eSATA connectors
Drive Types Supported
•SATA 6G hard disks, backward compatible
with SATA 3G and SATA 1.5G hard disks
Data Transfer Rates
•Up to 500 MBytes/second or 5.0 Gbits/second
burst data transfer rate with PCIe 2.0 bus
Drive Modes Supported
•SATA 6G with or without Native Command
Queuing
Advanced Data
Features
•Fully compliant with Serial ATA Revision 3.0
specification
•Apple Port multiplier support: Run up to 10
drives with SeriTek/5PM Port Multiplier
enclosures
•Performs FIS-Based Switching with Port
Multiplier
•Spread Spectrum Clocking (SSC)
•SATA 6G Device compliant
•Bus Mastering off-loads data I/O handling from
CPU
•CRC error checking, for all bits transmitted
(command, data, and status), offers enhanced
data protection for high-speed Serial ATA
drives
•Two independent data channels allows for
separate device timings
•Automatically identifies and configures drive
types
Onboard Flash ROM
•Allows easy upgrades to the latest firmware
Cables Supported
•7-pin shielded SATA cable, up to 2 meter in
length
Warranty
•One year limited parts & labor
Physical Dimensions
•2.62” (L) x .3” (W) x 2.75” (H) (not including
bracket)
Power Requirements
•5V ± 5%
Environmental
•Temperature:
Operating: +5°C to +55°C
Non-Operating: -25°C to +70°C
•Relative humidity:
Operating: 20% to 80%
Non-Operating: 15% to 90%
EMC Compliance
•EN55022/1998, EN55024/1998 (European
Community)
•FCC Part 15 Class B (US)

7
SeriTek/e6G System Requirements
Operating System
•Macintosh OS X version 10.4.6 or later, or Microsoft Windows
Hardware Requirements
•PCI-Express based Macintosh or Windows OS with available PCIe expansion slot
•External powered enclosure (with or without port multiplication support) equipped with
Serial ATA hard disk(s).
Materials Required
•Standard medium-sized Phillips screwdriver may be required if computer does not have a
PCI bracket with captive screws.

8
II. Installing the SeriTek/e6G
Caution:
Prior to installing the SeriTek/e6G host adapter and hard drive(s) or peripheral(s), please
make sure your data is backed up.
The SeriTek/e6G host adapter and your Macintosh contain sensitive components that can be
permanently damaged by Static Electric Discharge. Be sure you’re working in an area free of
static electricity to prevent them from being damaged. Use a wrist grounding strap if you
have one or regularly touch a metal part of the computer chassis such as the power supply
case or a port access cover to discharge any built-up static electricity from your body. Make
sure to handle the SeriTek/e6G host adapter by its bracket or around its edges to avoid
damage to the card by static electricity.
Introduction
This section describes the proper method of installing the SeriTek/e6G.
SeriTek PCI-Express Host Adapter Installation:
1. Properly shut down your Macintosh or PC and disconnect the AC power cord.
2. Open the side panel. On some models, the user may need to unscrew the captive
screws in the PCI bracket to access the PCI-Express slots. Please refer to your
computer user manual for more information about gaining access to PCI-Express slots.
3. Choose an empty PCI-Express expansion slot where you will install the SeriTek/e6G.
4. Remove the PCI slot screw or the PCI Bracket.
5. Remove the SeriTek/e6G from its protective materials. Make sure to hold the card by its
bracket or around its edges to avoid touching components on the board that might be
damaged by static electricity.
6. Position the PCI-Express card bracket by facing it towards the rear of the computer.
Align the gold connectors of the SeriTek/e6G over the PCI-Express slot and gently press
it into the PCI-Express slot until the card is firmly seated. If the card is properly seated,
the upper ear of the PCI-Express card bracket should line up with the top of the PCI
bracket mounting location.
7. Secure the card with the PCI screw or the PCI bracket (See Figure 1).
Caution: The SeriTek/e6G host adapter supports external cables that may be plugged
in to one of their external receptacles. If the SeriTek/e6G is not properly secured when a
cable is inserted into one of the receptacles, it may become loose from the PCI-Express slot
and damage the computer.

9
Figure 1: Inserting and securing a PCIe controller
8. Close your computer case and re-attach the AC power cord.
Apple Mac OS X Driver Install
The SeriTek/e6G host adapter is now installed in the Macintosh. Snow Leopard users will find
the SeriTek/e6G controller can be used without a driver. The built-in AHCI driver found in
Snow Leopard will work. However, the embedded AHCI driver does not support port
multipliers and may not properly hot plug 936 based enclosures. Mac OS X users desiring the
full features of the SeriTek/e6G will want to install the FirmTek driver. To install the FirmTek
SeriTek/e6G driver please follow these steps.
1. Copy the SeriTek/e6G driver from the CD-ROM
2. Open the Mac driver disk image
3. Double click on Install-SeriTek-e6G
4. Insert the admin password
5. Click “OK”
6. Restart the Macintosh computer

10
III. Connecting External Enclosure(s)
Introduction
This section describes how to connect external hard drive enclosures and provides
instructions for formatting the Serial ATA hard drive(s) using Apple’s Disk Utility. If you
decide to use a third party drive setup utility, please refer to the documentation provided with
the utility.
Connecting the SeriTek/e6G to an External Enclosure
1. The SeriTek/e6G is compatible with a wide range of external enclosures. However, the
enclosure must meet the following basic requirements:
•Adequate power to support the hard drives (dedicated power supply)
•7-pin shielded receptacles compatible with FirmTek’s shielded Serial ATA cable
•Support for Serial ATA Version 1.0, 2.0 or 3.0
•Enclosure must be able to support and mount the Serial ATA hard disks
2. Install hard disks into the external enclosure according to the instructions included with
the enclosure.
3. Attach one end of FirmTek’s shielded Serial ATA cable(s) to the Serial ATA receptacle(s)
on the SeriTek/e6G and connect the other end(s) to the external enclosure. (eSATA
cables are not included with SeriTek/e6G)
Note: FirmTek Serial ATA cables are specially designed to work with both PC and Macintosh
computers. Please use FirmTek external shielded Serial ATA cables with the SeriTek/e6G.
•The original Serial ATA connectors have an L-shaped opening, see Figure 2A.
•The newer eSATA connectors have a rectangular I-shaped opening, see Figure 2B
The SeriTek/e6G uses the newer eSATA connectors, also known as I-shaped connectors.
Some hard disk enclosures require SATA cables that utilize an L-shaped connector. For
these types of enclosures, the cable required will have a rectangular I-shaped eSATA
connector on one end, and an L-shaped SATA connector on the other end.
Fig: 5A Fig: 5B
Figure 2: Serial ATA Connector Types: Original L-shaped and newer eSATA I-shaped
Note: If the SeriTek/e6G is being used with a hard disk enclosure that uses eSATA
connectors, eSATA cables with have rectangular I-shaped eSATA connectors on each end
will be required, like the two connectors shown in Figure 3.
Figure 2A: Original
L-shaped SATA
connector
Figure 2B: Newer
rectangular eSATA
I-shaped connector

11
Figure 3: Using SeriTek/e6G with a drive enclosure that has I-shaped eSATA connectors; both cable
connectors will be identical.
Making the eSATA Connection
Caution: Be sure to connect the cable using the proper orientation to your SeriTek/e6G
host adapter and external enclosure. It should easily snap into place. Please do not
force the cable connector onto the host adapter or the SATA interface of the enclosure.
Remember the male and female connectors must be of the same type for a proper fit:
L-shaped female to L-shaped male or eSATA female to eSATA male.
Cable connection problems?
•First verify that you are connecting the correct type of connectors to each other
•If your connectors still do not fit, rotate the cable and try again
1. Install the hard disk(s) in an enclosure. If your enclosure is powered on and the
Macintosh is running the hard disk(s) should appear in Disk Utility.
2. If all storage devices connected to the SeriTek/e6G have valid system partitions the hard
disk volume(s) will be mounted on the desktop. An icon will be displayed on the desktop
for each valid Mac OS X partition attached to the SeriTek/e6G.
3. If the storage device(s) have not been formatted for use with the Macintosh, a Disk
Insertion messages will appear on the desktop for each unconfigured storage device.
Select Initialize to configure your storage device, or Ignore if you wish to configure these
disks later (see Figure 4). Note: Various Mac operating systems with differing RAID
configurations may display slightly different messages.
Figure 4: Disk Insertion Window
Formatting Serial ATA Drives Using Macintosh OS X Version 10.5.x or Later
Turn on your Macintosh computer.
1. Open Apple’s Disk Utility which is located in the Utilities folder of the Macintosh OS X
start-up volume.

12
To open this application:
a) Double click the Mac OS X startup volume
b) Double click the Applications folder
c) Double click the Utilities folder
d) Double click the Disk Utility icon (See Figures 5 and 6 for examples)
Figure 5: Locating Apple’s Disk Utility
Figure 6: Alternate method for locating Apple’s Disk Utility
2. Review the list of hard disks shown in Disk Utility (see Figure 7). Hard disks currently in
use should have a volume name below their listing. New, unformatted disks typically
have no volume name. Carefully select the hard disk you wish to format.
Figure 7: Example hard drive listing

13
3. After carefully selecting the hard drive you wish to format, select the Erase tab in Apple’s
Disk Utility (see Figure 8).
Figure 8: Selecting the Erase tab in Apple’s Disk Utility
4. For Volume Format, the default choice is “Mac OS Extended (Journaled).”
5. In the Name field, users can type a name for the new hard disk.
6. Be sure to back up any data on the hard disk before clicking the Erase button to format
the hard drive.
7. Click the Erase button to format the hard drive.
8. Once the hard drive is initialized, it will be displayed as an icon on the Mac OS X desktop.

14
Creating a RAID Volume
(Macintosh OS X version 10.5.x or Later)
Mac OS X 10.5.x or later Disk Utility RAID (Redundant Array of Independent Drives) options
allow the user to display several hard disks as a single volume (SPAN - concatenated),
provide data redundancy in case of a hard disk failure (RAID 1 - mirror), or increase
performance and volume size by striping multiple disks into a single volume (RAID 0 –
striped). Each method is described below.
Concatenated Disk Set - Apple Disk Utility can be used to create a concatenated disk set.
A Concatenated Disk Set also known as SPAN is not one of the numbered RAID levels. This
option simply combines two or more physical disks into a single virtual disk. No redundancy
is provided. A backup copy should be maintained of any important data on the Concatenated
Disk Set. As the name implies the disks are simply grouped together. Data is written to the
first disk in the group until it is full and then it is written to the second disk, third disk and so
on. If a hard disk fails only the data on that particular hard disk is lost. No additional
performance is gained with the use of a Concatenated Disk Set. Concatenation is typically
used to create a single large volume from several odd sized hard disks. Unlike RAID 0 or
RAID 1, a Concatenated Disk Set does not require that the member hard disks be the same
size to optimize the volume size of the virtual disk.
Mirrored RAID Set - Apple Disk Utility can be used to create a mirror. This is also known as
a RAID 1 configuration. The hard disks should be the same size and model for optimal
performance. Data written to a mirror volume is archived onto two separate duplicate hard
disks. The mirror configuration provides redundancy that will usually protect data should a
single hard disk fail. A mirror cannot protect against the user accidentally trashing an
important file. In addition, if the mirror hard disk directory becomes corrupted the corruption
will be copied to all hard disks in the mirror configuration. As a result, a backup copy should
be maintained of any important data on the mirror. RAID 1 mirror performance equals the
performance of the slowest hard disk in the mirror set. The RAID 1 mirror volume size equals
the size of the smallest member disk. All data on hard disks used to create a new Disk Utility
based mirror will be destroyed when the mirror is created.
Striped RAID Set - Apple Disk Utility can also be used to create a stripped RAID set. This is
also known as a RAID 0 configuration. The hard disks should be the same size and model
for optimal performance. Data is spread (striped) equally across multiple hard disks for
increased performance. A stripped RAID set provides no data redundancy. As a result,
should one hard disk fail all data stored on the RAID 0 volume is lost. While a stripped RAID
set provides excellent performance, a back up is required to protect important data. RAID 0
direct connect performance usually equals the performance of the slowest hard disk in the
RAID 0 x the number of hard disks used. The RAID 0 volume size equals the size of the
smallest member disk x the number of disks in the RAID 0. All data on all hard disks used to
create a striped RAID set will be destroyed when the RAID 0 is created with Disk Utility.
Step by step instructions
1. Turn on your computer.
2. Open Apple’s Disk Utility which is located in the Utilities folder of the Mac OS X start-up
volume.
To open this application:
a) Double click the Mac OS X startup volume
b) Double click the Applications folder
c) Double click the Utilities folder
d) Double click the Disk Utility icon (See Figures 5 and 6 for examples)

15
3. Review the list of hard disks show within Disk Utility (see Figure 7). Hard drives currently
in use should have a list of volume names below them. New, unformatted drives typically
have no volume names listed.
4. Select the RAID tab in Apple’s Disk Utility (see Figure 9)
Figure 9: Selecting the RAID tab in Apple’s Disk Utility
5. Carefully select and drag a hard drive to add it as a member of the new RAID volume in
the Disk Utility status window (Figure 10).
Figure 10: Example drives and options for a RAID volume;
Drag and Drop Drives into the RAID Set Window
6. Repeat step 5 for each member for the RAID volume.
7. Choose a RAID Scheme: Stripe or Mirror.
8. Name the new RAID volume.
9. For Volume Format, the default choice is “Mac OS Extended (Journaled)”. Note: For Mac
OS X 10.5.x and later users can select the RAID block size. For best performance push
the option button and select a RAID block size of 64K or 128K (Figure 11).

16
Figure 11: Selecting a RAID Block Size
10. After reviewing the options selected, click on the Create button to initialize the new RAID
volume (see Figure 12).
Figure 12: Creating a new RAID volume
11. After the RAID volume is successfully initialized, it should appear on the desktop.

17
IV. Using SeriTek/e6G Hot-Swap Functionality
Introduction
The SeriTek/e6G host adapter provides advanced hot-swap functionality that provides
flexibility similar to that of Universal Serial Bus (USB) and FireWire. The user simply
dismounts the hard disk from the desktop and then removes the hard disk from the FirmTek
SeriTek/5PM or SeriTek/2EN2 enclosure. To mount a hard disk, simply insert the hard disk
into the FirmTek enclosure. The easy to use, hot swap tray system provided with FirmTek
enclosures provides the optimal compatibility with the SeriTek/e6G.
Hot-Swap Guidelines
•Do not disconnect or remove hard drives while transferring data.
•Save your work and close associated applications before removing the external hard drive
(applications need to be closed since they may keep temporary working files open on the
external hard drive).
•Always unmount the volumes (eject or drag the volumes to trash) associated with an
external hard drive before removing it.
•Remove or power down every drive associated with a particular RAID volume before
reintroducing them to the system. For example, do not remove just two drives of a four
drive RAID volume and reinsert them. All four drives must be removed and then
reinserted.
•As a general rule, power down the external hard drives after powering down the Macintosh
computer. Power on the external enclosure before powering on the Macintosh computer.
•If the computer is waking from sleep, please wait 60 seconds before turning on the hard
disk enclosure. On wake from sleep the driver requires 60 seconds to load before it can
recognize the hard disks.
Hot-Swap Procedure
Connecting External Hard Drive(s)
If your Macintosh computer is not yet powered on, power on the external enclosure then
power on the computer. If the Macintosh computer is already powered on, users can connect
the external hard drive(s) without powering down the computer first.
Removing External Hard Drive(s)
Caution: To prevent loss of data, save your work and close associated applications
before removing the external hard drive (applications need to be closed since they may
keep temporary working files open on the external hard drive). Always unmount the volumes
(eject or drag the volumes to trash) associated with an external hard drive before removing it.
Eject or drag all of the volumes associated with the hard drive(s) before disconnecting or
removing them.
Improperly Removing External Hard Drive(s)
If you do not properly unmount volumes before removing the associated hard drive(s), a
“Device Removal” dialog box will appear (See Figure 13). This dialog box shows up as a
reminder to unmount volumes properly before disconnecting or removing external hard
drives. Failure to properly unmount volumes before disconnecting external hard drives may
result in lost data.

18
Figure 13: Improperly removing External Hard Drive(s)

19
V. Troubleshooting
•The SeriTek/e6G host adapter does not seem to be recognized
Check the SeriTek/e6G adapter by ensuring it is properly seated in the PCI-Express slot on
the Macintosh motherboard. Verify that the proper driver is installed.
•My hard disk won’t work
Check cables and connections. Ensure the 7-pin Serial ATA cable is properly oriented to
the connectors on the SeriTek/e6G host adapter and the external enclosure. Ensure the
hard drives in the enclosure are properly powered.
Apple System Profiler - Mac OS X
1. Open the Apple System Profiler by clicking opening the Finder, opening Applications,
opening the Utilities folder, and double clicking on Apple System Profiler.
2. Select PCI Cards (Figure 14).
Figure 14: SeriTek/e6G Listed Under PCI Cards
3. Under PCI Cards section, SeriTek/e6G should show up as an “ata” card type.
4. If SeriTek/e6G is not listed, shut down the computer and try re-seating the card in the
PCI-Express slot by removing and reinserting it. Repeat steps 1 through 3. If the
SeriTek/e6G still doesn’t show up in the Apple System Profiler, try moving it to another
PCI-Express slot. (Note: If no FirmTek driver is installed the Apple Snow Leopard
embedded AHCI driver can be used)
5. If the controller is listed, but the Apple System Profiler indicates that no driver is installed,
please install the SeriTek/e6G driver found on the FirmTek CD or www.firmtek.com.

20
•The transfer rate on my Macintosh seems less than the Serial ATA specified
maximum of 500 Mbytes/sec.
The 500 MB/s speed is the theoretical limit for a PCIe 2.0 slot. This is much higher than the
performance of a single 3.5” SATA hard disk. The theoretical limit of a PCIe 1.0 slot is
250MB/s.
•Does the SeriTek/e6G work with all Macintosh computers?
No, SeriTek/e6G only works with Macintosh computers with at least one PCI-Express slot
available. If your system lacks PCI-Express slots you cannot install the SeriTek/e6G.
•My older Parallel ATA hard drives and peripherals have jumper settings.
However, I can’t find jumper settings on my new Serial ATA hard drive or
peripheral. How can I set it to Master or Slave; is there any way to set the
SCSI ID?
Serial ATA hard drives and peripherals are internally configured as Master drives. There is
no need to change settings on either the drive or the controller.
•Port Multiplication works with my Mac Pro but does not work in my Windows 7
computer with the SeriTek/e6G.
The SeriTek/e6G 6.0.1 driver provides port multiplier (PM) support for Apple computers.
The Windows 7 built in AHCI driver does not support PM enclosures with the SeriTek/e6G.
A separate PC driver on the CD can be used to enable PM on a Windows 7 PC.
•Does the SeriTek/e6G require a driver?
The FirmTek SeriTek/e6G can be used without a driver on Mac Pro systems running Mac
OS X 10.6.x. In this case, the built-in Mac OS based AHCI driver is used to control the
functions of the SeriTek/e6G. Port multiplication support is not available via AHCI. FirmTek
developed the SeriTek/e6G 6.0.1 driver for the Mac Pro so that PM enclosures can be
supported. In addition, the FirmTek SeriTek/e6G 6.0.1 driver for Mac adds other features
like hot plug support for Oxford 936 based enclosures.
VI. Product Support
Technical Support
For additional information on how to use SeriTek/e6G, download the latest firmware updates, or
for technical assistance, please visit us at www.firmtek.com, or email us at
support@firmtek.com.
Please provide the following information when contacting us:
•Product model and serial number
•Firmware version (Use the Apple System Profiler as described in the troubleshooting section
to determine the firmware version. Look for ROM # and Revision #)
•Macintosh model
•Macintosh OS type and version (example: Mac OS X, version 10.5.8)
•Hardware and software installed on your system
•Contact information including daytime telephone number and email address
•A detailed description of the question or problem
Table of contents
Popular Computer Hardware manuals by other brands

MikroTik
MikroTik RouterBOARD 411L Quick setup guide

Star Lake
Star Lake INS8266A user manual

AXIOMTEK
AXIOMTEK CEM820 Series user manual

Dialogic
Dialogic Dialogic D/480JCT-2T1-EW installation guide

Waves
Waves DMI Waves user guide

Freescale Semiconductor
Freescale Semiconductor NXP CodeWarrior USB TAP user guide

Cognex
Cognex Edge Intelligence Start guide

Supermicro
Supermicro AOC-SIM1U-3D user manual

Telit Wireless Solutions
Telit Wireless Solutions FN990 Series HW Design Guide

API
API UP2000+ user manual

Texas Instruments
Texas Instruments System-Side Impedance Track bq27500 instruction manual

Panasonic
Panasonic AJ-YAC77P installation guide