manuals.online logo
Brands
  1. Home
  2. •
  3. Brands
  4. •
  5. First Office
  6. •
  7. Indoor Furnishing
  8. •
  9. First Office intermix DEUCE User manual

First Office intermix DEUCE User manual

intermix DEUCE CONFERENCE TABLE
assembly instructions
intermix DEUCE CONFERENCE TABLE
assembly instructions
CHALK MARK
CENTER BASE
ASSEMBLY
1
2
BRIDGE RAIL
DEUCE CONFERENCE TABLE ASSEMBLY
Place conference work surface bottom side up on a
non-marring surface.
On 2 piece tops, pull both halves together so there is no
gap between them, and the edges are flush.
Do not fasten work surfaces together at this time.
Place bases near chalk marks and orient them as shown.
Larger tables will use one or two center base assemblies.
Slide bridge rail onto the hub collars of base assemblies.
Attach in place by using two (2) 1/2" phillips machine screws
on each end of the bridge rail.
Repeat for any additional base assemblies.
Series: Part #:
Verve X1
STEP ONE:
Place conference work surface bottom side up on a non-
marring surface.
On 2 piece tops, pull both halves together so there is no
gap between them, and the edges are flush.
Do not fasten work surfaces together at this time.
Place bases near chalk marks and orient them as shown.
Larger tables will use one or two center base assemblies.
STEP TWO:
Slide bridge rail onto the hub collars of base assemblies.
Attach in place by using two (2) 1/2” phillips machine
screws on each end of the bridge rail.
Repeat for any additional base assemblies.
intermix DEUCE CONFERENCE TABLE
assembly instructions
PILOT BORE
8 PLACES
PER BASE
DEUCE CONFERENCE TABLE ASSEMBLY
Align base assemblies precisely to the inside
of chalk marks.
Mark hole locations for all base assemblies and
set base assembly to the side when all holes are
marked.
Bore 9/64" diameter x 3/4" deep pilot holes where
marked.
Set base assembly upright where table is
to be located.
For two piece work surfaces, insert four (4)
dowels in holes on connecting edge.
Set both halves of table on base assembly,
align dowels with holes on other connecting
edge and pull both halves together.
Series: Part #:
Verve X1
STEP THREE:
Align base assemblies precisely to the inside of chalk
marks.
Mark hole locations for all base assemblies and set base
assembly to the side when all holes are marked.
Bore 9/64” diameter x 3/4” deep pilot holes where
marked.
STEP FOUR:
Set base assembly upright where table is to be located.
For two piece work surfaces, insert four (4) dowels in
holes on connecting edge.
Set both halves of table on base assembly, align dowels
with holes on other connecting edge and pull both halves
together.
intermix DEUCE CONFERENCE TABLE
assembly instructions
STEP FIVE:
Connect two halves to work surface together by using two
(2) joint fasteners in routed-out sections on connecting
edges.
Tighten joint fasteners with 7/16” wrench.
STEP SIX:
Access third routed-out section to install third joint
fastener by sliding work surface length-wise on base
assembly.
STEP SEVEN:
After installing all joint fasteners, slide work surface
back to its original position so the holes in the mounting
plates are aligned with the pilot holes.
Fasten work surface to mounting plates by using eight (8)
#12 x 1” phillips pan head screws per base.
1204 east sixth street telephone 800 983 4415
huntingburg, in 47542 fax orders 812 683 7256
firstoffice.com fax cs 812 683 7155
JOINT FASTENER
DEUCE CONFERENCE TABLE ASSEMBLY
Connect two halves of work surface together by using two (2)
joint fasteners in routed-out sections on connecting edges.
Tighten joint fasteners with 7/16" wrench.
Access third routed-out section to install third joint fastener
by sliding work surface length-wise on base assembly.
After installing all joint fasteners, slide work surface back to it's
original position so the holes in the mounting plates are aligned
with the pilot holes.
Fasten work surface to mounting plates by using eight (8) #12
x 1" phillips pan head screws per base.
DEUCE CONFERENCE TABLE ASSEMBLY
Series: Part #:
Verve X1
01-09-13
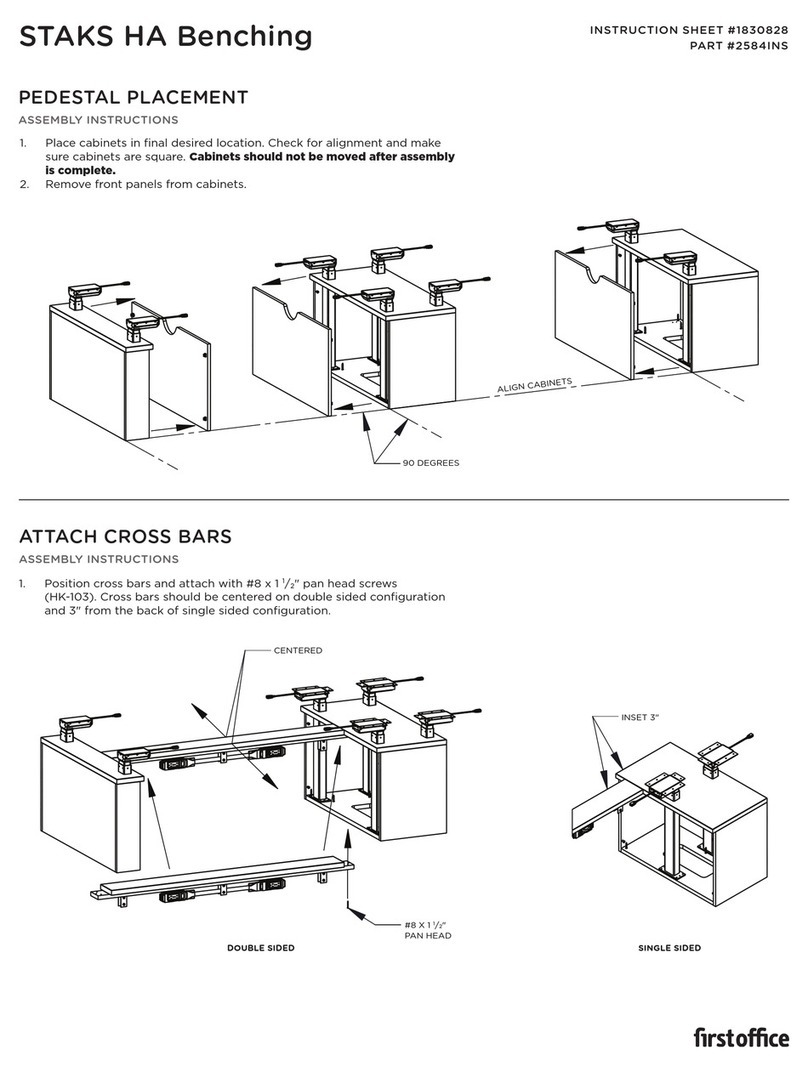
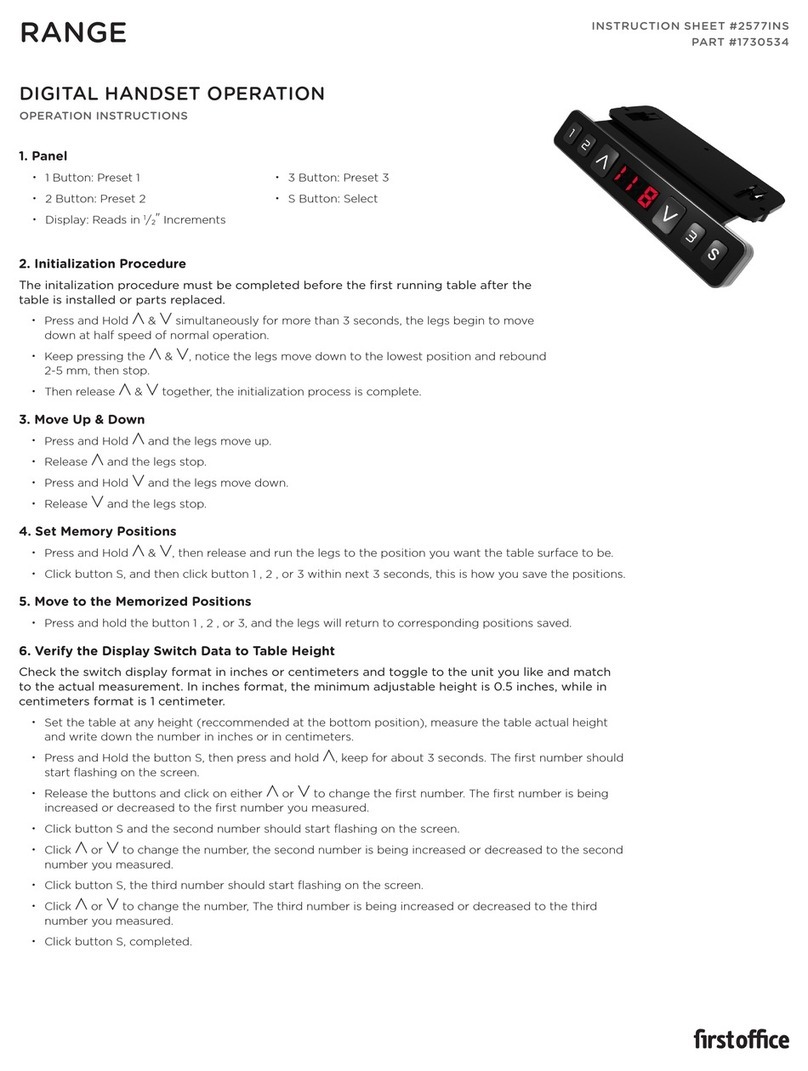
Other First Office Indoor Furnishing manuals

First Office STAKS User manual

First Office

First Office STAKS User manual

First Office COACT User manual

First Office

First Office COACT User manual

First Office STAKS HA User manual

First Office

First Office STAKS HA User manual

First Office intermix User manual

First Office

First Office intermix User manual

First Office HEIGHT ADJUSTABLE TABLE User manual

First Office

First Office HEIGHT ADJUSTABLE TABLE User manual

Popular Indoor Furnishing manuals by other brands

Modular Closets Cubby Insert 18" Assembly and installation instructions

Modular Closets

Modular Closets Cubby Insert 18" Assembly and installation instructions

RuumStore VEGA manual

RuumStore

RuumStore VEGA manual

Mansion schools PT-7248 Assembly instructions

Mansion schools

Mansion schools PT-7248 Assembly instructions

DITALIA RC-50 Assembly manual

DITALIA

DITALIA RC-50 Assembly manual

Cooper Lighting nooray 23ADIW Specification sheet

Cooper Lighting

Cooper Lighting nooray 23ADIW Specification sheet

Inside Weather ACE LOUNGE CHAIR manual

Inside Weather

Inside Weather ACE LOUNGE CHAIR manual

Yardistry YM11515 installation manual

Yardistry

Yardistry YM11515 installation manual

Atmos Chair 51 D operating instructions

Atmos

Atmos Chair 51 D operating instructions

sweeek. CAMILLE IKSCAM7 manual

sweeek.

sweeek. CAMILLE IKSCAM7 manual

FMD Furniture MADAGASKAR 3 806-003 Assembly instructions

FMD Furniture

FMD Furniture MADAGASKAR 3 806-003 Assembly instructions

American Standard Acrylux 36"x 36" Shower Base 3636Y1.ST Specification sheet

American Standard

American Standard Acrylux 36"x 36" Shower Base 3636Y1.ST Specification sheet

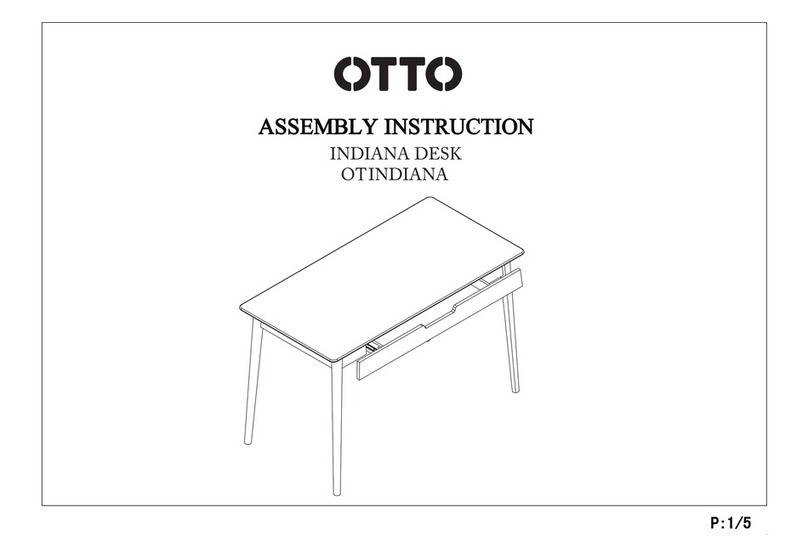
Otto INDIANA DESK Assembly instruction

Otto

Otto INDIANA DESK Assembly instruction

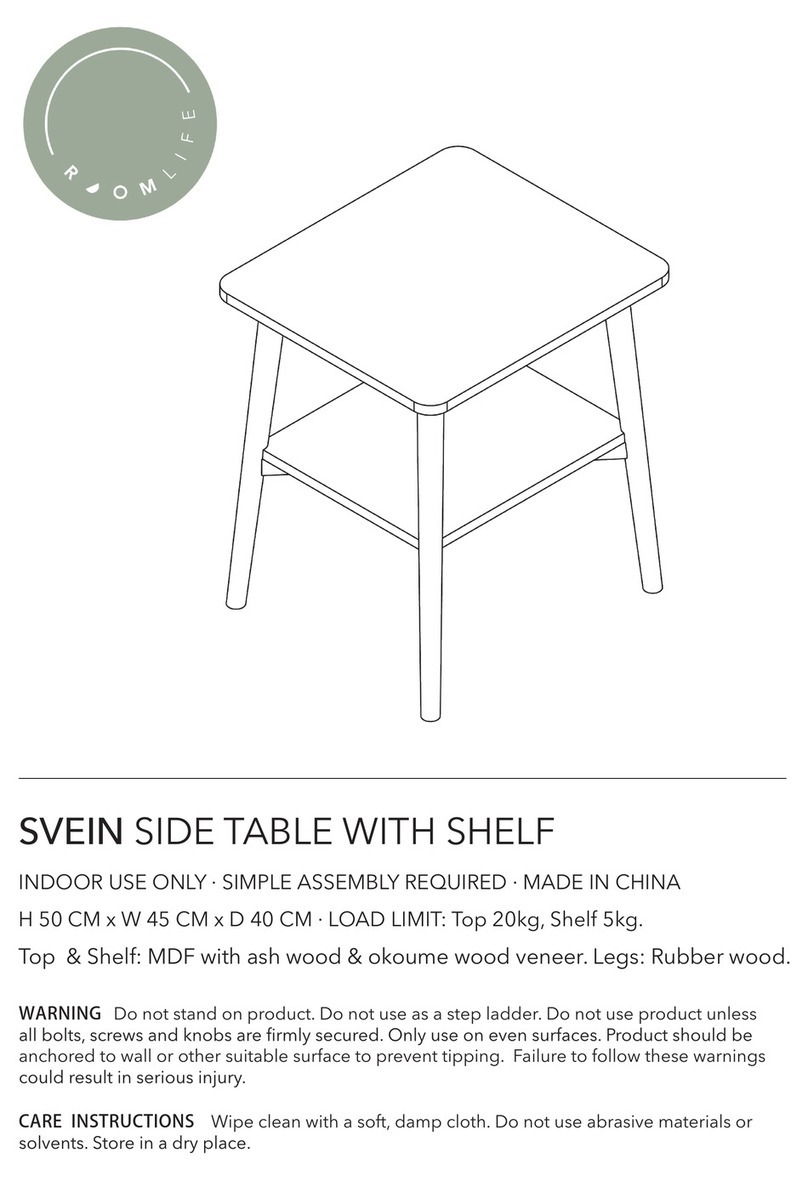
Target SVEIN SIDE TABLE WITH SHELF manual

Target

Target SVEIN SIDE TABLE WITH SHELF manual

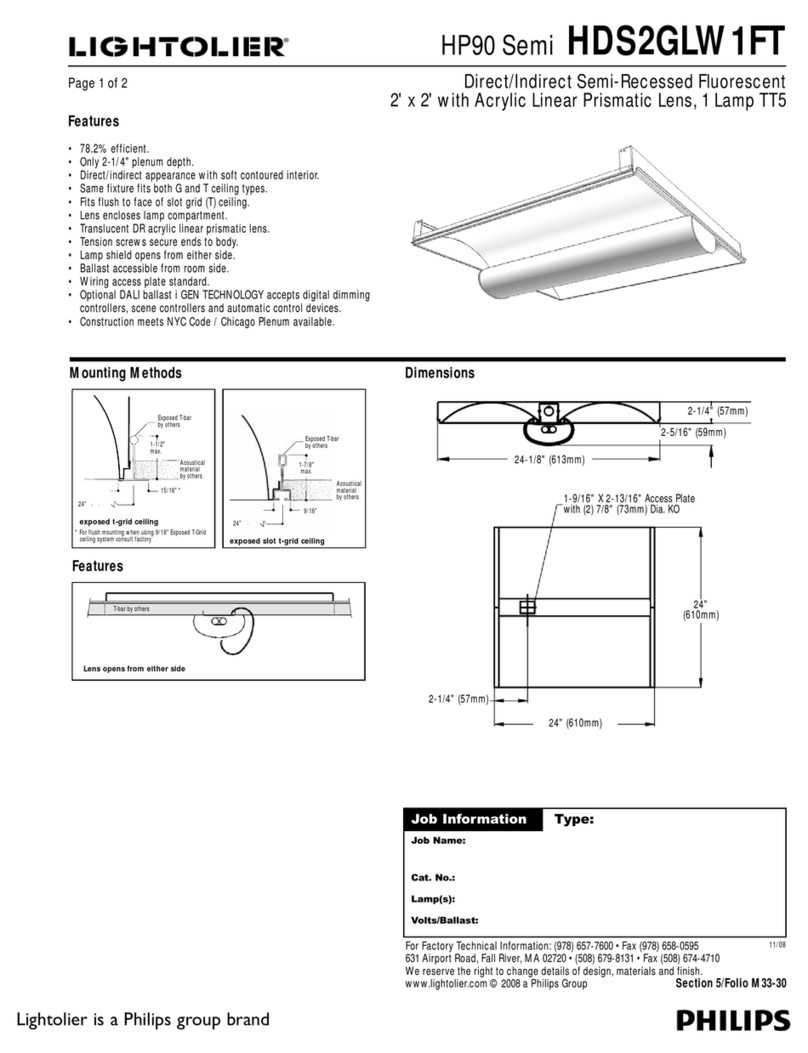
Lightolier HDS2GLW1FT specification

Lightolier

Lightolier HDS2GLW1FT specification

fantastic furniture LONGREACH Bed King Maple Assembly instructions

fantastic furniture

fantastic furniture LONGREACH Bed King Maple Assembly instructions

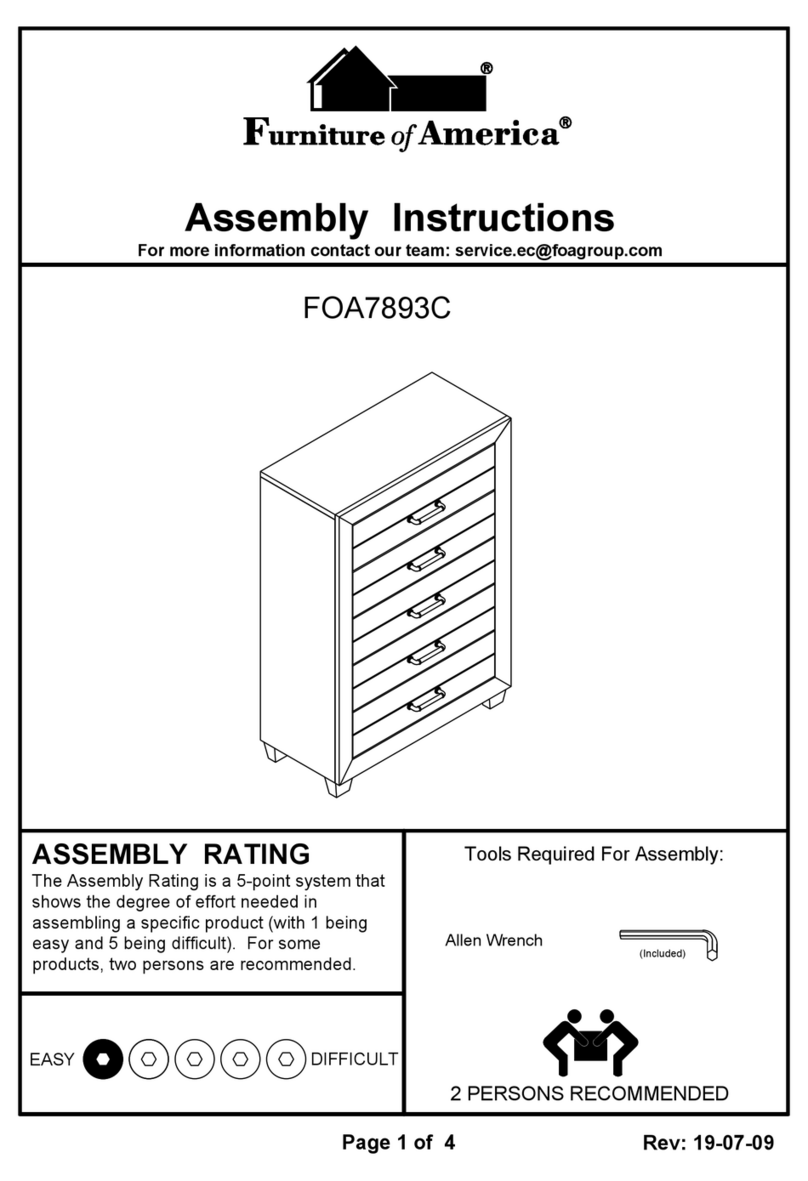
Furniture of America FOA7893C Assembly instructions

Furniture of America

Furniture of America FOA7893C Assembly instructions

Classic Exhibits visionary DESIGNS MOD-1702 manual

Classic Exhibits

Classic Exhibits visionary DESIGNS MOD-1702 manual

Forte CHXV7111L Assembling Instruction

Forte

Forte CHXV7111L Assembling Instruction

manuals.online logo
manuals.online logoBrands
  • About & Mission
  • Contact us
  • Privacy Policy
  • Terms and Conditions

Copyright 2025 Manuals.Online. All Rights Reserved.