manuals.online logo
Brands
  1. Home
  2. •
  3. Brands
  4. •
  5. First Office
  6. •
  7. Indoor Furnishing
  8. •
  9. First Office intermix User manual

First Office intermix User manual

intermix CONFERENCE TOP WITH PEDESTAL BASE
assembly instructions
intermix CONFERENCE TOP WITH PEDESTAL BASE
assembly instructions
STEP ONE:
Place Beams with beveled back side facing
up on soft surface (to prevent sctratching.)
Beams should be end to end, bored ends to
the outside, with no gap between the beams.
Align grooves on the beams and slide the
J-channel until it is centered on the two
beams.
Screw J-channel to beams using twelve (12)
#8 x 5⁄8” pan head screws on each
J-channel.
STEP TWO:
Position first L-brackets on top edge of beam
approximately 12" from each end of beams.
Space remaining L-brackets evenly along top
of beam 12-19" apart.
Attach to beam using two (2) #8 x 5/8" pan
head screws per bracket.
BEAM TABLE ASSEMBLY
Series: Part #:
Verve X1
STEP ONE:
Place beams with beveled back side facing up on soft
surface (to prevent scratching).
Beams should be end to end, bored ends to the outside,
with no gap between the beams.
Align grooves on the beams and slide the J-channel until
it is centered on the two beams.
Screw J-channel to beams using twelve (12) #8 x 5/8”
pan head screws on each J-channel.
STEP TWO:
Position first L-brackets on top edge of beam
approximately 12” from each end of beams.
Spacing remaining L-brackets evenly along top of beam
12-19” apart.
Attach to beam using two (2) #8 x 5/8” pan head screws
per bracket.
intermix CONFERENCE TOP WITH PEDESTAL BASE
assembly instructions
STEP THREE:
Place bases in desired location. Power/Data outlet location should
be considered if power supplies are used.
Place beams inside of opening so there is no gap between the beam
and the mending plate on the base. The J-channel edge of the beam
should be towards the floor.
Using a 3⁄16” drill bit, pre-drill holes for the lag bolts through the
beam into the base.
Drive lag bolts through the beams into the base and tighten securely.
Level the base beam assembly at this time. Level should be placed
only on the mending plates while leveling since a “crown” is built into
the beams.
STEP FOUR:
Place top sections on base/beam assembly as shown.
Align dowels with matching holes and pull tops tightly together.
BEAM TABLE ASSEMBLY
Series:
Part #:
Verve X1
STEP THREE:
Place bases in desired location. Power/Data outlet location should
be considered if power supplies are used.
Place beams inside of opening so there is no gap between the beam
and the mending plate on the base. The J-channel edge of the beam
should be towards the floor.
Using a 3⁄16” drill bit, pre-drill holes for the lag bolts through the
beam into the base.
Drive lag bolts through the beams into the base and tighten securely.
Level the base beam assembly at this time. Level should be placed
only on the mending plates while leveling since a “crown” is built into
the beams.
STEP FOUR:
Place top sections on base/beam assembly as shown.
Align dowels with matching holes and pull tops tightly together.
BEAM TABLE ASSEMBLY
Series: Part #:
Verve X1
STEP THREE:
Place bases in desired location. Power/Data outlet
location should be considered if power supplies are used.
Place beams inside of opening so there is no gap
between the beam and the mending plate on the base.
The J-channel edge of the beam should be towards
the floor.
Using a 3/16” drill bit, pre-drill holes for the lag bolts
through the beam into the base.
Drive lag bolts through the beams into the base and
tighten securely.
Level the base beam assembly at this time. Level should
be placed only on the mending plates while leveling
since a “crown” is built into the beams.
STEP FOUR:
Place top sections on base/beam assembly as shown.
Align dowels with matching holes and pull tops
tightly together.
intermix CONFERENCE TOP WITH PEDESTAL BASE
assembly instructions
JOINT
FASTENER
CLAMP
PLATE
CHALK MARK
MENDING PLATE
L-BRACKET
STEP FIVE:
Insert three (3) joint fasteners into routed sections
on bottom side of worksurface.
Tighten joint fasteners with open end wrench.
Position two (2) clamp plates over outer joint
fasteners and screw to worksurface using eight
(8) #8 x 5/8" flat head screws.
BEAM TABLE ASSEMBLY
STEP SIX:
Position worksurface so the chalk marks on the
bottom side of the worksurface are aligned with
mending plates.
Secure worksurface to base/beam assembly using
ten (10) #8 x 1 1/2" flat head screws per base and
two (2) #8 x 5/8" pan head screws for each L-
bracket.
Series: Part #:
Verve X1
STEP FIVE:
Insert three (3) joint fasteners into routed sections on
bottom side of worksurface.
Tighten joint fasteners with open end wrench.
Position two (2) clamp plates over outer joint fasteners
and screw to worksurface using eight (8) #8 x 5/8” flat
head screws.
STEP SIX:
Position worksurface so the chalk marks
on the bottom side of the worksurface are
aligned with mending plates.
Secure worksurface to base/beam assembly
using ten (10) #8 x 1 1/2” flat head screws
per base and two (2) #8 x 5/8” pan head
screws for each L-bracket.
JOINT
FASTENER
CLAMP
PLATE
CHALK MARK
MENDING PLATE
L-BRACKET
STEP FIVE:
Insert three (3) joint fasteners into routed sections
on bottom side of worksurface.
Tighten joint fasteners with open end wrench.
Position two (2) clamp plates over outer joint
fasteners and screw to worksurface using eight
(8) #8 x 5/8" flat head screws.
BEAM TABLE ASSEMBLY
STEP SIX:
Position worksurface so the chalk marks on the
bottom side of the worksurface are aligned with
mending plates.
Secure worksurface to base/beam assembly using
ten (10) #8 x 1 1/2" flat head screws per base and
two (2) #8 x 5/8" pan head screws for each L-
bracket.
Series: Part #:
Verve X1
1204 east sixth street telephone 800 983 4415
huntingburg, in 47542 fax orders 812 683 7256
firstoffice.com fax cs 812 683 7155 07-13-12
Other First Office Indoor Furnishing manuals

First Office intermix DEUCE User manual

First Office

First Office intermix DEUCE User manual

First Office STAKS User manual

First Office

First Office STAKS User manual

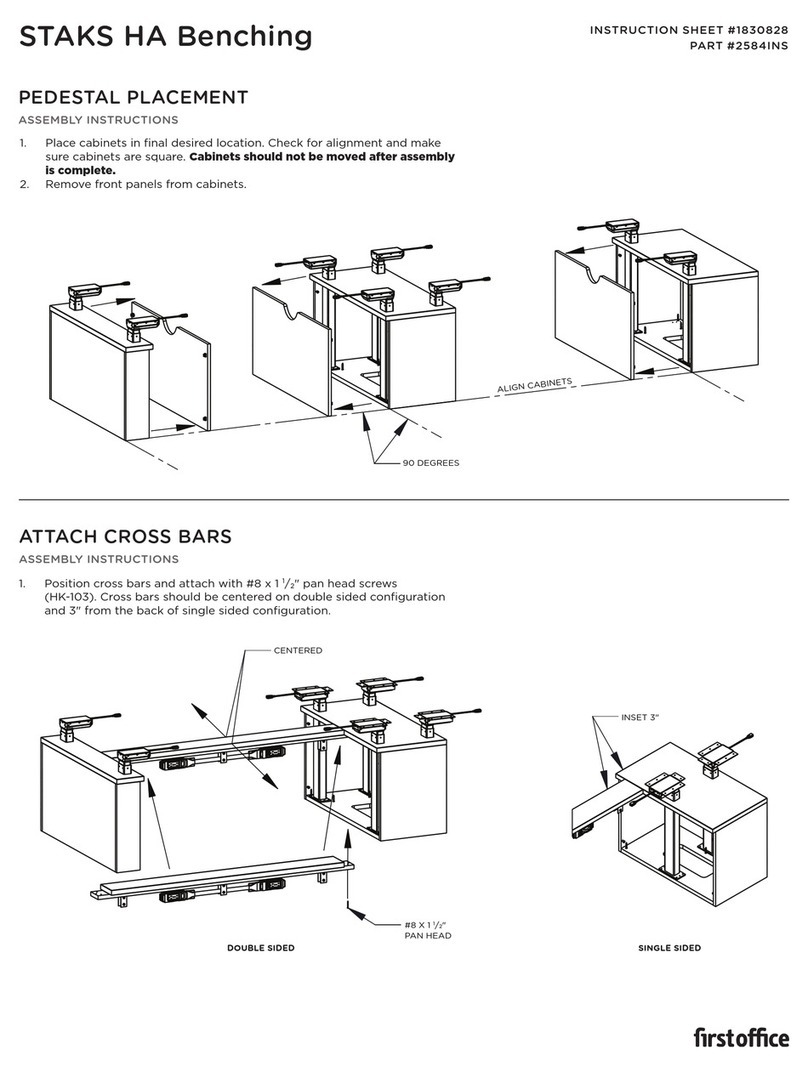
First Office STAKS HA User manual

First Office

First Office STAKS HA User manual

First Office COACT User manual

First Office

First Office COACT User manual

First Office HEIGHT ADJUSTABLE TABLE User manual

First Office

First Office HEIGHT ADJUSTABLE TABLE User manual

Popular Indoor Furnishing manuals by other brands

mlmeble ARTIS 08 Assembling Instruction

mlmeble

mlmeble ARTIS 08 Assembling Instruction

XROCKER infiniti 5106001 user manual

XROCKER

XROCKER infiniti 5106001 user manual

my home Delea 6924192090 Assembly instructions

my home

my home Delea 6924192090 Assembly instructions

mlmeble IQ 06 Assembling Instruction

mlmeble

mlmeble IQ 06 Assembling Instruction

Dura-Max 68032 manual

Dura-Max

Dura-Max 68032 manual

Home Styles 6801-401 quick start guide

Home Styles

Home Styles 6801-401 quick start guide

J D Williams OSLO 3 DRAWER Assembly instructions

J D Williams

J D Williams OSLO 3 DRAWER Assembly instructions

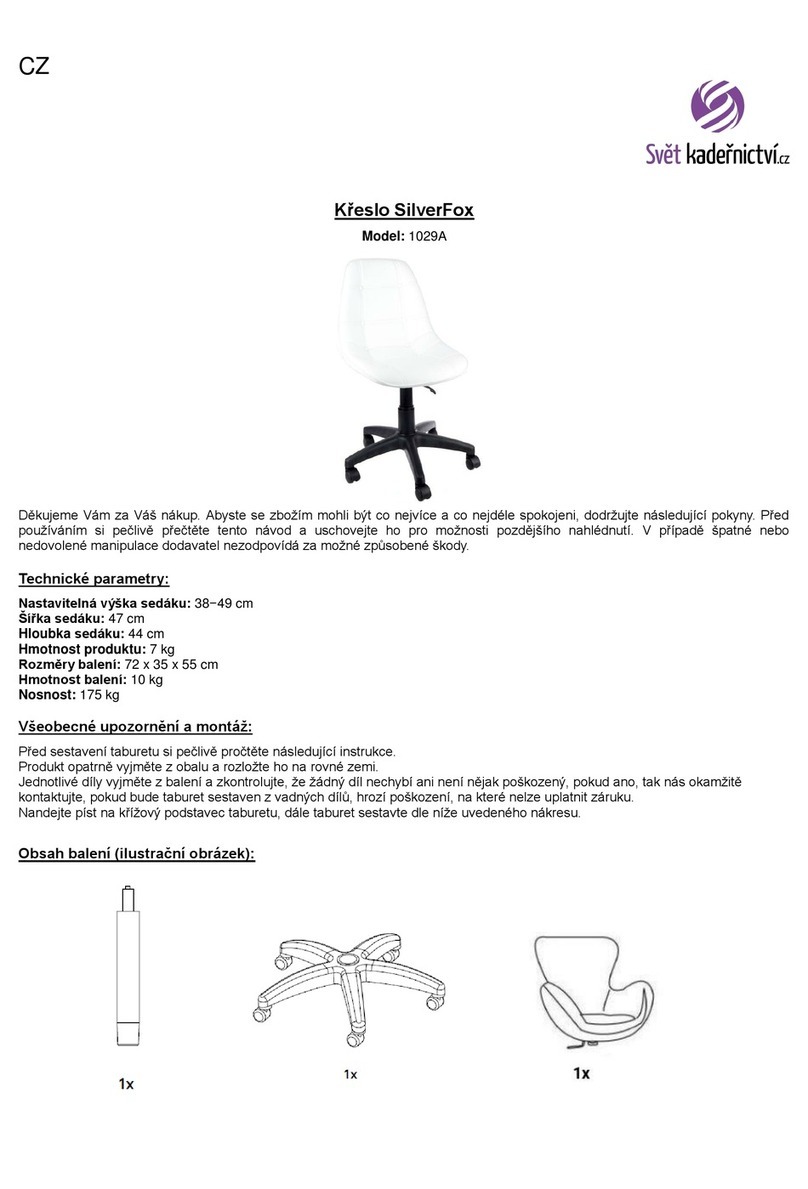
Silver Fox 1029A manual

Silver Fox

Silver Fox 1029A manual

Home Styles 88 9001 002C Assembly instructions

Home Styles

Home Styles 88 9001 002C Assembly instructions

Happy Beds DURHAM Wooden Bunk Bed Assembly instructions

Happy Beds

Happy Beds DURHAM Wooden Bunk Bed Assembly instructions

HAMPTON BAY FCS00015Y2PKBWC Use and care guide

HAMPTON BAY

HAMPTON BAY FCS00015Y2PKBWC Use and care guide

RIGHT ANGLE 4 Vuelta Series Assembly instructions

RIGHT ANGLE

RIGHT ANGLE 4 Vuelta Series Assembly instructions

Fromm&Starck STAR MCAB 08 user manual

Fromm&Starck

Fromm&Starck STAR MCAB 08 user manual

SouthShore 5050 Assembly instructions

SouthShore

SouthShore 5050 Assembly instructions

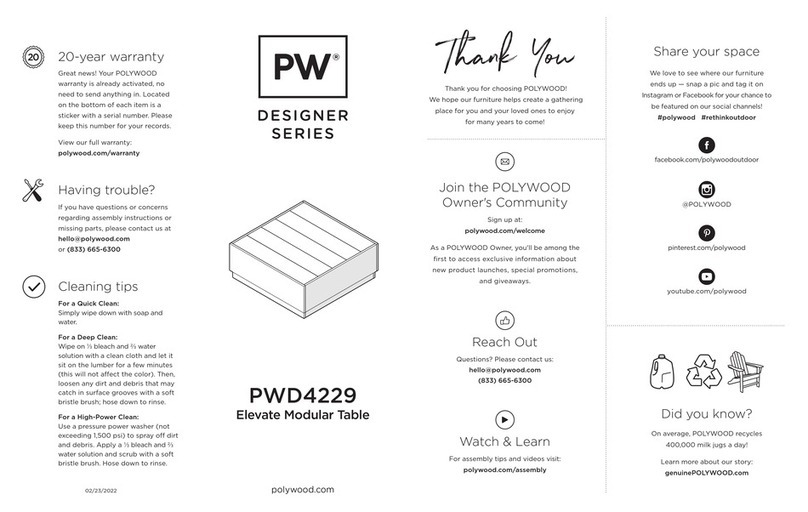
Polywood Designer Series Assembly instructions

Polywood

Polywood Designer Series Assembly instructions

HAMPTON BAY FCS80433-2PKA Use and care guide

HAMPTON BAY

HAMPTON BAY FCS80433-2PKA Use and care guide

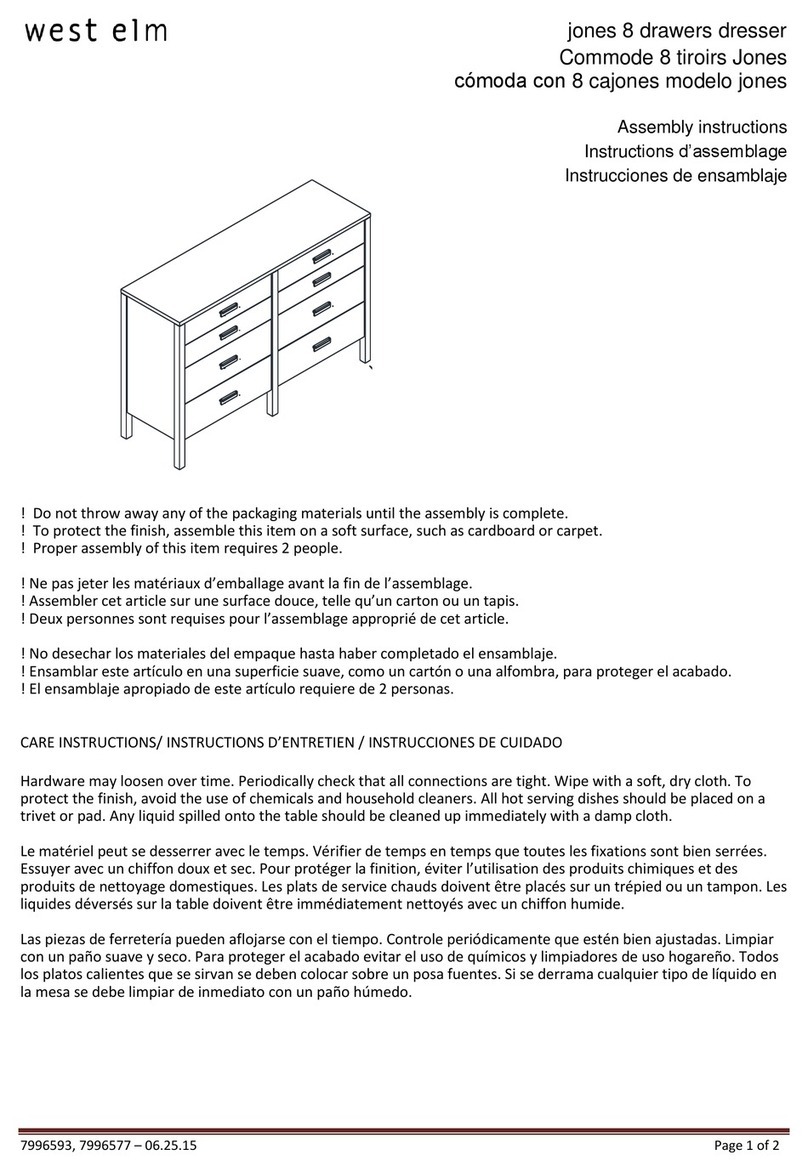
West Elm Jones 8 drawers dresser 7996593 Assembly instructions

West Elm

West Elm Jones 8 drawers dresser 7996593 Assembly instructions

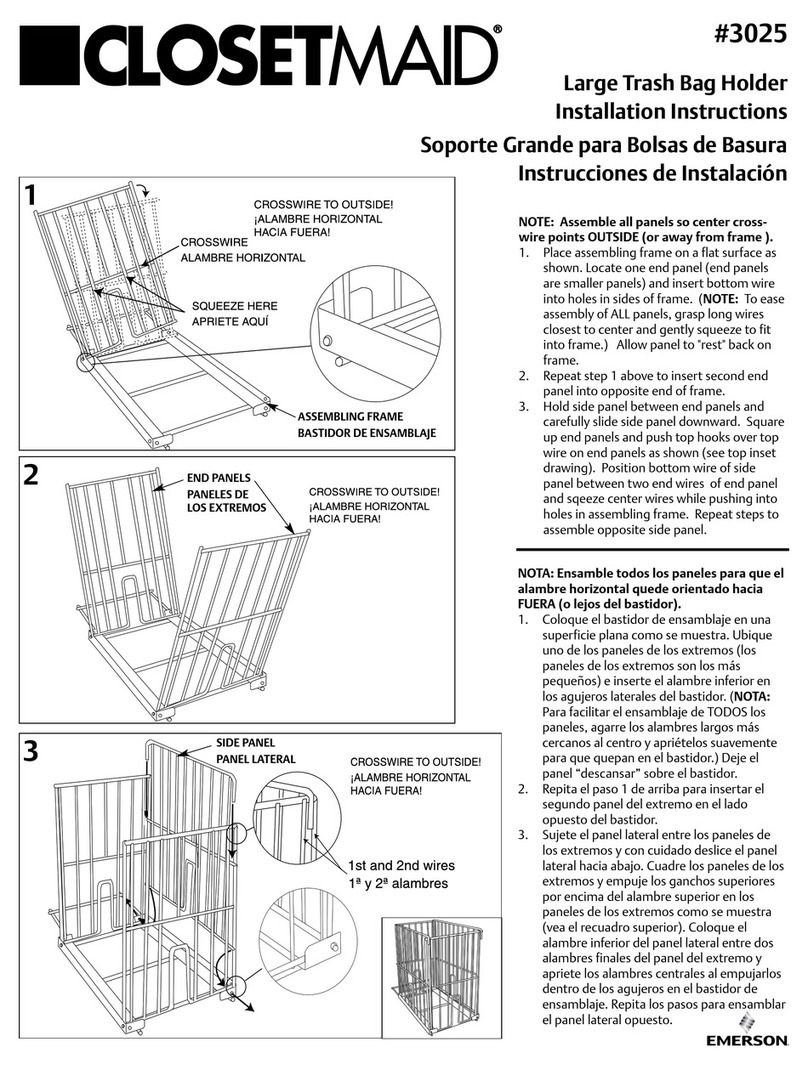
Closet Maid Large Trash Bag Holder 3025 installation instructions

Closet Maid

Closet Maid Large Trash Bag Holder 3025 installation instructions

manuals.online logo
manuals.online logoBrands
  • About & Mission
  • Contact us
  • Privacy Policy
  • Terms and Conditions

Copyright 2025 Manuals.Online. All Rights Reserved.