manuals.online logo
Brands
  1. Home
  2. •
  3. Brands
  4. •
  5. Flagger Joe
  6. •
  7. Patio Furniture
  8. •
  9. Flagger Joe FJ-SSUMB10 User manual

Flagger Joe FJ-SSUMB10 User manual

FlaggerJoe Assembly Instructions
Item: FJ-SSUMB10 - Safety Sign System
A = Umbrella Canopy
B = Lower Umbrella Pole
C = Double Flag Finial
D = Flags (2)
E = Sign Mount
F = 34” Black PVC Post
G = Extra Top Pole for Wind
H = Carry / Storage Bag
J = 24” Black PVC Post
K = Rolling Base
Step 1
Slide 24” black pvc post (J) into center post of rolling base (K). Line up hole in “J”
with threaded knob. See figure 1
Step 2
Slide lower umbrella pole (B) into 24” black PVC post (J). Hand tighten threaded
knob pictured in Figure 1.
Step 3
Open umbrella canopy (A) –Slide pin into the highest position so the canopy is
now open and secure. See Figure 2.
Step 4
Remove protective cap on the top of the umbrella canopy (A) and screw
Double Flag Finial (C) into position.
TM
Questions: Call Customer Service at 888-329-3436
Use “G” when wind is present
x2
Note:
“E” ships separately
Note:
“J” and “K” ship separately
Note: 40lb Sand Bag/Weight required but not included
Figure 1
Figure 2
A
Step 5
Insert both Flags (D) into Double Flag Finial (C) –Position flags properly.
Step 6
Slide 34” black pvc post (F) into the bottom of the Sign Mount (E) and tighten 1” from
the top of the pvc post. This position will allow for the Stop/Slow Signs to sit 6’ off the
ground. See Figure 3.
Step 7
While the umbrella canopy (A) is on the ground –Slide the Sign Mount and pvc post
(E&F) onto the umbrella pole. Make sure the entire post slides past the push
button and up the pole. See Figure 4.
Figure 3
Figure 4
FRONT
FlaggerJoe
FRONT PAGE
FlaggerJoe Assembly Instructions
Item: FJ-SSUMB10 - Safety Sign System
A = Umbrella Canopy
B = Lower Umbrella Pole
C = Double Flag Finial
D = Flags (2)
E = Sign Mount
F = 34” Black PVC Post
G = Extra Top Pole for Wind
H = Carry / Storage Bag
J = 24” Black PVC Post
K = Rolling Base
Step 8
Connect umbrella canopy (A) with lower umbrella pole (B) by either lifting the
umbrella off the ground and inserting the top pole into the bottom pole or move
the rolling base over to the umbrella pole and connect while on the ground.
Make sure button pops out of hole in the side of the lower umbrella pole (B)
Step 9
Stand the umbrella up.
Step 10
Inspect the double flags to make sure they are visible to oncoming traffic. If out
of position, tilt the umbrella down and re-position by rotating “C”. See Figure 5.
Questions: Call Customer Service at 888-329-3436
Use “G” when wind is present
x2
Note:
“E” ships separately
Note:
“J” and “K” ship separately
Note: 40lb Sand Bag/Weight required but not included
Figure 5
Step 11
Insert Stop/Slow signs on to sign mount (E). The center arm is spring loaded and will lift
upwards. With one hand positioned on the bottom of the sign and the other hand holding the
34” black pvc post (F) in place - push the sign up into the center
slot of the upper arm. The arm will move upwards allowing for the bottom of the
sign to drop into the lower arms. See Figure 6.
Step 12
Add 40lb Sand Bag/Weight to the Rolling Base.
Step 13
When job is complete, store parts and all other
components in FlaggerJoe carry/storage bag (H).
NOTE: Intended Use Statement
Remove canopy when winds exceeds 10 –15 miles per hour.
Never position the drop down sun flap towards oncoming traffic
When wind is present, never leave FlaggerJoe unattended.
Figure 6
Push Sign Up Into Place
BACK
Finished Assembly
BACK PAGE
Note: Stop/Slow Signs Not Included
FlaggerJoe Assembly Instructions
Item: FJ-SSUMB10 –Safety Sign System
A = Umbrella Canopy
B = Lower Umbrella Pole
C = Double Flag Finial
D = Flags (2)
E = Sign Mount
F = 34” Black PVC Post
G = Extra Top Pole
H = Carry / Storage Bag
WHEN WIND IS PRESENT
Step 1
Remove Stop/Slow Signs from sign mount (E).
Step 2
Lean the umbrella on the ground. See Figure 1. Push button “In” on the side of the
lower umbrella pole (B). Pull umbrella canopy (A) away from lower umbrella pole (B).
Remove Sign Mount (E&F) from the umbrella canopy pole and lay on the ground.
Step 3
Close the umbrella canopy and remove the double flag finial and flags from the
top of the umbrella. Store umbrella canopy (A) back in FlaggerJoe storage/carry
Bag (H).
Step 4
Remove the protective cap on top of the extra top pole (G) and screw on
the Double Flag Finial (C) into position. Add flags.
Step 5
Slide the 34” black pvc post (E&F) onto the Top pole (G) Make sure the entire
post slides past the push button and up the pole. See Figure 3.
TM
Questions: Call Customer Service at 888-329-3436
x2
Note:
“E” ships separately
Note: 40lb Sand Bag/Weight required but not included
Step 6
Connect the lower pole (B) with the Top pole (G). Make sure the button on the Top pole
of (G) pops out of the side of the lower pole (B) and is secure.
Step 7
Inspect double Flags position compared to oncoming traffic and signs. Adjust if needed.
Step 8
Insert Stop/Slow signs on to sign mount (E). The center arm is spring loaded and
will lift upwards. With one hand positioned on the bottom of the sign and the other
hand holding the 34” black pvc post (F) in place - push the sign up into the center
slot of the upper arm. The arm will move upwards allowing for the bottom of the sign
to drop into the lower arms. See Figure 4.
Step 10
Add 40lb Sand Bag/Weight to the Rolling Base.
Step 11
When job is complete, store parts and all other
components in “H”.
FlaggerJoe
Figure 3
Push Sign
Up Into Place
Figure 4
Note: Stop/Slow Signs Not Included
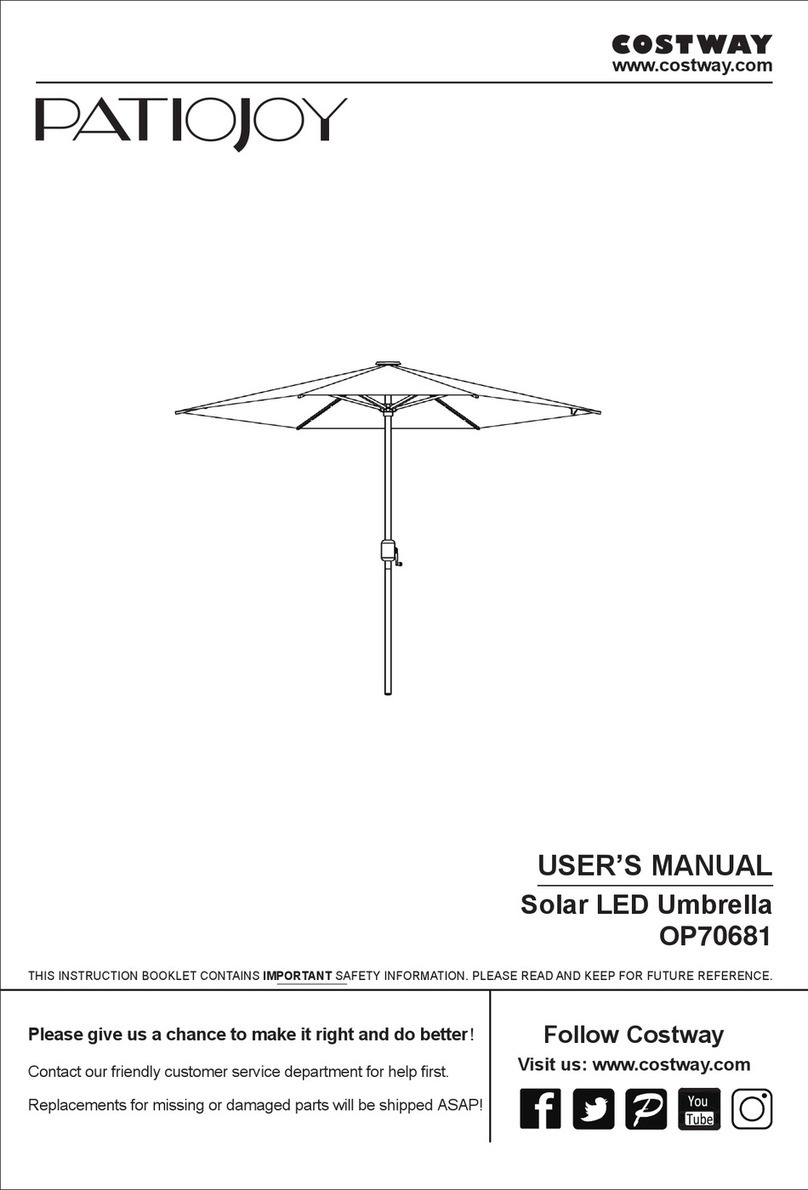
Finished Assembly
Figure 1 Button
PAGE 2
B

Popular Patio Furniture manuals by other brands

shelta Palazzo instructions

shelta

shelta Palazzo instructions

Tuuci OCEAN MASTER M1 CANTILEVER quick start guide

Tuuci

Tuuci OCEAN MASTER M1 CANTILEVER quick start guide

Shademaker Libra Series owner's manual

Shademaker

Shademaker Libra Series owner's manual

Schaffner SANTIS 1466 Assembly instructions

Schaffner

Schaffner SANTIS 1466 Assembly instructions

paramondo parakoala installation instructions

paramondo

paramondo parakoala installation instructions

StyleWell FLS00036G Use and care guide

StyleWell

StyleWell FLS00036G Use and care guide

Kozyard KZL527 Assembly instructions

Kozyard

Kozyard KZL527 Assembly instructions

Garden Oasis 534-2222-643 owner's manual

Garden Oasis

Garden Oasis 534-2222-643 owner's manual

siena GARDEN 672.608 Assembly instruction

siena GARDEN

siena GARDEN 672.608 Assembly instruction

Royalcraft 735340 Assembly instructions

Royalcraft

Royalcraft 735340 Assembly instructions

Proshade 1031592 Assembly instructions

Proshade

Proshade 1031592 Assembly instructions

Style selections YJAUC-165D-1 quick start guide

Style selections

Style selections YJAUC-165D-1 quick start guide

Loll Designs LOLLYGAGGER LOUNGE ASSEMBLY INSTRUCTIONS & PRODUCT INFO

Loll Designs

Loll Designs LOLLYGAGGER LOUNGE ASSEMBLY INSTRUCTIONS & PRODUCT INFO

Glatz SUN COMFORT PSV16 FITTING INSTRUCTION

Glatz

Glatz SUN COMFORT PSV16 FITTING INSTRUCTION

MDT-tex TYPE T user guide

MDT-tex

MDT-tex TYPE T user guide

Broan NuTone Premier brochure

Broan

Broan NuTone Premier brochure

Corradi Pergotenda Flux installation manual

Corradi

Corradi Pergotenda Flux installation manual

Costway GT4031 manual

Costway

Costway GT4031 manual

manuals.online logo
manuals.online logoBrands
  • About & Mission
  • Contact us
  • Privacy Policy
  • Terms and Conditions

Copyright 2025 Manuals.Online. All Rights Reserved.