FlexiForce 9700W User manual

03-11-2016
MANUAL
9700W WIRELESS KEYPAD

BI-CHANNEL RF LEARNING
OPERATION FOR OUTPUT OF CH1 & CH2
PARTIAL CODE DELETION or REPLACEMENT
To delete or replace one ot more stored codes, act as below:
Press and hold S1 until LED goes off.
Release S1 and LED starts flashing at low rate from 1 to 30.
Count the numner of flashes and press S1 again at the number of stored memory you wish to delete.
And then it enters into RF LEARNING MODE.
Press a remote control button to replace the code in selected memory cell.
OR
Wait till the LED goes off to free this memory cell.
A memory can be stored in CH1 or CH2 by pressing S1 button choose the channel
Press S1, and LED “CH1” lights on.
Now it enters into RF learing mode for CH1.
Press a remote control button wished to be used until the LED :CH1” goes off, and then flashes.
The numner of LED flashes indicates the number of sequesence that occupies memory cells.
Press S1, and LED “CH1” lights on.
Press S1 gain, LED “CH1” lights off and LED “CH2” lights on.
Now it enters into RF learning mode for CH2.
Press a remote control button wished to be used until the LED” CH2” goes off, and then flashes.
The number of LED flashes indicates the numner of sequence that occupies memory cells.
It can be stored up to 30 different codes of remote controls (CH1 + CH2).
The relay of CH1 or CH2 stayed closed as long as the learned remote control button is pushed.
Release the button, the relay opens.
RESET
Disconnect DC power.
Press and hold S1 while reconnecting DC power
Upon reconnection, the LEDs flash 6 times to indicate all stored memories of codes have been erased.
SPECIFICATION
Frequency:
Input:
Consumption:
Sensibilty:
Size:
Weight:
Memories:
433.92 MHz
12/24V DC
15mA stand- by
>-103dBm (@S/N=17dB, m=100%)
132×30×67mm
105g
30 max. (CH1 + CH2)
ANT (External Antenna)
GND
CH2
CH1
V+ (+12/24V)
V- (GND)

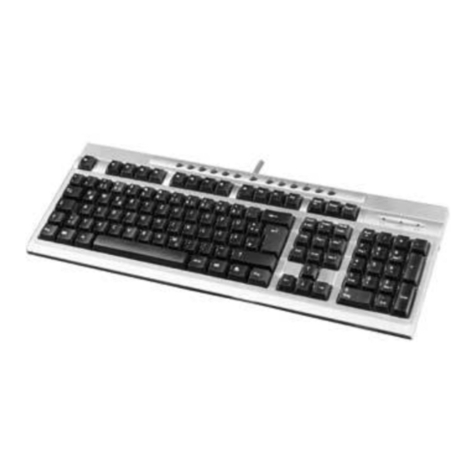
Wireless Keypad
General description
1. There are 9 Channels available. Each Channel only accepts 1 set of Channel
Code (but this Channel Code can be reset repeatedly). Besides, each code is
composed of 1 ~ 8 digits.
2. The first digit must be the same number as the Channel Number selected.
For example, the code for Channel 1 is: 1XX
the code for Channel 2 is: 2XXX
-------------------------------
the code for Channel 9 is: 9XXXXXX
3. If the Channel Code is correctly entered, the RF signal of that Channel could be
sent, with L1, L2 on for 3 seconds, indicating the signal has been sent.
4. Whenever there’s an error, L1, L2 will flash fast for 4 seconds, and be off,
meaning there’s an error.
Reset Installation Code
1. Remove the battery.
2. Press “CLEAR” button and put the battery back. Wait 3 seconds; L1, and L2 will
flash 5 times with 5 short beeps.
3. Release “CLEAR” button, and the Installation Code is now reset to 999999.
Change Installation Code
1. Press ENTER + 999999 (default value) + ENTER => L1, L2 will be on for 3
seconds. After a long beep, L1, L2 will be off.
2. Press 1 + ENTER => L1 will be on, with a short beep, + 999999 + ENTER =>
L1 will be on, with a short beep.
L1 L2

3. Enter a 6-digit code. Ex.: XXXXXX + ENTER => L1 will be on, with a short beep.
4. Enter the above code again to confirm the new code => Ex.: => XXXXXX +
ENTER => L1, L2 will be on for 4 seconds, with a long beep, and L1, L2 will be
off, implying the Installation Code has been successfully changed.
Set a Channel Code
1. Press ENTER + Installation Code + ENTER => L1, L2 will be on for 3 seconds,
with a long beep, and L1, L2 will be off.
2. Press 2 + ENTER => L2 is on, with 2 short beeps, and L2 remains on, entering
Channel Code Setting Mode.
3. Select a desired Channel Number (1 ~9) + ENTER => there will be a short
beep, and L2 remains on.
4. Enter a desired Channel Code (1 to 8 digits) + ENTER => there will be a short
beep, and L2 remains on.
5. Enter the code again to confirm the Channel Code.
XXXXXXXX + ENTER => L1, L2 will be on for 4 seconds, with a 4-second long
beep, and L1, L2 will be off along.
6. A second setting can overwrite a previously set Channel Code.
Delete a Channel Code
1. Press ENTER + 6-digit Installation Code + ENTER => L1, L2 will be on for 3
seconds, with a long beep, and L1, L2 will be off.
2. Press 2 + ENTER => L2 will be on, with 2 short beeps, and L2 will be on,
entering Channel Code setting mode.
3. Select a Channel Number(1~9) that you intend to delete + ENTER
Channel Number + ENTER => there will be a short beep, and L2 will be on.
4. Enter the command of deletion
Press 0 + ENTER => there will be a short beep, and L2 will be on.
5. Enter the above command again to confirm the deletion.
Press 0 + ENTER => L1, L2 will be on, with a 4-second long beep, and L1, L2
will be off.
Battery indication
1. The battery voltage is normal if you hear a beep when any single button is
pressed.
2. The battery voltage is about half-discharged if you hear 2 beeps when any
single button is pressed. No setting is available at this moment. Only RF
transmission is allowed.
3. The battery needs to be replaced if you hear 3 beeps.

Match the keypad to the receiver :
For fuher installation details we refer to the
installation manual included in our products.
Installation Receiver :
Q
Keypad:
Table of contents


