Floor iQ D4.0 User manual
INSTRUCTION MANUAL
D4.0

T A B L E O F C O N T E N T S
1. INTRODUCTION
Introduction 3
4
4
4
5
6
7
7
8
2. DEVICE DESCRIPTION
Applications
Accessories
Safety function
3.SAFETY GUIDELINES
Environmental conditions
Protective equipment
Electrical hazards
Milling blades
Warning symbols
4. MANDATORY CHECKS BEFORE USE
5. OPERATION
Removing the milling blade
Mounting the milling blade
Setting the depth
Activating/deactivating
The propulsion system
11
12
12
13
13
6. MAINTENANCE
7. TECHNICAL DATA
14
15
9/10

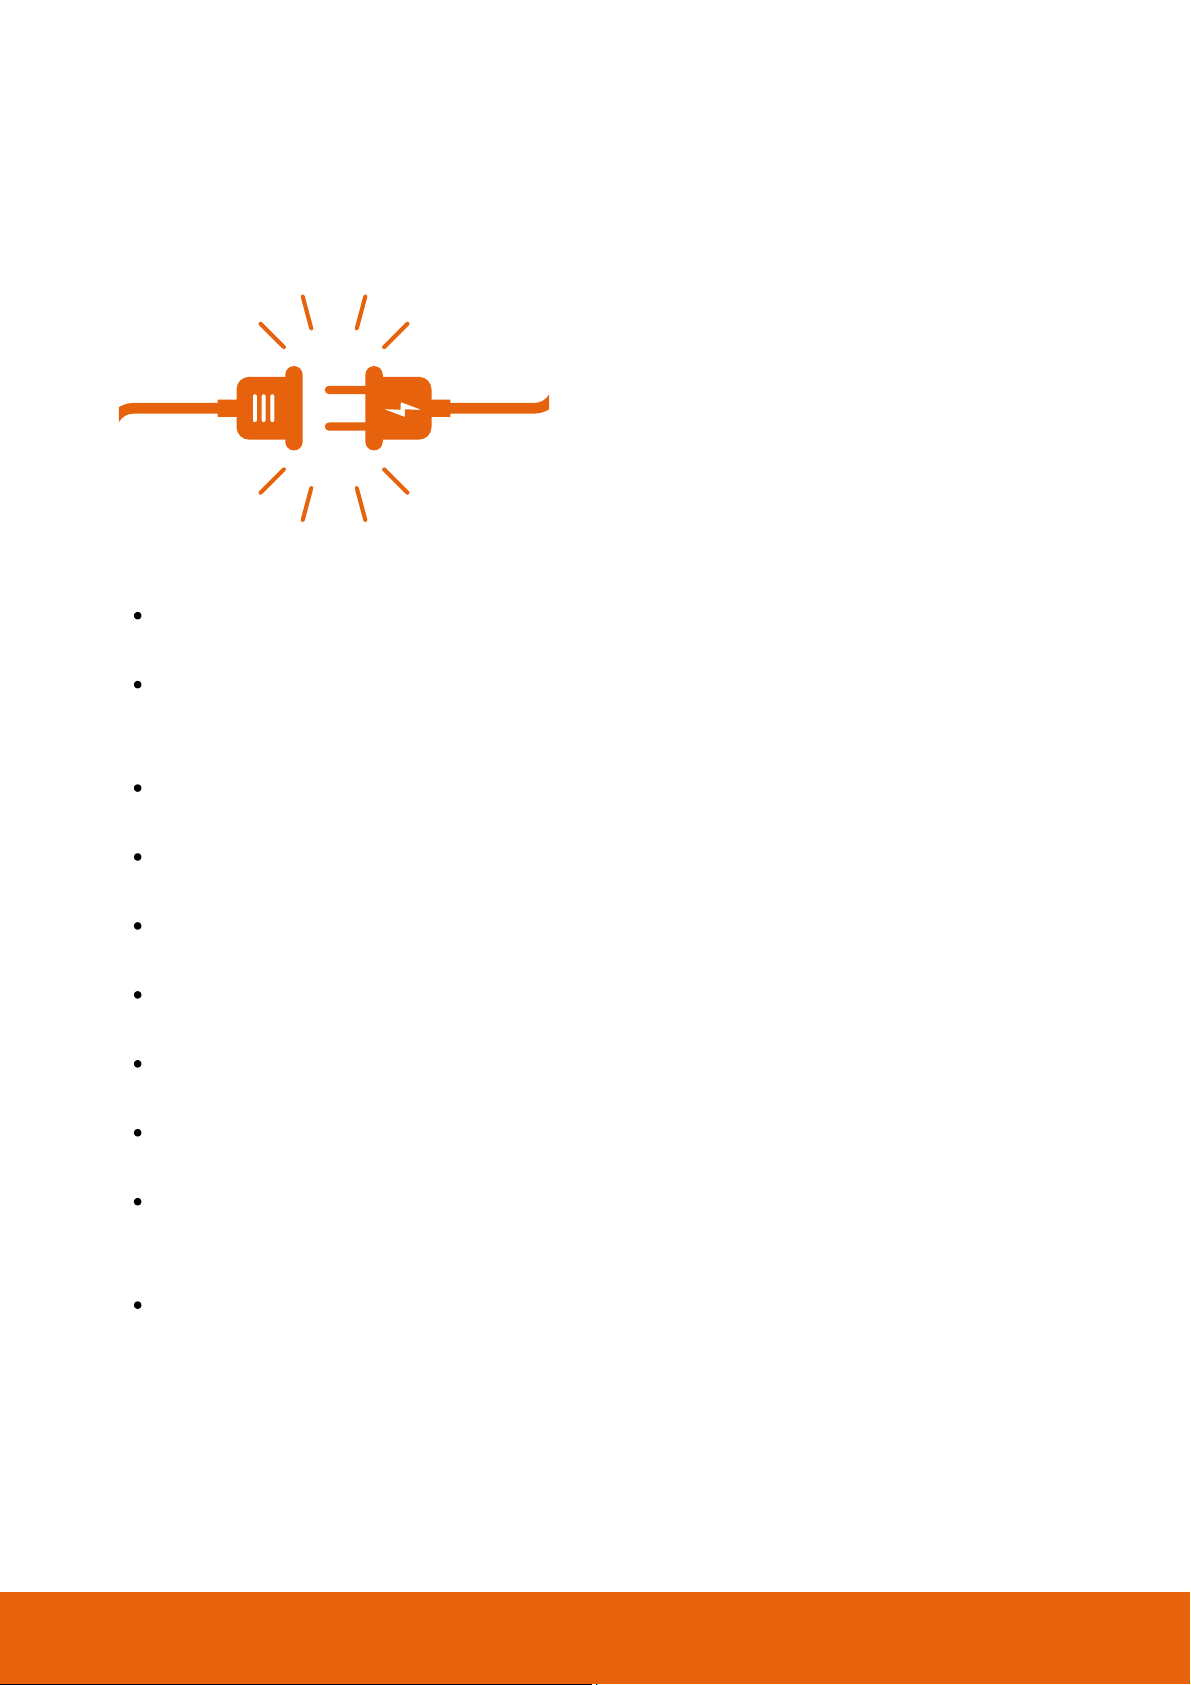
Do you perform maintenance on your machine or
operations other than milling? Then make sure the
plug is removedand that it remains in your field of
vision.
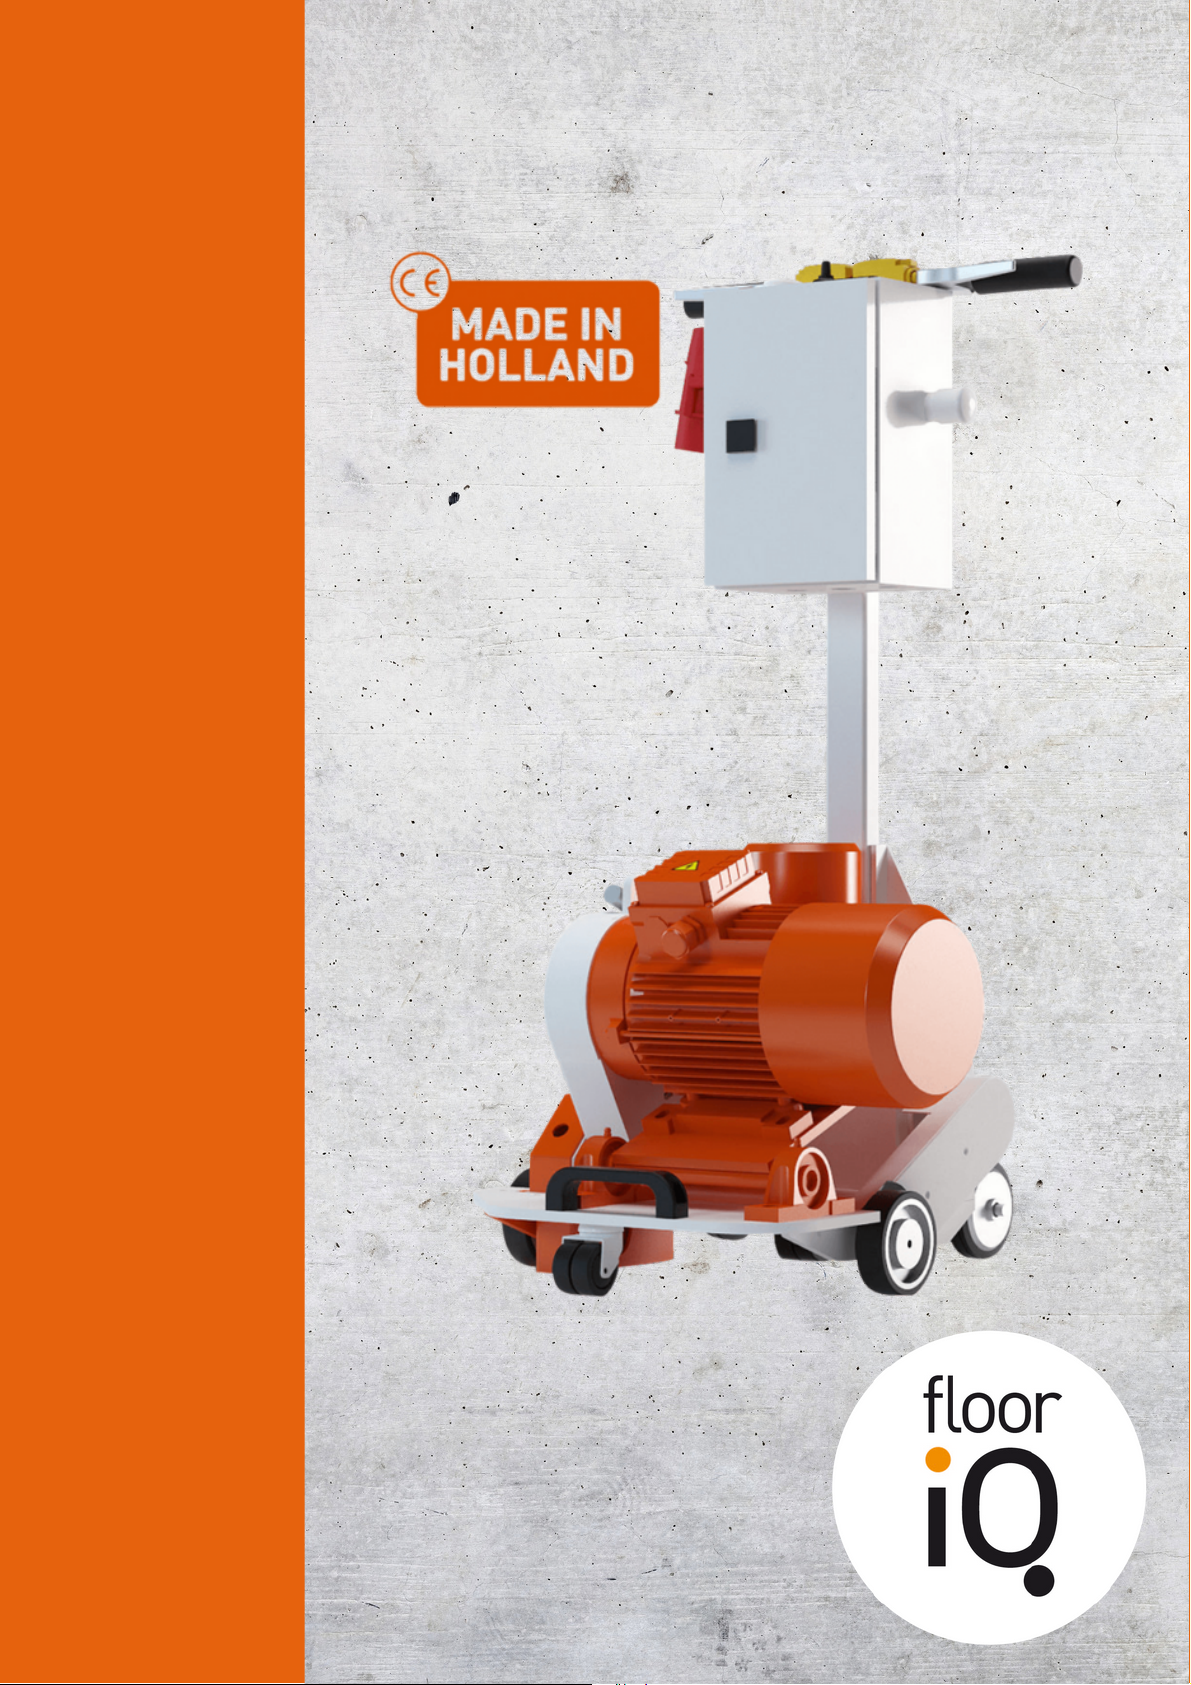
Please read this manual carefully before operating the self-propelled floor
milling machine type VLFR-D4.0.
Keep the manual with your machine so that you can refer to the
instructions and safety guidelines it contains at any time.
1. INTRODUCTION
Thank you for choosing a floor milling machine from Floor iQ.
This manual provides a description of the type VLFR-D4.0. This manual
contains important information for the correct and safe operation of your
machine.
page 3

2 DEVICE DESCRIPTION
Application
The self-propelled milling machine VLFR-D4.0 is a motorised floor milling
machine suitable for dry milling trenches in sand cement and anhydrite floors,
and is also suitable for wet milling in hard concrete floors.
The VLFR-D4.0 is used together with a Floor iQ diamond milling blade.
The upper half of the milling blade is shielded by a metal guard fitted with a
vacuum-cleaner connection.
The floor milling machine type VLFR-D4.0 allows you to carry out both dry and
wet operations.
When used in combination with the right vacuum cleaner, the floor milling
machine allows you to work in a dust-free environment. If you are wet milling, it
is important that the vacuum cleaner used is also suitable for moisture
extraction.
Due to current regulations, you are required to ensure that your vacuum
cleaner is fitted with an M-class or higher filter cartridge if you use it dry.
Accessories
The VLFR-D4.0 can be fitted with milling blades of different width. A
size/distance guide is fitted as standard on this machine.
For wet use, the machine has a special connection.
Safety function
To prevent the floor milling machine from being overloaded, a thermal safety
device is fitted to the machine. This thermal protection is set at 9 amps. You
should not set it higher or override it.
page 4

Do not use the floor milling machine if there are flammable liquids or gases at
or near the work site.
Before milling into the floor, check via construction drawings or detection
tools that there are no water and/or electrical pipes on the surface.
Do not use the milling machine when there is clutter on the workplace and
tripping hazards.
Make sure your work site is well lit.
There are no other persons in the vicinity of the work site.
There are no children around.
Operate the milling machine yourself and do not get distracted while
working.
Maintain a comfortable posture.
Always equip yourself with the right personal protective equipment.
Environmental conditions
3 SAFETY GUIDELINES
Read the following safety instructions carefully before using the floor milling
machine. KEEP THESE SAFETY INSTRUCTIONS with the machine so that you
can refer to them at any time.
page 5

You can detach the VLFR-D4.0 in three parts, so the floor milling machine
can be carried by several people.
The two transport wheels make it easier to move the machine during
transport.
Ear protection
Safety shoes
Safety goggles
A class P3 dust mask
Do not wear jewellery or loose clothing.
Loading and unloading
Personal Protective Equipment
De volgende persoonlijke beschermingsmiddelen zijn verplicht om te dragen;
page 6

Milling blades:
Electrical hazards:
Always connect your power cord to a fuse box equipped with a residual-
current device (fused with a fuse of up to 16A).
Do not carry out any work with the machine outside in the rain.
The milling machine is an electrical device. To avoid shocks or fire hazards, it
is always best to follow the safety instructions.
The floor milling machine is equipped with an earthed plug. Do not replace
it for a plug without a protective earth.
Make sure you plug the machine into a socket equipped with protective
earth.
Use Floor iQ’s diamond milling blades, which are specially developed for
our floor milling machine and give the very best results.
The diamond milling blades are manufactured and certified to OSA
standards.
Floor iQ diamond milling blades meet the highest safety requirements that
can be set for a diamond product.
Do not use milling blades with an incorrect shaft hole or with a smaller or
larger diameter than prescribed.
Make sure the floor milling machine type VLFR-D4.0 is clean (keep handles
dry and free of oil or grease).
Always unplug the machine first when changing a diamond milling blade
and before removing the dust cover’s plastic nuts.
The milling blades can be sharp, so handle them with care and caution.
page 7

Warning symbols
Stickers with the following commands and warning pictograms are attached
to the VLFR-D4.0.
Hearing protection mandatory!
Instruction/manual
Electrical voltage warning
Crush hazard warning
page 8

extension cords are safe and suitable for the planned work.
electric cables are completely uncoiled from the reels.
the length of the cable to your power point is no more than 40 metres.
the power cable is at least 2.5 mm2 thick.
electric cables have no splits or damage.
there is no water anywhere on the work floor.
there is a power connection on the work floor that is equipped with
protective earth.
With power on, check whether:
Is the white light on your machine on? Then something is wrong with the
power source. This may have the following causes:
((1) a wrong direction of rotation
(2) a missing phase
(3) the machine is not receiving the required voltage
Turn off the machine immediately and check what caused it.
After checking the above points, the machine can be restarted!
The following checks are mandatory before using the floor milling machine
type VLFR-D4.0:
The milling machine must not be used if one or more of the above checks
show that either the power supply or the machine is not working completely
correctly.
4 REQUIRED CHECKS BEFORE USING THE FLOOR MACHINE
page 9
Check that the control switch is OFF so that the milling machine does not
start up when the plug is connected to the mains.
Check that the safety functions work properly.
Check that the control switch works properly. If not, replace this switch
before you start.
Check that the milling blade has no cracks or is deformed. Do you see any
damage? Replace the milling blade.
Check that the milling blade is securely attached.
Check that the milling blade guard is properly mounted and tightened.
Check that there are no loose tools around the milling machine.
Before turning on the milling machine:
If the white light comes on or flashes while working, it means there is a problem
with the power source (see also: check power supply). The machine should then
be switched off immediately! Check what the problem is. Is everything OK?
Then the machine may be restarted.
Note that if the white light is on and you continue
milling despite the white light being on or flashing, this may
cause irreparable damage to the machine.
page 10

Only work with a power cord with protective earth of the correct thickness
(at least 2.5 mm³).
Ensure that the machine is not unnecessarily stressed during milling.
Never block the milling blade by applying pressure to its side.
Use Floor iQ’s diamond milling blades, which are specially developed for
our floor milling machine and give the very best results.
5 OPERATION
While operating the milling machine, the additional safety instructions below
should be followed carefully:
Removing the milling blade:
(in the following order)
page 11
ALWAYS unplug the machine before replacing the milling blade.
Make sure you wear a dust mask (class P3).
Make sure the milling blade is completely out of the floor.
Loosen the plastic nut attached to the dust cap, and only then remove
the dust cap.
Loosen the plastic nut on the electric depth adjuster (be careful to hold
the motor back) and carefully tilt the motor forward.
Using the correct spanners, remove the 6-sided nut from the shaft.
Remove the milling blade.
1
2
3
4
5
6
7

Press the switch to ‘in’ to insert the milling blade into the floor and stop
when you have achieved the correct depth.
Press the switch to ‘out’ to remove the milling blade from the floor again.
Mounting the milling blade:
Setting the milling depth
Note: always switch on the vacuum cleaner
before lowering the milling blade into the
floor.
page 12
Slide the milling blade over the drive shaft.
Screw the 6-sided nut onto the shaft and tighten it firmly with the
correct spanners.
Carefully tilt the motor back and reattach the plastic nut to the electric
depth adjuster.
Fit the dust cover and tighten the plastic nut securely.
Assembling the milling blade is done in reverse order:
1
2
3
4

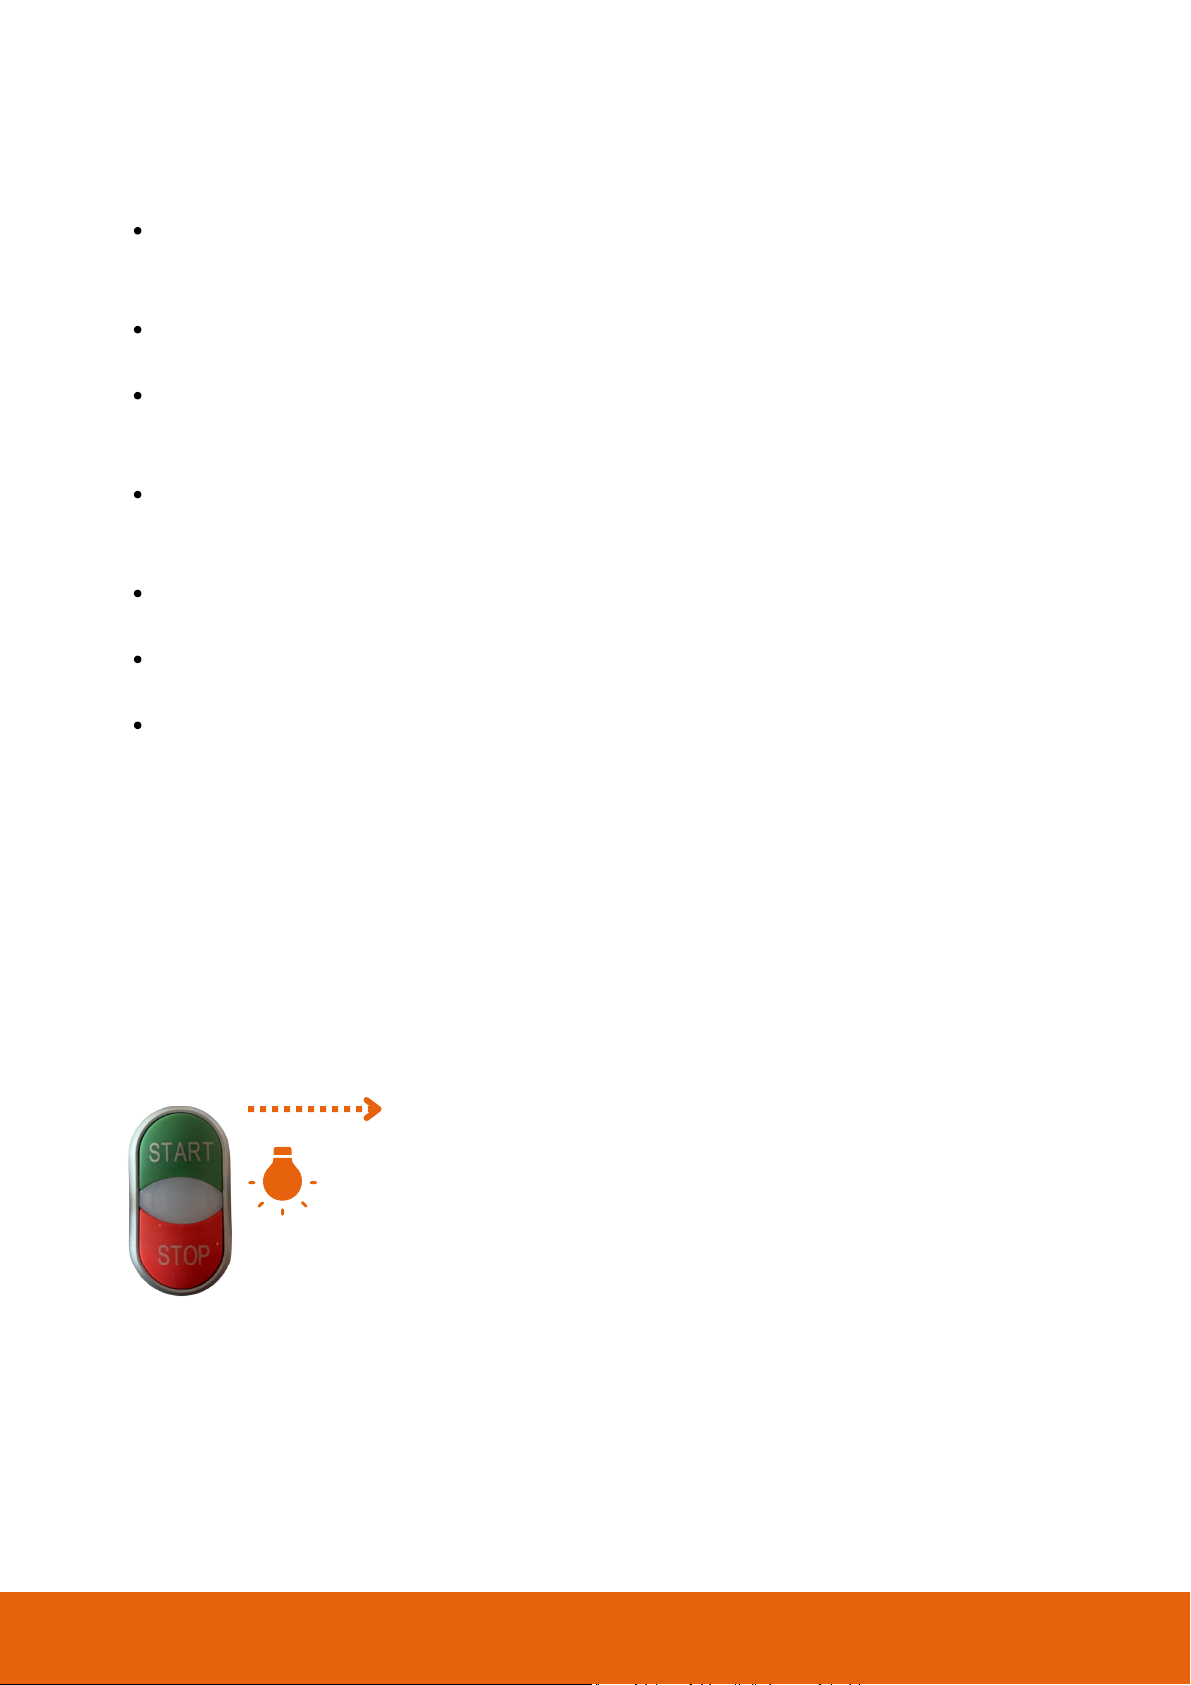
Power on and power off
Power on:
((in sequence)
Please note that it is very dangerous to block the handles as the
driving system does not stop immediately when you release the
handles. (Using tie wraps, for example)
page 13
Take note: Should the white light stay on in your on/off switch (400V version),
there is a phase fault. And the milling motor will not start. You should then
switch a phase. Just make sure that the plug is unplugged and voltage is fully
discharged.
Drive system
If you keep both handles squeezed, the machine will drive forward. If you
squeeze only the left handle, the machine will make a right turn. If you squeeze
the right handle, the machine will make a left turn. The travel speed is controlled
by the potentiometer on top of the electrical box. The speed is determined by
the hardness/resistance of the floor. This may be a maximum of 9 amps for type
VLFR-D4.0.
Use the ‘out’ switch to remove the milling blade from the floor.
Now press the red button on top of the machine.
The motor will now come to a stop. Only then turn off the vacuum
cleaner.
1
2
3
Power off:
(in sequence)
Before turning on the machine, always turn on your vacuum cleaner
.
Pull out the red emergency stop button (side of electrical box).
Press the green button on top of the machine.
Increase the machine’s speed.
Then set the desired cutting depth.
Begin milling.
1
2
3
4
5
6
Check regularly that the saw blade is in good condition.
Replace the diamond milling blade when it is damaged, deformed or
worn.
Prevent premature wear and tear by keeping the unit dust-free.
Clean the floor milling machine regularly.
Keeping your machine clean prevents wear and tear!
Get your repairs done professionally.
Contact your Floor iQ supplier for repairs to your VLFR-D4.0.
Minor repair? Ask your supplier for the service page.
If repairs to floor milling machine VLFR-D4.0 have not been carried out by
a competently trained person, this will void your warranty.
Inform Floor iQ about the operations on your VLFR-D4.0 floor milling
machine. This keeps your machine safe and reliable.
6 Maintenance
Do you perform maintenance on your machine or operations other than
milling? Then make sure the plug is out and remains in your field of vision.
.
page 14
7 Technische gegevens
page 15
Number of blades
Max. width of the blade
Max. diameter of the blade
Min. sawing depth
Max. sawing depth
Shaft size
Power supply
Rounds per min.
Noise level
Weight
1
18 mm
120 mm
1 mm
24 mm
22,2 mm
400V
ca. 6800 tpm
86 dB (A)
ca 102 kg
Floor iQ reserves the right to change the above technical data without prior
notice in connection with the ongoing, innovative development of the machine.
VLFR-D4.0

This manual suits for next models
1
Table of contents
Other Floor iQ Power Tools manuals


