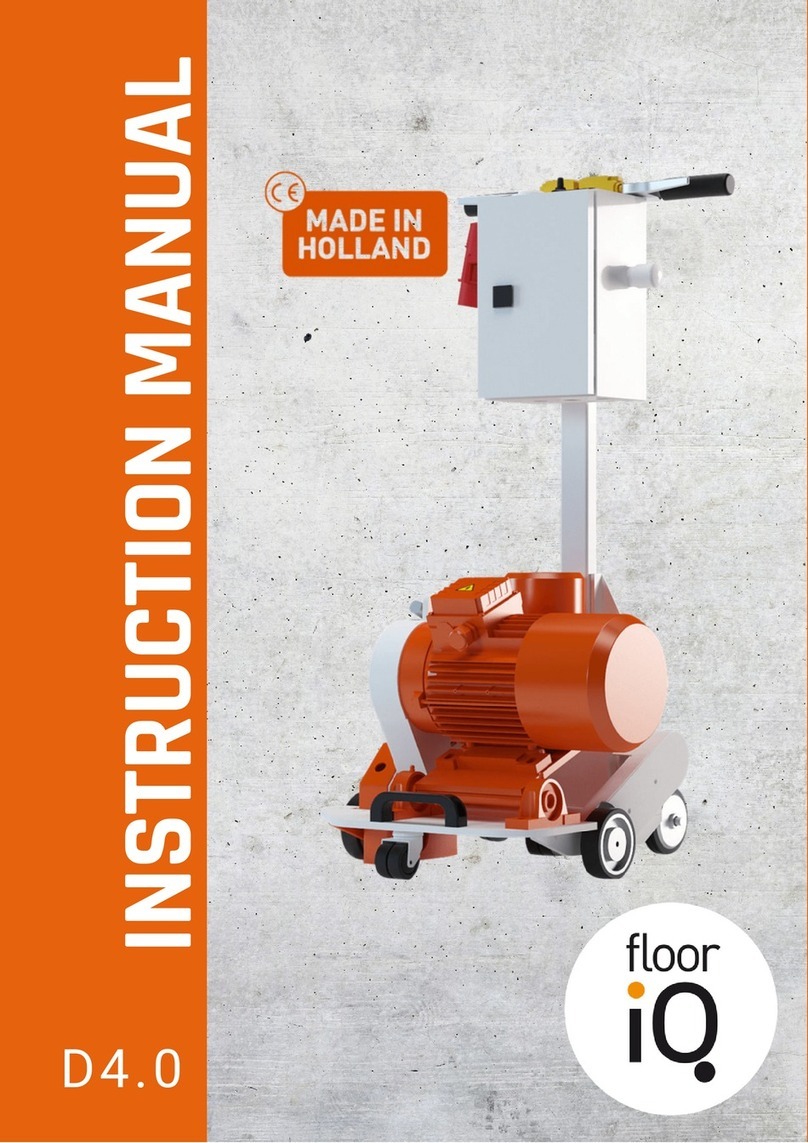
Floor iQ VLFR-220R User manual

1
!
!
FLOOR!IQ!VLFR)220R/VLFR)380R!
User Guide

2
!
TABLE OF CONTENTS
1 INTRODUCTION page 2
2 DEVICE DESCRIPTION page 2
Applications
Accessories
Safety device
3 SAFETY INSTRUCTIONS page 3.4
Environmental requirements
Protective equipment
Electrical hazards
Cutting blades
Warning symbols
4 COMPULSORY CHECKS BEFORE START-UP page 5
5 OPERATION page 6.7
Removing the cutting blade
Fitting the cutting blade
Setting the depth
Enable/Disable
6 MAINTENANCE page 7
7 TECHNICAL DATA page 8
8 FAULT OVERVIEW page 8
9 PARTS LIST FOR MACHINE page 9

3
1 INTRODUCTION
Thank you for choosing a Floor IQ floor milling machine.
This user guide describes the VLFR semi-self-propelled floor milling machine. This user
guide contains important information to ensure your machine is operated correctly and
safely.
Read this user guide carefully before using the semi-self-propelled floor milling machine.
Always keep this user guide with the machine so you have the guidelines and safety
instructions to hand at all times.
2 DEVICE DESCRIPTION
Application
The VLFR semi-self-propelled milling machine is a motorised floor milling machine that is
to be used for milling slots in sand cement and anhydrite floors. The machine has a
diamond cutting blade. The upper half of the cutting blade is protected by a metal cover
equipped with a vacuum cleaner connection. When working dry with this machine, you
can work fully dust-free if you have a suitable vacuum cleaner attached.
In connection with currently applicable regulations, you must ensure your vacuum
cleaner is equipped with an M-class filter cartridge or higher.
Accessories
This floor milling machine can use cutting blades of different widths.
A size/distance guide and larger dust cover are optional and do not form a part of the
standard equipment for this machine.
Safety device
To prevent the floor milling machine becoming overloaded, the machine is equipped with
thermal protection. This thermal protection can be set to 14 A for a 230V machine and 9
A for a 400V machine. These values must never be set higher and the thermal protection
must never be overridden.

4
3 SAFETY INSTRUCTIONS
Read the following safety instructions carefully before using the floor milling machine.
Follow these safety instructions during use.
STORE THE SAFETY INSTRUCTIONS with the machine so they can be consulted whenever
required.
Environmental requirements
•!NEVER use the floor milling machine in the vicinity of flammable liquids
or gases.
•!Before beginning to mill the floor, ensure there are no water and/or
electric lines under the surface by means of construction drawings or
detection.
•!NEVER use the milling machine unless the workplace is clean and tidy
and there are no trip hazards. Also ensure the workplace is well lit.
•!Ensure there are no other people in the vicinity. NEVER allow children in
the vicinity in particular. Ensure no one touches the floor milling
machine.
•!NEVER allow yourself to be distracted while working with the machine.
•!Ensure you retain an easy body posture.
•!Ensure you always use the proper Personal Protective Equipment, as
listed below.
Loading and unloading
•!Lifting the machine with two persons is forbidden; this is due to the
total weight of the machine being above 50 kg.
Personal Protection Equipment
The following Personal Protective Equipment must be worn.
•!hearing protection
•!safety shoes
•!a class P3 dust mask
•!Do not wear jewellery or loose clothing.

5
Electrical hazards
•!Always connect your power cord to a fuse box with a circuit breaker.
Use a fuse with a rating up to 16 A.
•!NEVER use the milling machine in a wet or damp location.
•!Never work with the machine outside in the rain.
•!The milling machine is an electrical device. To prevent electrical shock,
injuries and a possible fire hazard, the safety instructions must ALWAYS
be followed.
•!The floor milling machine is equipped with an earthed plug; NEVER
replace this for a plug without an earthed connection.
•!Ensure you plug the machine into an earthed electrical socket at all
times.
Cutting blades
•!Only use Flooriq cutting blades because these are manufactured under
the OSA standard. This means they meet the highest safety standards
that can be required of a diamond cutting product.
•!Do not use cutting blades with an incorrect shaft opening size or a
diameter smaller or larger than recommended.
•!Ensure the floor milling machine is clean. Keep the handles dry and free
of oil and grease.
•!The cutting blades are sharp, work diligently and carefully.
•!When changing a cutting blade, the plug must always be removed from
the socket before the plastic nuts holding the dust cover in place are
removed.
Warning symbols
The following warning stickers can be found on the floor milling machine
with the following ban and warning pictograms (you will only find the
rotation direction arrow on the 400V version):

6
4 COMPULSORY CHECKS BEFORE START-UP
The following checks are required before starting up the floor milling
machine.
The milling machine must NEVER be used if one or more of the following
checks show either the power supply or the machine is not working
correctly.
Check the power supply to ensure:
Safety extension cables are suitable for the intended work.
Electrical cables have been completely rolled out of the reels, the length of
the cable to your power point must not be more than 20 metres for a 230
V supply and must be at least 2.5 mm2thick.
Electric cables are not damaged or broken.
There is no water on the work floor.
You have an earthed electricity supply on the work location.
Check the milling machine to ensure:
The operation switch is in the OFF position; this is to ensure the milling
machine does not switch on as soon as it is plugged in.
The safety device and operation switch are working correctly.
A component with a safety device or operation switch that is not working
correctly is replaced before starting work.
The cutting blade is not deformed or cracked; replace the cutting blade if it
is damaged, not working correctly, or if you have any doubts about the it's
soundness.
The cutting blade and the clamping bush are tightened.
The protective cover for the cutting blade is correctly fitted and securely
tightened.
There are no keys or other tools on the milling machine.

7
5 OPERATION
During the operation of the milling machine, the following additional safety
instructions must be followed.
Only work with an earthed power cable of the proper thickness (at least 2.5
mm2).
Ensure the machine is NEVER placed under undue load while milling.
NEVER stop the cutting blade movement by applying pressure to the sides.
Only use original Flooriq cutting blades.
Removing the cutting blade
Always remove the plug from the socket before replacing the cutting blade.
And ensure you are wearing a (class P3) dust mask.
1!Unscrew the two plastic nuts on the dust cover.
2!Remove the dust cover.
3!Using a suitable spanner, loosen the nut from the shaft.
4!Remove the packing bush.
5!Removing the cutting blade.
Fitting the cutting blade
Fitting a cutting blade is carried out in the reverse order of the removal.
1!Slide the cutting blade over the drive shaft.
2!Slide the packing bush over the shaft.
3!Screw the nut onto the shaft and tighten it firmly with a suitable
spanner.
4!Fit the dust cover and tighten the two plastic nuts.
Adjusting the milling depth
1!Loosen the lock lever to the left.
2!Rotate the plastic spindle to bring the cutting blade to the desired
depth.
3!Tighten the lock lever to the right so the cutting blade remains at
the same depth. (Note: the cutting blade wears down during milling,
this affects the milling depth).

8
Switching the machine on and off
Switching on
1!Always turn on your vacuum cleaner before the milling machine.
2!Pull the red emergency stop button outwards.
3!Press the black button beside the emergency stop.
4!Allow the machine to reach the operating speed.
5!Set the desired cutting depth.
6!Start milling. Move the machine over the floor slowly and at a
constant speed.
7!If you want to use the auxiliary motor, squeeze the handle and turn
the potentiometer to the desired position. Ensure the ammeter does
read above 14 A (230 V) or 9 A (400 V).
Switching off
1!Press the red emergency stop button.
2!Do not raise the cutting blade out of the floor before it has stopped
moving completely.
3!Now switch the vacuum cleaner off.
6. Maintenance
Check the cutting blade is in good condition on a regular basis. Replace the cutting blade
if it appears to be damaged, deformed or worn.
To avoid premature wear of the machine, keep it as free from dust as possible. Clean the
machine with a vacuum cleaner regularly.
Repairs to the machine may only be performed by your supplier or professionally trained
mechanics. If Flooriq has not carried out the repairs on the machine, your warranty will
be void.
This will ensure your machine remains safe and reliable.

9
7 Technical data
Number of cutting blades : 1
Max. blade width : 18 mm
Max. cutting blade diameter : 120 mm
Min. cutting depth : 1 mm
Max. cutting depth : 24 mm
Blade (shaft hole) : 22.2 mm
Power supply : 230 V or 400 V
Revolutions per minute : approximately 6,800 rpm
Noise level : 86 dB(A)
Weight : approximately 75 kg
Flooriq reserves the right, without prior warning, to change the technical data described
above in connection with the ongoing, innovative development of the machine.
8 Fault Overview
Fault
Possible cause
Solution
The cutting blade cannot be
properly secured.
The cutting blade does not
meet the specifications.
Replace the cutting blade
with an original cutting
blade.
The dust cover will not
close.
The diameter of the cutting
blade is too large.
Remove the cutting blade
and replace it with a blade
that has a max. diameter of
120 mm.
Milling creates a lot of dust.
The vacuum cleaner.
Check whether the vacuum
cleaner filter is clean
enough; if not, clean the
filters.
The machine motor is
turning, but the cutting
blade remains stationary.
Toothed belt or clamping
nut of the cutting blade.
Check whether the toothed
drive belt has not broken,
and ensure the cutting
blade clamping nut has
been tightened sufficiently.
The thermal protection of
the machine keeps cutting
out.
The floor may be too hard,
the machine may be pushed
too fast, or the auxiliary
motor is set too high.
Replace the cutting blade
with a cutting blade that is
suitable for hard floors, let
the machine do the work.
Go slower, or turn the self-
propelling system down
using the potentiometer.
(Only available on the 400
V version)
Cutting blade is turning in
the wrong direction
The phase is not set
correctly.
Turn the machine off,
unplug the power cord and
reset the phase converter
using a screwdriver.
(Keep the connector
unplugged at all times).

10
9 Parts list for machine
number
article number
amount
Description
1
VLFR1
2
Plastic handles
2
VLFR2
1
Thermal protection and emergency stop switch
3
VLFR3
1
Nut for the articulation mechanism
4
VLFR4
1
Articulation rod, two-piece
5
VLFR5
1
Bottom plate for machine
6
VLFR6
1
Bolt for rear wheels
7
VLFR7
1
Ball bearing for rear wheels
8
VLFR8
8
Rings for rear wheels
9
VLFR9
4
Rear wheels
10
VLFR10
1
Axle for rear wheels
11
VLFR11
1
Rear mounting plate for motor
12
VLFR12
1
Drive motor
13
VLFR13
1
Drive mounting plate
14
VLFR14
1
Drive protective cover
15
VLFR15
1
Protective cover bolt
16
VLFR16
1
Upper sprocket
17
VLFR17
1
Clamping bush for upper sprocket
18
VLFR18
2
Allen screws for upper sprocket clamping bush
19
VLFR19
1
Plastic handle
20
VLFR20
2
Rings for handle
21
VLFR21
2
Allen bolts for handle
22
VLFR22
2
Allen bolts for middle wheel
23
VLFR23
1
Axle for middle wheel
24
VLFR24
1
Middle wheel
25
VLFR25
2
Rings for middle wheel
26
VLFR26
2
Bearing including housing for drive shaft
27
VLFR27
1
Lower sprocket
28
VLFR28
1
Clamping bush for lower sprocket
29
VLFR29
2
Allen screws for lower sprocket clamping bush
30
VLFR30
1
Cutting blade drive shaft
31
VLFR31
1
Cutting blade dust cover
This manual suits for next models
1
Table of contents
Other Floor iQ Power Tools manuals
