Fluance DB10 User manual

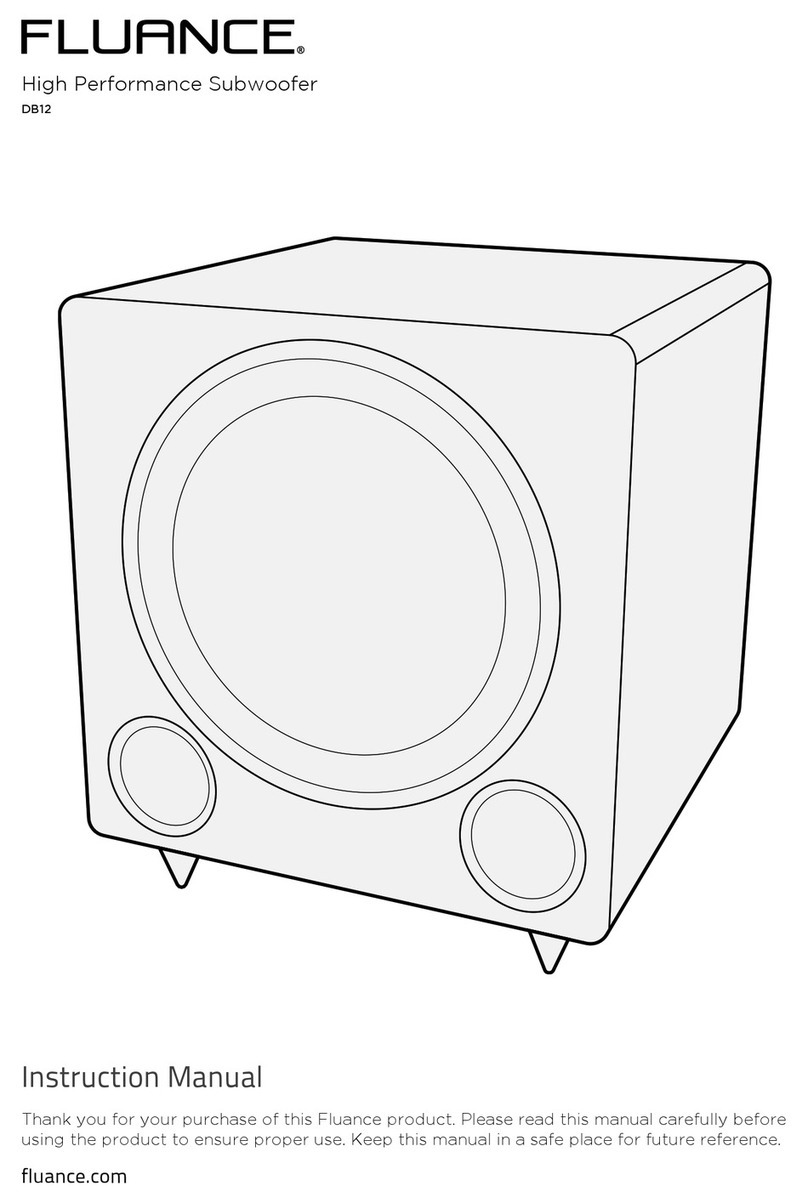
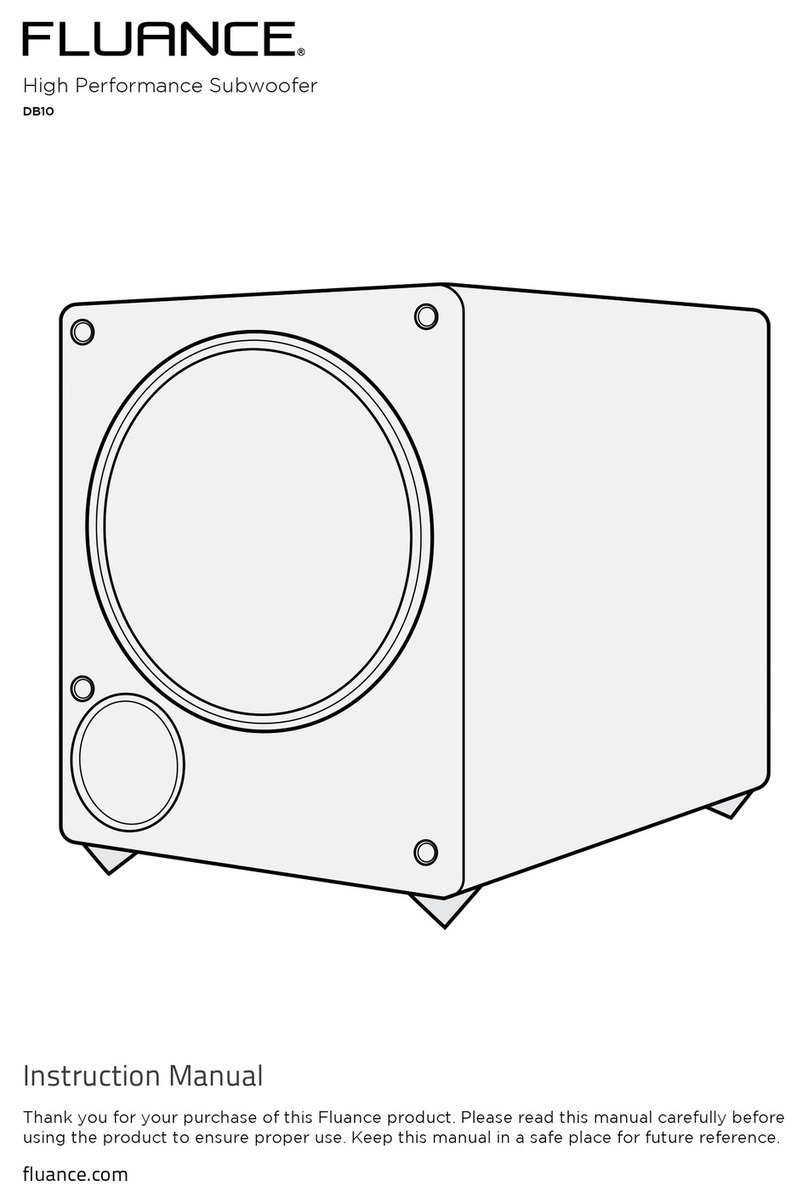
High Performance Subwoofer
DB10
Instruction Manual
Thank you for your purchase of this Fluance product. Please read this manual carefully before
using the product to ensure proper use. Keep this manual in a safe place for future reference.
fluance.com

4
• High Performance Subwoofer
• Quick Start Guide
• 2 Year Warranty
• Lifetime Customer Support
What’s Included
Back Panel Layout
1
2 3 4 5 6
7
1. Volume – Adjust to reduce/increase the intensity of the sound emitted from
the DB10.
2. PWR - Power LED indicator.
3. Crossover – Adjust to reduce/increase the frequency range of the DB10. The
frequency range is less than 40Hz to 180Hz.
4. Power – ON / AUTO / OFF (AUTO: The subwoofer will power on automatically
when it detects a signal from the home theater receiver.)
5. Phase – REVERSE / NORMAL (Adjust to ensure the DB10 is in phase with the rest
of your speaker system. The DB10 will be in phase if the bass response sounds full
and balanced.)
6. LFE / Low Level Input – Connect subwoofer cable to receive signal from home
theater receiver.
7. Speaker Inputs – Connect speaker wire to receive signal from home theater
receiver.

5
First Time Setup
Step One
Step Two Step Three
Attach the Subwoofer Cable to the
LFE/LOW Level Input on the backside
of the Subwoofer.
Attach the same Subwoofer Cable to the
Subwoofer Output of your home theater
receiver.
Place the Subwoofer in the most optimal position.
Important!
Fluance recommends having the woofer face the listener while being positioned near the front channel speakers in a corner if possible.
DB10
SUB
WOOFER
R L
R L
SPEAKERS
AUDIO
OUT
SURROUND CENTER FRONT
R L
R L
SUB
WOOFER
R L
R L
SPEAKERS
AUDIO
OUT
SURROUND CENTER FRONT
R L
R L

6
DB10
DB10 Receiver
SPEAKER OUTPUT
Step Four (Optional) Step Five
Attach Speaker Wire to the speaker
inputs of the Subwoofer. Attach same
Speaker Wire to the channel outputs
of your choice on the home theater
receiver. Refer to receiver manual for
setup instructions.
Connect the Power Adapter to the
wall outlet. Set the Power Switch to
either ON or AUTO.
Additional Settings
Crossover Settings
The Volume/Crossover settings can be adjusted with the Volume/Crossover knob
located on the back panel of the Subwoofer. The Crossover setting changes the cut
off frequency for the Subwoofer.

7
Auto Setting
Phase Setting
By selecting the Auto setting, the Subwoofer will automatically turn on when it detects
a signal from the home theater receiver. The auto setting turns the Subwoofer on when
the frequency signal reaches a required voltage. A 100Hz signal requires 3mV and a
1KHz signal requires 5mV.
If your speaker system or DB10 is out of phase, it means that the driver/woofer is
moving in the opposite direction of the other drivers/woofers. This causes frequencies
to be canceled out, which can result in a poor listening experience. By adjusting the
phase setting of the DB10, you can ensure the DB10’s woofer is moving in the same
direction as your other speakers, which will result in a more pleasant listening experience.

8
What is the purpose of the speaker wire inputs?
The speaker wire inputs can be used as an alternative to connect your DB10 to your
home theater receiver, however, Fluance recommends using the LFE/Low Level input
connected via subwoofer cable. LFE (Low Frequency Effect) refers to a channel
specically intended for deep, low-pitched sounds ranging from 3-120Hz.
How do I adjust the volume / change the crossover settings?
The volume/crossover settings can be adjusted via the volume/crossover knob located
on the back panel of the DB10. The crossover setting changes the cut off frequency for
the subwoofer.
What is the auto setting and what are the parameters?
By selecting the auto setting the DB10 will automatically turn on when it detects a
signal from the home theater receiver. The auto setting turns the subwoofer on when
the frequency signal reaches a required voltage. A 100Hz signal requires 3mV and a
1KHz signal requires 5mv.
What is the phase setting and what is the optimal setting?
If your speaker system or DB10 is out of phase. It means that the driver/woofer is
moving in the opposite direction of the other drivers/woofers. This causes frequencies
to be canceled out, which can result in a poor listening experience. By adjusting the
phase setting of the DB10, you can ensure the DB10’s woofer is moving in the same
direction as your other speakers, which will result in a more pleasant listening
experience.
What does the LED behavior mean?
Green LED = Power On
Red LED = Protection Mode
What is Protection Mode?
Amplier Protection Mode is a shutdown state that ampliers can enable to prevent
serious damage to the unit or other components in the system. Protection Mode can be
activated in two scenarios:
1. Unit is overheated – Ensure the area surrounding the DB10 is at room temperature,
power off and unplug the power adapter.
2. The unit is not installed properly – consult the included quick start guide and
manual, ensure no wires are touching.
FAQ

9
Troubleshooting
Issue Troubleshooting Steps
No Power
• Ensure the subwoofer is plugged into a known good
power source
• Conrm that the subwoofer power switch is set to ON or
AUTO
• Ensure the Power LED is lit
No Audio
• Ensure the subwoofer has power and that the PowerLED
is lit Green. If Power LED is Red ensure the subwoofer is
at room temperature, power off and unplug the
power adapter. Then conrm that the subwoofer is
installed properly with no wires touching
• Conrm the subwoofer is connected to the receiver
• Conrm the receiver’s subwoofer output is set to ON
• Ensure the subwoofer volume control is set to above 0%
Distorted or Poor
Audio
• Conrm subwoofer is in phase with other speakers
• Ensure woofer is not physically damaged
• Ensure grill is securely fastened or removed
• Conrm all components are secured tightly
• Check that the bass ports are not blocked and there are
no foreign objects/obstructions
• Conrm that the oor spikes are secure
• Remove screws on woofer and check that the woofer is
securely connected to the amplier

10
Specifications
Specications DB10
Speaker Conguration Front Firing Powered Subwoofer with Integrated
Amplier
Low Frequency Driver 10 Inch Polypropylene with Rubber Surround
Amplier Power Peak 120W / RMS 45W
Low-Pass Crossover Range 40Hz – 180Hz
Frequency Response
38Hz – 180Hz (+/- 3dB) Full Range Anechoic
Measurement
35Hz – 180Hz (+/- 6dB) Full Range Anechoic
Measurement
Inputs RCA Input / High Level Input / Speaker Levels
Dimensions (L X W X H) 15.7 x 11.9 x 16 inches
Weight 24.7 lbs
Phase Adjustment Yes
Auto Function Yes – (100Hz signal input requires 3mV, 1KHz
signal input requires 5mV)
Power 120V (60Hz)
Specications are subject to change without notice. Measurements and weights may vary slightly.
Other manuals for DB10
2
Table of contents
Other Fluance Subwoofer manuals
Popular Subwoofer manuals by other brands
GoldenEar Technology
GoldenEar Technology ForceField owner's manual
Boss Audio Systems
Boss Audio Systems P126DVC Phantom series user manual
Pro DG Systems
Pro DG Systems IT 115 F user manual
Proficient
Proficient protege iws85 owner's manual
Kenwood
Kenwood KSC-SW1 Service manual
Planet Audio
Planet Audio AC8D Product specifications
