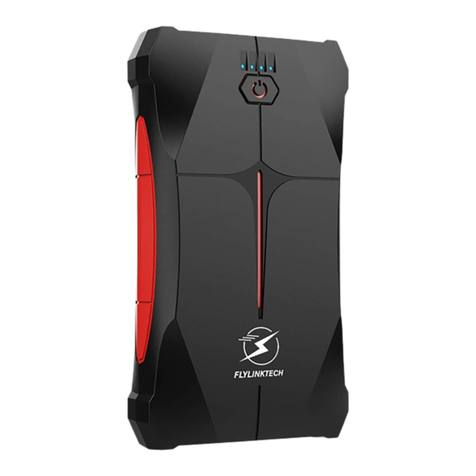
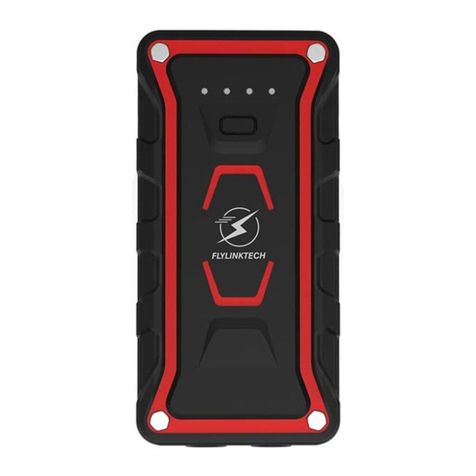
FLYLINKTECH CF400 User manual

User Manual

Type C Cable *1 AC Adapter*1
Jump starter *1 Storage Case *1
EC5 Cigarette
Lighter Adapter *1
Jump Cable with smart &
safe protection clamps *1 Wall Charger *1
Product package
EN 1

1
14 15
16
2
9
10
3
45
6 7
8
12
13
Technical Specifications
11
EN 2

2
3
1
4
5
6
7
8
9
10
11
12
14
15
16
ON/OFF Button
(Multifunctional)
AC Output
Flashlight
USB Output 1
USB Output 2
Type-C Output
Type-C Input
Electricity display lamp
Red Smart Clamp
Force Start Button
3
Operation
EN
NO Function
220V/50Hz(UK/EU), 110V/60Hz(US/JP). Charge small electrical appliance.
White and Red light. Torch, SOS, Strobe, and Glare modes. 180° rotation.
Charge phone, tablet, camera, etc. 4 times charging speed than normal
Charge phone, tablet, camera, etc. 4 times charging speed than normal
Charge phone, tablet, camera, etc. 4 times charging speed than normal
Recharge the car jump starter with Type-C cable.
Jump Starting Port Insert the plug of the clips into the jump starting port to start your car.
Magnetic Suction Base Can be attached to the hood and chassis for easy lighting during repairing.
Turn on/off AC output mode.
Connect to positive pole of the car battery.
13 Black Smart ClampConnect to negative pole of the car battery.
LED Indicator
AC Switch
Smart Clamp plug
Show us the work status of the smart clamp.
You need to press and hold this button for 3 seconds if the car battery
voltage is too low.
Plug into the jump starting port completely.
Show the charging progress: 25%, 50%, 75%, 100%.
Press the button to charge your device and check the remaining capacity.
Press the button for 3s to turn on/off the light modes. then short press
the button to change light modes.

Specification
CF400
2 00A
QC 3.0 5V/3A, 9V/2A, 12V/1.5A
QC 3.0 5V/3A, 9V/2A, 12V/1.5A
QC 3.0 5V/3A, 9V/2A, 12V/1.5A
QC 3.0 5V/3A, 9V/2A, 12V/1.5A
220*160*60mm
-4 ~120℉(-20℃~50℃)℉
Effective
Effective
Effective
EffectiveBackflow Protection
Product size(L*H*W)
Model
Capacity
Peak Current
USB Output 1
USB Output 2
Type-C Input
Type-C Output
AC Output
Working Temperature
Overload/Discharge Fuse
24000mAh
EN 4
Short-circuit Protection
Reverse Connection Protection
Charging time 6-10h
220V/50Hz(UK/EU), 110V/60Hz(US/JP), 100w

Press the power button to check the capacity of the Jump Starter.
Indicator Lights as below picture(25%/50%/75%/100%):
Operation
Power Indicator Light
LED Mode
EN 5
Please pay attention: The next time light turn on status is the same as the last time the status when you turned off
the light.

Charging the Jump Starter
At home:
Connect the type C cable with wall charger and car jump starter to charge for car jump starter.
Or connect the type C cable with computer and car jump starter to charge for car jump starter.
In Car:
Connect the type-C cable with car charger and car jump starter to charge for car jump starter.
Note:
1. When using the product at the first time, please charge it for at least 12 hours.
2.Type-C cable and Wall charger are included in the pacakge, but car charger is not included.
AC Output / USB Output / Type-C Output
The product power for other electrical products by 3 ways:
AC Output: 110V/60Hz(US/JP)、220V/50Hz(UK/EU), 120W max. Powers for small electrical appliances, for example
car refrigerator, laptop, small fan etc..do not forget to press the AC power button when using.
USB Output: (QC 3.0) 5V/3A, 9V/2A, 12V/1.5A. charge for telephone, camera, tablet etc..4 times speed than normal.
Type-C Output: (QC 3.0) 5V/3A, 9V/2A, 12V/1.5A. charge for telephone, camera, tablet etc..4 times speed than
normal.
EN
6

Start the Vehicle
Notice:
1. To extend the service life of jump starter, make sure the car jump starter
at least 50% maintained capacity before being used.
2. Please make sure that you plug the clamps into car jump starter
completely.
3. Please do not connect the red and black clamps together to prevent short
circuit
4. Please remove the clamps from both the car battery and jump starter in 30s
after starting the vehicle successfully.
Step1:
Press the on/off button to check the maintained power of the car jump starter,
and make sure that 2 indicator lights light up.
Step2:
Connect the EC5 plug into the car jump starter port completely,the red and
green light on the EC5 clamps flash alternately, which means it is ready to work.
EN 7

Step 4:
8
Press the start button of your car to start the car in 30s.
1)To reduce the load of the car jump starter, turn off the vehicle's headlights, air conditioners and other electrical
components.
2)If fail to start the car, wait at least 1 minute and then start the starter again. If fail to start the car 3 times.you need
to use force button(please read the below instruction)
Step 3-a:
Connect the red clamp onto the positive pole of the car battery, then connect the black clamp onto the negative pole of
the car battery. PLEASE DO NOT reverse it. The green light stays on and buzzer beeps every 3s, you are safe to move
to next step.
Step 3-b:
If the red light stays on and buzzer keeps beep:
1)You may connect in reverse. you need to disconnect the battery.
2)Make sure the clamps are plugged into the jump starter completely.
EN

Step 6:
After starting your car successfully, please remove the clamps from both the car battery and car jump starter in 30s.
Step 5:
Forced start function: please press and hold the forced button(it is on the car jump starter clamps) for 3s, please start
your car in 30s after the light turns green.
EN 9

LED Indicator Situations
The red and green lights
flash alternately when plug
the clamps into car jump starter Automatic identification status, ready to work
Press the starter button in your car to start your vehicle in 30s,
The light turns red after 30s, you need to disconnect the clamps and
reconnect
The green light stays on and
buzzer beeps
1. Short circuit protection
2. Reverse protection
--- disconnect the clamps and reconnect the clamps with car battery
and car jump starter port
The voltage of the jump starter is too low, please recharge it in time
The red light stays on and
buzzer keep beeping
The green light flashes slowly
In any of following situations, the smart clamp turns protection on.
EN 10

EN 11
Trouble shooting
Q: The engine doesn't start
A: ①The air conditioner, headlights, etc.. are overloaded.
→ When jump-starting, turn off the air conditioner, headlights etc.. to reduce the load of the car jump starter.
②Make sure the clamps are connected properly.
③The vehicle battery voltage is 12.6V or higher.
→ Start the BOOST key and start the engine within 30 seconds.
④ The vehicle battery is over-discharged or deteriorated.
→ Replace and charge the in-vehicle battery.
⑤ Not compatible with this product.
→The car jump starter work with 12V car battery as well as all gas and 8.0L diesel engine.
⑥The current required for starting exceeds the specifications of this product.
Q: Power does not turn on
A: The car jump starter is power off. Or over-discharge protection is working. → Charge the product.
Q: LED light does not light on
A: ① The car jump starter is power off. Or over-discharge protection is working. → Charge the product.
② Do not press and hold the power key. → Press and hold the power key for about 3 seconds.
Q: USB output can not charge electrical products.
A: ① The connection is not secure. → Check the connection between the terminal and connector.
② You have not pressed the power key. → Press the power key when charging electrical products.

1. If not used for a long time, charge it every 3 months.
2. This product is for 12V vehicles. Do not use it for other vehicles. This may damage the product or vehicle.
3. Do not drop the product and accessories. There is a risk of breakdown or damage.
4.Be sure to disconnect the cables and AC adapter after using.
5.If this product becomes abnormally hot, or if you feel any other abnormality, discontinue to use it immediately.
6.This product is not a substitute for the in-vehicle battery. Please do not remove the vehicle battery and start the
engine only with this product.
7. When connecting the jump start cable, please do not mistake the plus and minus connections. If it is connected in
reverse, it may make the product be damaged or the battery may explode.
8.When the magnetic suction base is sucking, do not touch the product with strong force to prevent hitting your body.
Safety & Maintenance
EN 12

1. Use / store in a place that is out of the reach of small children.
2. Do not modify or disassemble this product.
3. Do not use in places with flammable liquid or gas, or in places with a lot of dust, It may cause fire or burns.
4.Do not leave this product in a place where the temperature exceeds 120 ° F (50 ° C).
5.Do not use this product with wet hands.
6.Do not touch the terminals or AC plug of this product with metal pins or attach dust. Also, dust on the terminals, etc.
7.When using this product, please keep away from fire such as cigarettes.
8.Keep this product away from heat sources such as stoves.
9. If you notice a strange odor or sound from this product, stop using it immediately.
10.To avoid an unexpected situation, do not leave the product or vehicle while using the product.
11.Before using this product, pull the side brake of the vehicle / park the gear or put it in neutral etc. ensure safety so
that both do not move.
12.please do not use this product while charging.
13.Do not 12V and 5V terminals at the same time.
14.Do not jump start the vehicle battery, if the battery is extremely deteriorated or over-discharged. This may lead to
damaged.
15. If the liquid leaked from the product gets on your eyes or skin, wash it off with clean water. please consult a doctor
such as a dermatologist after washing off, ophthalmology and skin.
13
Warnings
EN

EN 14
Warranty
The warranty period of this product is 24 months from the date of purchase.
please note:
Even within the warranty period, the warranty is not covered in the following cases.
1. Drop, impact, damage due to external factors, repair or modification by anyone other than us.
2. When using a battery that has been disassembled and modified. (If the battery is disassembled or modified, it may explode
or leak.)
3, battery deterioration. (The battery is a consumable item.)
contact us
For any inquiries or comments concerning our products, please send an email to
4. Failure or damage due to external factors. such as Fire, earthquake, water damage, lightning strike, other natural
disasters, pollution, salt damage, gas damage (sulfide gas), abnormal voltage, etc.
Table of contents
Other FLYLINKTECH Remote Starter manuals
Popular Remote Starter manuals by other brands
DesignTech
DesignTech secure start 28622 installation instructions
Schumacher
Schumacher Pro Series owner's manual
APA
APA LI600A manual

Schumacher Electric
Schumacher Electric DSR141 owner's manual
CrimeStopper
CrimeStopper EZEE Start EZ-3 operating instructions
Voxx Electronics
Voxx Electronics Elite Series owner's guide
Philips
Philips Remote Starter user manual
Weego
Weego JS6 STANDARD 6000 mAh quick start guide
Motorline professional
Motorline professional MLS4 User& installer's manual
matson
matson MA3400 manual
Black & Decker
Black & Decker jus375ib instruction manual
Black & Decker
Black & Decker SIMPLE START BBC2CB instruction manual
