15
●Keep all loose clothing, long hair or any other loose objects
such as pencils or screwdrivers that may fall out pockets
away from the propeller.
MOTOR / ESC OPERATION
Turning on the transmitter and running the motor is intuitive
for most pilots who already have experience with electric
motors, but for those who may have little or no experience
with electric motors here are basic operating instructions for
the ESC and motor:
When ready to fly and running the motor, first turn on the
transmitter and make sure the throttle stick is all the way down.
Always securely hold onto the model when connecting the
battery.The propeller should not turn, but expecting it to do so
anyway will prevent an accident or injury. Connect the battery
to the ESC.The ESC will send three short electrical pulses to
the motor, causing it to chime three times (“ 1-2-3”) followed
by a longer, single, lower tone beep (“BEEEP”), followed by
a shorter, higher tone beep (“beep”). The model is ready to
fly and the propeller will turn when the throttle is advanced.
If the transmitter is not turned on before the battery and
ESC are connected (so the receiver is not receiving a signal)
the motor will still chime three times (“ 1- 2- 3”), but then it
will sound consecutive, higher tone beeps (“beep,” “beep,”
“beep,”….) until the transmitter is turned on at which time it
will emit a single, lower tone beep (“BEEEP”) followed by the
single higher tone beep (“beep”).
If, when the battery is connected to the ESC the throttle stick
is not all the way down the motor will beep rapidly (“beep beep
beep beep beep…”) until either the battery is disconnected or
the throttle stick is returned to the off position at which time it
will emit a single, lower tone beep (“BEEEP”) followed by the
single higher tone beep (“beep”).
FLYING
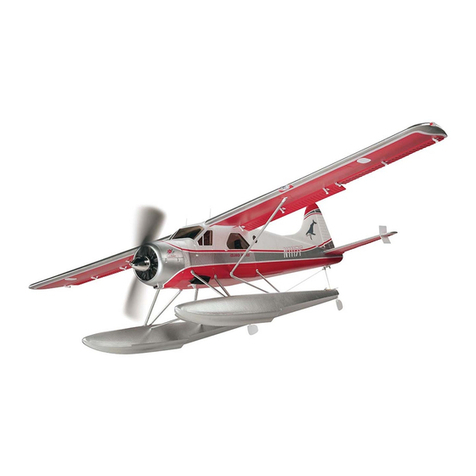
The Beaver flies mostly the same as any similar-type, high-wing
airplane, but you may find that the roll rate is a little slower.
This suits the Beaver well as it is a scale-like, STOL (Short
TakeOff and Landing) craft. Just give yourself more time and
altitude before trying your first full roll.
The only peculiarity arises when the flaps are extended—if you
extend the flaps too soon before the Beaver has lost enough
flying speed the nose will pitch up. The way to avoid this is
first by making sure you have given the Beaver enough time
to slow after cutting the throttle. You can also roll in the flaps
gradually. If you have a computer radio you could also mix in
some down elevator with flaps. In any regard, once the Beaver
reaches “equilibrium” and has initiated a gliding descent the
nose will resume a normal, downward glide angle. Similarly,
when powering up the throttle with the flaps extended the
nose will pitch up, so be ready to counter with down elevator.
Taken verbatim from our flight log book… “Flying the Beaver
from water with floats can be described with many adjectives
including astonishing, easy, fun, smooth, remarkable, etc.”
Unless weather conditions are terrible, you should have no
trouble flying the Beaver from either rough or calm water.
The water rudders direct the Beaver well and they don’t have
to be perfectly centered to be effective (so don’t spend an
exorbitant amount of time on the work bench working on
them!).The Beaver turns more tightly at idle speeds, so if you
need to do a U-turn throttle back to bring the Beaver around.
At higher speeds during a takeoff run the water rudders have
the correct amount of effectiveness to steer the Beaver on its
intended path.Takeoffs can be long and graceful or short and
steep—either way the floats handle the water well. If the winds
are really high the Beaver can still be flown from water, but
avoid turning it directly across the wind. Otherwise, the wind
can get under the wing and flip the Beaver over. In the air, the
only effect of the floats is that the Beaver flies slightly slower.
Flying “normally” (using half-throttle for general cruising and
full-throttle only when required) the Beaver consumes about
200mAh/minute for recommended flight times of about 7
minutes with an 1800 mAh battery and about 8.5 minutes with
a 2100 mAh battery. Flying more aggressively using higher
throttle settings, the current draw increases closer to 260 mAh/
minute for recommended flight times of 5.5 minutes with an
1800 mAh battery and 6.5 minutes with a 2100mAh battery.
To find out for yourself how long you can fly, set your timer
to a conservative 5 minutes. Fly until the timer sounds, then
land. Use a charger with a digital display to find out how
much capacity it took to recharge the battery (indicating how
much capacity was used). To avoid over discharging your
LiPos use only 80% of your battery’s capacity, so multiply
your battery’s capacity by .8 to find out how much you have
available. Compare the capacity used to 80% of your battery’s
capacity and adjust your flight time accordingly.
For example: If using the recommended 1800mAh battery,
your target capacity to use for a flight is 1440 mAh (1800 mAh x
.8 = 1440 mAh). If you fly for five minutes and it takes 1000 mAh
to recharge your battery, you still have 440mAh to go before
you should land, so adjust your timer to increase your flight
time accordingly until you reach your 1440 mAh target. (You
could also divide 1000 mAh by five minutes to figure a current
consumption rate of 200mAh/minute. Divide 1440 mAh by
200 mAh/minute to conclude that you can fly for 7.2 minutes
[7 min. 12 sec.]—but round down to 7 minutes.)


